How to Decorate a Train Cake
Have you caught the baking bug yet? I love baking cakes for people's birthday's but it can be tricky coming up with a design that doesn't require the whole cake decorating isle to make it!
The below cake cleverly uses a set of three cloud cutters to not only create the fluffy white clouds in the sky, but also to make the trees and shrubs around the bases of both cakes. The cutters can also be used for countless other projects, from creating fluffy sheep to speech bubbles the possibilities are endless!
Imagery and text courtesy of FMM Sugarcraft
You will need
Subtotal
Is $ 4.49
Out of stock
Subtotal
Is $ 14.00
Subtotal
Is $ 4.49
Subtotal
Is $ 4.49
Subtotal
Is $ 4.49
Subtotal
Is $ 4.49
Subtotal
Is $ 4.49
Subtotal
Is $ 4.49
Subtotal
Is $ 4.49
Subtotal
Is $ 4.49
Subtotal
Is $ 4.49
Subtotal
Is $ 28.00
How to make
You will need:
Cloud Cutter Set – available in selected stores and coming soon online
Arches cutter set
Stone wall impression mat
Ejector plunger
Dab-a -Dust
Blossom set of three
Multi-ribbon cutter
Cake baked and covered on a board
Pot of water
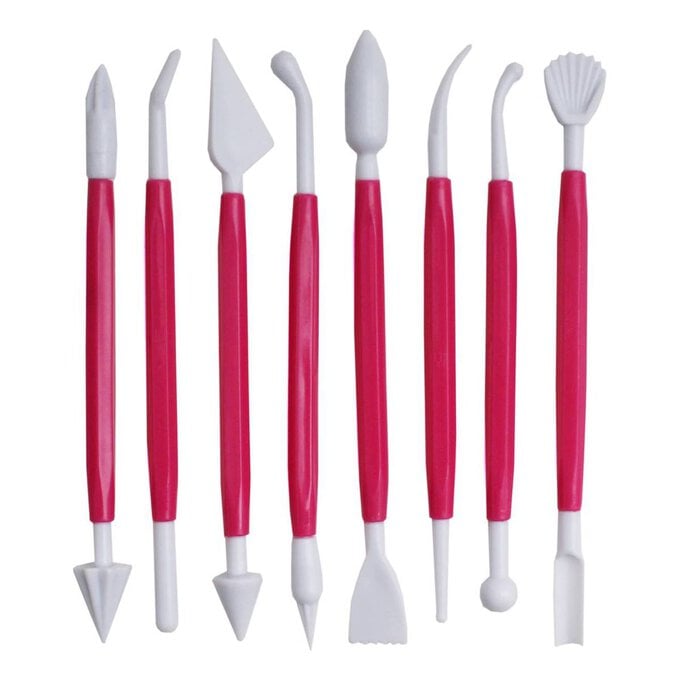
Add CMC/Tylose to fondant to make modeling paste. Dust your work surface with your Dab-a-Dust to prevent paste from sticking. Refer to Cloud cutter instructions on pack
for thickness and cutting. Attach decorations to cake with water.
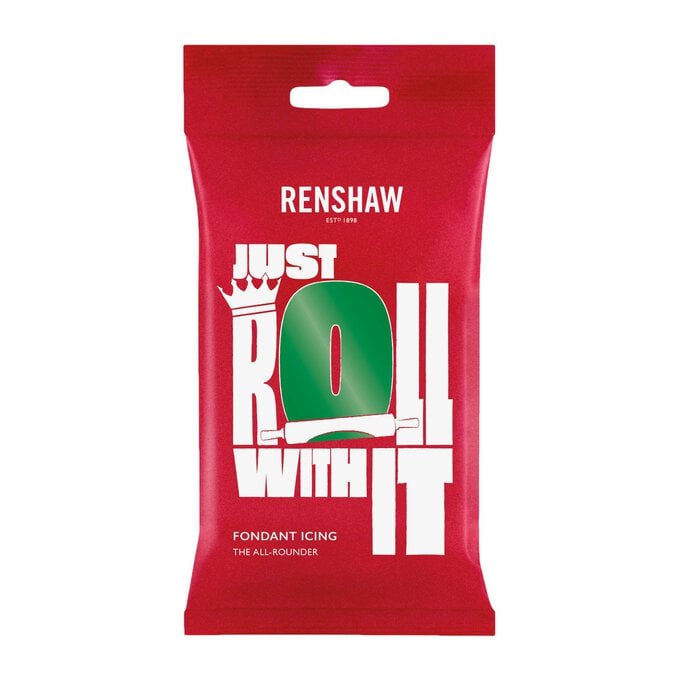
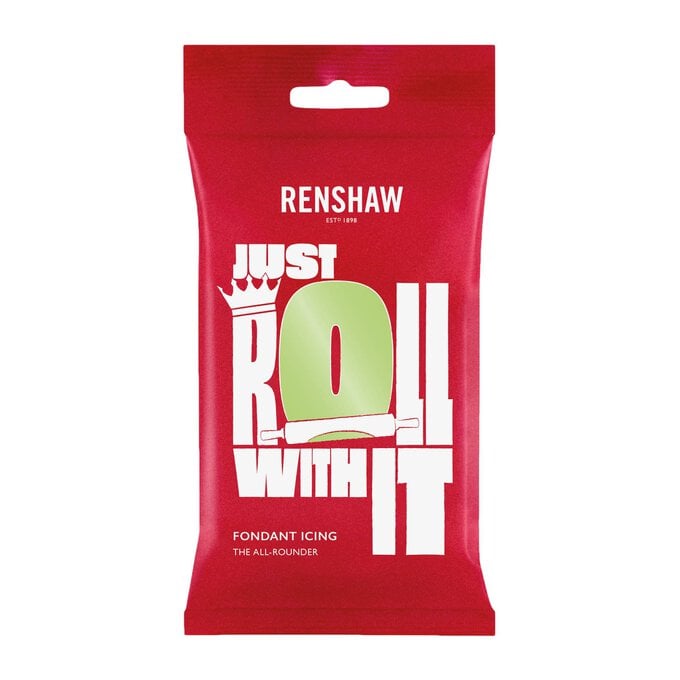
Cut two clouds in different shades of green.
Cut out some blossom flowers.
Cut out your clouds from your white modeling paste.
Cut out an arch shape from the dark grey modeling paste. Roll out your light grey modeling paste to 4 millimetres thick and lay your stone wall impression mat on top.
Using your FMM Multi-Ribbon Cutter on the smallest setting. Cut out thin strips of beige paste and cut them to size with your knife tool to fit neatly around your cake on
the cake board.
Repeat this for the track rails using the grey modeling paste. Make the strips of modeling paste as long as possible.
Then add your train topper, this could be made from modelling paste, or alternatively a toy train could be used.
