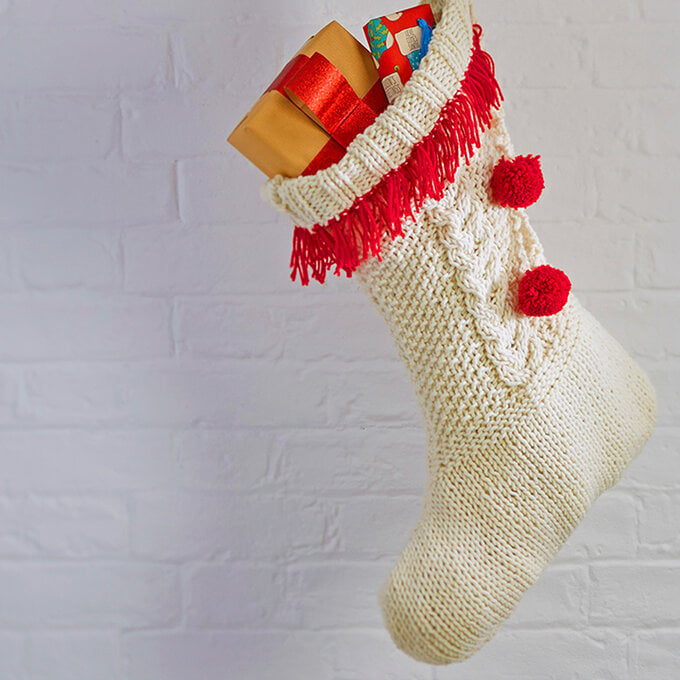
How to Make a Punch Needle Christmas Stocking
If you're looking to create something truly special, whether it be for yourself or for your loved ones this Christmas, then look no further. Filled with festive detail and rich colours, this punch needle stocking will look stunning over your fireplace.
This post will show you how to create this adorable stocking, with a step-by-step guide.
Project and instructions by Caroline Jane.
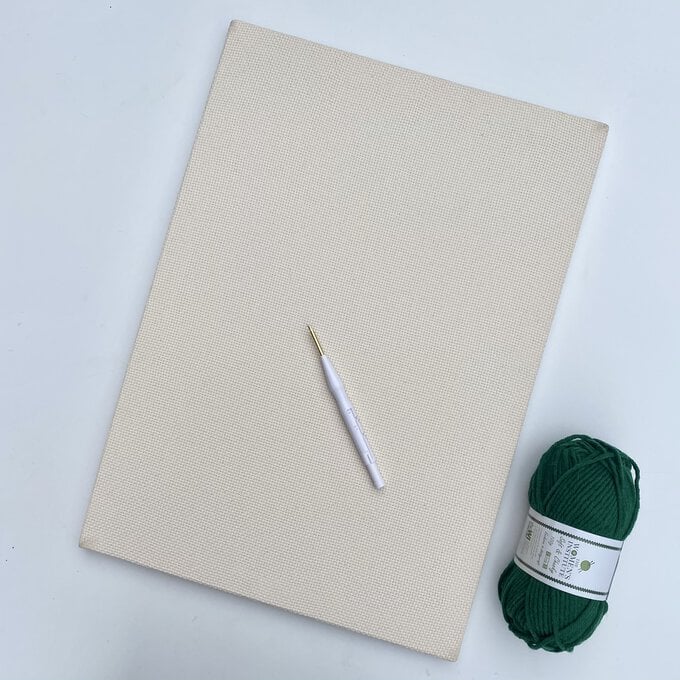
You will need
Subtotal
Is $4.98
Subtotal
Is $7.47
Subtotal
Is $4.98

Subtotal
Is $ 10.00
Subtotal
Is $ 24.00

Subtotal
Is N/A
Subtotal
Is $ 24.00
Subtotal
Is $ 1.49
Subtotal
Is $ 2.49
Subtotal
Is $ 4.49
Subtotal
Is $ 4.49
Subtotal
Is $ 5.49
You will also need:
* A staple gun
* Staples
* Wipe off fabric marker
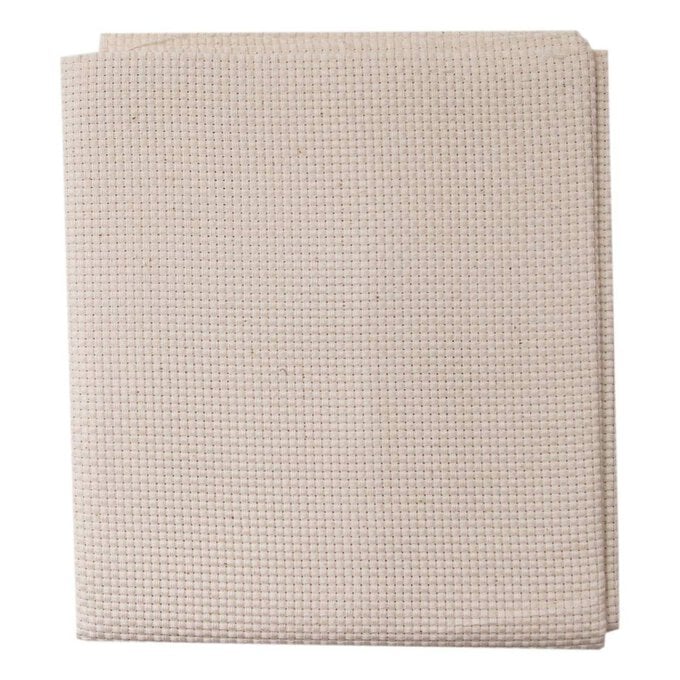
Slot the four sides of the stretcher frame together to create a rectangle. Stretch the foundation fabric over the frame.
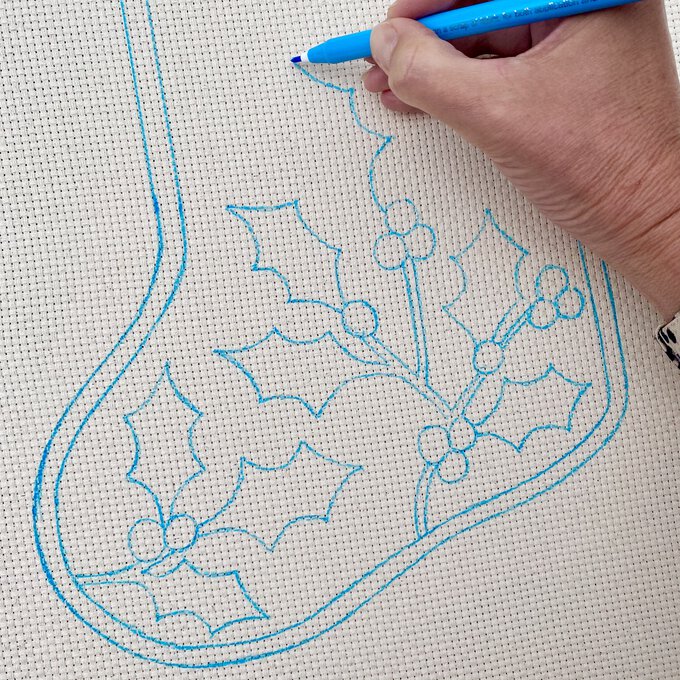
Download and print out both sections of the template and join them together. Attach the template to the back of the fabric using masking tape. Place the frame in front of a light source, such as a window or a light box, and trace the design using the fabric marker.
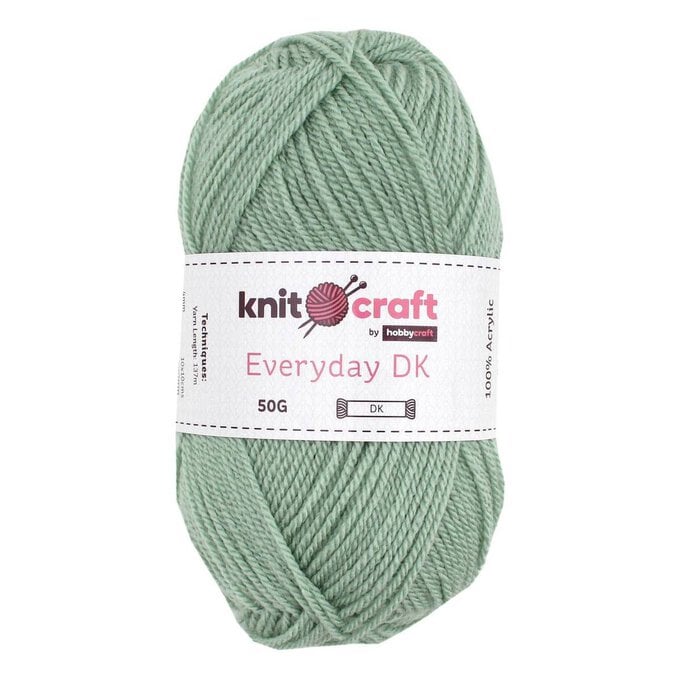
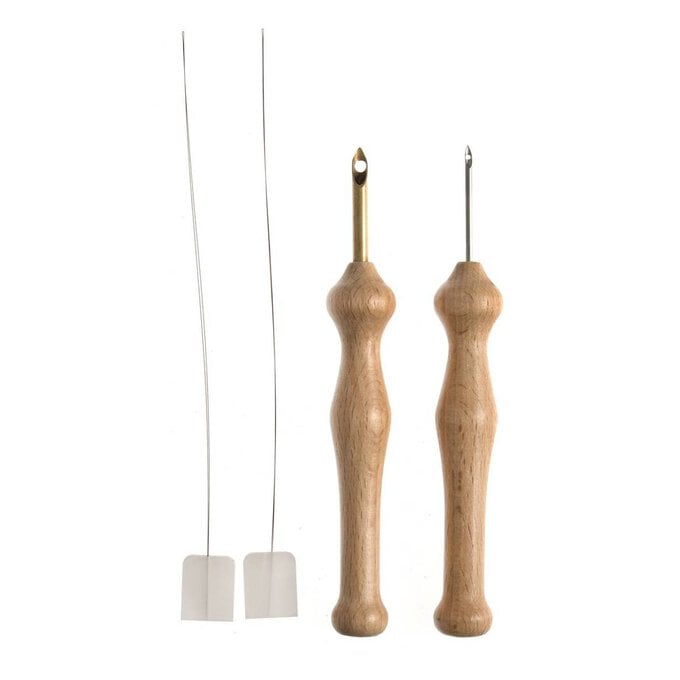
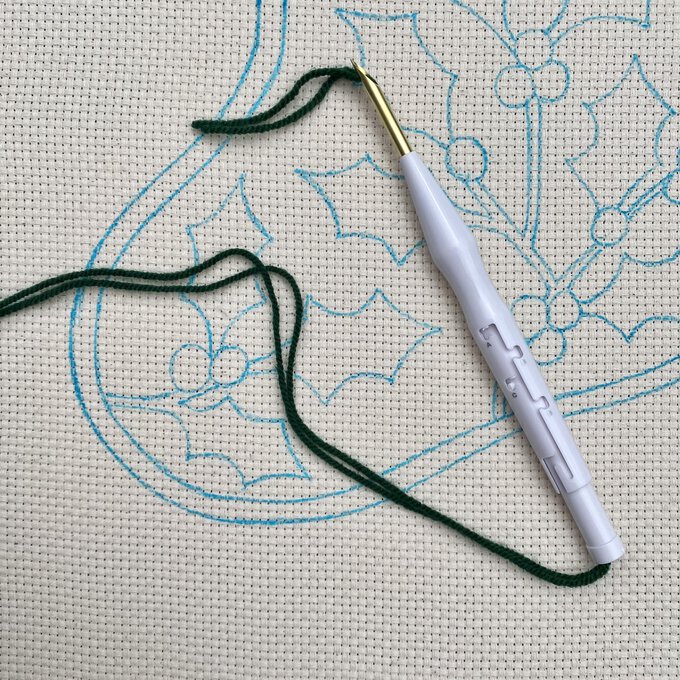
Set the adjustable punch needle to setting C. Thread the needle using the threader and 2 strands of school green yarn. You will start by punching all the holly stalks. Push the needle all the way into the fabric on one of the stalks. Keep the yarn tails on this side. Bring the needle up and out slightly, then glide it across for about 1cm, before pushing the needle back in. Continue creating stitches until you reach the end of the first line.
At the end, turn the needle and follow your first line of punching to create a second row of stitches.
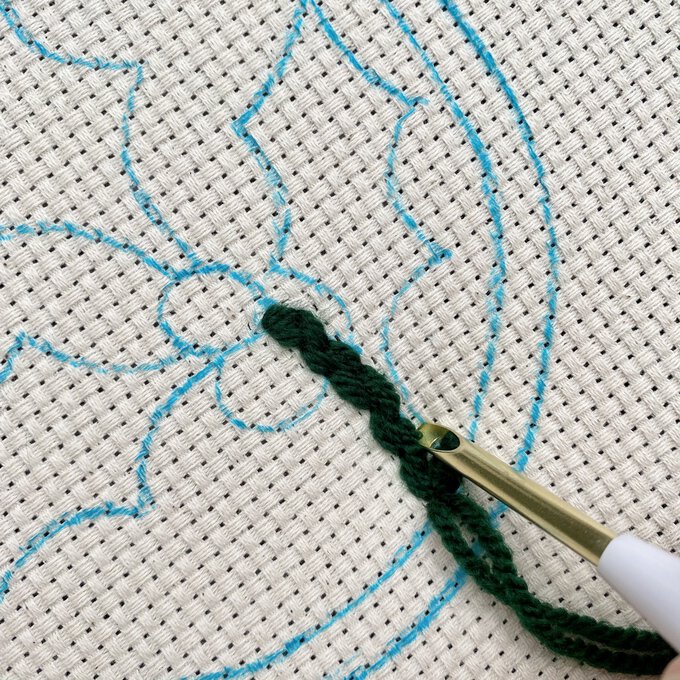
At the end of your second row, keep the needle in the fabric, pinch the yarn on the looped side and gradually pull your needle back through to create the last stitch on that row. Continue punching all the stalks with 2 rows of stitches.
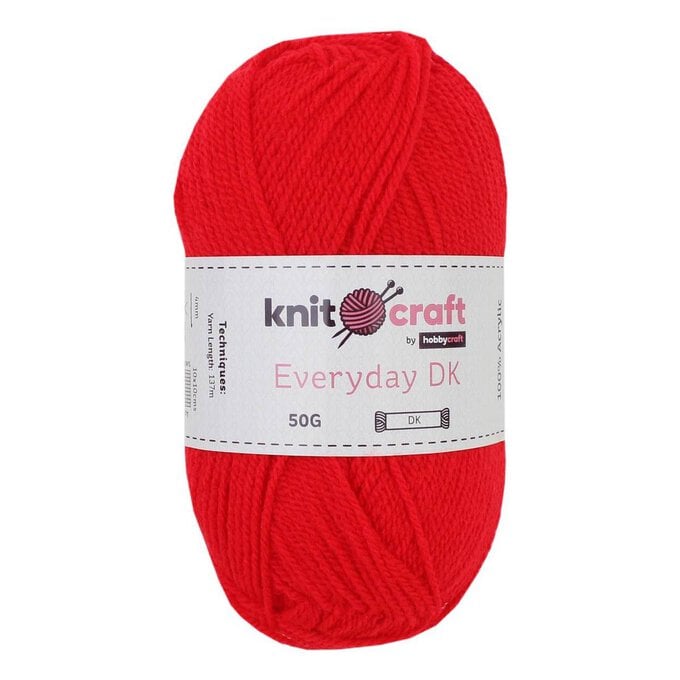
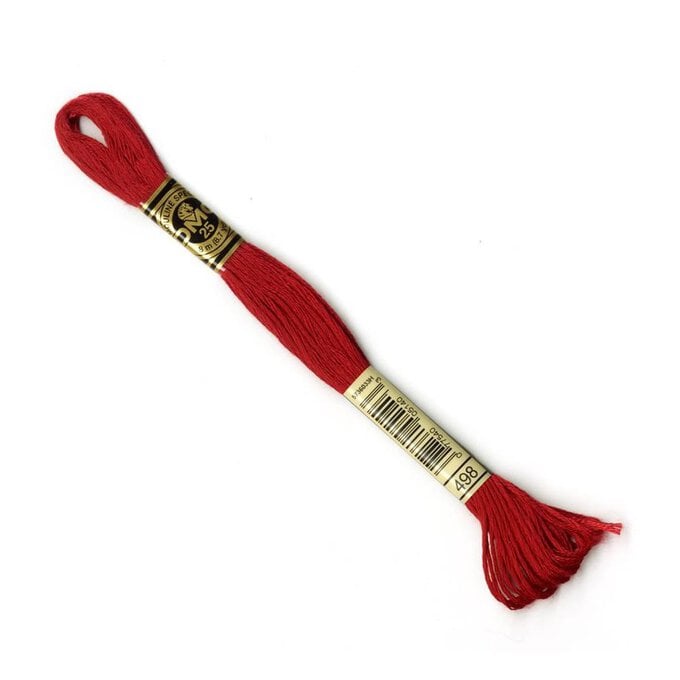
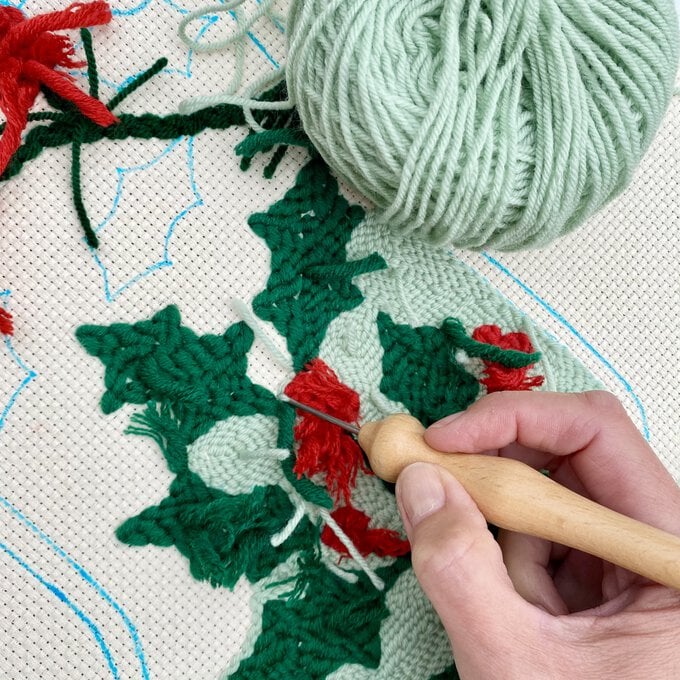
Change the needle setting to B to create the berries. Punch all the berries using one strand of the red chunky yarn. Each berry will be approximately 8 stitches.
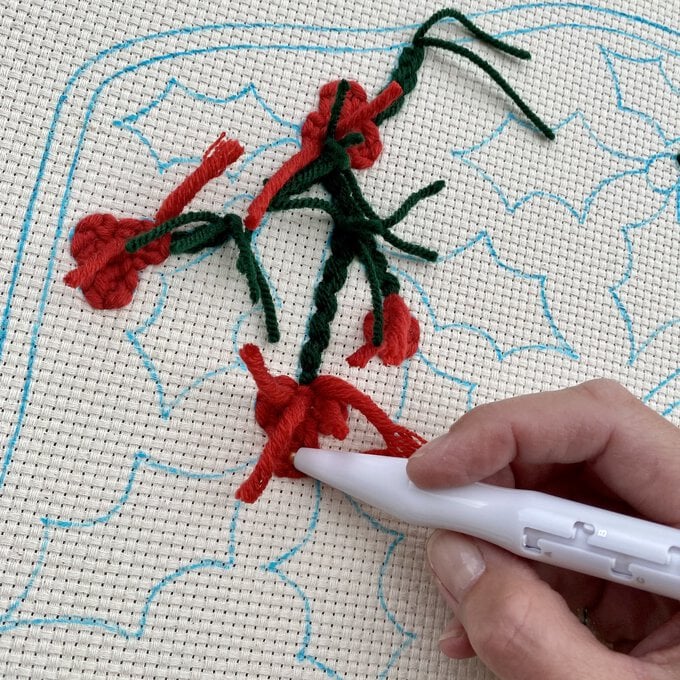
There are 2 options for this step. Option A: Change your needle setting to D. Thread the needle with 2 strands of the sage green yarn. Option B: Use the small holed Milward punch needle and thread one strand of sage green yarn (see the picture in step 8). Punch any small background areas where the holly leaves are close to each other.
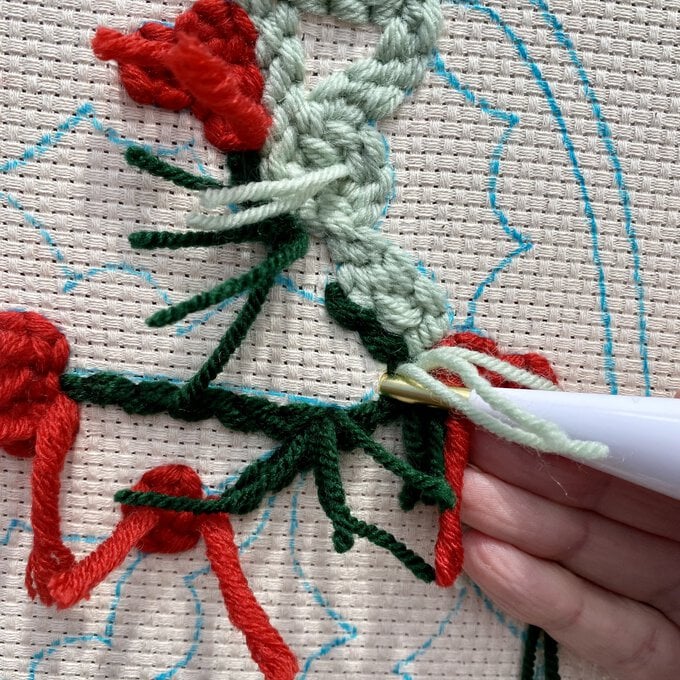
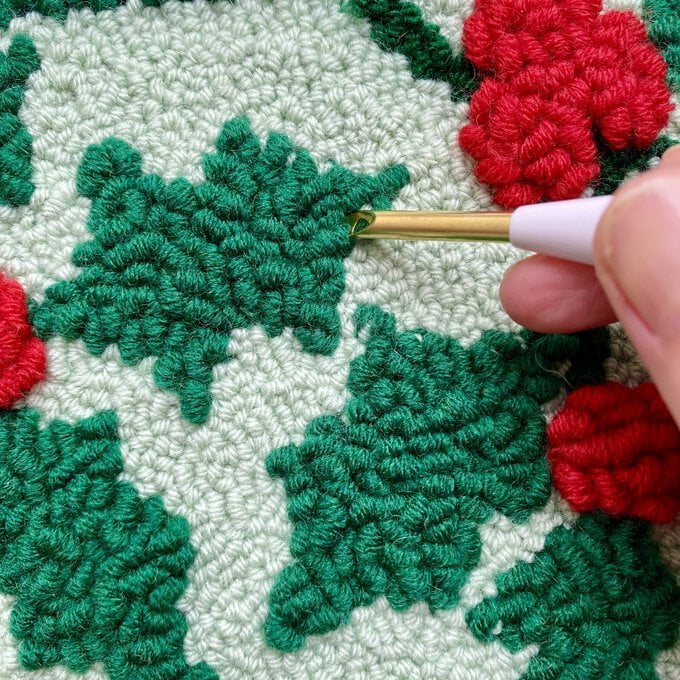
With your needle setting at C, thread the adjustable needle with the school green yarn and punch the holly leaves. Where small areas of the sage green background are close to the holly leaves, return to the sage green yarn and fill these as you go. Continue until all leaves and background are complete
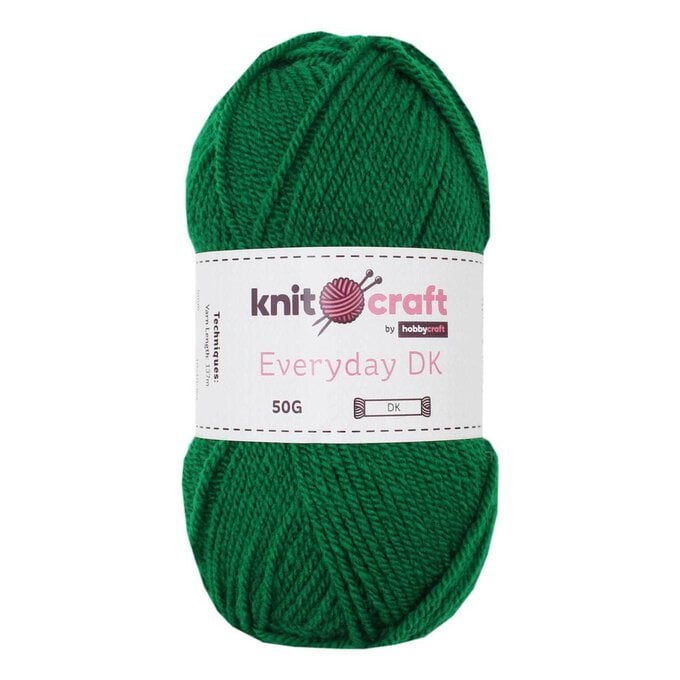
Thread your needle with the green chunky yarn (setting C) and punch 3 rows of stitches to form a border around the stocking.
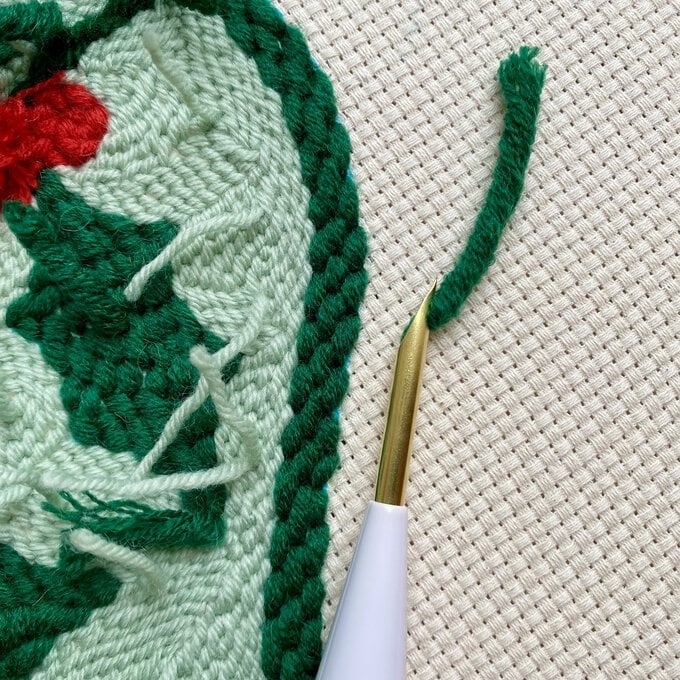
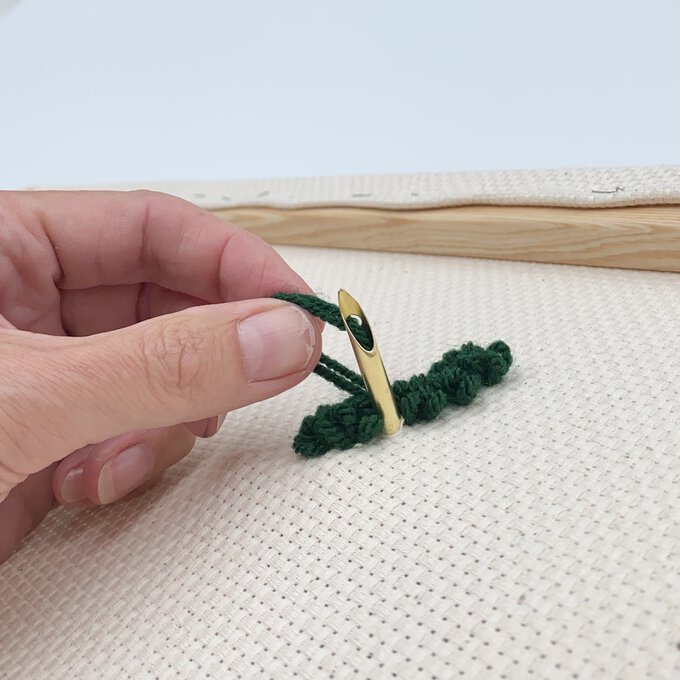
Use the tip of your needle to neaten the stitches between the colours and snip the yarn tails on the back. Remove the stocking from the frame by using a staple remover to remove the fabric.
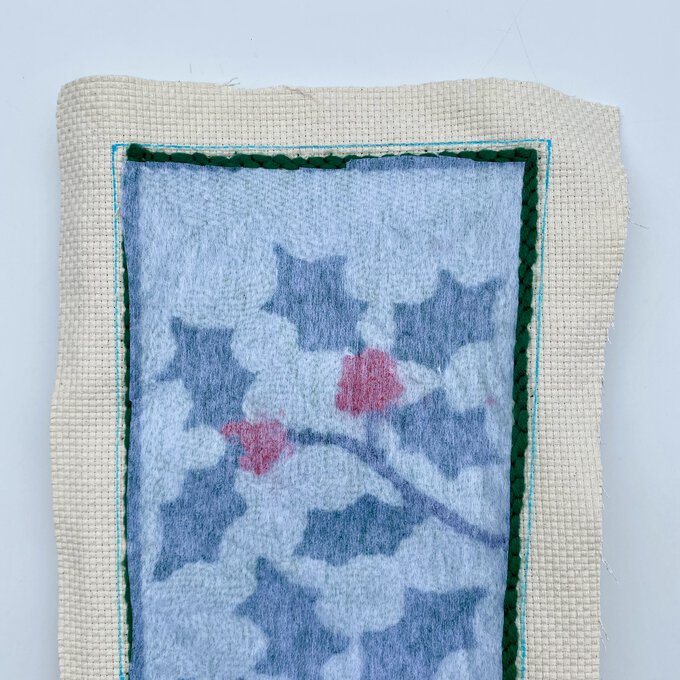
Cut a 3cm border around your stocking and attach interfacing to the reverse.
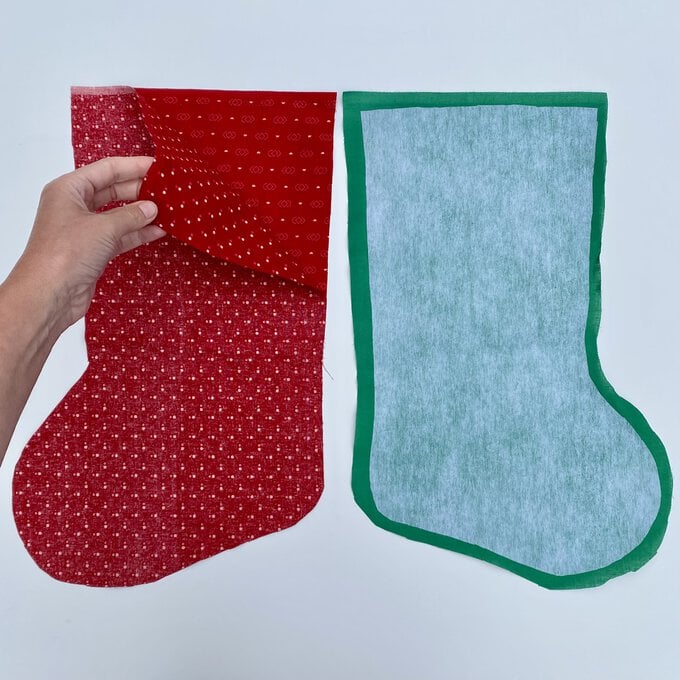
Download and join the 3 pattern piece templates. Press 2 red and 1 green pieces of fabric from the fat quarters. Place the red fabric (lining) right sides together and cut around your pattern piece so you have 2 pieces. Use the same pattern piece to cut 1 piece of green fabric and interfacing. Trim 1cm off the edge of the interfacing (to reduce bulk) and press onto the green fabric.
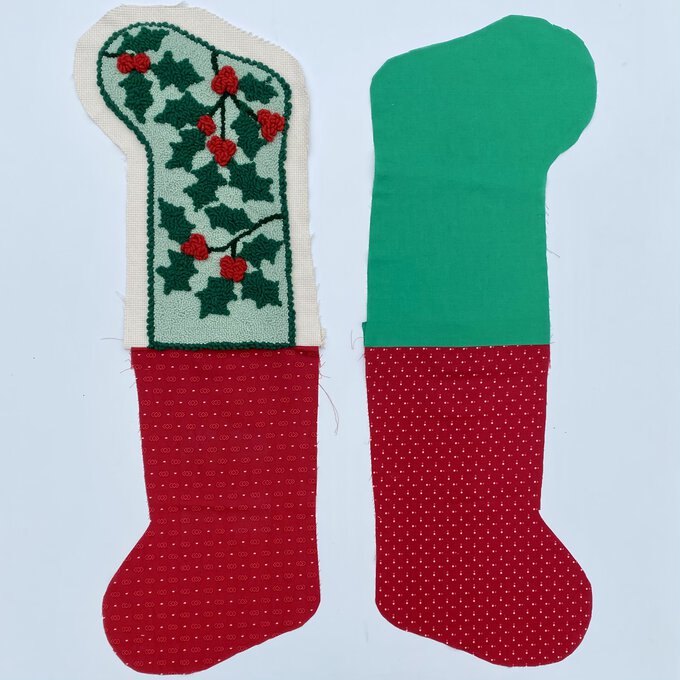
Pair up each lining piece to the punched front and interfaced back. With the right sides together sew across the top of each stocking section using the zipper foot on your machine. Open up the sections and press the seam open.
Place the 2 sections on top of each other so the toes match and the right sides are facing in. Sew around the whole section leaving a 15cm gap in the lining to turn the stocking the right way round. Snip notches into the rounded edges.
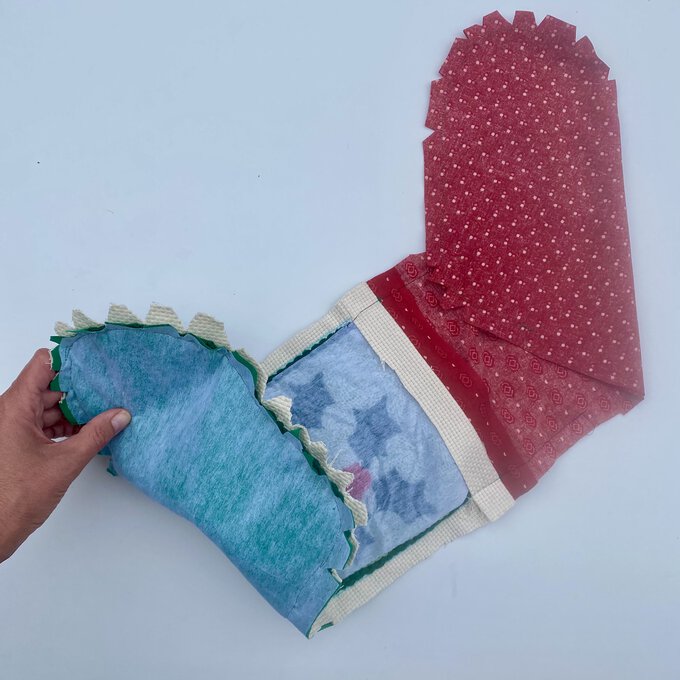
Turn the stocking the right way round, press the entire stocking and hand sew the gap in the lining. Push the lining into the stocking.
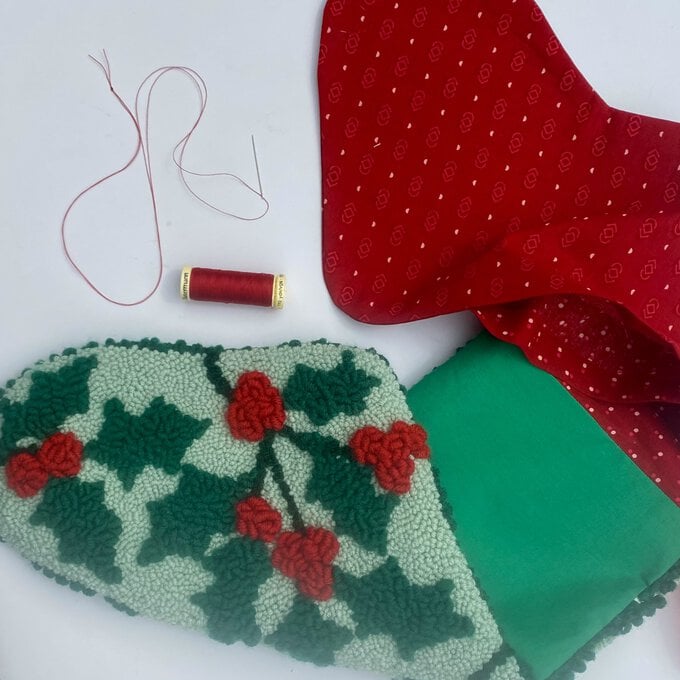
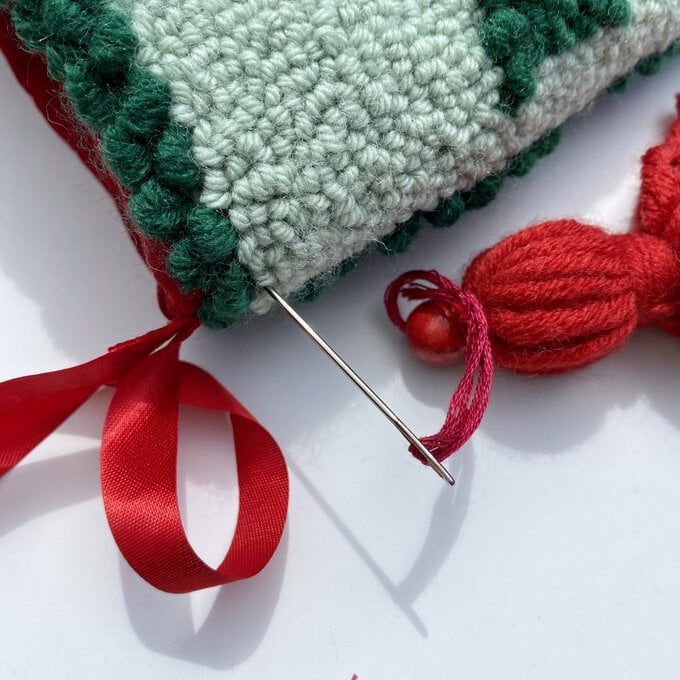
Sew a hanging loop to the top left of the stocking. Using the red yarn make 6 tassels. Wrap the yarn around your hand 20 times, pass a 30cm length of embroidery thread through the top and secure with a double knot.
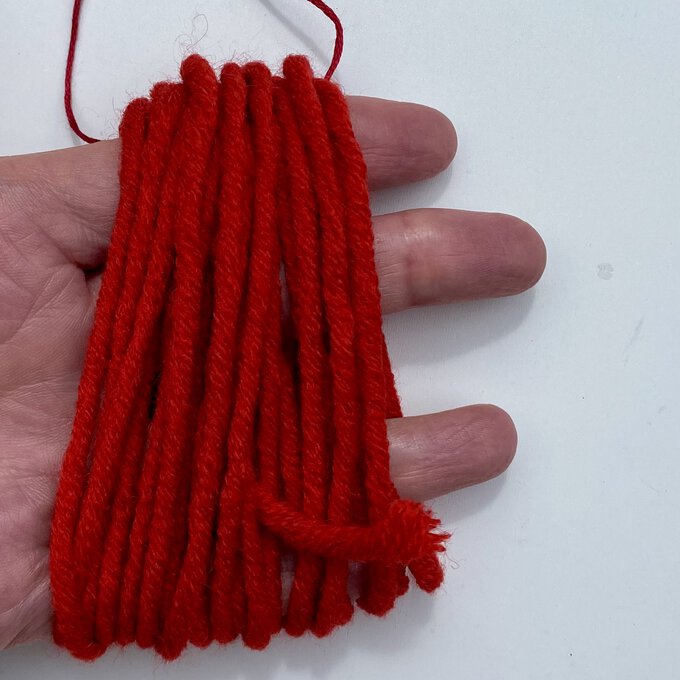
Wrap the red yarn about 2cm from the top, 5 times and secure with a double knot. Pass the strands through the top of the tassel to conceal the knot. Trim the ends to the same length.
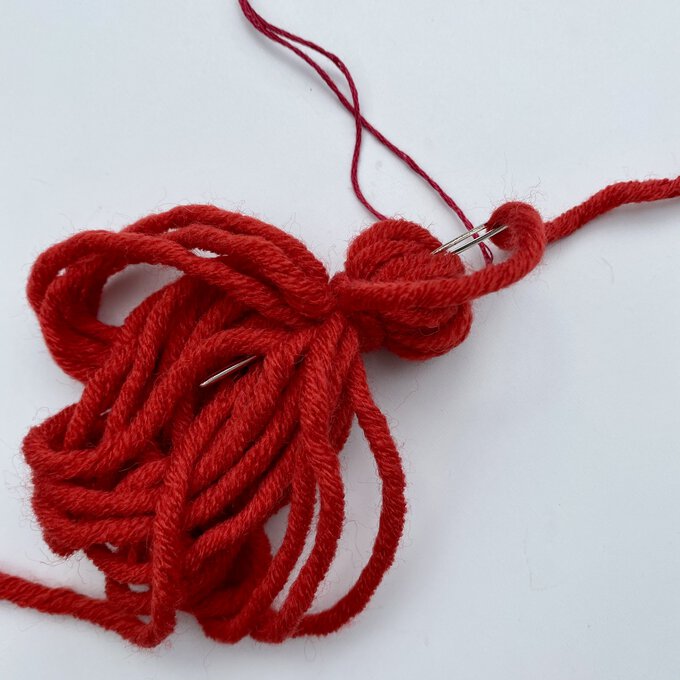
Using the long strand, sew the 6 tassels along the top of the stocking. As an extra option, you could also add a bead to the tassel.
Related Products