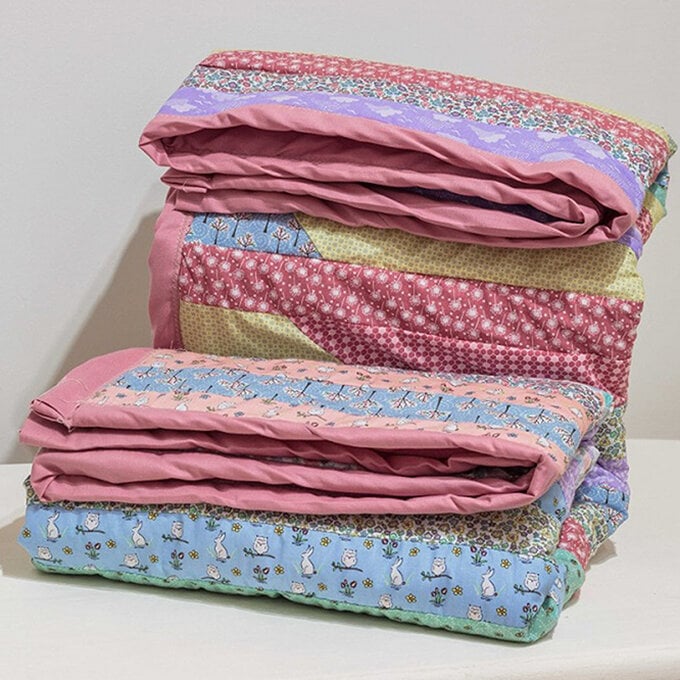
How to Sew a Large Autumnal Star Quilt
Create a gorgeous autumnal throw for the cosiest corner of your home this autumn. This design is a great quilt for beginners, using simple squares of fabric and half square triangles.
Remember to take your time and complete the quilt in stages – quilts are a meditative and slow creative project. Neat, exact cutting is very important. This is a traditional star design made modern with fun, pastel colours.
Project and instructions by Sophia Palmer from Sew Jessalli.
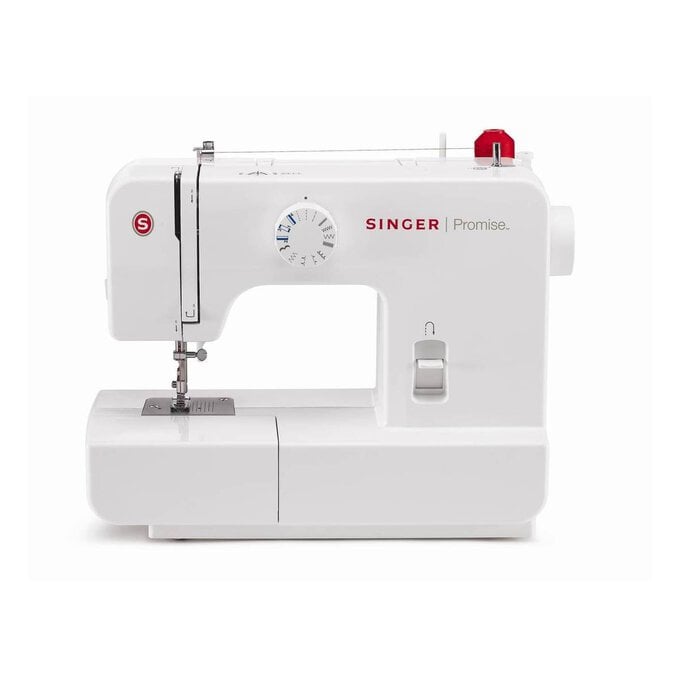
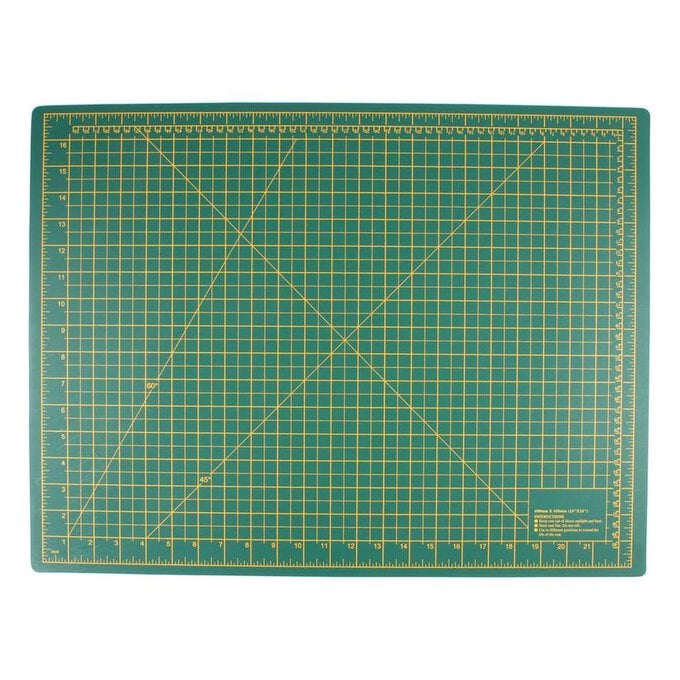
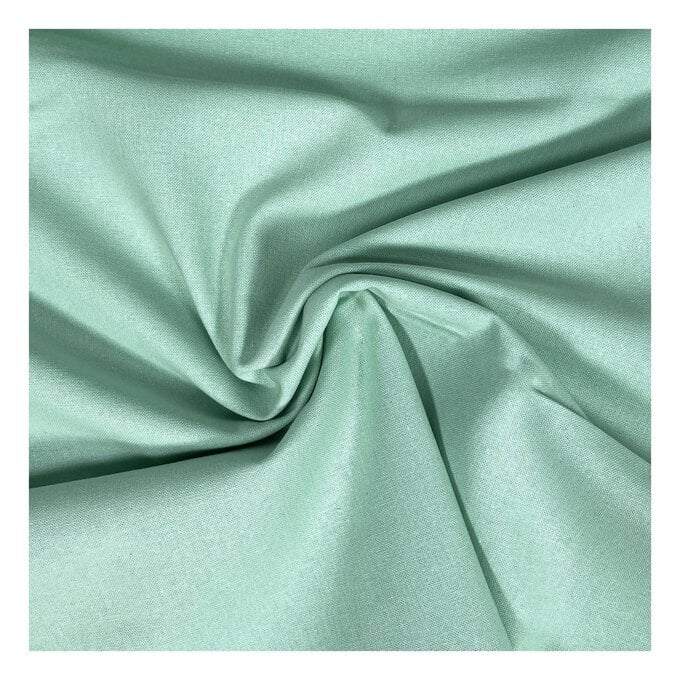
You will need
Subtotal
Is $ 235.00
Subtotal
Is $ 4.49

Subtotal
Is $ 24.00
Subtotal
Is $ 20.00
Subtotal
Is $ 12.00
Subtotal
Is $ 12.00
Subtotal
Is $ 12.00
Subtotal
Is $ 12.00
Subtotal
Is $ 1.49 , was $ 3.49
How to make

All sewn edges use a 1/4” seam allowance.
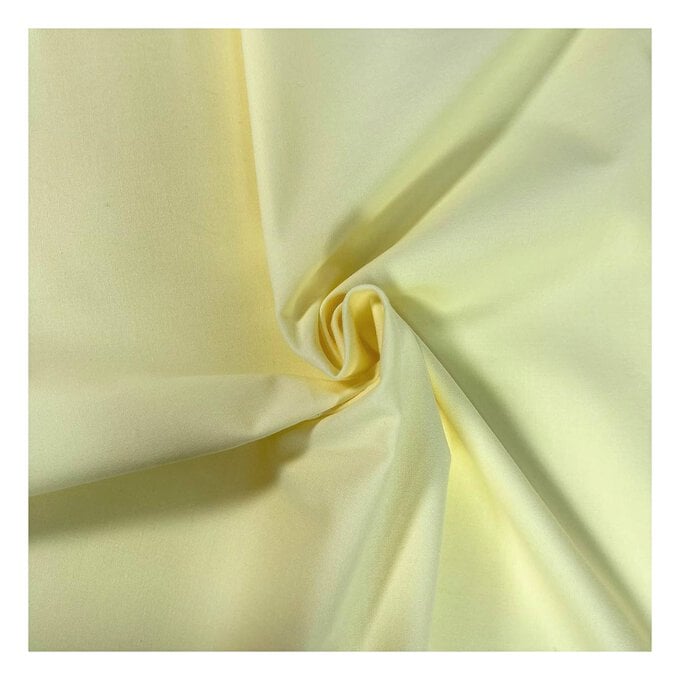
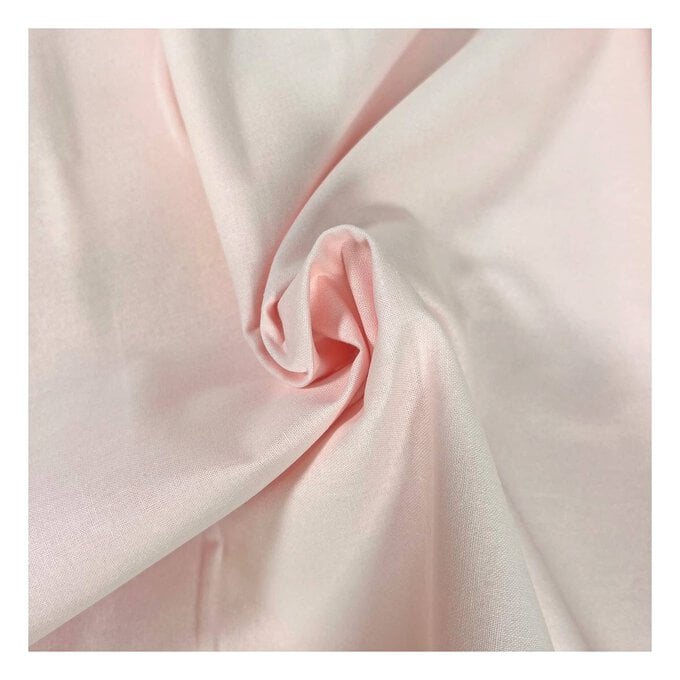
Using the pattern design as a guide, cut all your coloured and one of the calico fabric pieces into squares measuring 4.5”. Remember for every triangle you need a square for both colours. For the side pieces, cut from Calico, two pieces are 9” x 59”, the other two are 4.5” x 60”.

To make your half square triangles, place one square on top of the second coloured square.
Using a quilting ruler, add 1/4” to the centre point and trim off the excess with a rotary cutter.


Start on the first row and use the pattern guide to follow the order of your squares. Sew them together in a row.
Once you've completed one row, press all seams to one side.

On your second row, press all seams to the opposite side.
Place these two rows, right sides together, and line up each join on top of the other.

You should now see your seam allowances pressed in opposite directions, which reduces bulk and line up the points perfectly.
Keep going in this fashion, until you have 4 blocks of 4 rows. Then sew these blocks together. Add the 4 side pieces in the same way and press the whole patchwork front.

Get one piece of plain calico and lay it on a table or clear floor. Place a layer of wadding on top and trim to the same size. Then place your patchwork piece on the very top.
Gently flatten it all out and use safety pins to keep all three layers together.

Using your sewing machine add lines of quilting, follow seam joins and fabric shapes to add as much or as little detail as you like. An Even-Feed foot attachment to fit your machine will help with all the bulk.
Once you're happy with your quilting, trim all the edges to make it neat.


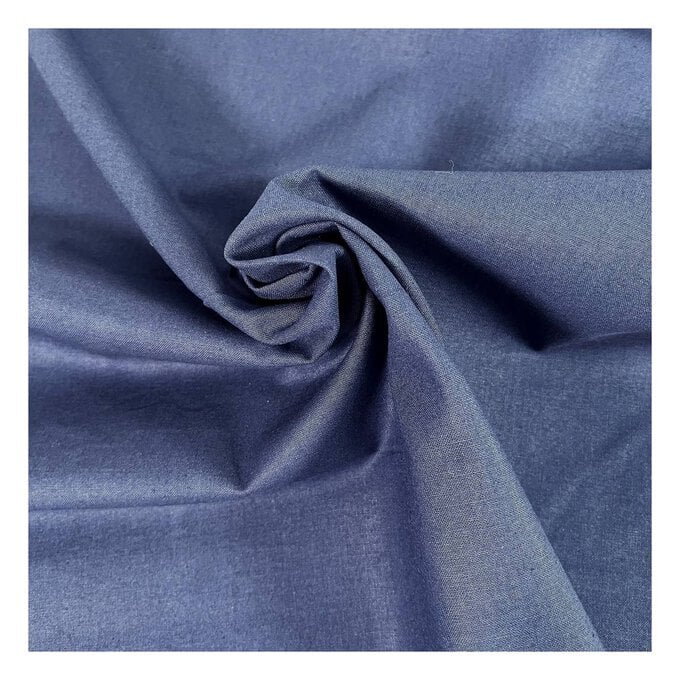
Cut long strips of Navy Fabric 2” wide, sew all these pieces together. You'll need roughly 7.5 metres. Sew the binding edge, right sides together, around the quilt top through all three layers.
When you get to a corner, stop equal distance from the edge, fold the binding square along the next side and carry on.
Once all sewn, fold to the back and hand sew into place.

Related Products