How to Make Halloween Biscuits
Make a selection of impressive Halloween biscuits using the simple recipe below, perfect for your Halloween party or as treats for your trick or treaters! Decorate with a choice of our huge range of edible decorations and sprinkles.
Our step-by-step instructions make it easier than ever to wow your guests this spooky season!
You will need
Subtotal
Is $ 3.49
Subtotal
Is $ 4.49
Subtotal
Is $ 4.49
Subtotal
Is $ 4.49
How to make
* Icing Sugar
* Renshaw Ready To Roll Icing in Orange, White and Black
Baking ingredients:
* 360g plain flour
* 250g unsalted butter, softened
* 110g white granulated sugar
* ½ teaspoons Vanilla Extract
* ½ teaspoon Wilton Almond Extract

Preheat oven to 190ºC.
In large bowl, beat butter and sugar until light and fluffy. Mix flour, vanilla extract and almond extract; add to butter mixture 125g at a time, mixing after each addition.
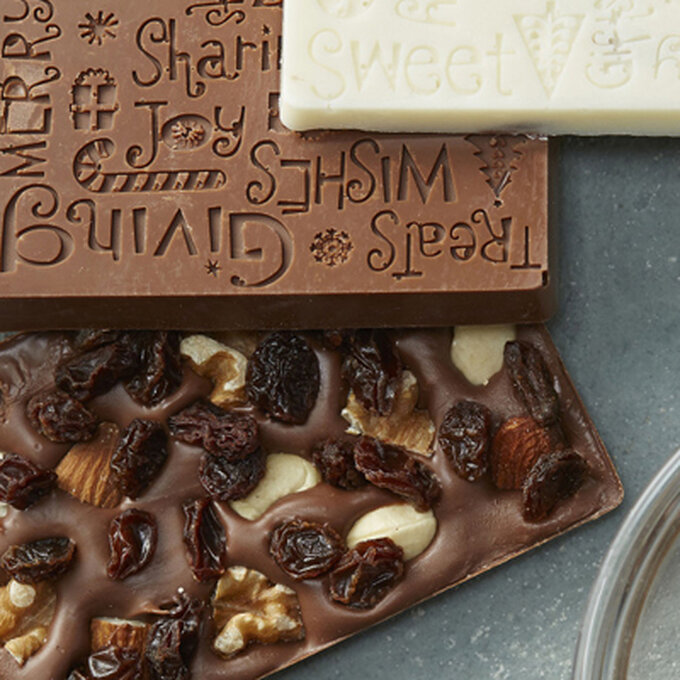
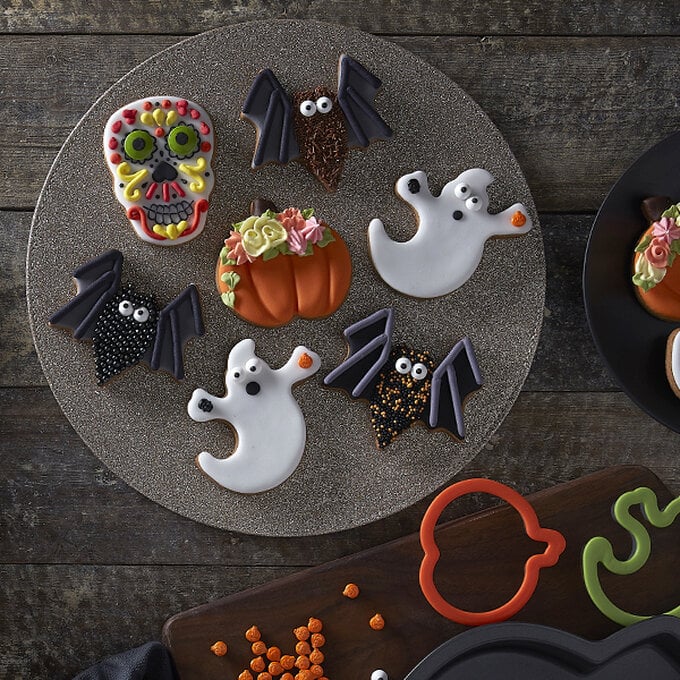
Roll out the dough to about 1cm thick on a floured surface and cut out Halloween shapes using the image as a guide.
Chill in the fridge for 20 minutes.
Using the white royal icing, spread a thin layer over the top of the centre of the cookies then place a cut out of rolled icing on top. The royal icing will adhere the rolled icing to the biscuit.
Repeat for all the biscuits and allow to dry.
Related Products