Cricut: How to Make Cupcake Toppers
Top off your celebration cupcakes with some extra-special toppers created using your Cricut machine!
We've used the Cricut Maker to create this project, however you could also use the Cricut Joy or the Explore Air 2.
Project and how-to make instructions by Hobbycraft Artisan Chrissie Ellson
Please note: This project contains paid for content from Cricut's Design Space app. Screen reference images are taken from the Desktop version of Design Space.
You will need
Subtotal
Is $ 29.00
Subtotal
Is $ 7.49

Subtotal
Is $ 606.00
Subtotal
Is $ 3.49
How to make
You will also need:
Cricut Design Space app installed on a laptop, PC, Tablet or mobile device
Cocktail Sticks
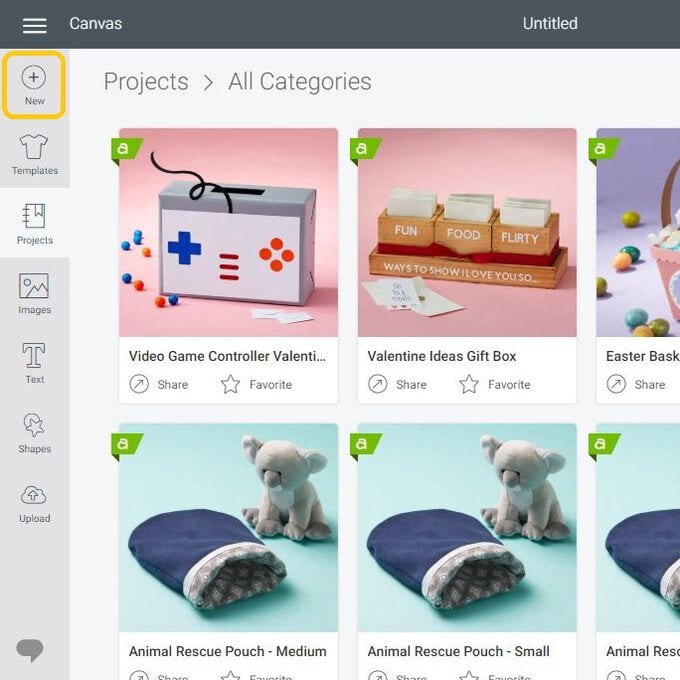
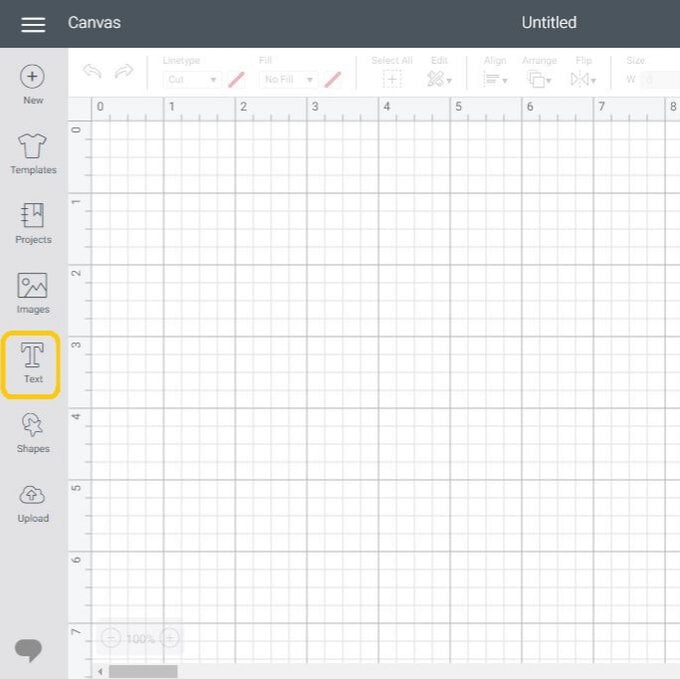
Log into Design Space and click “New” to open a blank canvas.
To create the numbers for the topper, select the “Text” meun in the sidebar on the left-hand side of the screen. To type your numbers into the text box that appears on screen and then click on the “Font” dropdown menu.

Select your chosen font. We have used “Belwe Std Medium”.

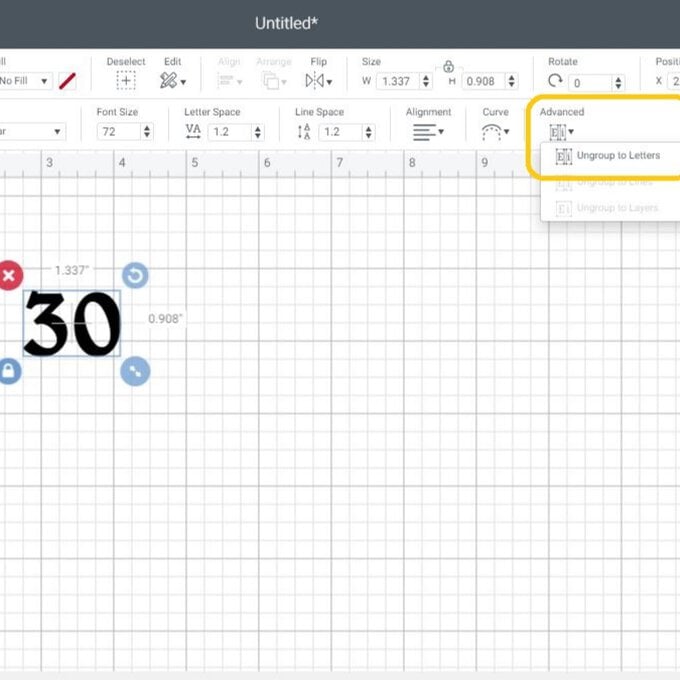
To attach the numbers together, start by clicking on the “Advanced” menu button and then “Ungroup to Letters” from the dropdown options - this will ungroup the numbers so that they can be moved individually.
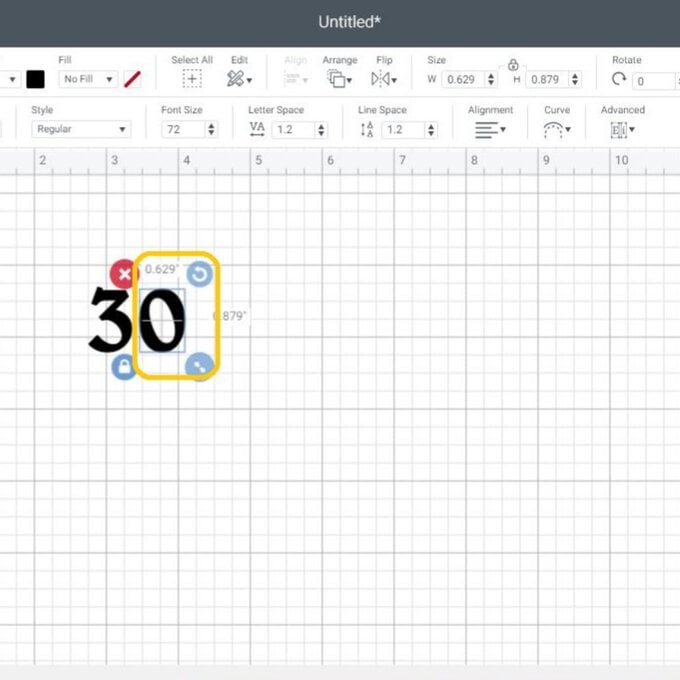
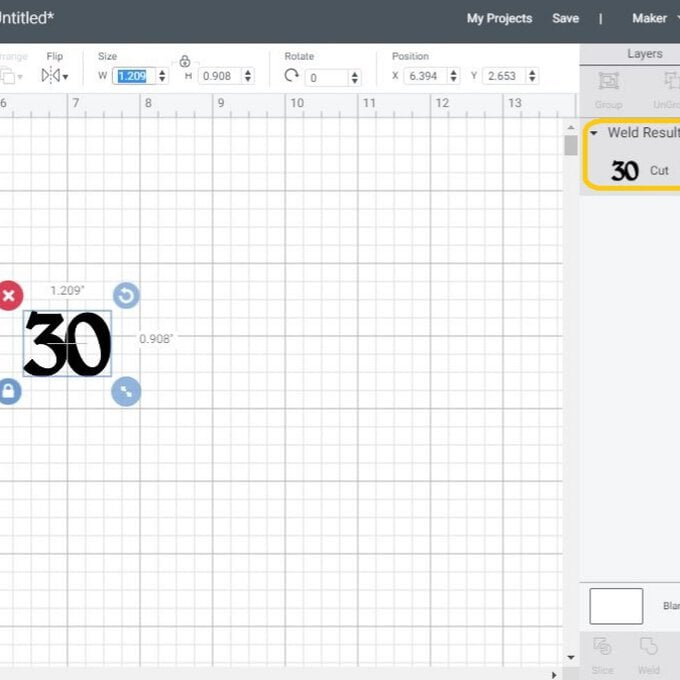
Select one of the numbers and move it so that it slightly overlaps the other number. Once happy with the arrangement of the numbers drag a selection box over both numbers and click "Weld", both numbers will then become attached and one image.
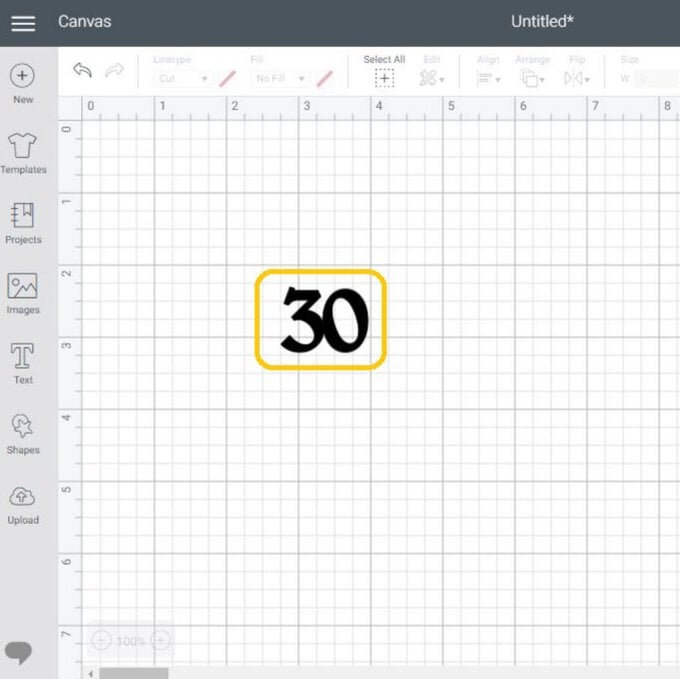
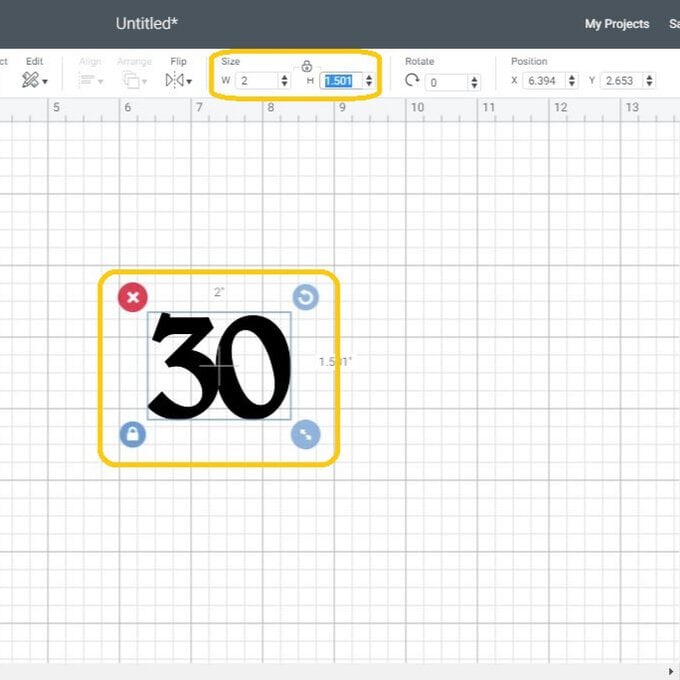
To amend the size of the number topper, make sure it is selected and then amend the measurements in the toolbar at the top of the screen, ensuring the padlock icon is locaked so that the image resizes proportionately.
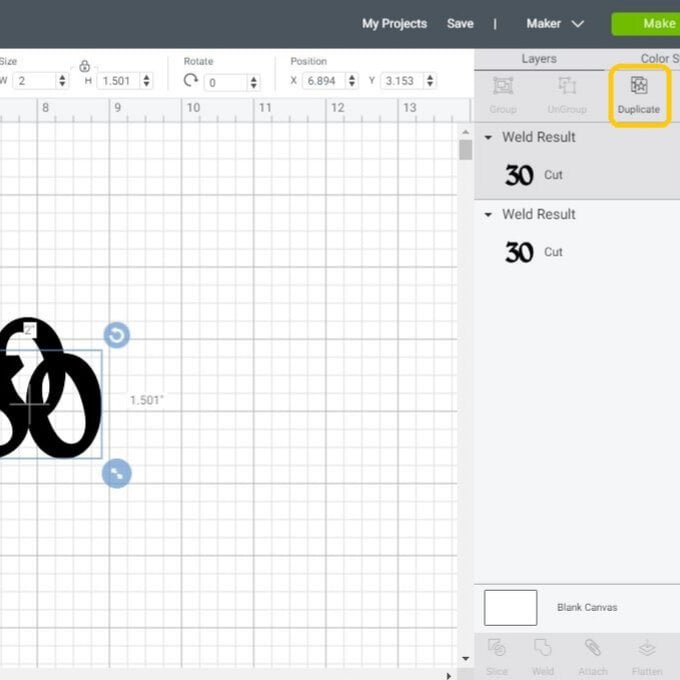
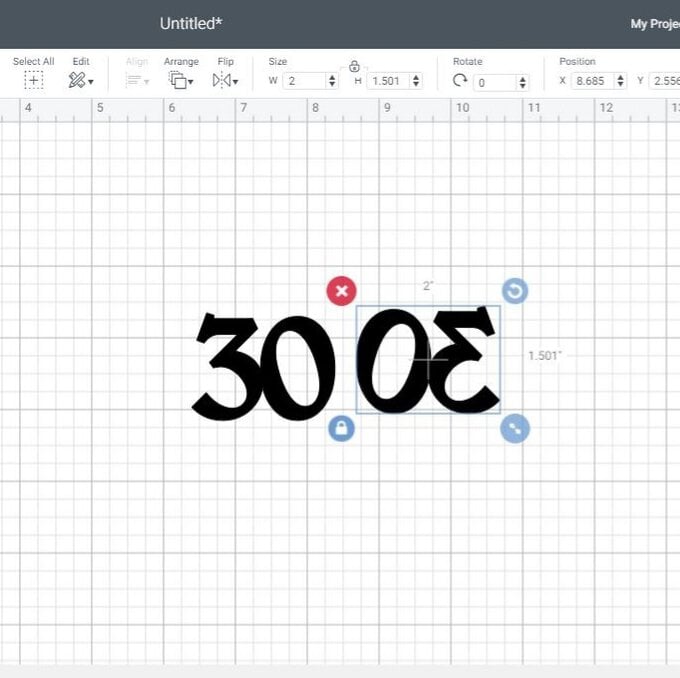
To create the back layer of the cupcake topper, select the number and then select "Duplicate", you should now have two numbers on your canvas.
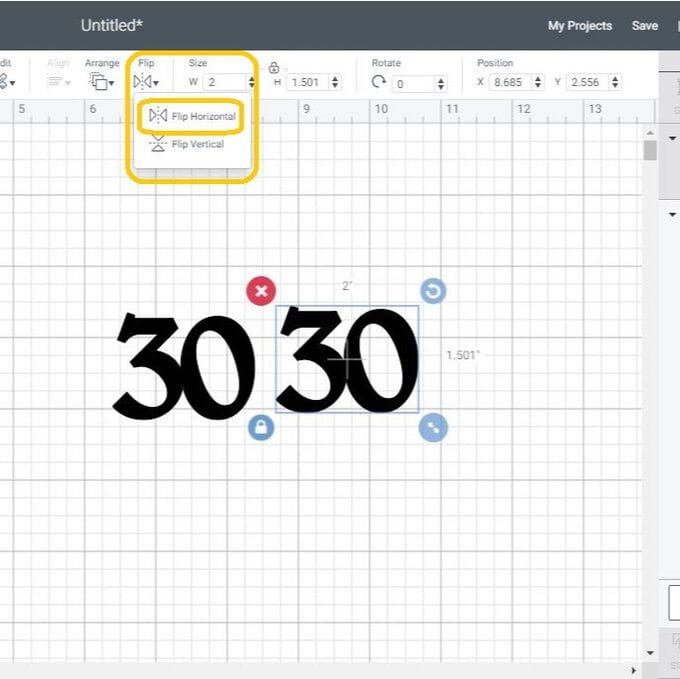
Select the duplicated number and then select the "Flip" menu and then the "Flip Horizontal" option from the dropdown, this will reverse the image so that both sides of the topper have the glitter side showing.
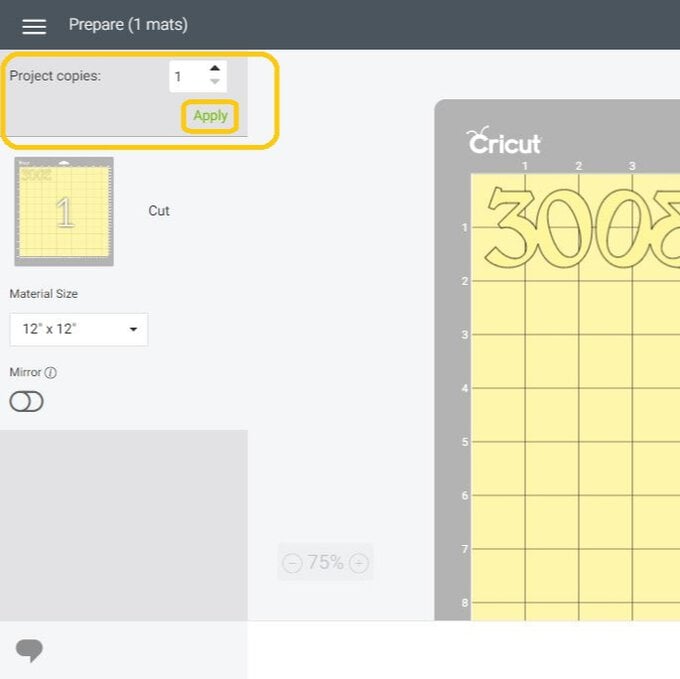
Click the green "Make It" button once happy with everything on the canvas.
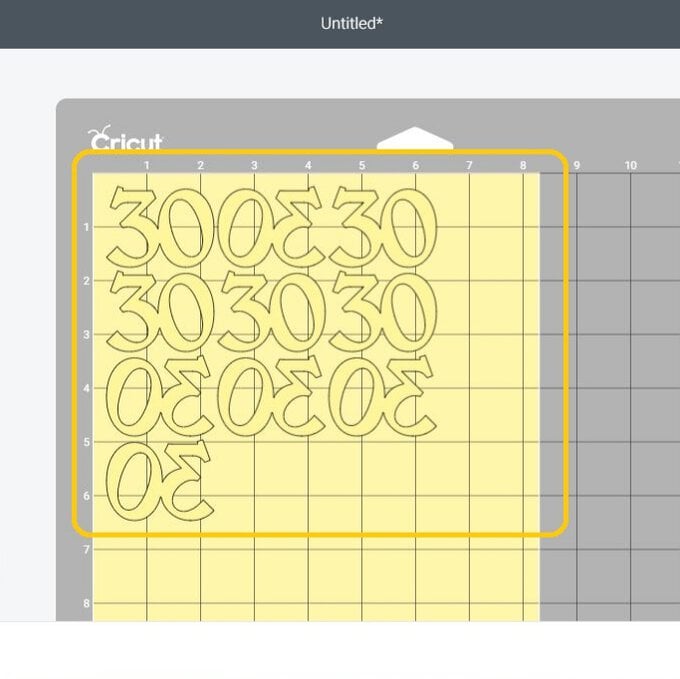
You'll then be taken through to the mat preview screen. If you would like to create mutiple toppers, simply amend the number next to "Project Copies" and click apply.
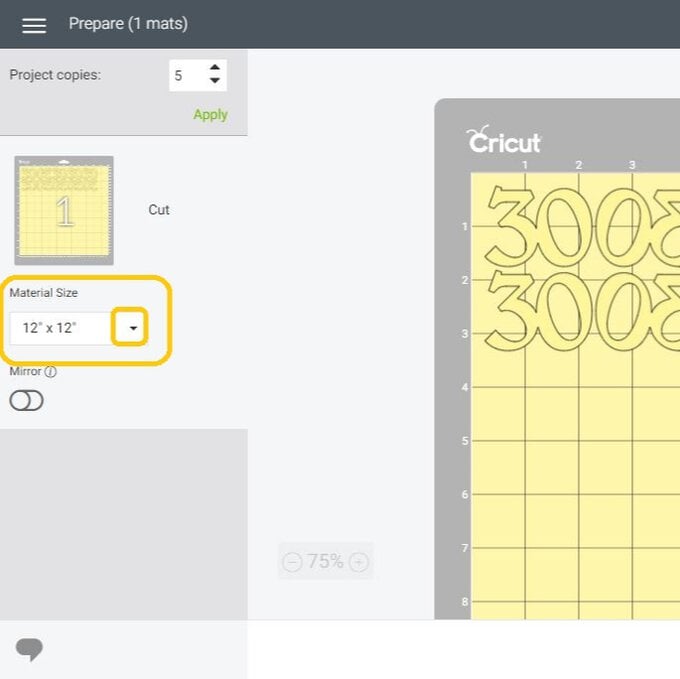
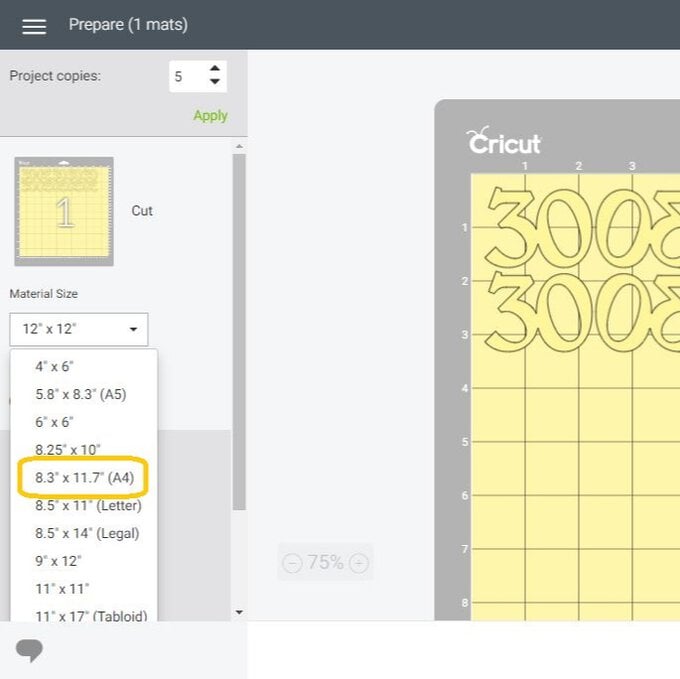
If you are using A4 card like we have, click on the small arrow next to “12x12” for the material size, and select A4 from the drop down. You will then see that your cuts have rearranged themselves to fit onto your mat.
Click continue.
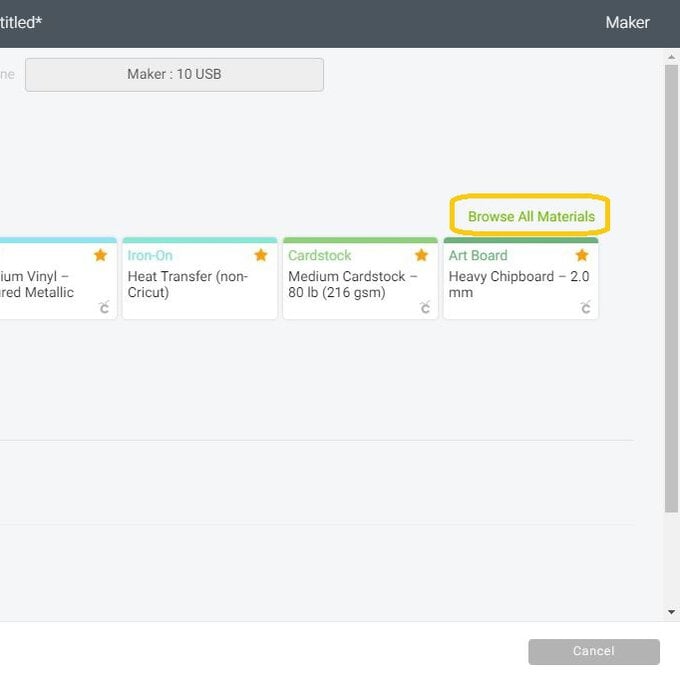
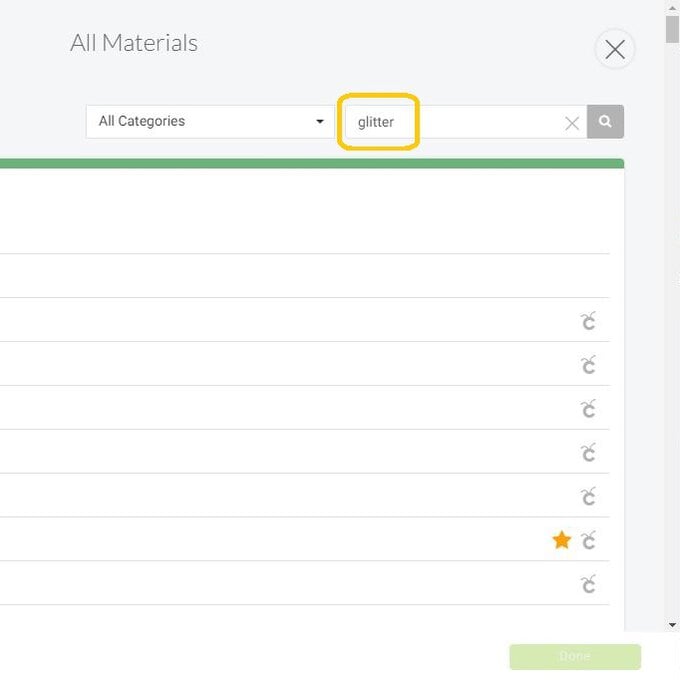
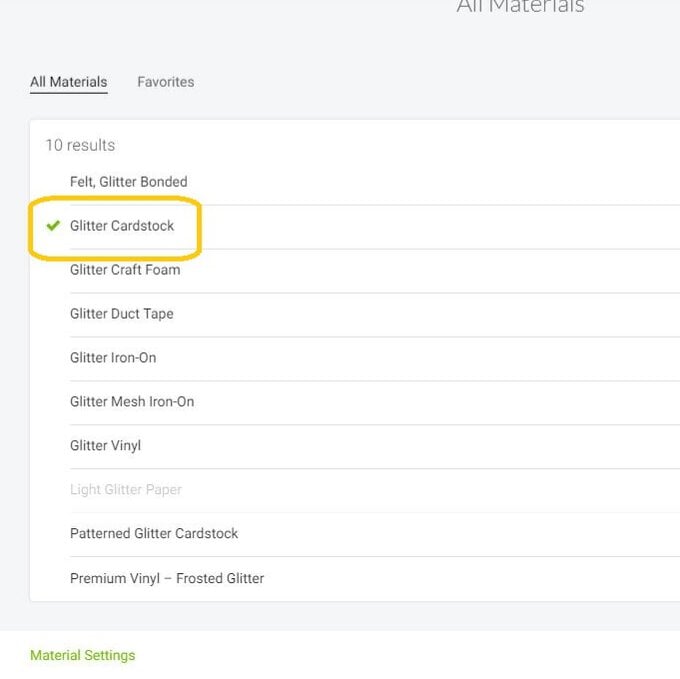
You'll then be taken through to the machine set up screen, to tell yuor Cricut machine what material you'll be cutting click “Browse All Materials” and type “Glitter” in to the search box, select the "Glitetr Cardstock" option from the list.
Top Tip - if you're using a Cricut Explore Air 2 make sure the Smart Dial is set to "Custom" to allow the "Broswe All Materials" funstion to come up.
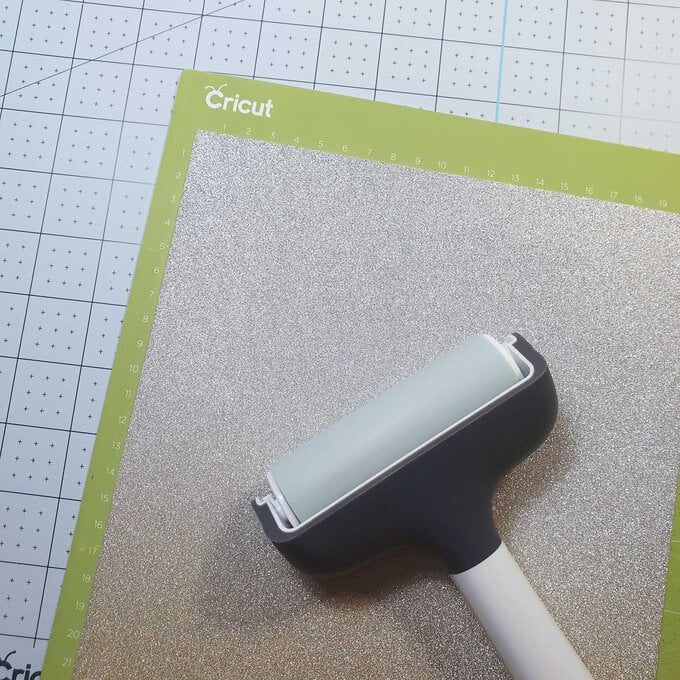
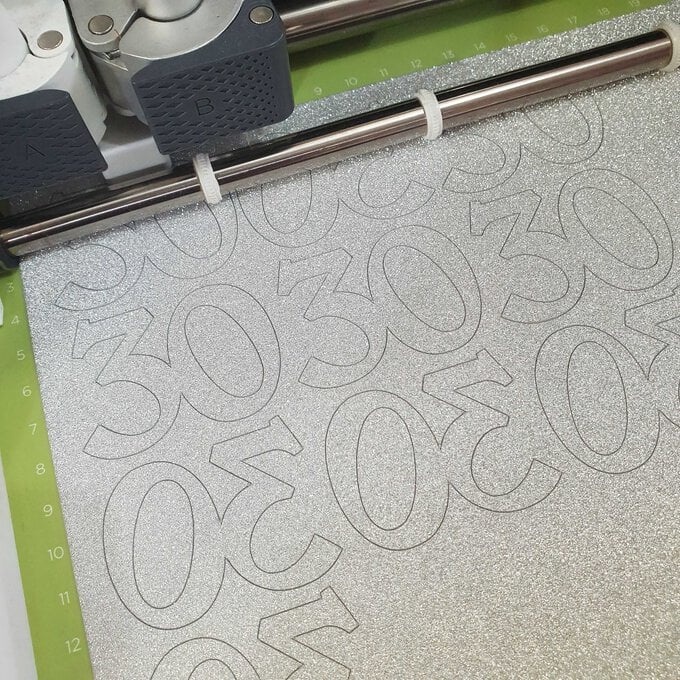
Secure the card to the green StandardGrip mat and use the Cricut brayer to ensure it stays stuck to the cutting mat as it makes it's way through the machine. Load the mat into the machine by pressing the flashing arrow icon and then press the flashing Cricut icon to start the cut.
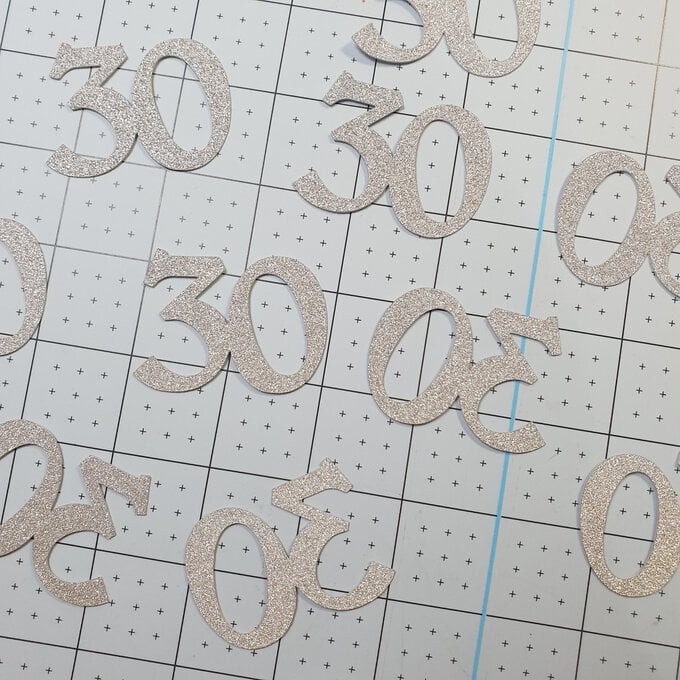
Carefully remove the cuts and lay out on a flat surface, grouping the cuts in pairs - one front and one back.
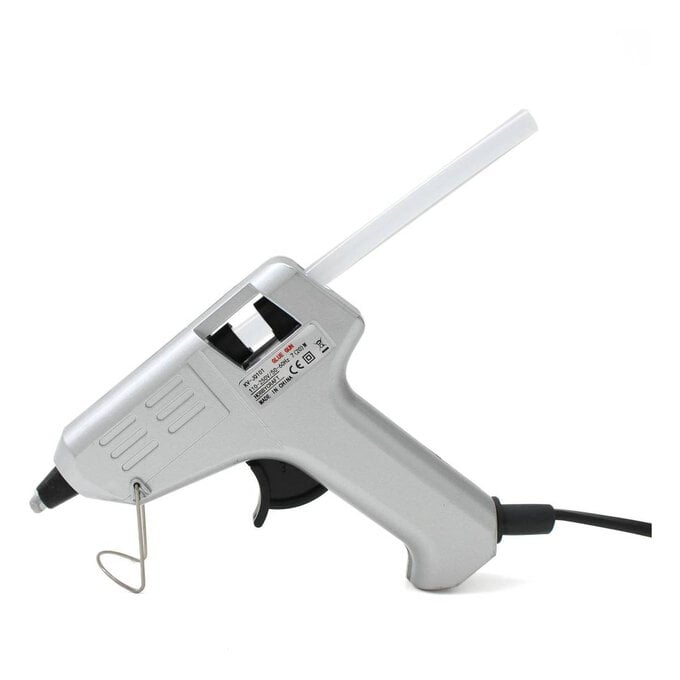
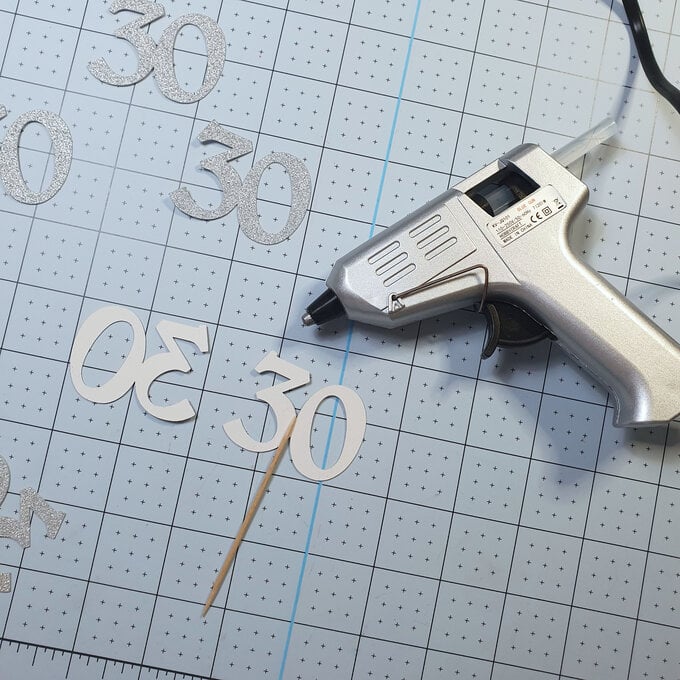
Use a holt melt glue gun to secure the front and back of the toppers together, sandwiching a cocktail stick inbetween them so that the topper can easily be added to your cupcakes.
Related Products
Is $ 4.49
Is $ 4.49
Is $ 6.49
Is $ 4.49

Is $ 4.49
Is $ 4.49

