Cricut: How to Make Foiled Envelope Liners
Level up your card-making game by making personalised envelopes to go with them! This project features the Cricut foiling tool, designed to be used with either the Cricut Explore Air or Maker machine, and adds shimmering accents to your envelope liners.
These designs are so easy to create and they're made with free shapes that are available in the Cricut Design Space app!
Project and instructions by Rebecca Marie Creative.
You will need

Subtotal
Is $ 40.00
Subtotal
Is $ 12.00

Subtotal
Is $ 4.49
Subtotal
Is $ 64.00
Subtotal
Is $ 5.49 , was $ 7.49
Subtotal
Is $ 13.00

Subtotal
Is $ 606.00
How to make
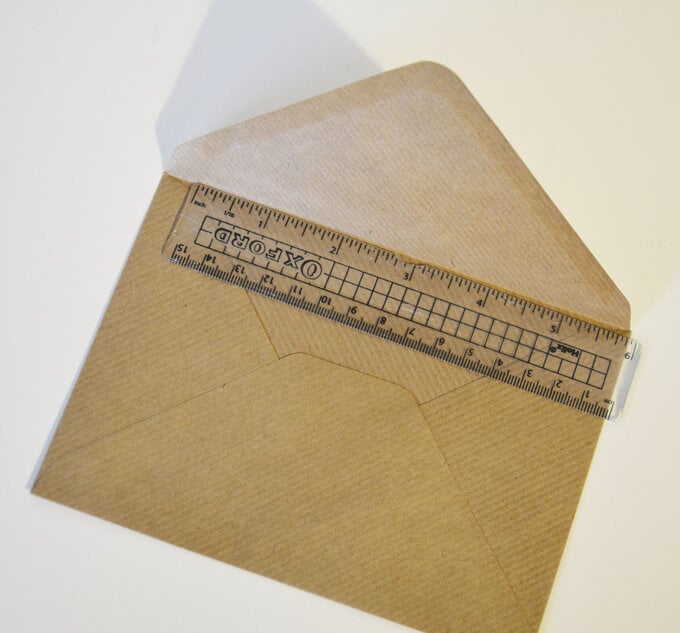
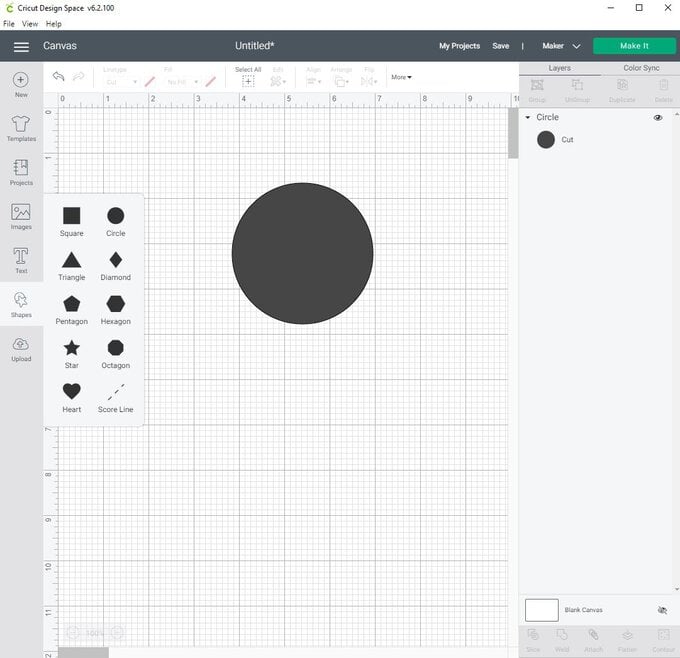
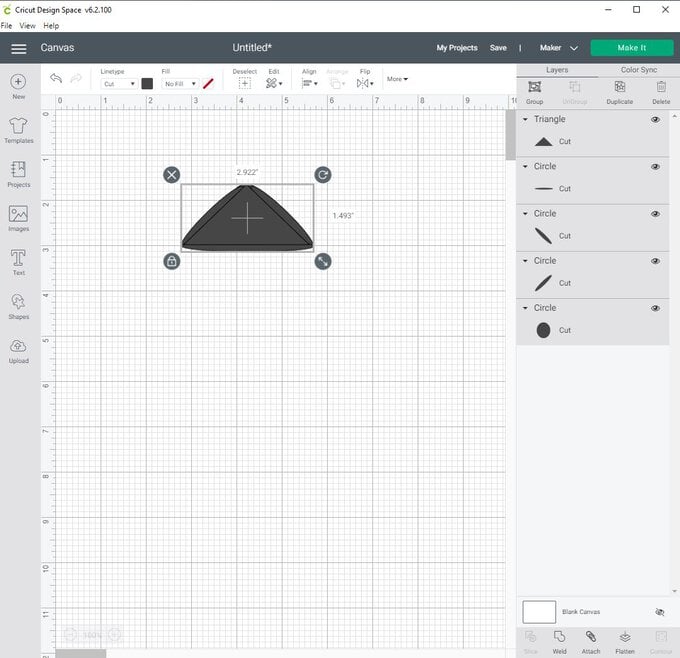
Measure your envelope lid allowing a good amount of space from the edges of the envelope. I made a 5-inch-wide by 2.5 inches high liner. Select a circle shape from the shapes section on the left-hand bar within Cricut Design Space. Select the circle and click the lock symbol to unlock. Reshape the circle to an oval.

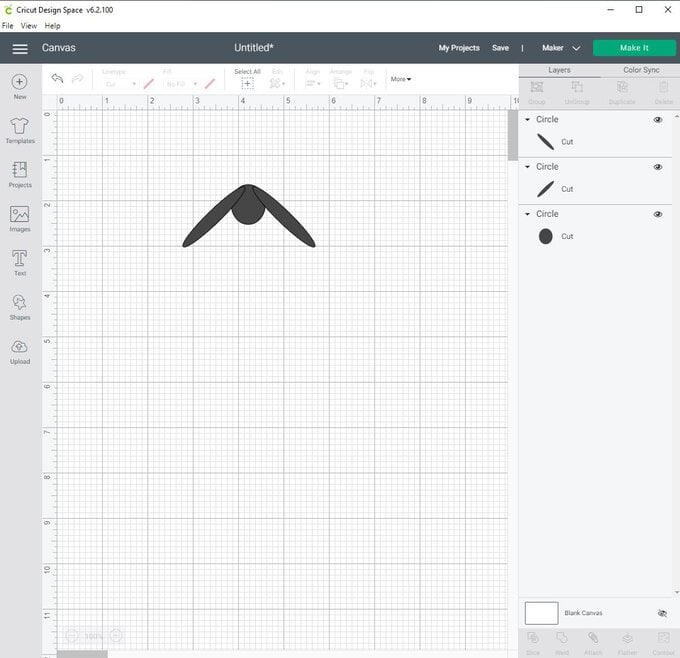
Create another oval using the circle shape. This time make it really long and thin as this is going to create one of the sides of the envelope. Position it on an angle for one of the sides and overlap with the previous oval made that will be the centre of the envelope lid.


Select the long oval and duplicate this. Flip horizontally and place on the other side. Ensure the outer lines smoothly join the centre oval. Repeat this to create the bottom of the envelope liner (effectively making a triangle shape).
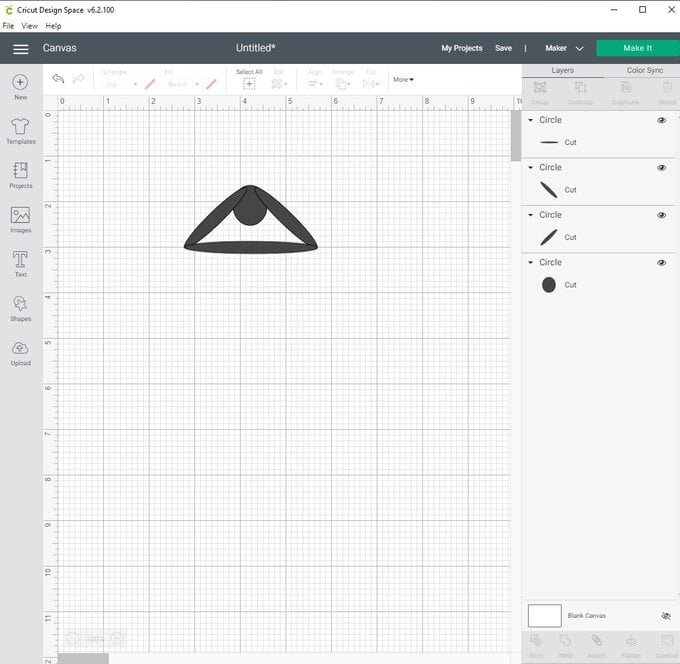
Select a triangle shape from the shapes area and position this inside your triangle outline to fill in any gaps.
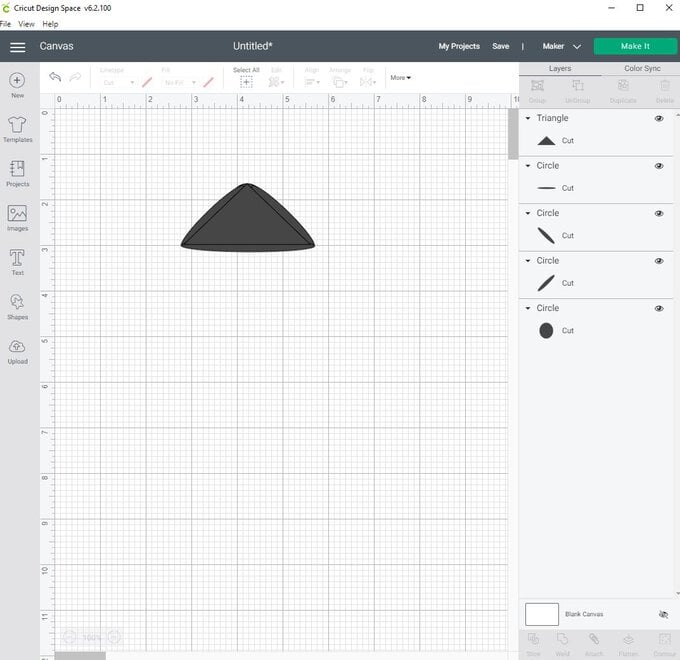
Select all layers and weld together.
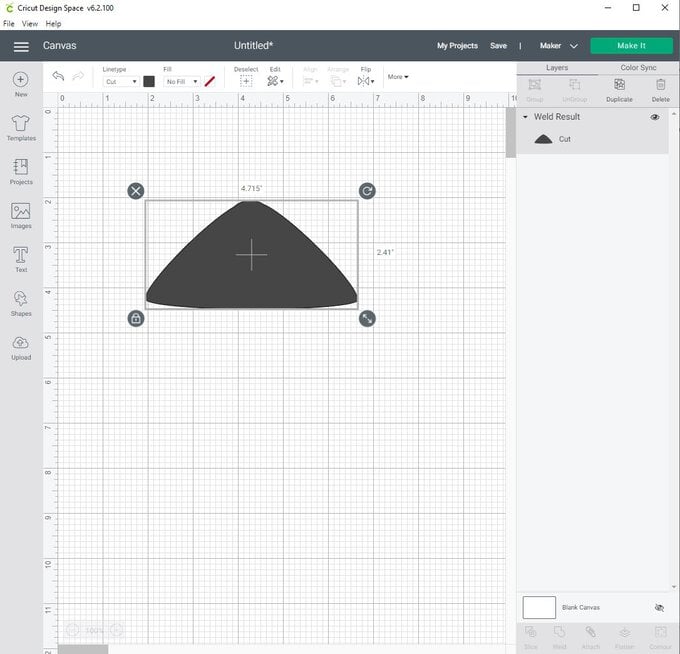
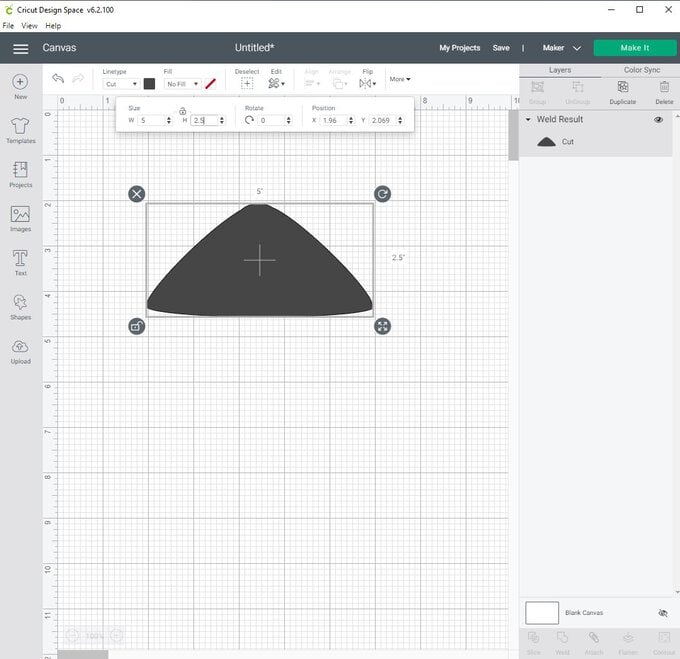
Ensure your liner shape is the size you recorded in step 1. You may need to unlock the shape to adjust to the desired size.
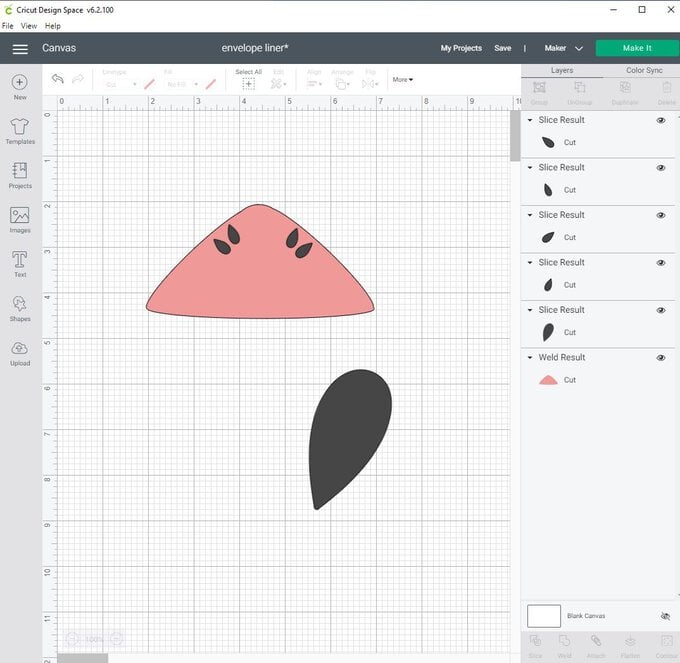
Take 2 heart shapes and overlap so that one side of each heart overlaps. Select both hearts and use the slice tool.
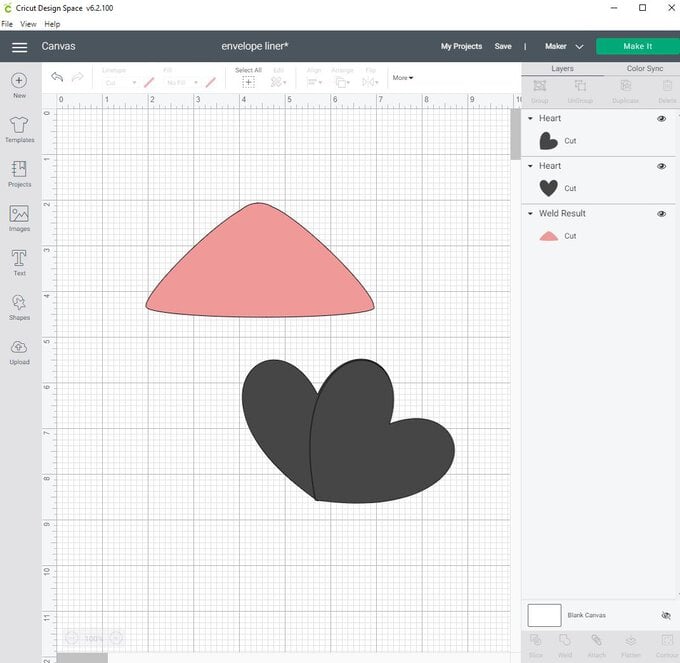

Keep the centre shapes that are shaped like a leaf. Duplicate the leaf shape as we will be using this for leaves and flower petals. Use some as they are for leaves and add to the envelope.
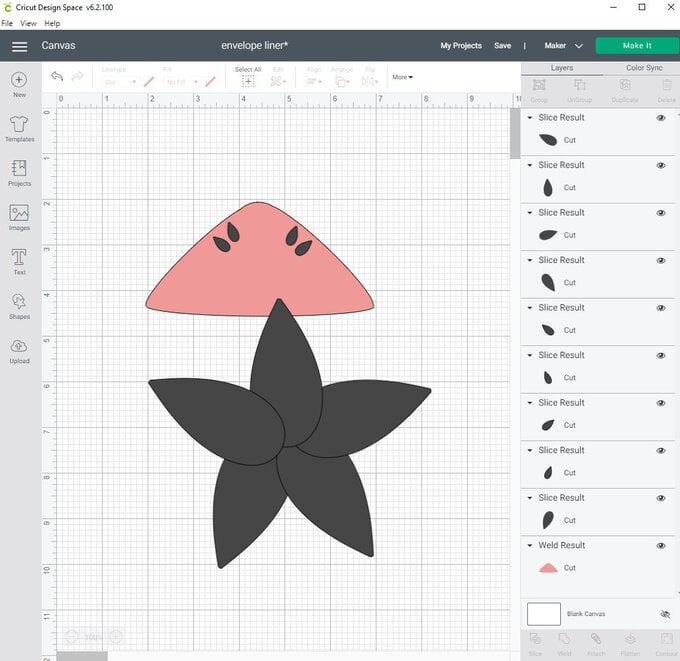
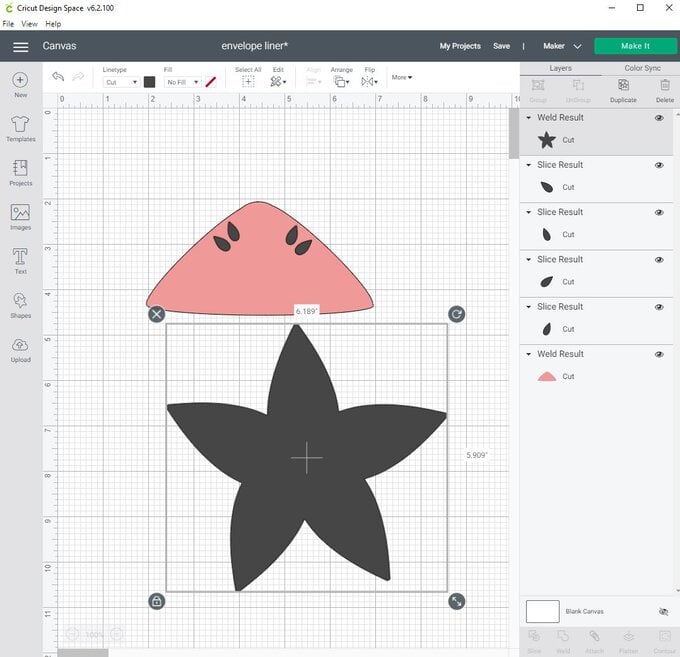
We will also make a flower with this shape. Duplicate the leaf shape and position into a flower so that the points face outwards and the round ends overlap in the centre. Select all and weld together.
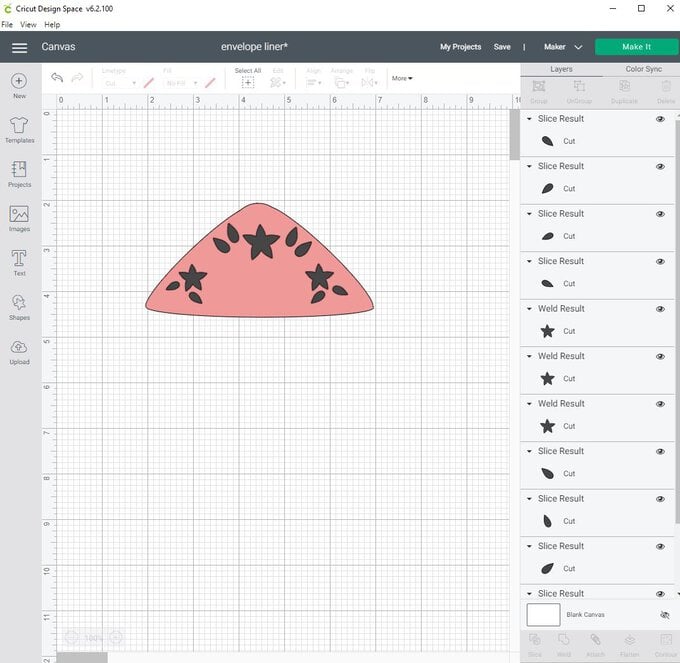
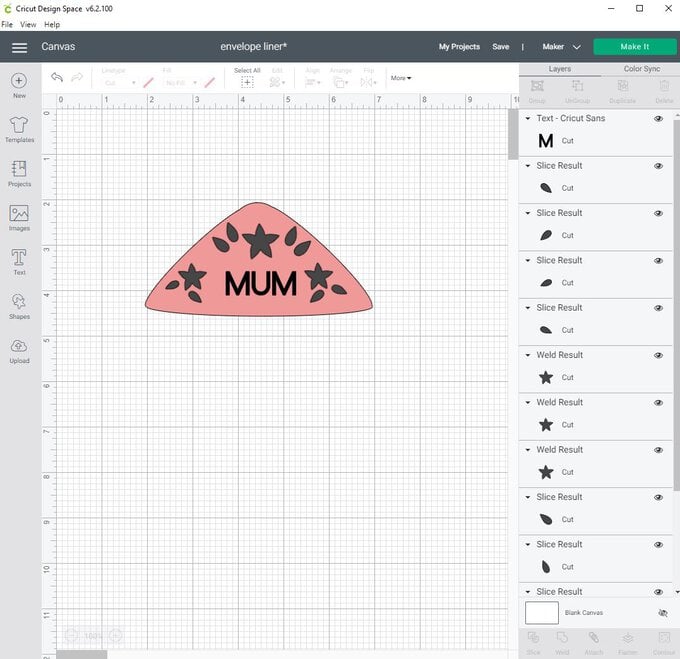
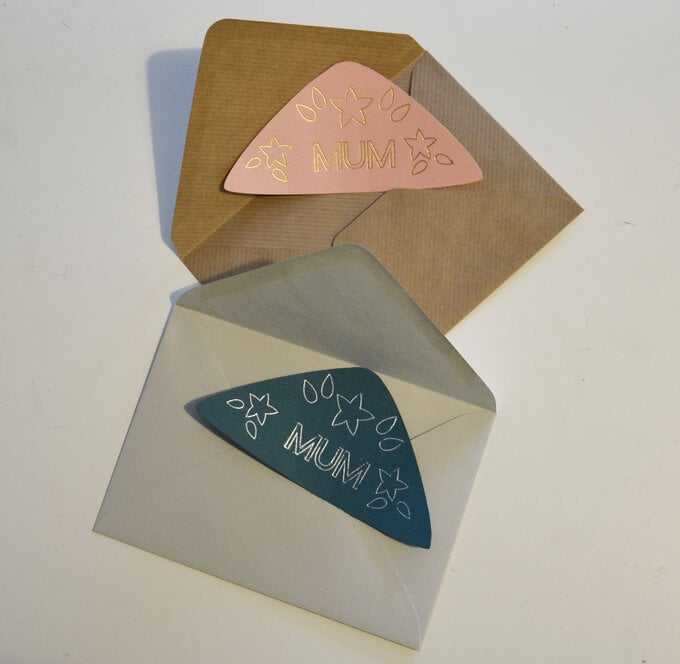
Position the flowers and leaves around the edge of the liner like the example shown.
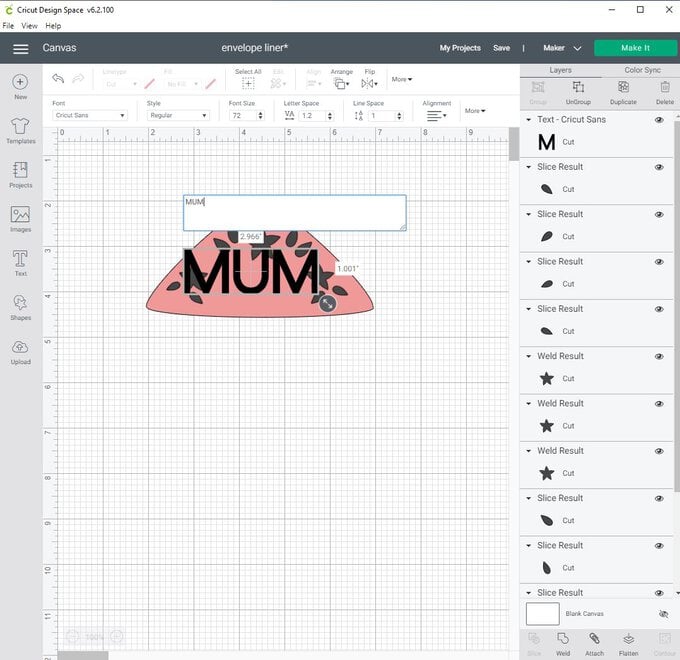
Use the text tool and create 'MUM' in capitals. I used Cricut sans. Position in the centre of the liner.
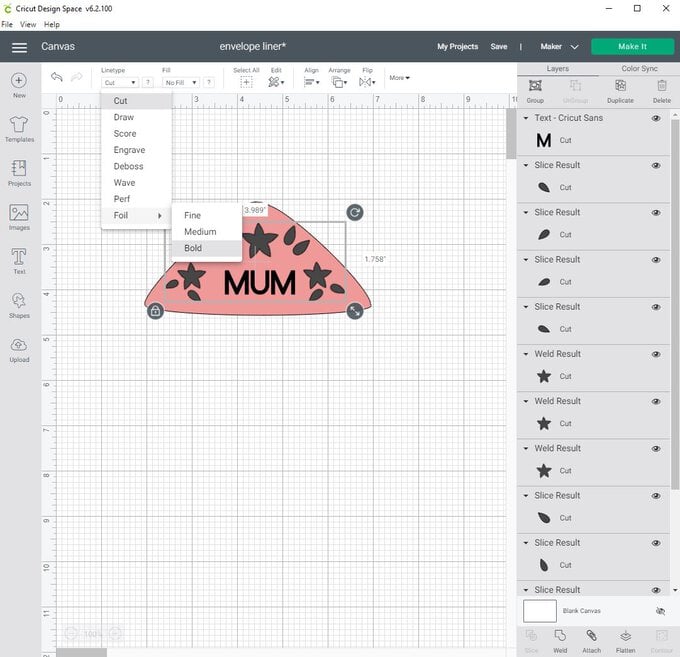
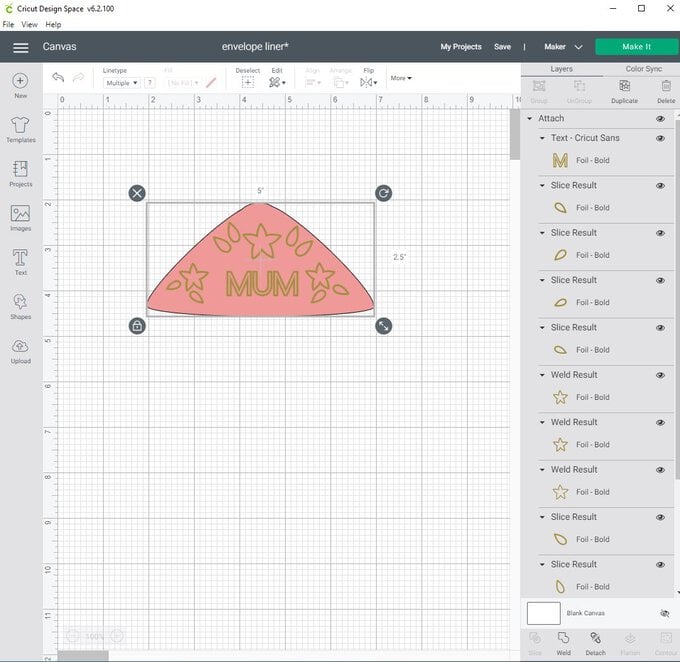
Change the text, flowers and leaves to foiling. To do this select 'linetype' and go down to 'foiling' then select. I have used bold foiling tip for this project. By the side of linetype you can change the foil colour if needed. Select all layers and attach – including the envelope liner.
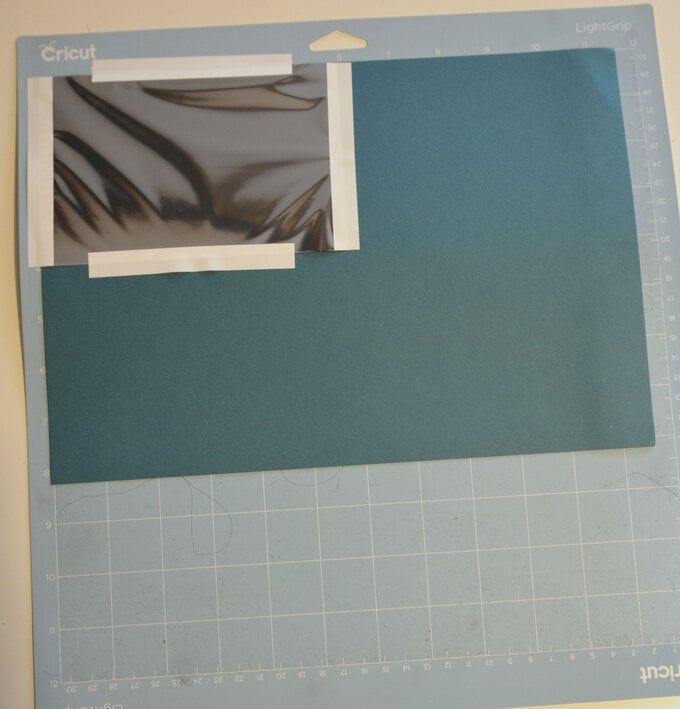
Now it's time to make. It is very important when foiling to follow the on-screen instructions. Take your cutting mat, card and foil. Adhere the foil to the card with the tape included in the foiling sheets pack. You want the tape halfway over the foil edge.
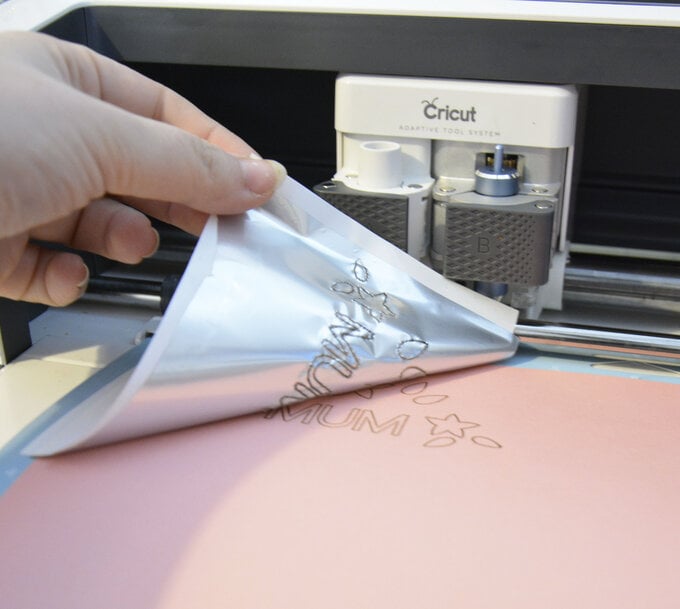
Once the machine has completed the foiling part, remove the foil without removing the mat from the machine. Follow the onscreen instructions as they will tell you this and prompt to change from the foiling tool to a blade.
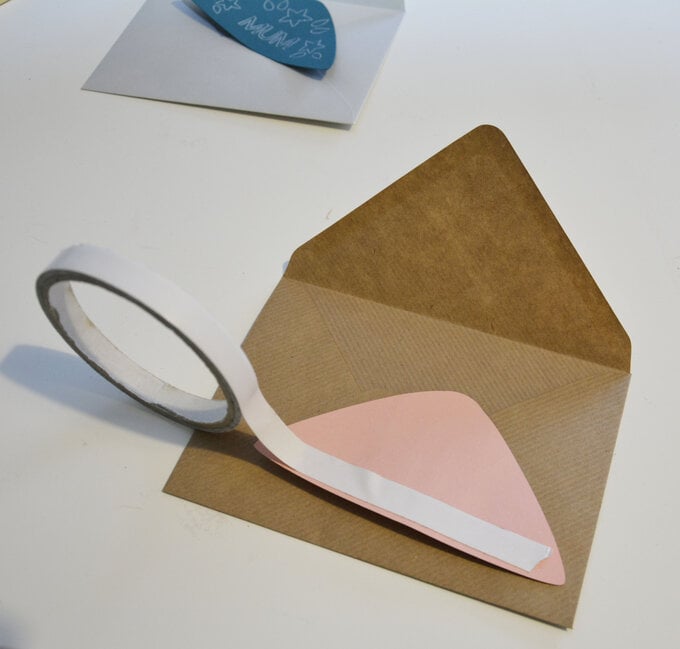
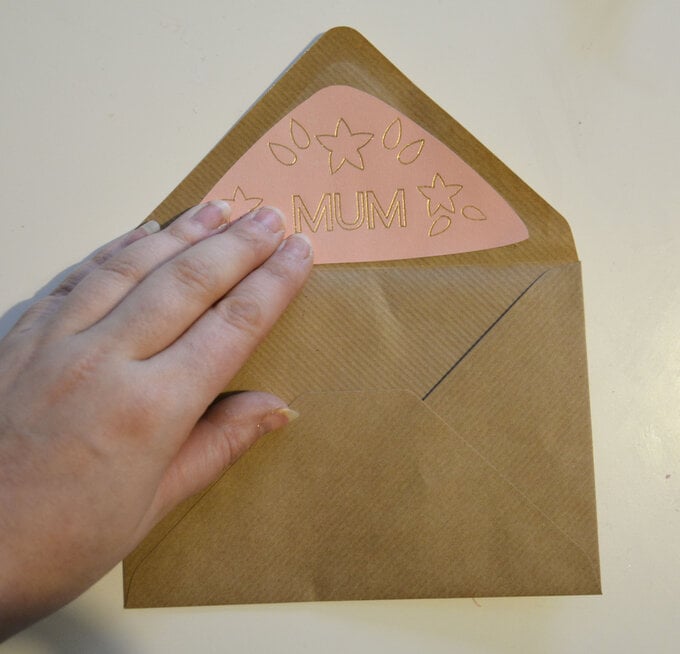
Used double-sided take to adhere your envelope liner to the lid of the envelope. It's quick and easy to create a beautifully personalised envelope!
Related Products