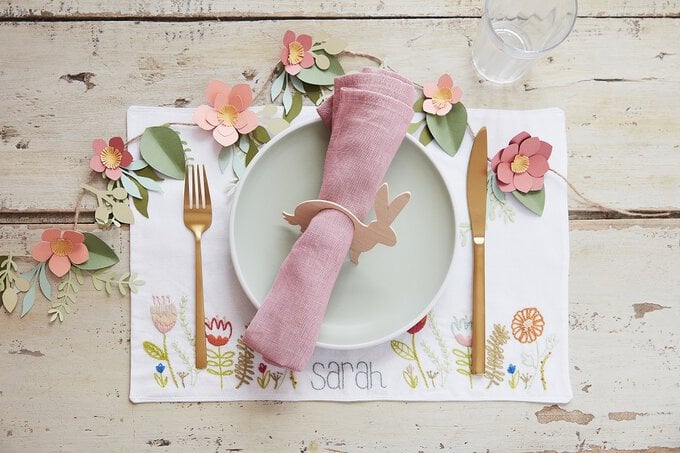
Cricut: How to Make Personalised Embroidered Placemats
Personalised placemats are a fantastic way to bring something unique to your table decor and with the help of your Cricut Explore Air 2 or Maker machine, making customised projects is so easy.
For this project we have used the Cricut Design Space to make our placemat design and then transferred it into the fabric, ready to be hand embroidered.
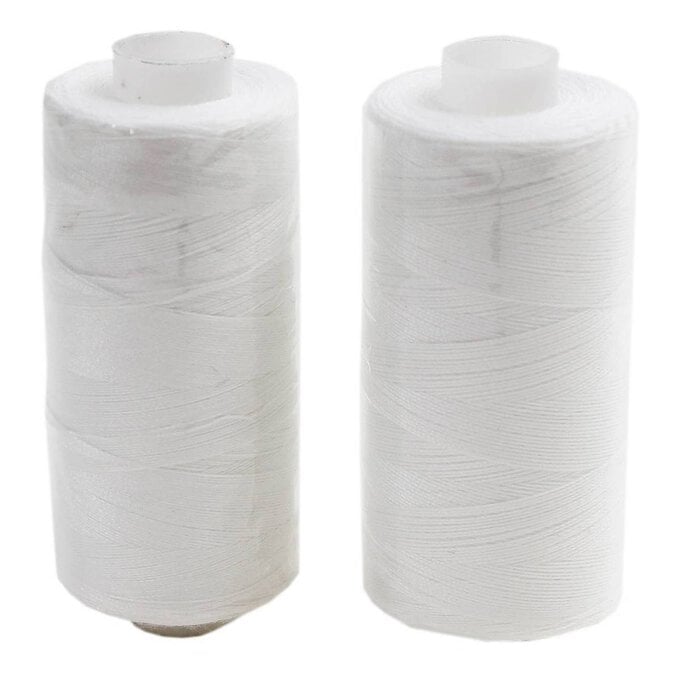
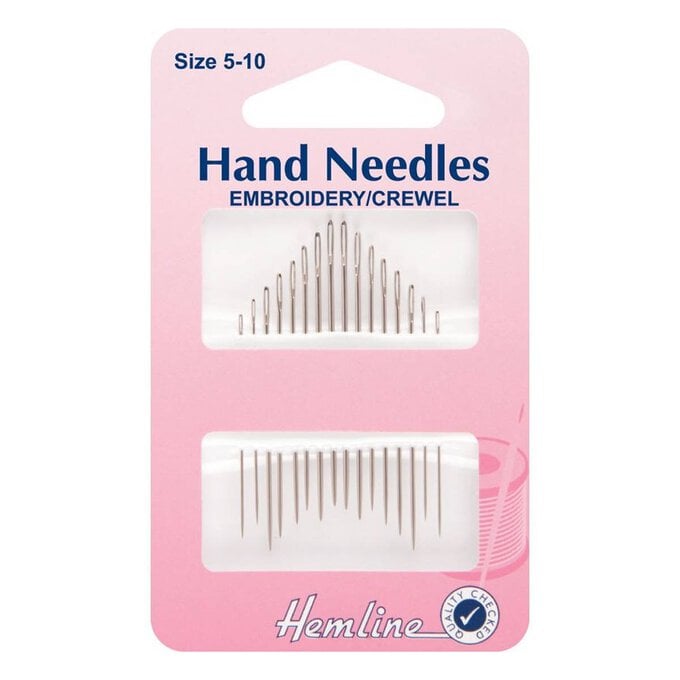
You will need

Subtotal
Is $ 8.49
Subtotal
Is $ 50.00
Subtotal
Is $ 3.49
Subtotal
Is $ 4.49
Subtotal
Is $ 7.49
Subtotal
Is $ 6.49
Subtotal
Is N/A
Subtotal
Is $ 22.00
Subtotal
Is $ 15.00 , was $ 30.00

Subtotal
Is $ 606.00
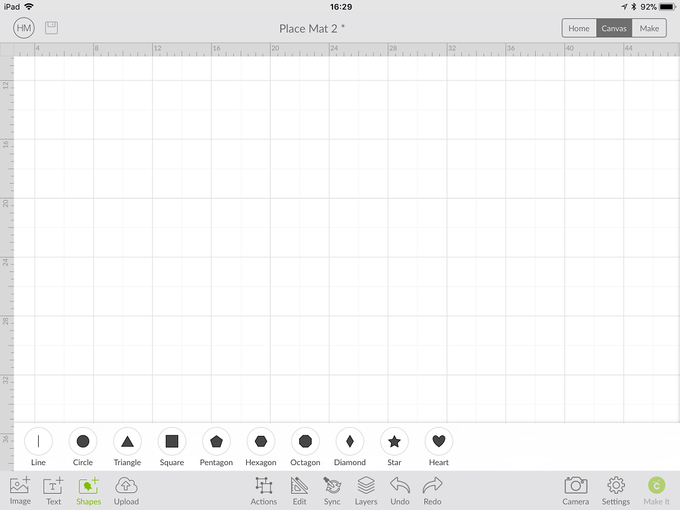
How to make
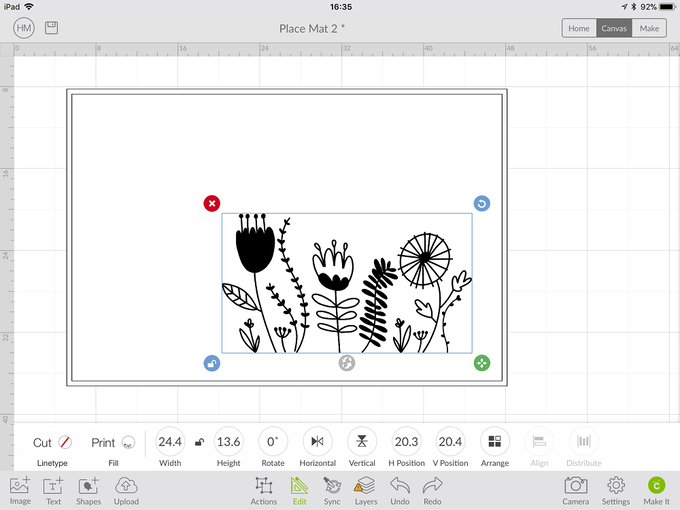
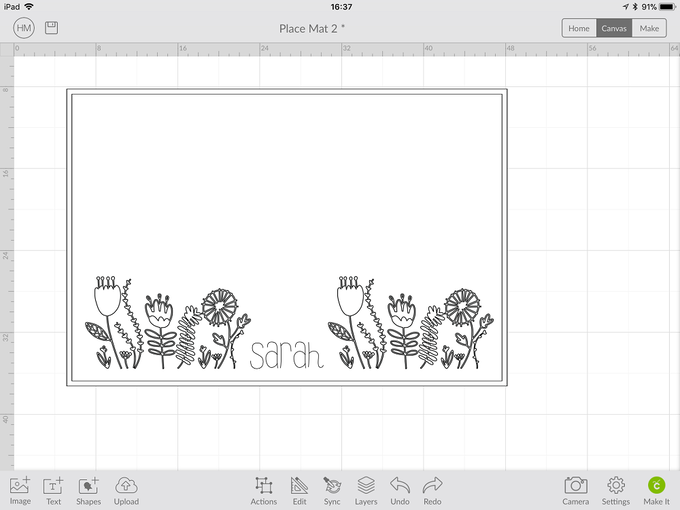
Download the embroidery template and upload the image into the Design Space app. Open up a blank canvas.
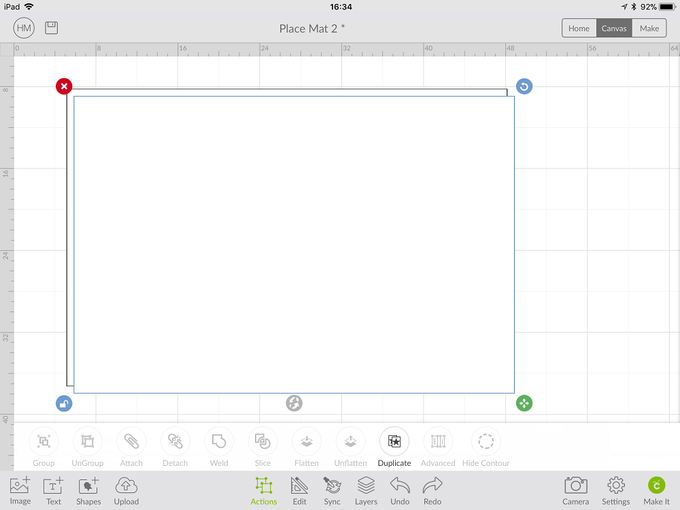
Insert a square and change the cut colour to white. Unlock and resize to 44 x 29cm.
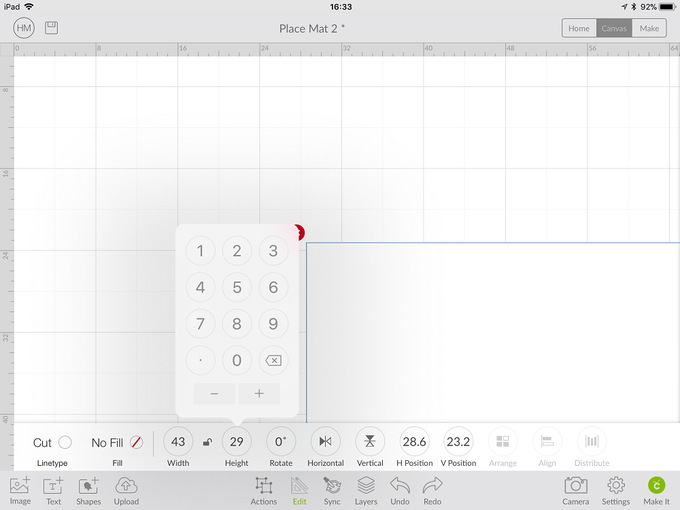
Duplicate the shape.
Resize the duplicated shape to 42 x 28cm.
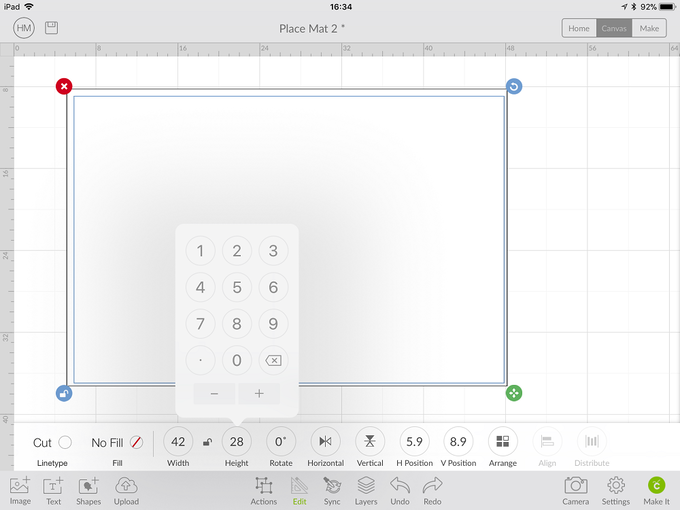
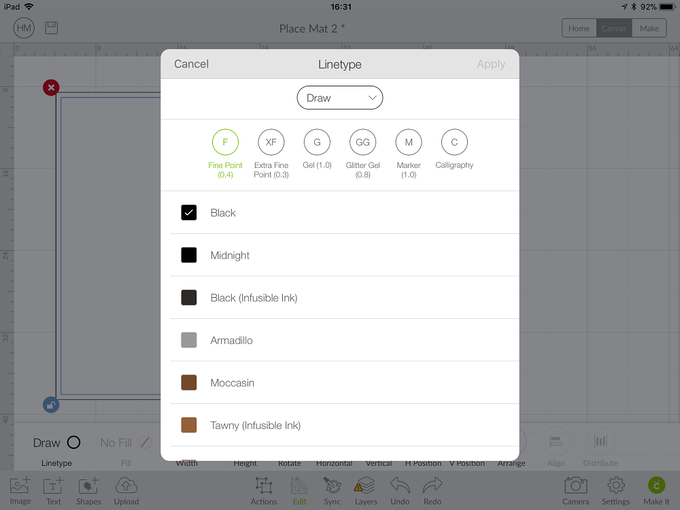
Change this shape to Draw.
Click on Upload image and then Open Uploaded Images.
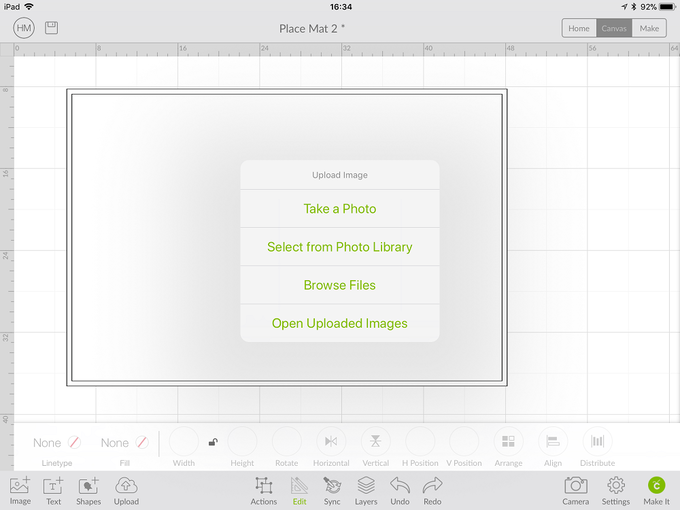
Select the image you uploaded earlier.
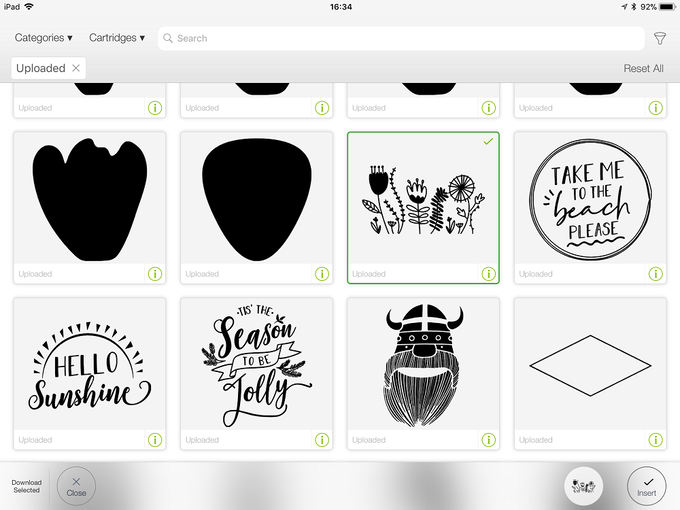
Insert the image.
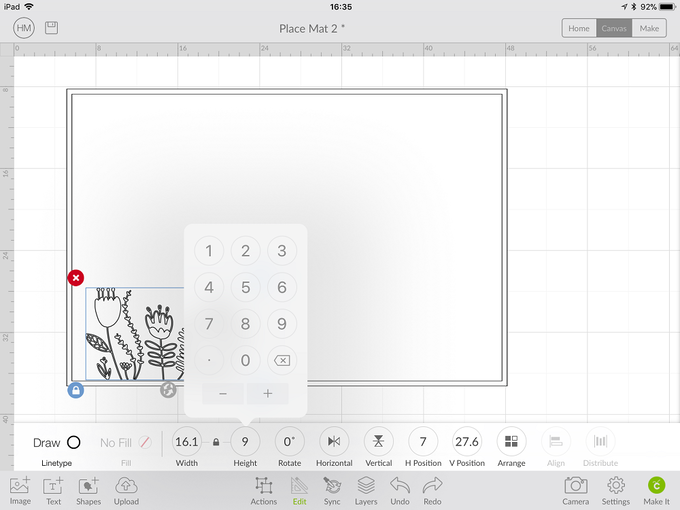
Change the image to draw and resize to 16.1 x 9cm.
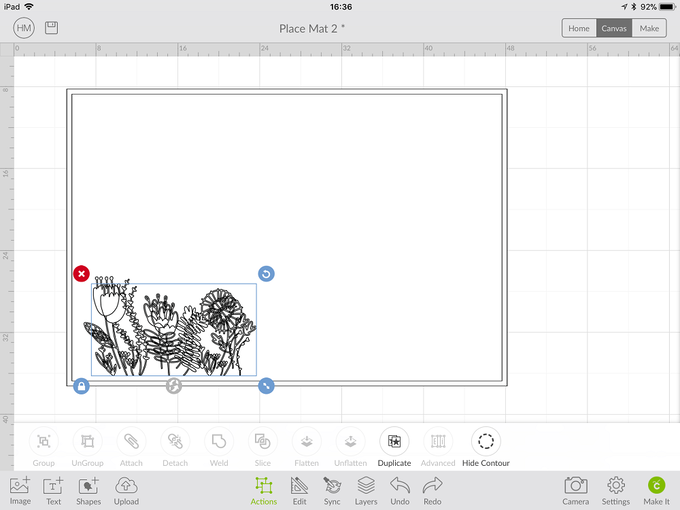
Duplicate the image.
Click on Text and search for the font Bicycle for Two.

Type your chosen name.
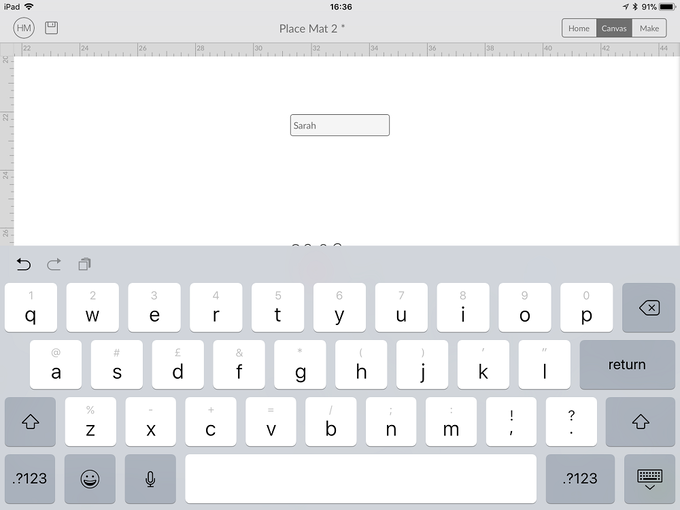
Move the design around until you are happy with the layout. Attach everything together.
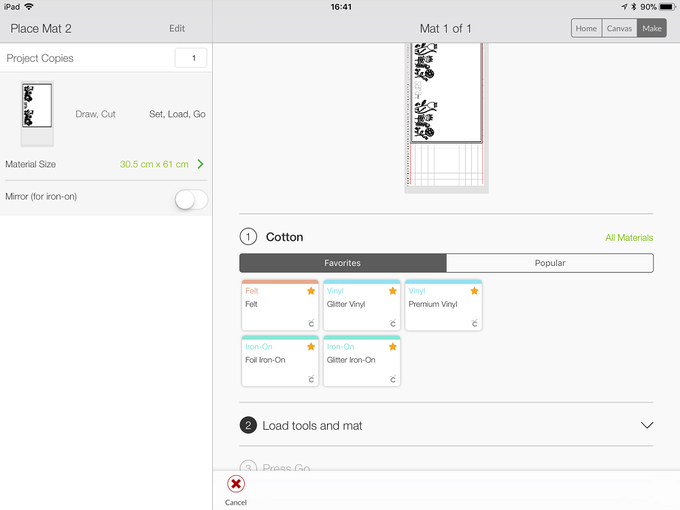
Click Make It and follow the on-screen instructions. You will need to select Cotton and make sure the Fabric Marker Pen is loaded.
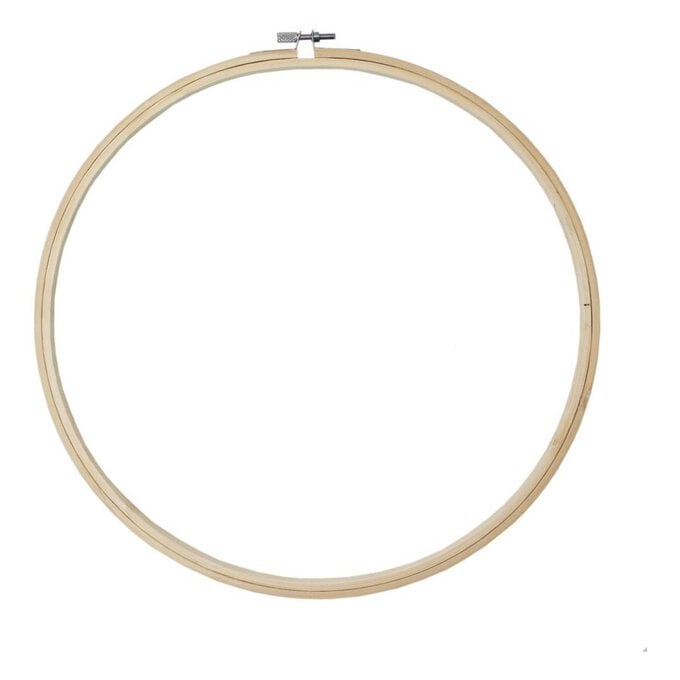
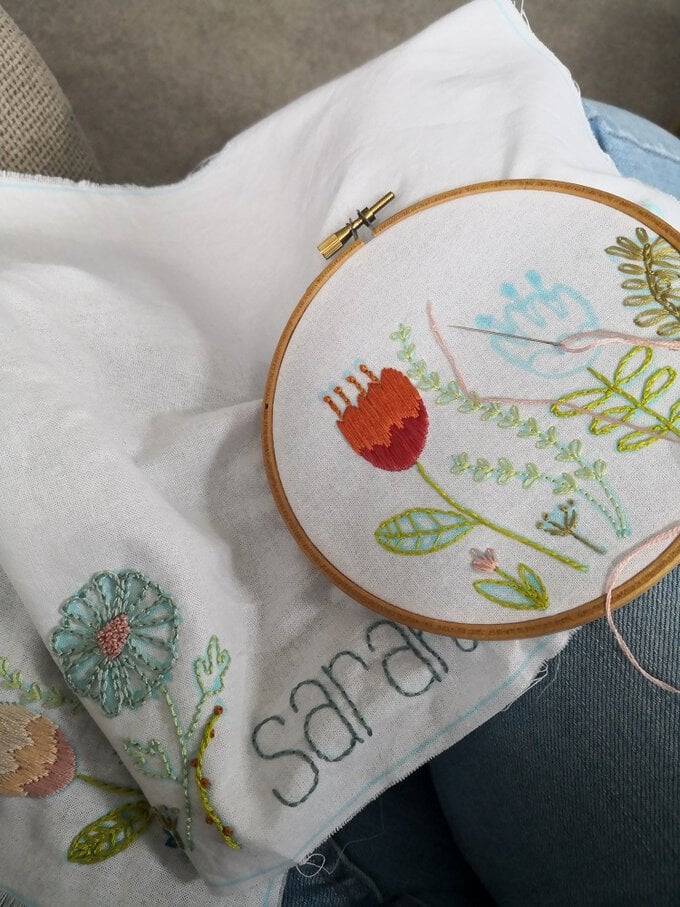
Place the fabric into an embroidery hoop.
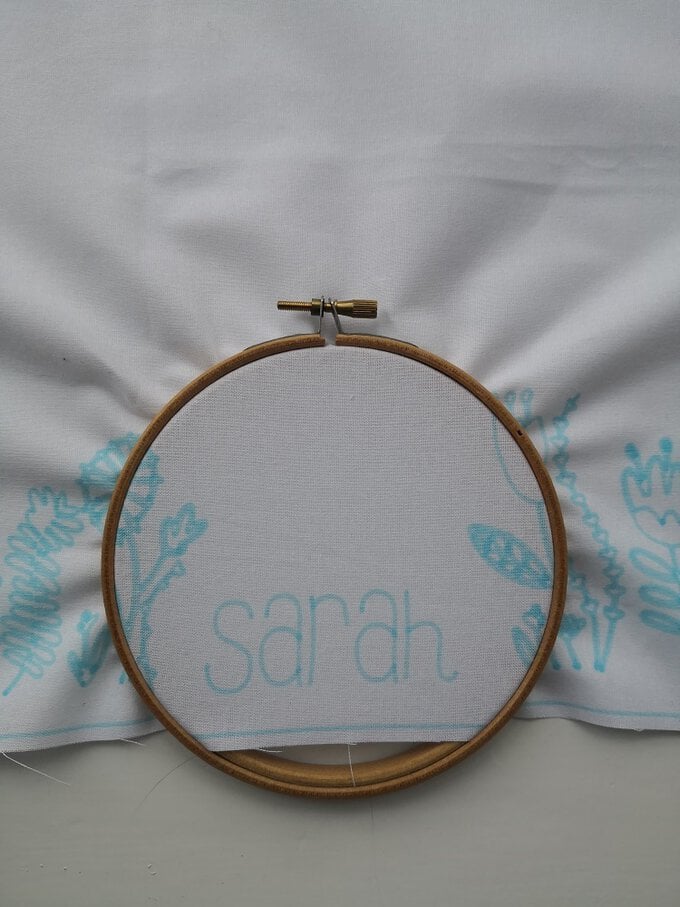
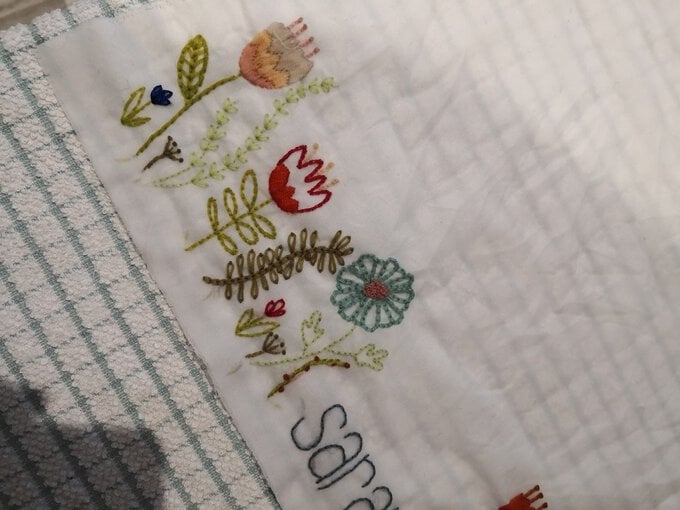
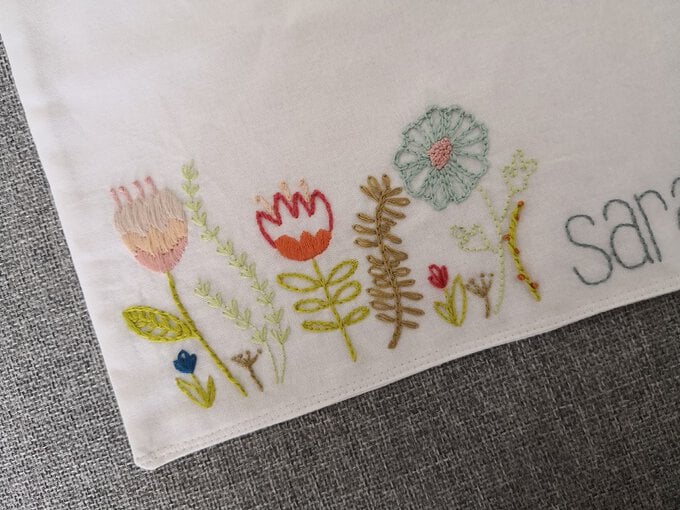
Stitch the design using a variety of embroidery stitches.
Wash away the fabric pen with warm water, dry the piece and iron.
Take the second piece of fabric and place both pieces of fabric right sides together. Using a 0.5cm seam allowance stitch around the edges, leave a gap for turning through. Turn the piece through and neatly stitch up the gap. Press well.
Related Products