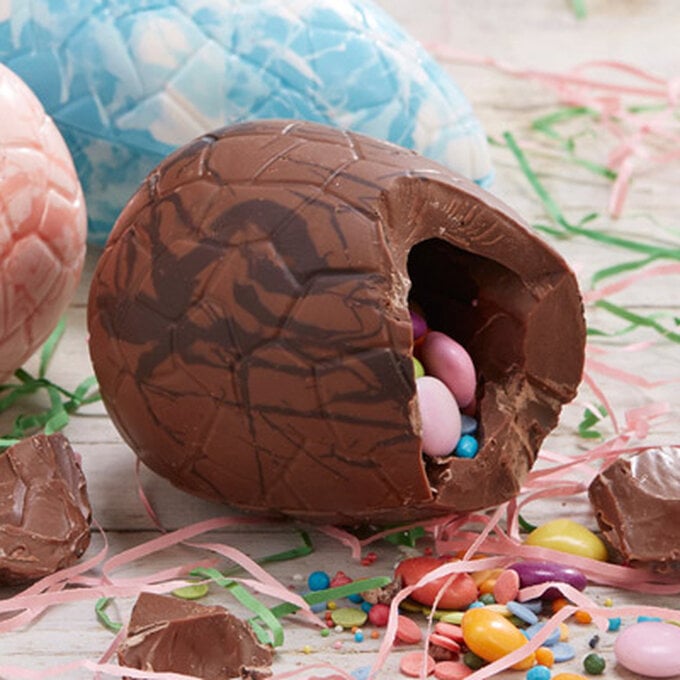
6 Easter Egg Decorating Ideas
Discover wonderful Easter egg ideas, perfect for brightening up your egg hunt or hanging from an Easter tree! You can easily personalise each idea to suit your own home and why not get the kids involved as well? It's a great way to spend an afternoon.
Projects and instructions by Emily Dawe.
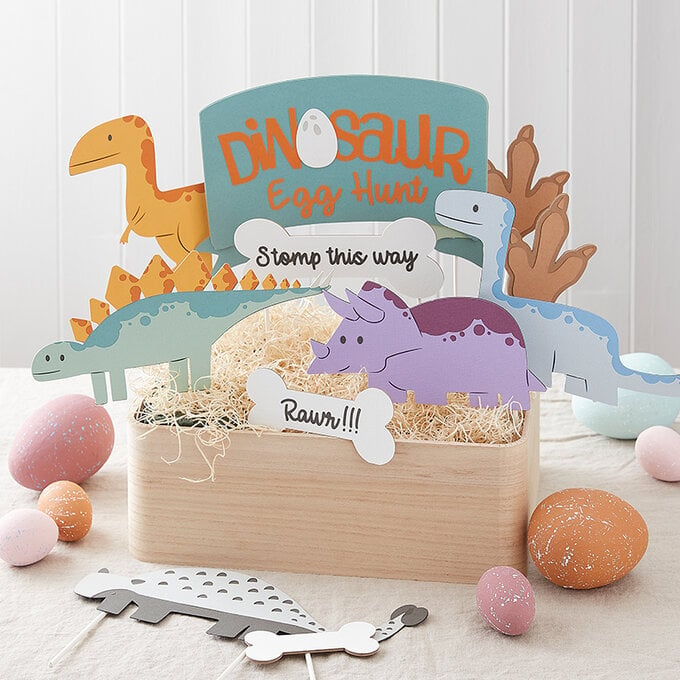
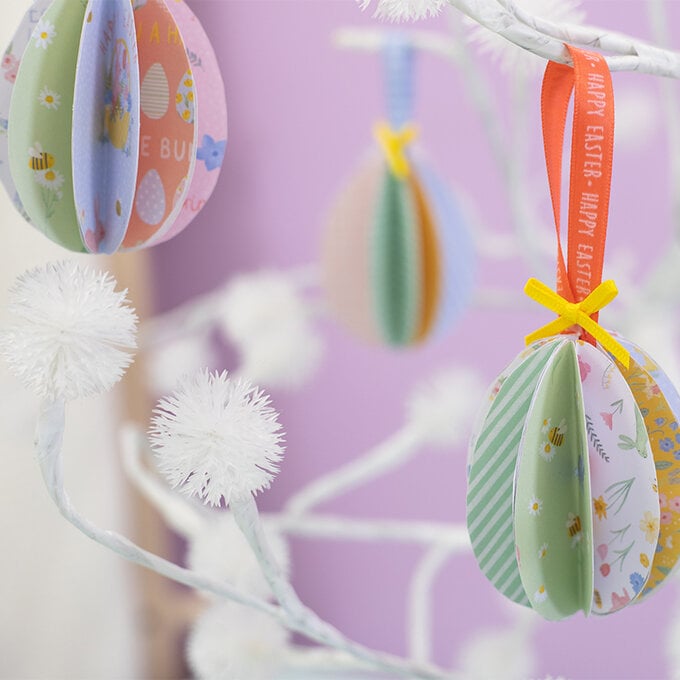
Discover more Easter ideas here andgt;
You will need
Subtotal
Is $ 4.49
Subtotal
Is $ 20.00
Out of stock
Subtotal
Is $ 9.49

Subtotal
Is $ 51.00
Subtotal
Is $ 15.00 , was $ 20.00

Subtotal
Is $ 7.49
How to make
You Will Need
● Eggs
● Or ceramic eggs
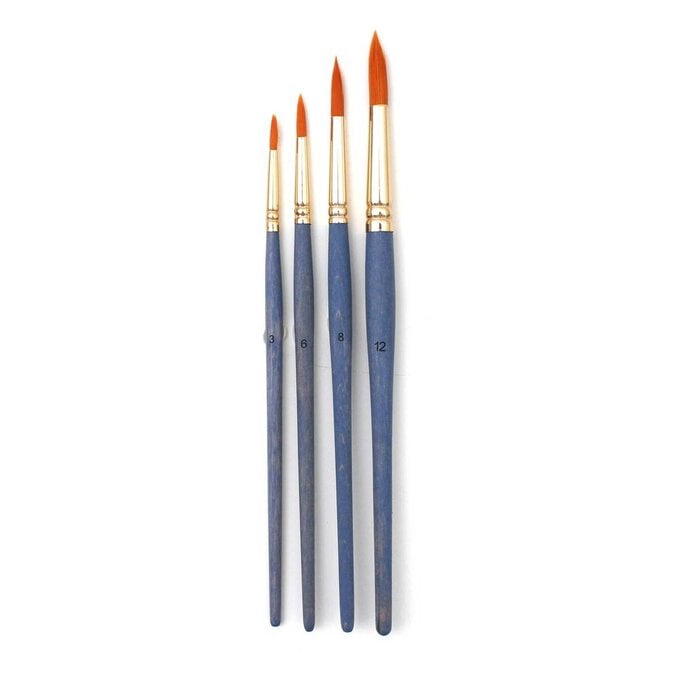
● A couple of paintbrushes
● Paint
● Small roll of tape
● Pot of water and a soft brush
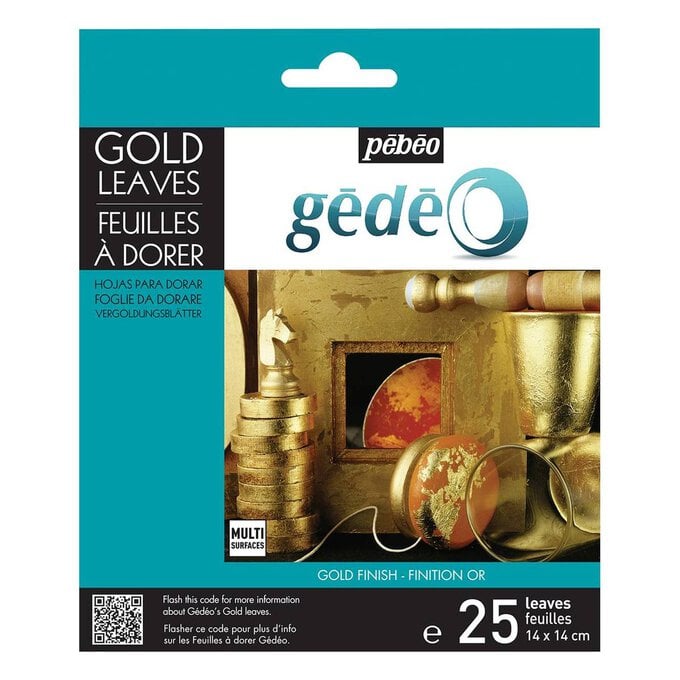
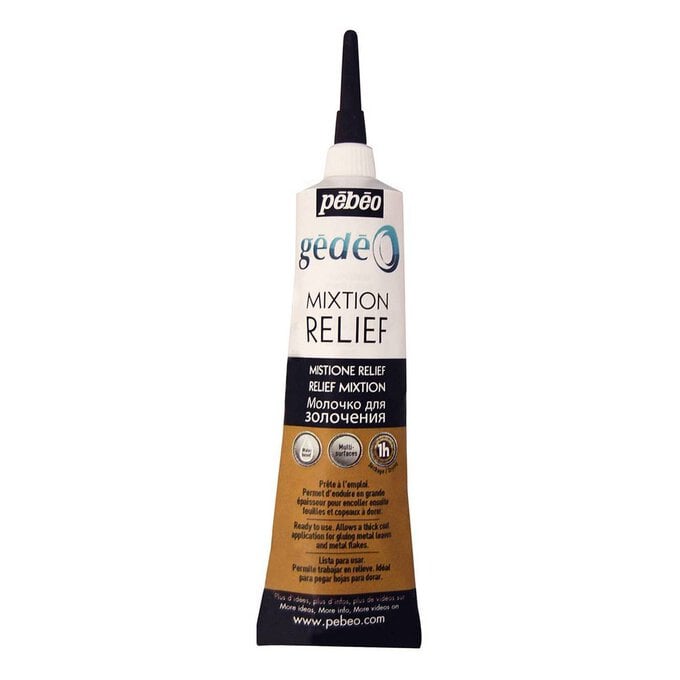
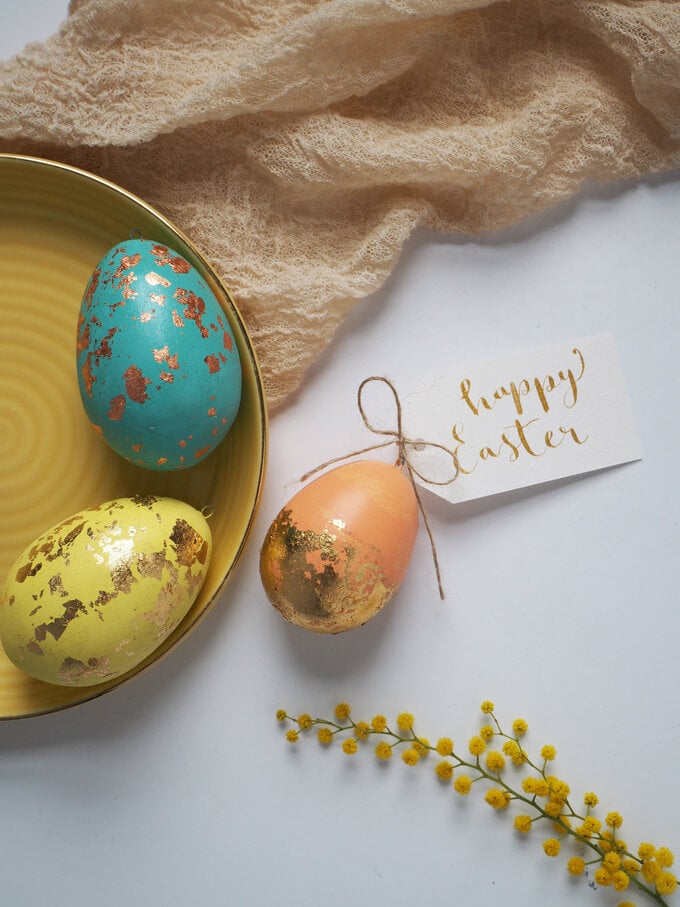
● Artificial gold and copper leaf
● Gilding paste or size
1 Place a roll of tape down on your work surface, then use this to keep your egg in position.
2 Apply some paint to the egg, all the way down to where the egg sits in the tape. Once dry, paint the underside of the egg, then leave to dry completely.
3 Using a different paint brush, apply some gilding paste (this is often called size) to the areas of the egg you'd like the gold or copper leaf to go.
4 Wait about ten minutes until the gilding paste has gone tacky, then sprinkle on some (in this case) copper leaf. Then use the brush to position and stick them in place.
5 Continue adding paste and copper leaf to the whole egg. Once dry, brush off any excess with a soft brush.
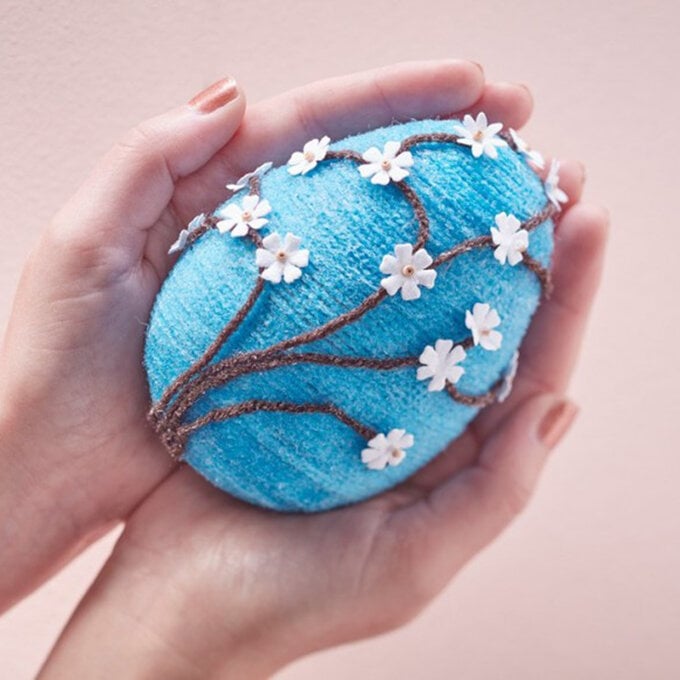
You Will Need
● Eggs
● Or ceramic eggs
● Paints
● Paintbrush
● PVA glue
● Fine paintbrush for gluing
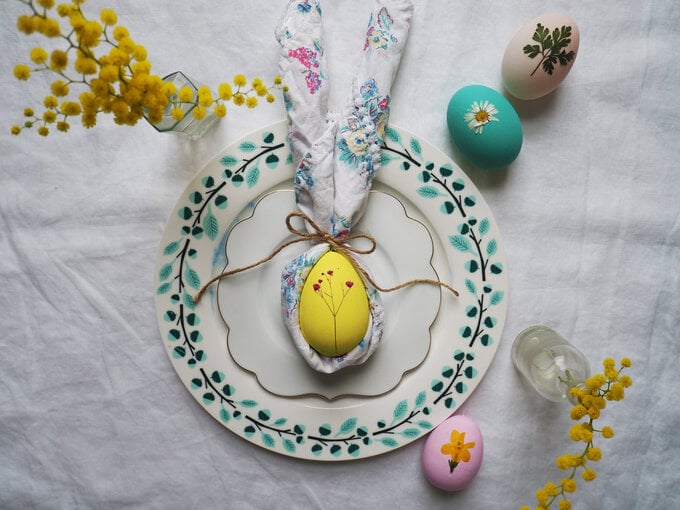
● Some flowers for pressing
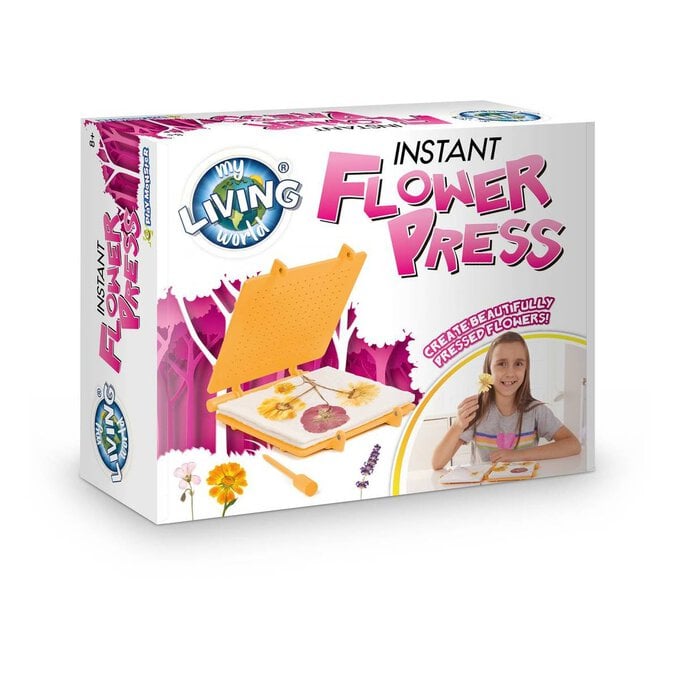
● Flower Press
● Microwave
1 Start by balancing an egg on a small roll of tape to prevent it from rolling away, then apply some paint to the egg all the way down to where the egg sits in the tape. Once dry, paint the underside of the egg, then leave to dry completely.
2 Paint some more eggs in different colours - alternatively leave your egg natural.
3 Open up the flower press, then place a cotton sheet squarely on top of the felt pads. Start arranging your flowers and leaves.
4 Place the second piece of cotton on the top of the flowers, followed by the other felt pad, then close the flower press completely by sliding in the hinge pin.
5 Following the instructions, place the flower press into a microwave along with a cup full of water. Heat for 20 seconds, wait until it's cool to the touch, then open up the flower press. Some larger flowers may need longer.
6 Carefully peel the flowers and leaves off the cotton sheet and place them on a plate.
7 Using a fine paintbrush (or a cocktail stick) apply some glue to the back of a flower or leaf and carefully position onto an egg. Watch out, they will be very delicate and can easily break.
8 Continue adding flowers and leaves to your painted eggs, then leave to dry.
You Will Need
● Brown eggs
● Brown card
● Paint palette
● Jar of water and kitchen roll
● Paints in shades of brown, pale pink and white
● Scissors
● Black fine pen
● Different sized paintbrushes
● Hot glue gun (or a strong glue)
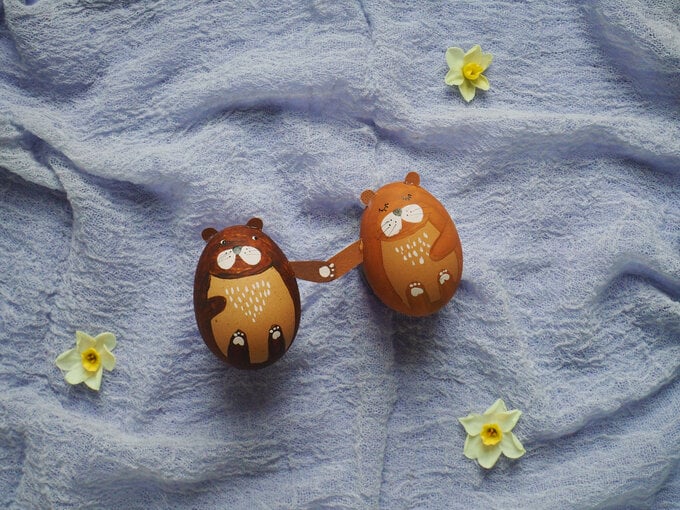
1 If you don't feel confident painting straight onto the egg, sketch out your otter design on paper first.
2 Then use a pencil to lightly draw your otter onto the egg.
3 Mix up a pale brown, then use a paintbrush to apply this to the egg, following your pencil lines. Use a fine paintbrush to paint the feet and arm.
4 Once the brown paint is dry, use a fine paintbrush with a little white paint for the otter's cheeks.
5 Use the white for her paws. And then add some dashes on her tummy to look like fur, then leave to dry.
6 Use a black pen to draw on her nose and whiskers and eyes, as if she's asleep.
7 Take a piece of brown cardboard and fold it in half. Draw on an ear at the very edge, then cut out.
8 Draw one arm in pencil and cut this out too.
9 Apply a little white paint to create a paw, then leave to dry.
10 Using a hot glue gun - kids, make sure you ask an adult to help you - apply some glue to the edge of the otter's ears, and position in place. Using a pair of tweezers can really help here.
11 You can then make a male otter, using a darker brown paint. Then position your two otters, side by side as if holding hands.
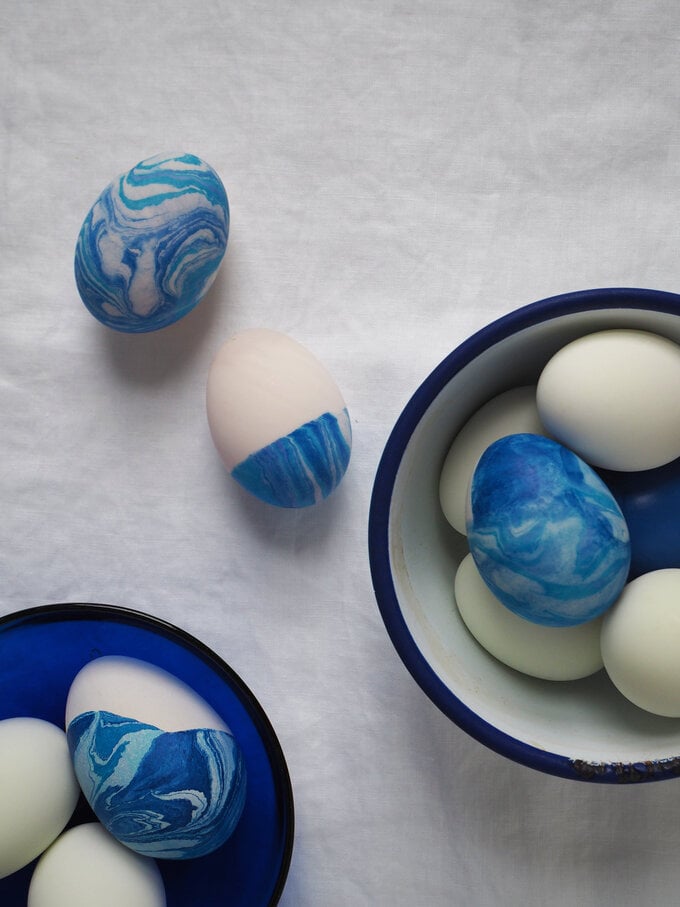
You Will Need
● Eggs (white duck eggs work best)
● Food dye
● Jug of water
● Spoon
● A selection of small cups
1 Take your food dye and squeeze a few drops into a cup - here we used red.
2 Pour in a little water, but not too much as you don't want it to overflow when you put your egg in.
3 Carefully place the egg in the cup, you can then add more water, if needed, to fully submerge it. Leave to soak for an hour.
4 Follow the same technique with some more eggs, using different colours this time.
5 Put some red food dye into another cup, either dilute it a little or leave it as it is. Take the pre-dyed red egg and dip in the lower half of the egg. Place on some tissue to dry.
6 Try creating new colours by mixing dyes - here we mixed the blue and red to create a deep purple colour.
7 Continue experimenting with different strengths of the dye and leaving the eggs for shorter or longer amounts of time.

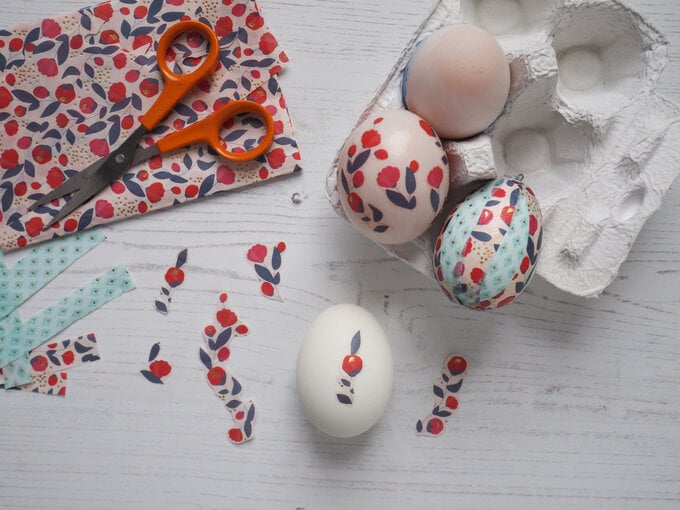
You Will Need
● Eggs
● Decoupage papers
● Scissors
● Decoupage brush
● Decoupage glue
1 Start by cutting 1cm strips of some decoupage paper, you only need about five or six.
2 Then cut 1cm strips from a different pattern decoupage paper.
3 Apply a thin layer of the adhesive to an egg, with a brush.
4 Take a strip of paper and place it onto the adhesive, use the brush to smooth it down.
5 Then take a strip of the different patterned paper, position it so it just overlaps the first strip, then stick in place with the brush, adding more adhesive to the top.
6 Keep working your way around the egg until it's completely covered in strips of decoupage paper.
7 Snip off the excess paper from the top and bottom with scissors, and neaten by applying adhesive on the brush.
8 Cut out some flowers from a floral patterned decoupage paper.
9 When you have a few of the flowers cut out, apply some adhesive to an egg.
10 Position one of the flowers onto the egg and smooth down with the brush.
11 Continue positioning and glueing flowers around the egg, until you are happy with how it looks - you could add just a single flower to the front of an egg.
You Will Need
● A large container with 1 litre of water
● Kitchen towel
● Eggs
● Or ceramic eggs
● Plate
● Whisk (electric is best)
● Teaspoon
● Pebeo marbling bath
● Pebeo marbling inks
● Cocktail stick
● Small roll of tape
1 Take your container with 1 litre of water and add two teaspoons of the Marbling Bath.
2 Then whisk together, ideally with an electric whisk - you want to act quickly, so the powder doesn't clump together.
3 Leave the mixture to sit for two hour.
4 Take a coloured marbling ink and use the pipette to drop a few spots of colour into the mix - it should sit on top of the mixture.
5 Take a second colour and add a few more drops of colour.
6 Use a cocktail stick to create pretty patterns and swirls in the ink.
7 Take an egg and, keeping hold of it, place it into the ink. The marbled pattern will transfer onto the surface of the egg. Place on a piece of kitchen towel to dry.
8 Try using a ceramic egg, use the string to dunk the egg into the marbling bath - this is a much cleaner way of doing it.
9 Try experimenting with dipping just half the egg, or use a pre painted egg for a different effect. Leave the eggs to try completely.
10 Give your hands a good clean!
Related Products