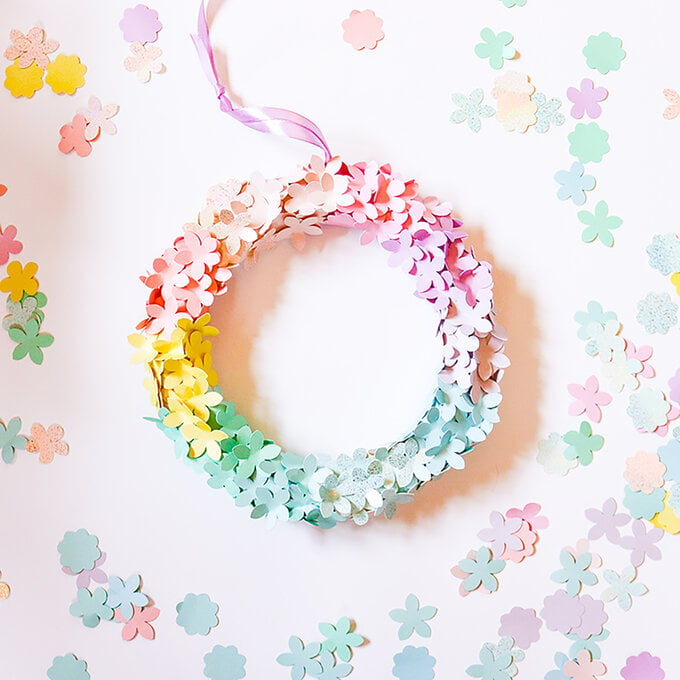
How to Make a Spring Paper Wreath
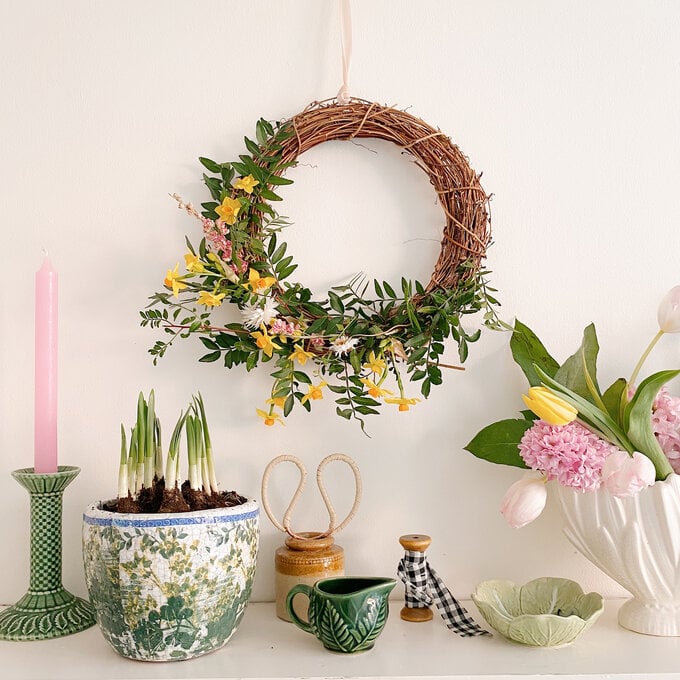
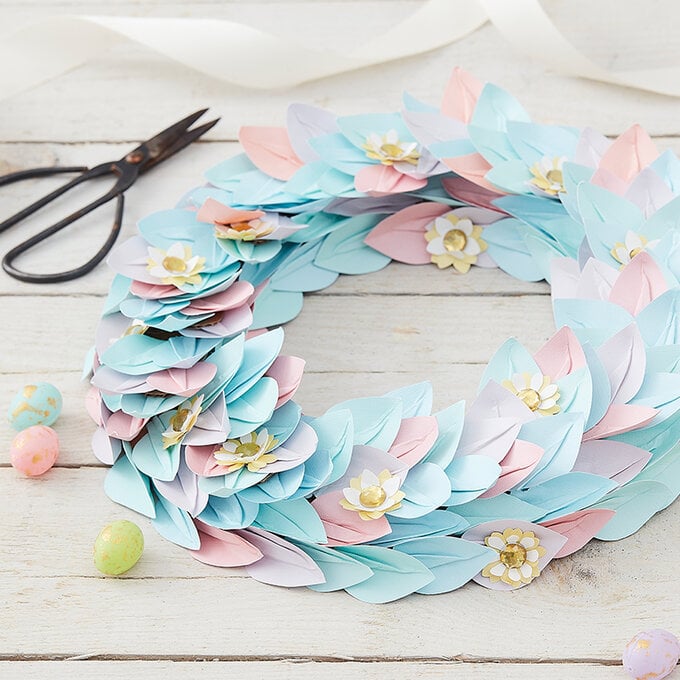
Brighten up your door or hallway this spring with a beautiful papercut wreath. This is a fantastic way to put a unique twist on classic wreaths, embracing florals in a wonderfully creative way. This beautiful spring wreath is sure to catch everyone's eye.
A selection of pastel cardstock has been used to create this wreath, but you can use any colour of cardstock you like.
Project and instructions by Sue Smith.
Discover more spring projects here
You will need

Subtotal
Is $ 7.49

Subtotal
Is $ 3.49
Subtotal
Is $ 5.49
Subtotal
Is $ 3.49
Subtotal
Is $ 5.49 , was $ 8.49
Subtotal
Is N/A
Subtotal
Is $ 3.49 , was $ 4.49
Subtotal
Is N/A
Subtotal
Is N/A
Subtotal
Is $ 6.49
Subtotal
Is $ 10.00
You will also need:
* Craft Knife - available in-store only
* Corrugated cardboard box
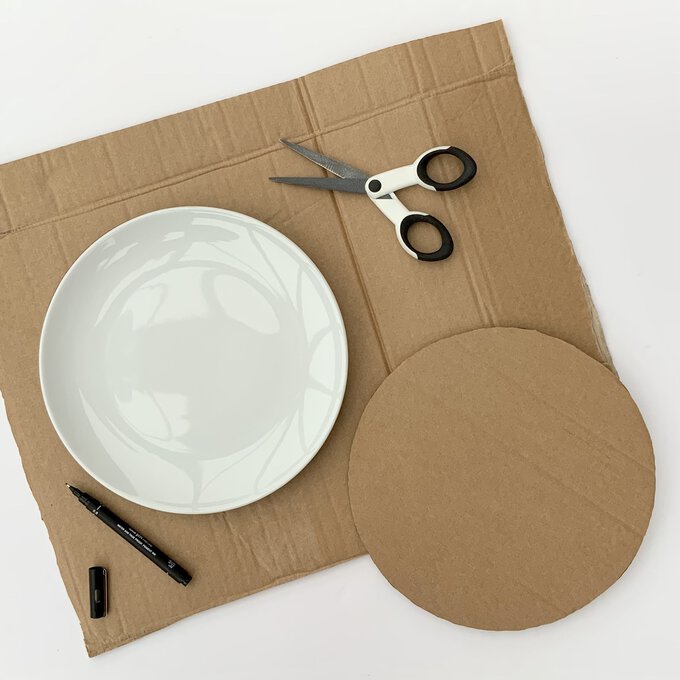
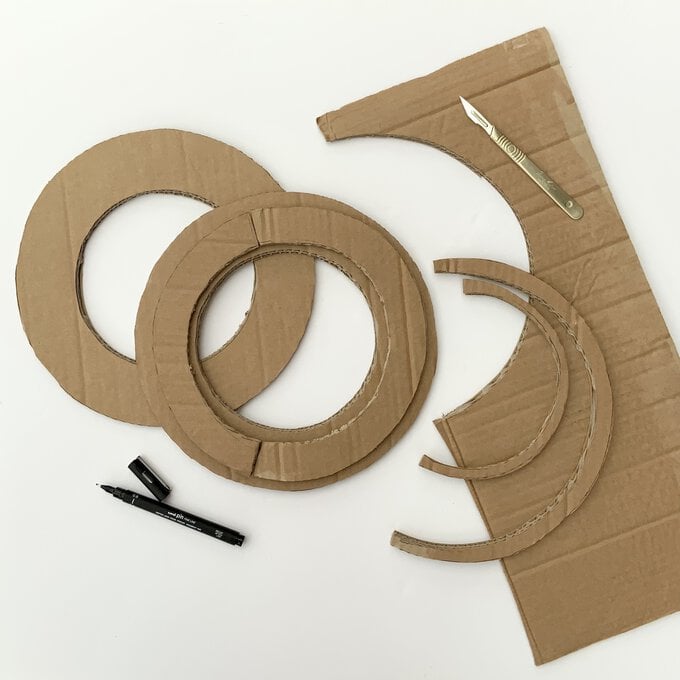
Begin by cutting up a spare corrugated cardboard box, making sure to use the main body of the box rather than the sides, avoiding any fold lines.
Use a tea plate as a template to draw a circle measuring approximately 25cm in diameter.
Cut out the circle using a kraft knife or scissors.
Repeat this process to create two circles.
Use a saucer to draw another smaller circle, centrally within the larger cut circles.
This smaller circle needs to measure about 14.5cm in diameter, creating a ring about 5cm wide.
Cut away the inner circle of both pieces using a kraft knife or scissors.
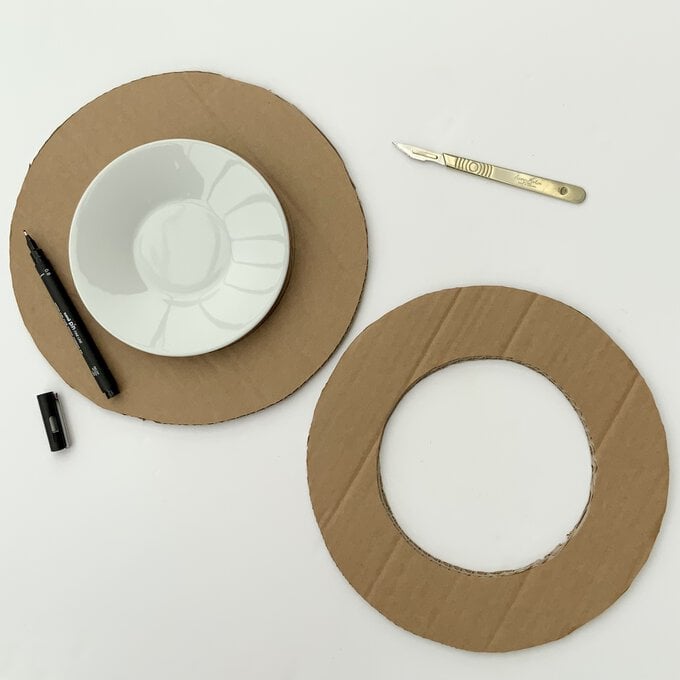
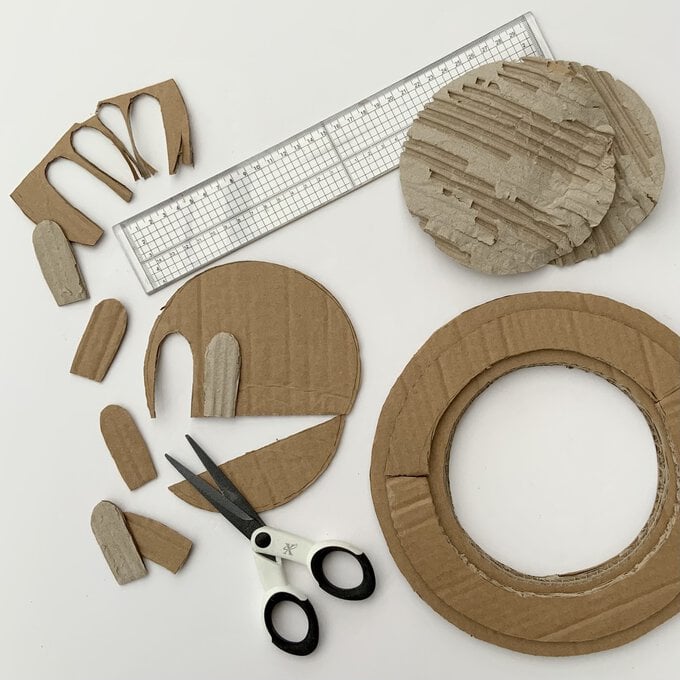
Apply tacky glue to one surface of the cardboard ring. Place it face-down onto the other ring, making sure the cardboard ridges are in a completely different ordination - this adds extra strength to the wreath base.
Use more spare cardboard to glue another slightly narrower layer onto the wreath base. This can be achieved using smaller sections of cardboard. If your cardboard is only made from a single layer of corrugated card, then add a fourth layer to the ring base.
Use more spare cardboard to cut out several small, finger shaped pieces of cardboard. Tear apart the corrugated layers to only use a single layer. Make these pieces 2cm wide, and about 4cm long. Fold, and crease under the bottom section to make a gluing tab about 1.5cm deep.
Make about 18 of these finger supports, and set aside.
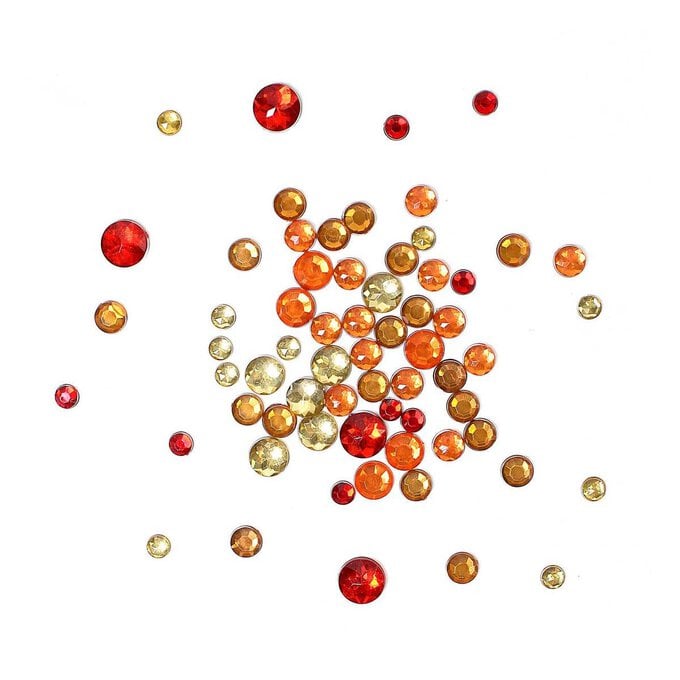
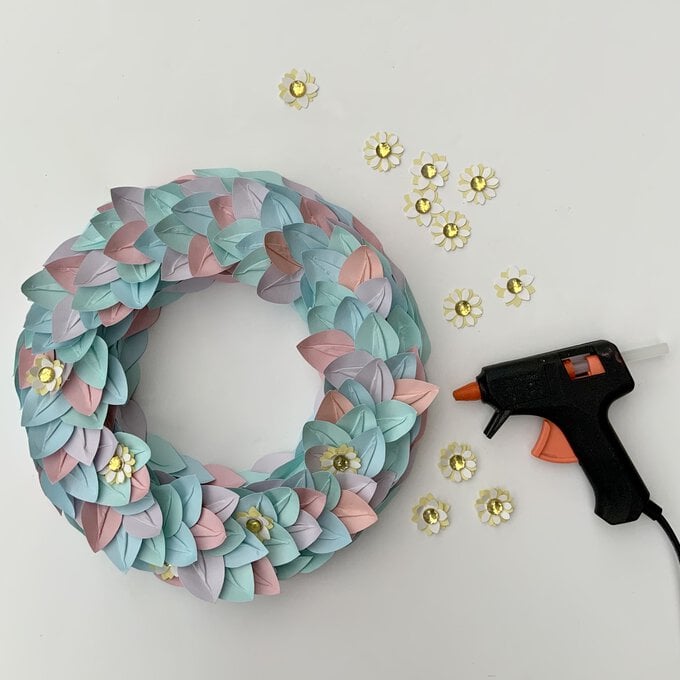
Use the daisy punch to cut eight daisy flowers from white card, and 16 daisy flowers from smooth pale-yellow card. Repeat this process using the other flower punch.
Create 16 flowers in total, by using tacky glue to layer up two yellow petals with a white layer on top. Offset each layer, keeping the petals types the same.
Complete the flower embellishments by fixing a large yellow gem to the centre using a hot melt glue gun. Set these aside.

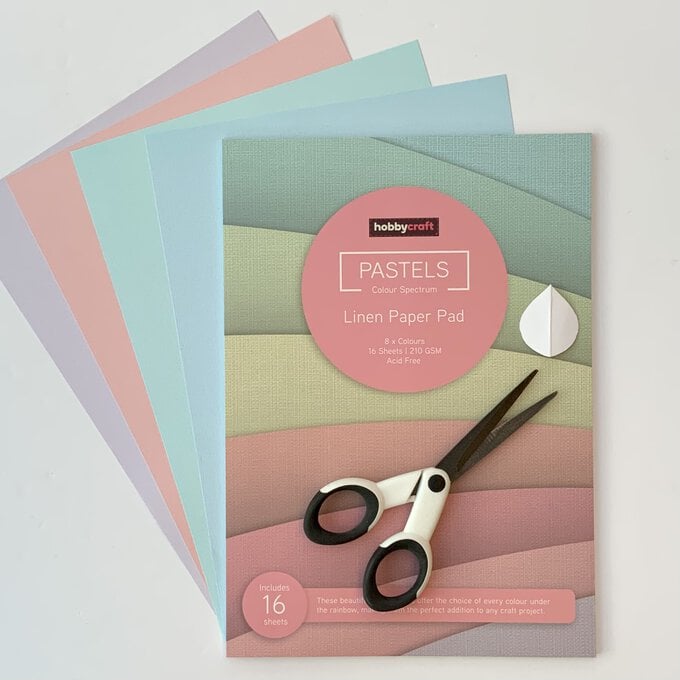
Remove four sheets of card from the linen paper pack - a blue, a turquoise, a pale cool pink, and a lilac colour.
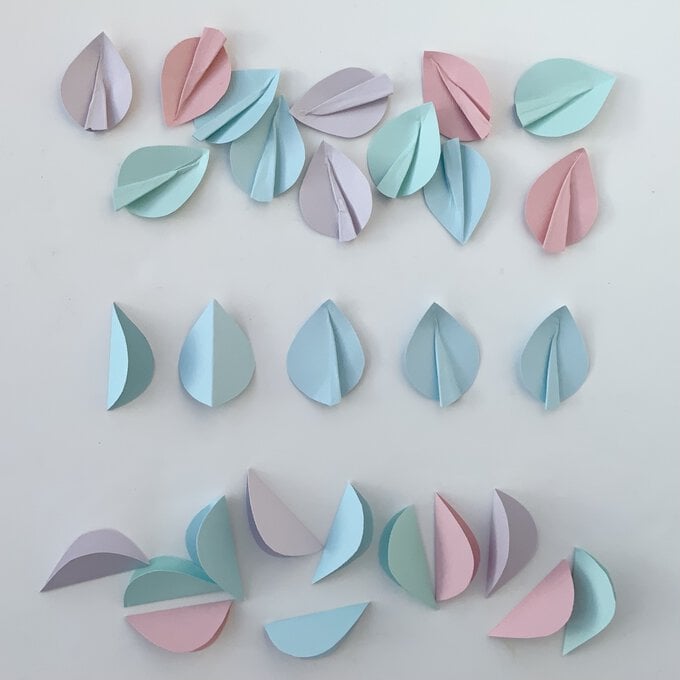
Cut a leaf template from white card measuring 4cm high, by 3.4cm wide. Fold the card first, and cut half a teardrop shaped leaf, to ensure both sides are even.
Remove four sheets of card from the linen paper pack - a blue, a turquoise, a pale cool pink, and a lilac colour.
Cut a leaf template from white card measuring 4cm high, by 3.4cm wide. Fold the card first, and cut half a teardrop shaped leaf, to ensure both sides are even.
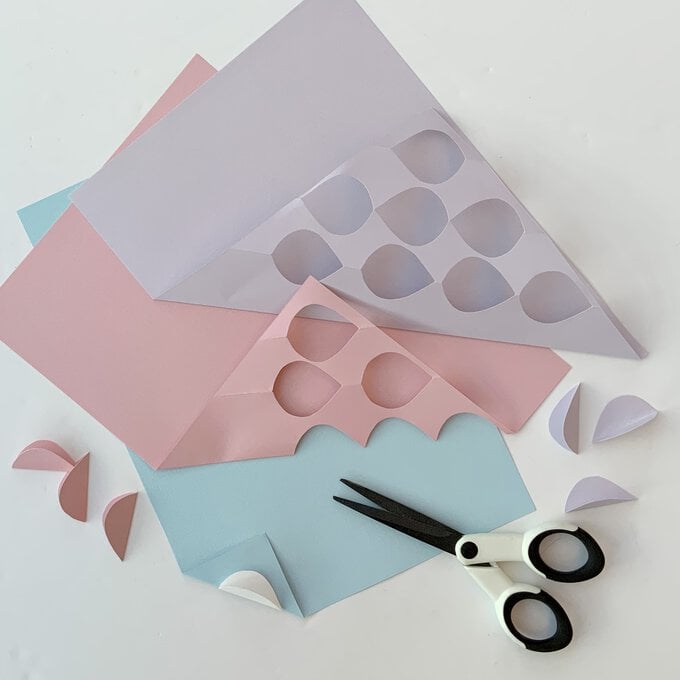
Give each leaf some dimension by folding and creasing a pleat down the centre.
To do this, first unfold the leaf, and fold back the other way keeping the texture upper-most. Fold and crease a thin slanted tab over to one side from the centre fold. Repeat on the opposite side of the leaf. This is similar to creating a dart from fabric, so the leaf tip will start to bend up. Now try and flatten the tab down open, keeping the original centre crease line running down the middle of the tab.
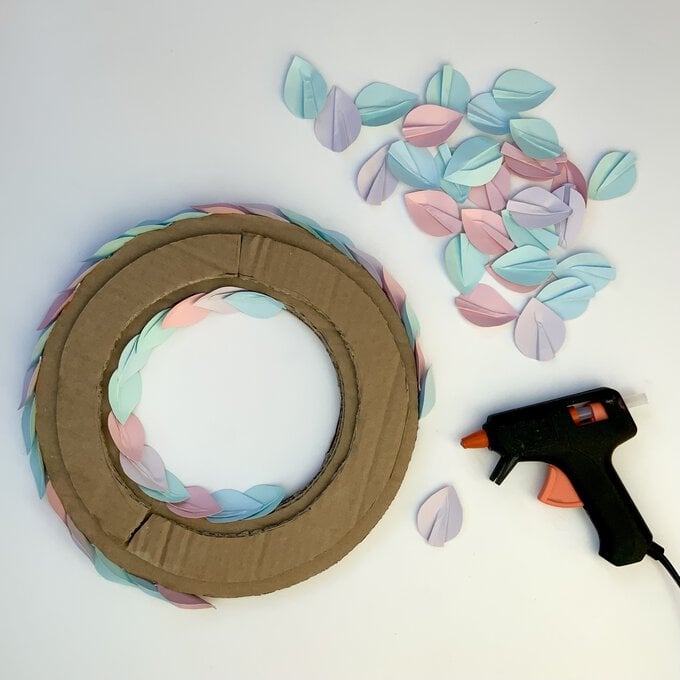
With a hot melt glue gun, begin fixing the prepared leaves into place, slightly overlapping around the inner and outer circumference of the cardboard base.
Remember to use a few more blue and turquoise colours compared to the pink and lilac.
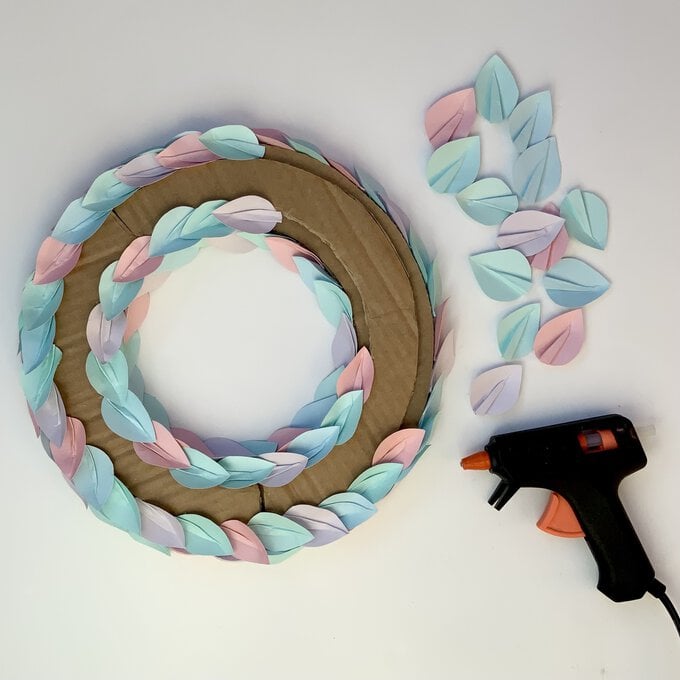
Repeat this process, gluing a second ring of leaves covering the inner and outer top edge of the cardboard base.
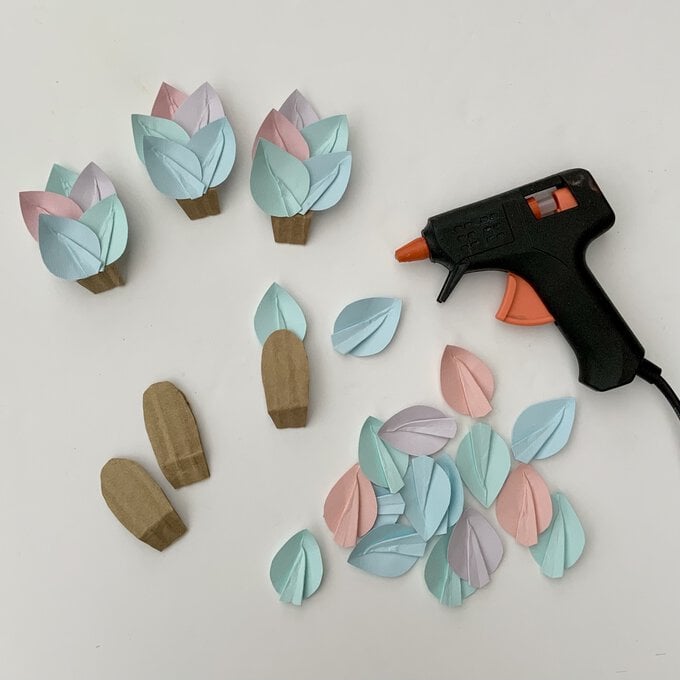
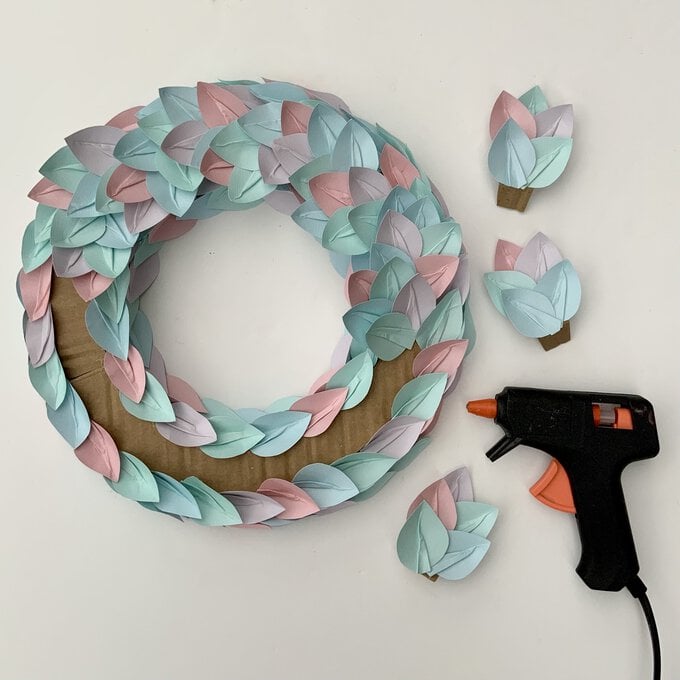
Take more leaves to work on covering the prepared finger supports, using hot melt glue.
Start by gluing a single leaf to the back of the upright support. Then apply a leaf at an angle either side of the first leaf, but on the front panel this time. Lastly, glue two more leaves fanned out as before, below covering the cardboard support.
Fix all 18 covered finger supports onto the top of the cardboard wreath ring.
Glue the bottom tab of each support and simply place it at alternate angles onto the top ring. Space them out evenly and slightly overlapping each other to hide the cardboard base.
To complete the wreath, randomly glue in place the prepared flowers in and around the leaves.
Hang the finished Spring paper wreath up to be admired!
Related Products