A Beginner's Guide to Canal Boat Folk Art
Canal folk art has been used for over a hundred years to decorate not only canal boats, but the day-to-day items used on-board, such as coal scuttles, jugs and kitchen utensils. Traditional designs include florals painted in bold and beautiful layers to create their distinctive look.
With the help of this guide, you'll be able to create a handy letter holder using this simple painting technique – designed to turn everyday items into something beautifully decorative. Once you've mastered it, you'll want to use it time and time again.
Project and instructions by Kristel Long.
You will need
Subtotal
Is $ 4.49
Subtotal
Is $ 1.49

Subtotal
Is $ 3.49
Subtotal
Is $ 4.49
Subtotal
Is N/A
Subtotal
Is $ 6.49
Subtotal
Is $ 17.00
Subtotal
Is $ 11.00
Subtotal
Is $ 4.49
Subtotal
Is $ 6.49
Subtotal
Is $ 6.49
Subtotal
Is $ 6.49
Subtotal
Is $ 6.49
Subtotal
Is $ 6.49
Subtotal
Is $ 6.49
Subtotal
Is $ 7.49
How to make
You will also need:
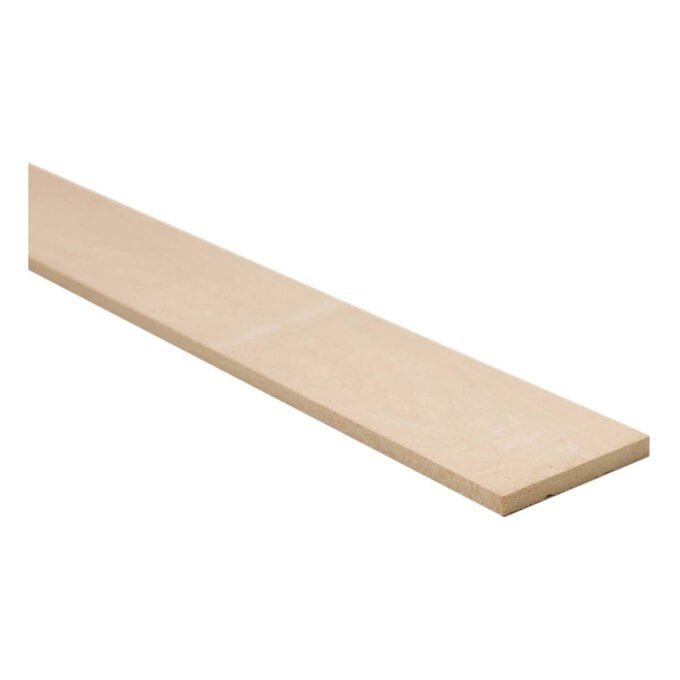
* A saw to cut the Basswood
* Kitchen towel roll or a damp cloth
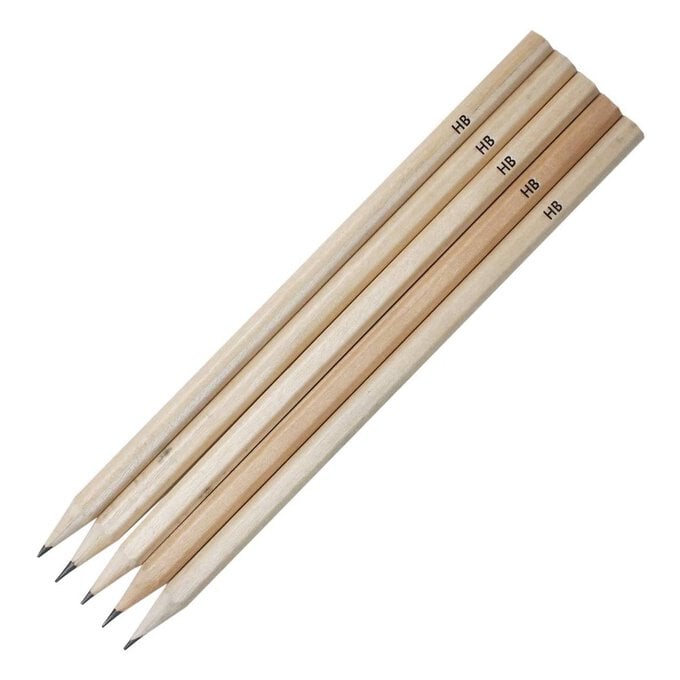
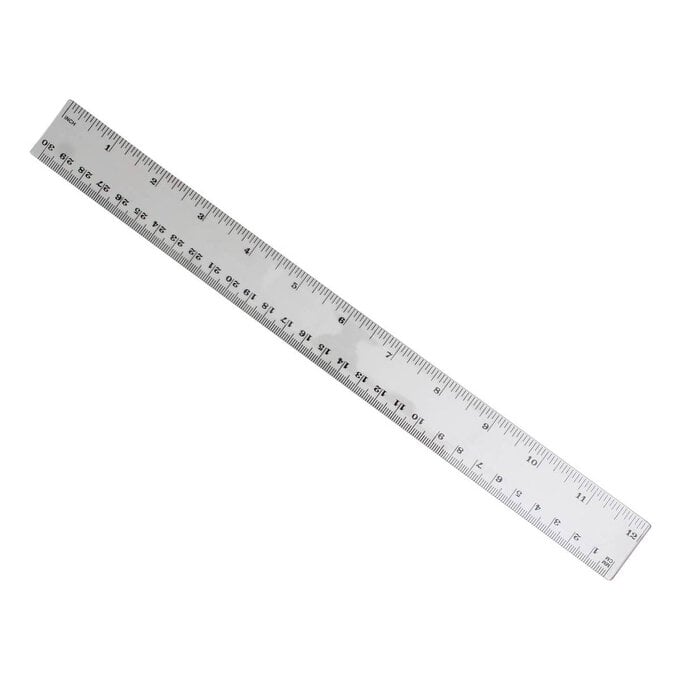
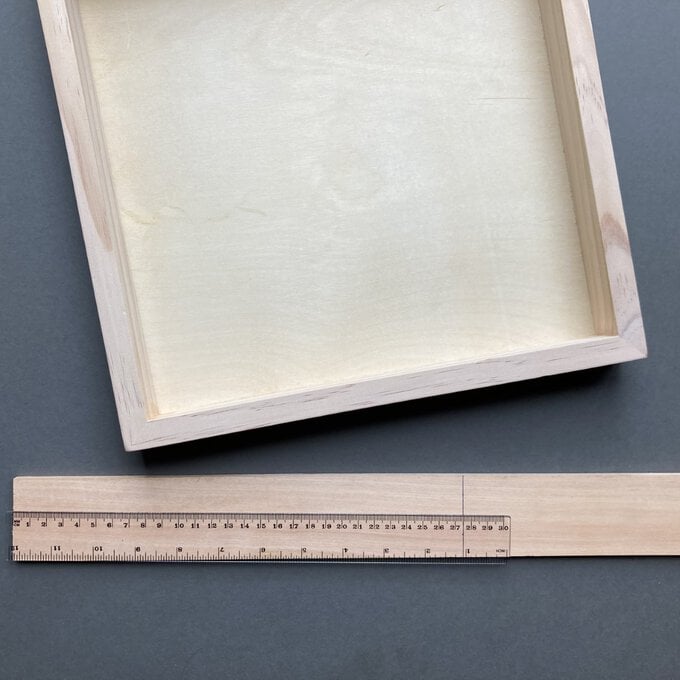
To create the lip to hold your letters, use the ruler to measure 27.5cms on the basswood strip. Draw a line to mark the length with the pencil.
Cut with your saw.
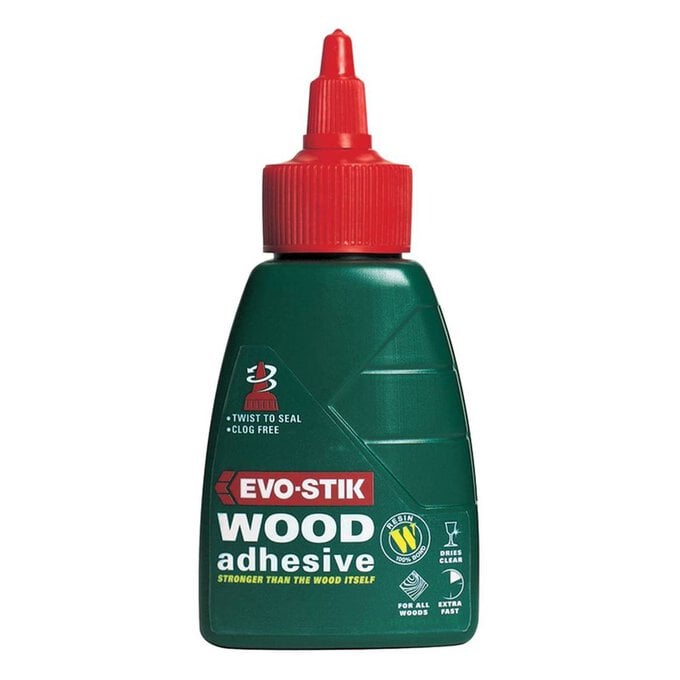
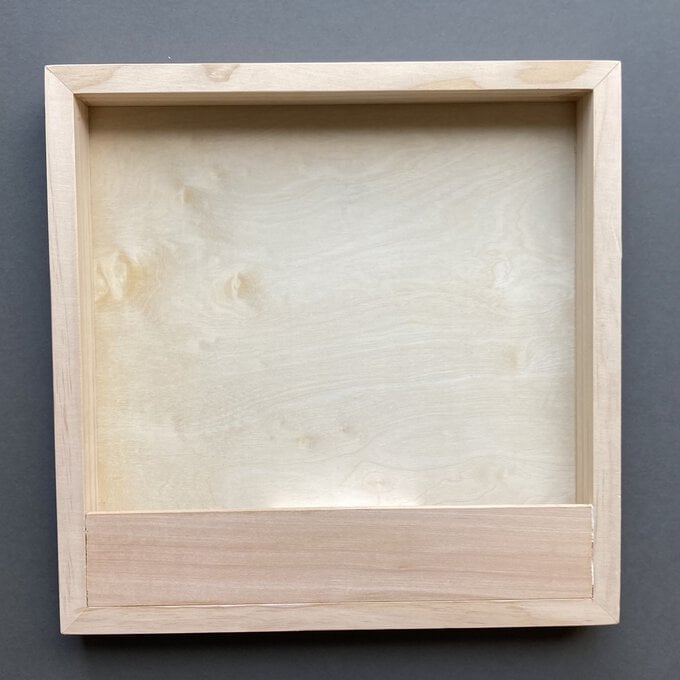
Apply the wood glue to the two short edges and one long edge of the basswood strip. Slot into the birch panel and push down.
Wipe away any excess glue with a damp cloth. Allow the glue to dry.
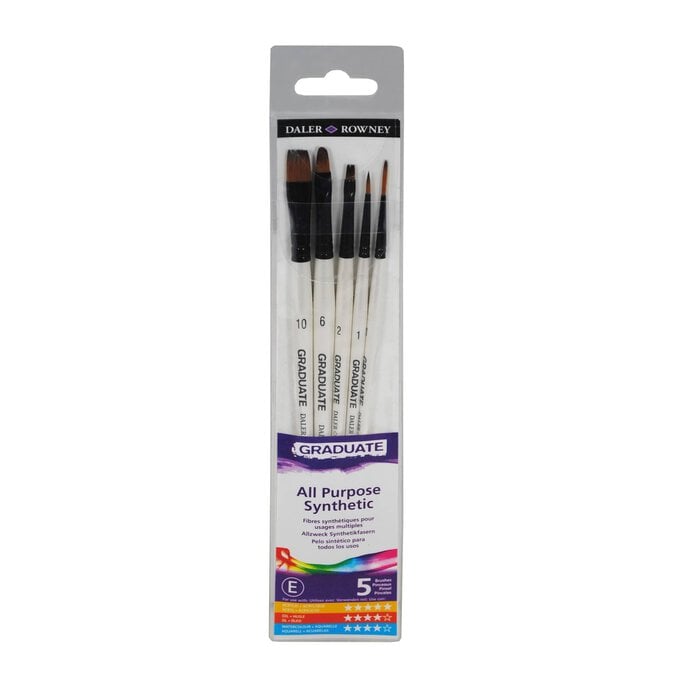
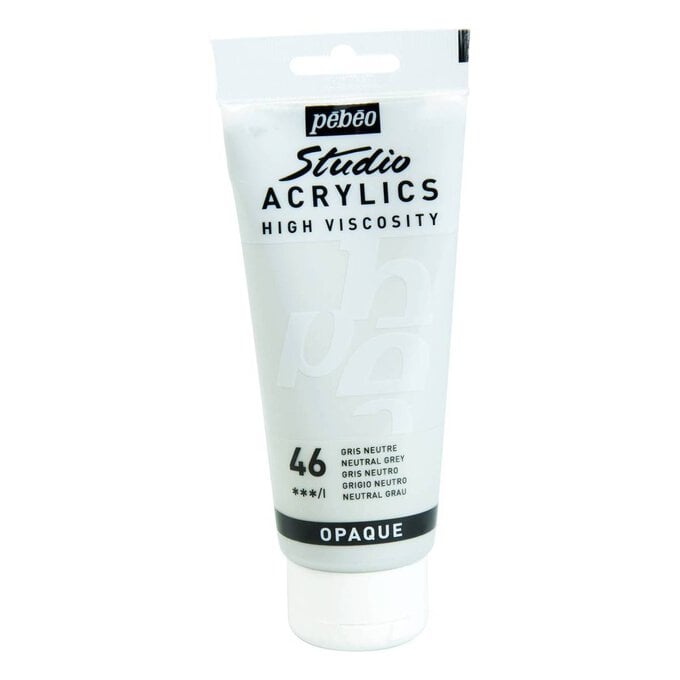
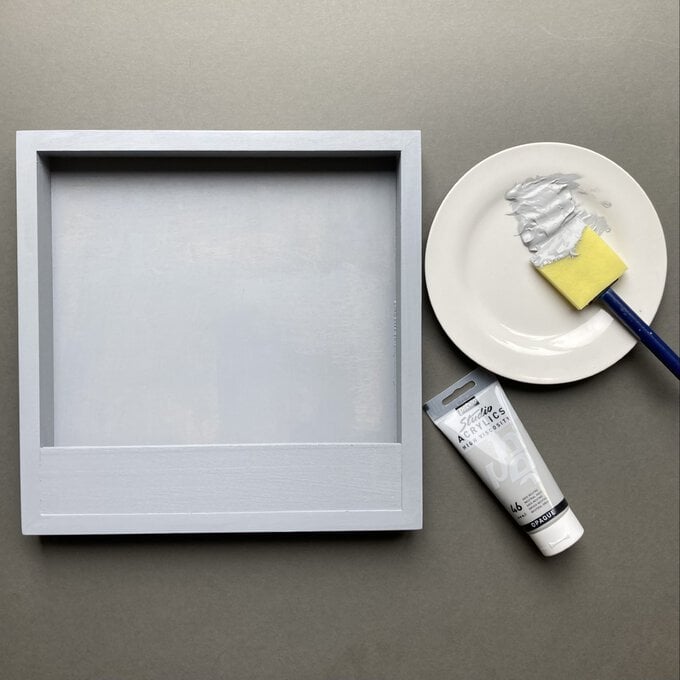
Squeeze the grey paint onto a plate and apply using the large foam pad from the brush set. Cover the entire panel, front, back and all sides. Use one of the paint brushes from the brush set to get into the corners if necessary.
For full coverage apply two coats. Allow to dry.
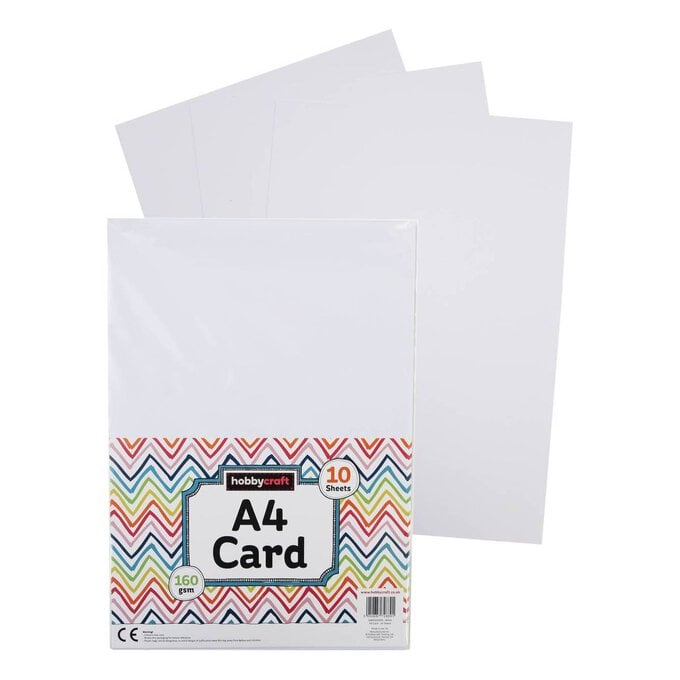
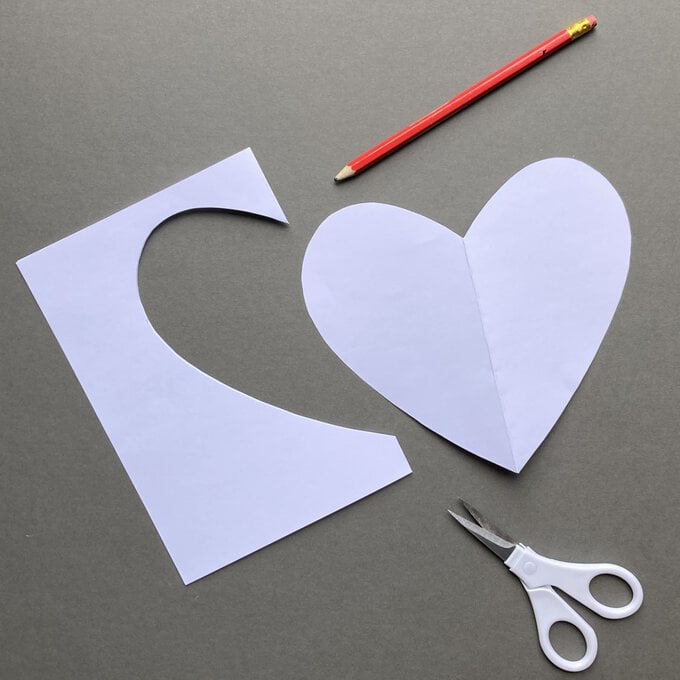
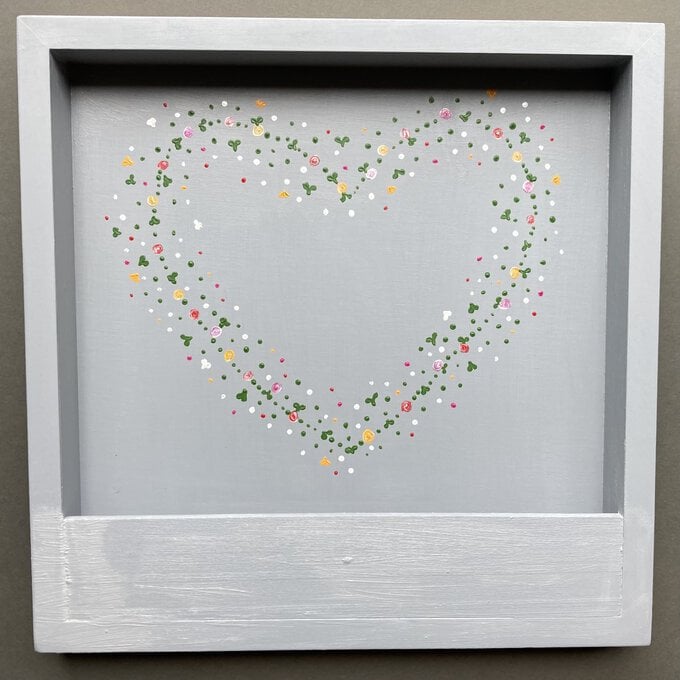
Fold the piece of card in half lengthwise. Draw half a heart shape on one side of the card and cut out using the scissors creating a heart template.
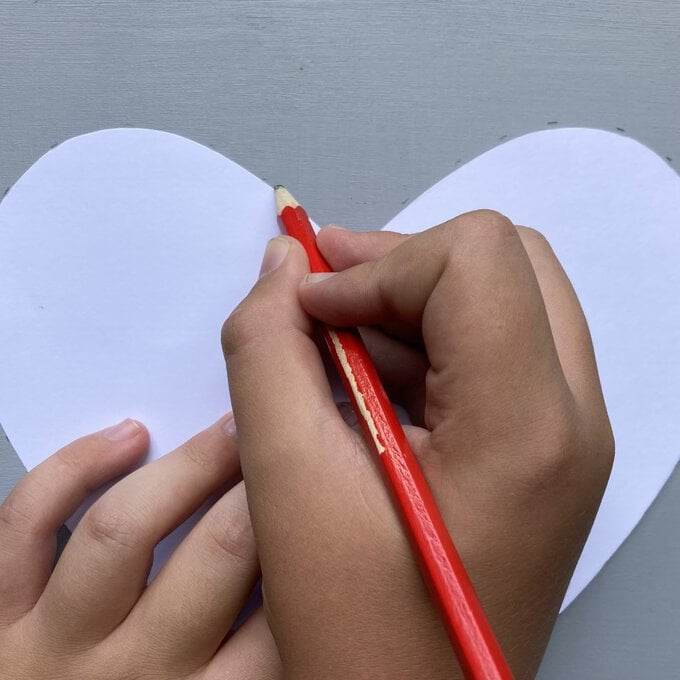
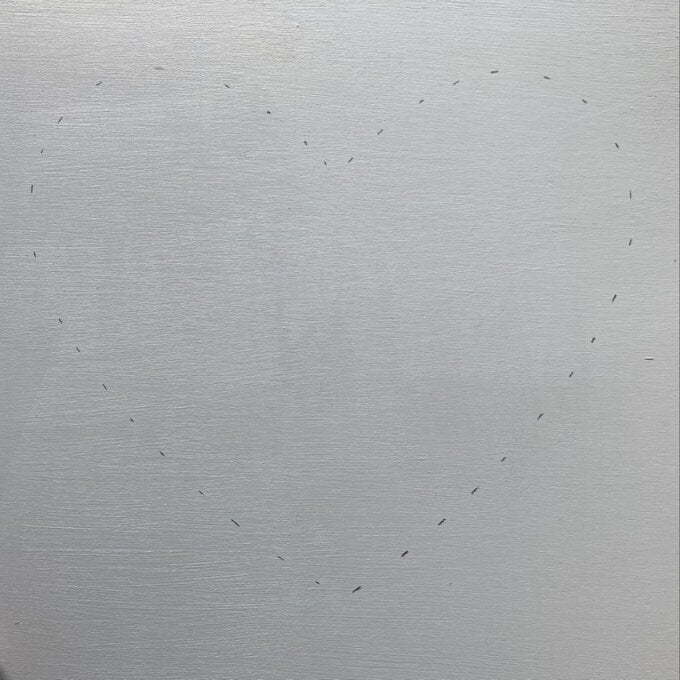
Place the cut-out heart centrally in the space above the basswood strip on painted art panel. Use the pencil to make marks about 2cm apart around the outline of your heart template.
Tip: Do not draw a solid line. The dots will be covered by paint – you don't want to be able to see the pencil outline on your finished project.
Tip: Practice this step on some scrap paper before adding to your panel.
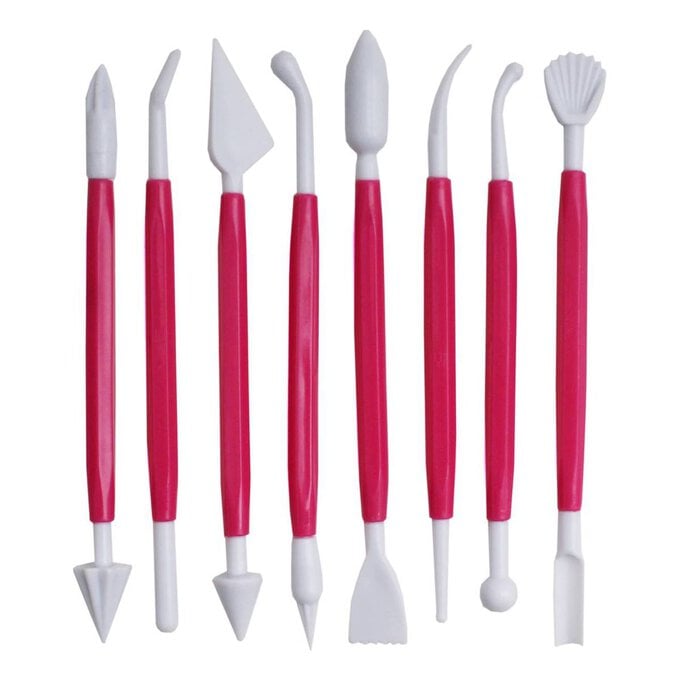
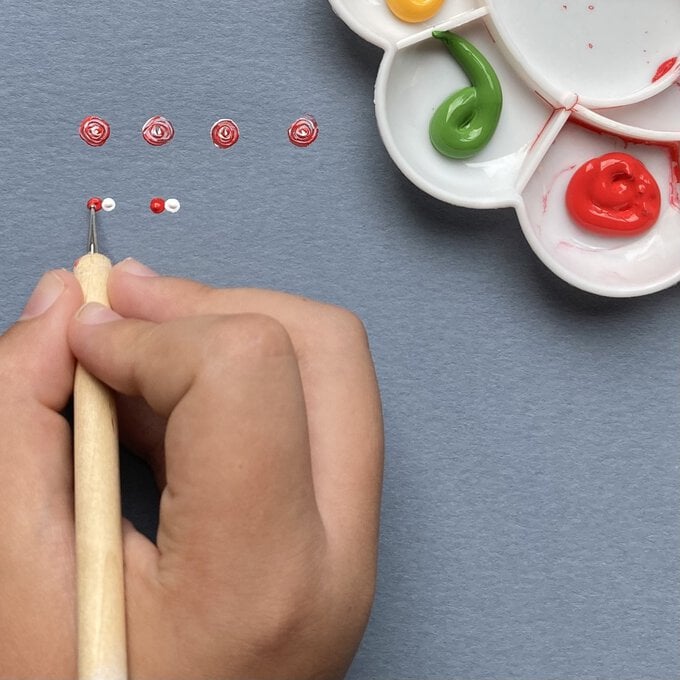
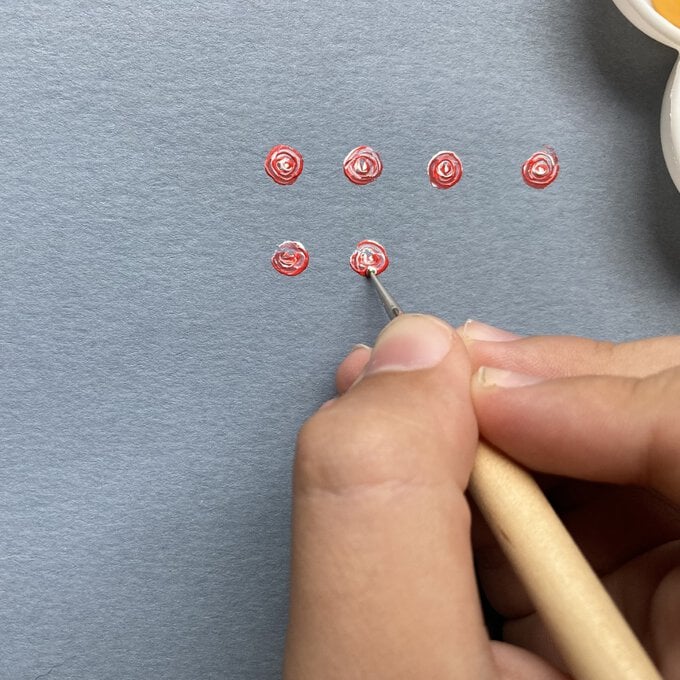
To create the roses, squeeze some white, red, yellow, and pink paint onto a palette or plate. Using the ball ended icing tool, dab one dot of coloured paint onto each of the pencil marks you made on the panel. Clean the tip with kitchen paper or a damp cloth.
Dip the icing tool into the white paint and dab the white paint next to your coloured dots. Swirl the two colours together. You've now created your rose! Repeat this step using your other flower colours, always dotting white next to each colour, and swirling together.
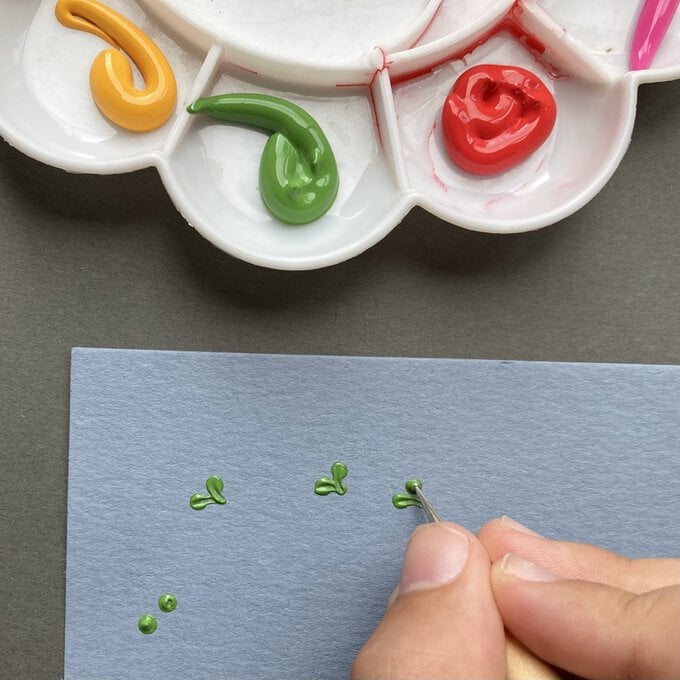
To create the leaves dab two green dots of paint a few millimetres apart. Pull the paint down using your chosen tool meeting in a point underneath.
Clean your tool every few “leaves” to give a better finish. Again, you may wish to practice this on scrap card first.
Add dots of all of your paint colours in random patterns to create a border around your heart shape. Remember to clean your “tool” after every few dots to give a better finish and to clean in-between colours.
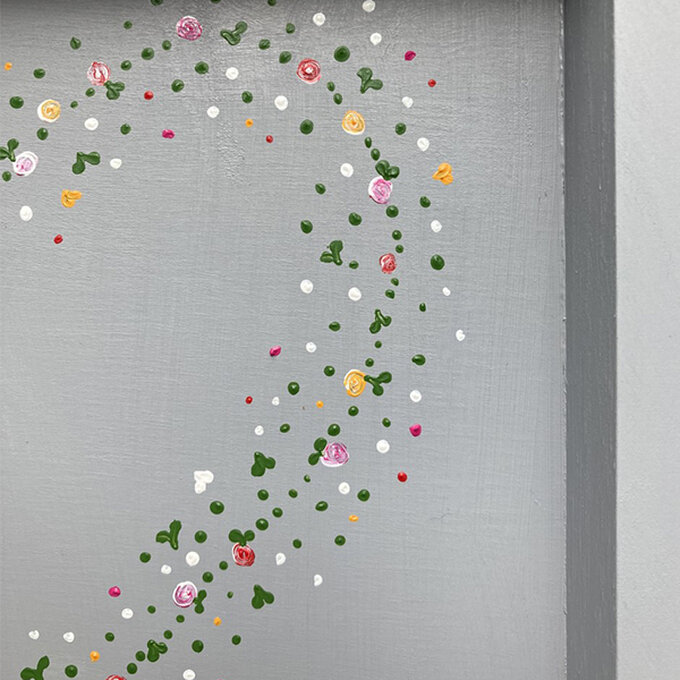
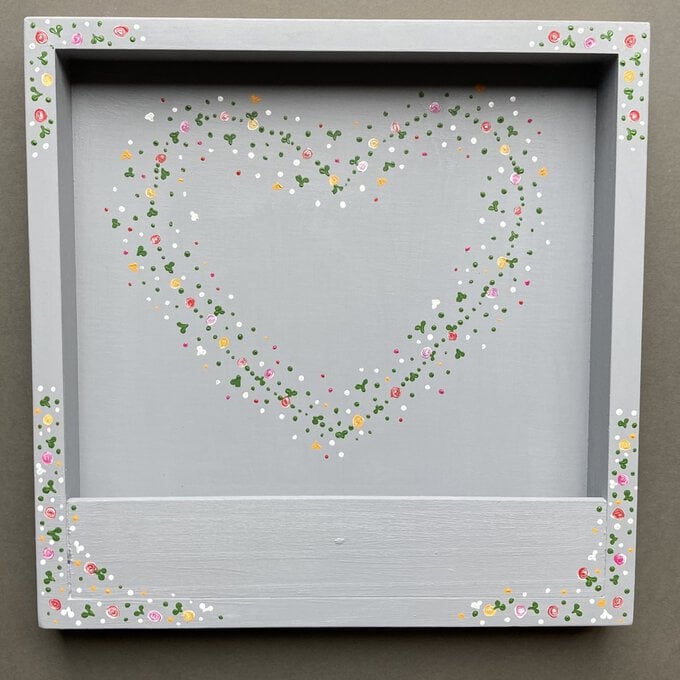
Using steps 6 to 8, add more flowers, leaves, and detailing to the bottom and top corners of your frame.
Tip: Practice the next few steps on some scrap paper before adding to your panel.
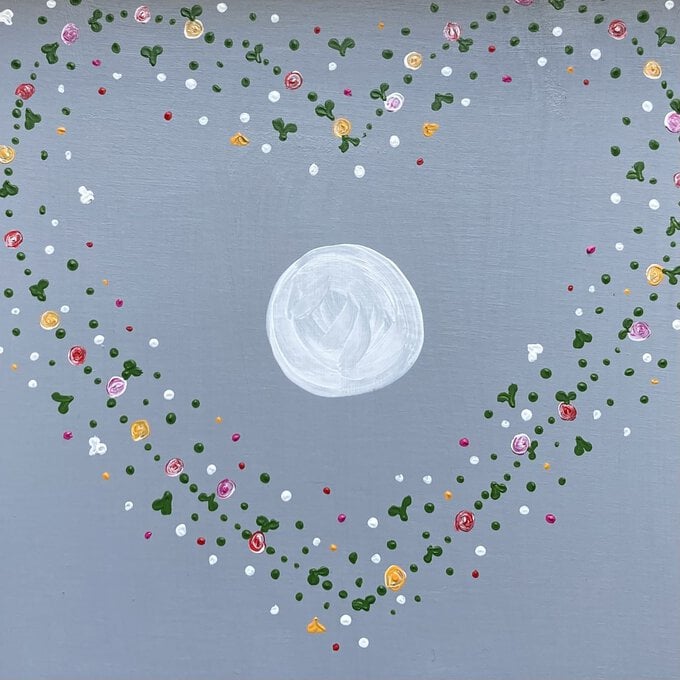
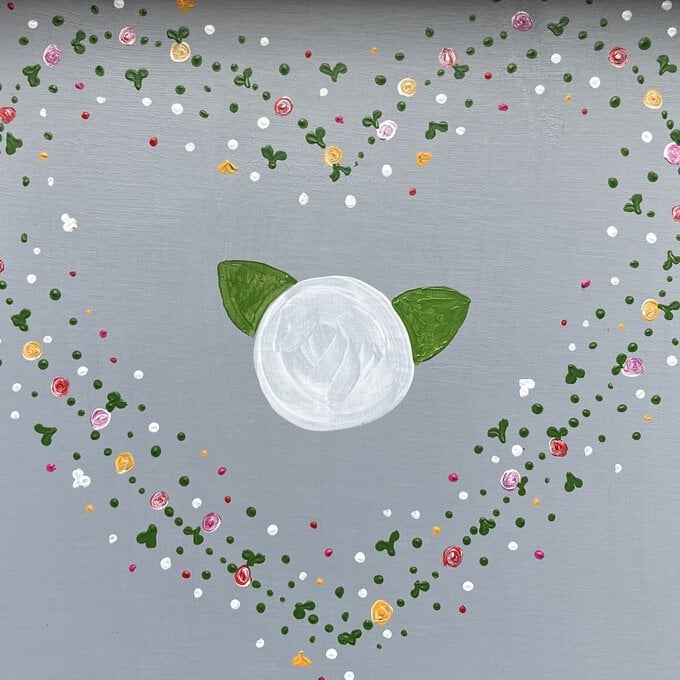
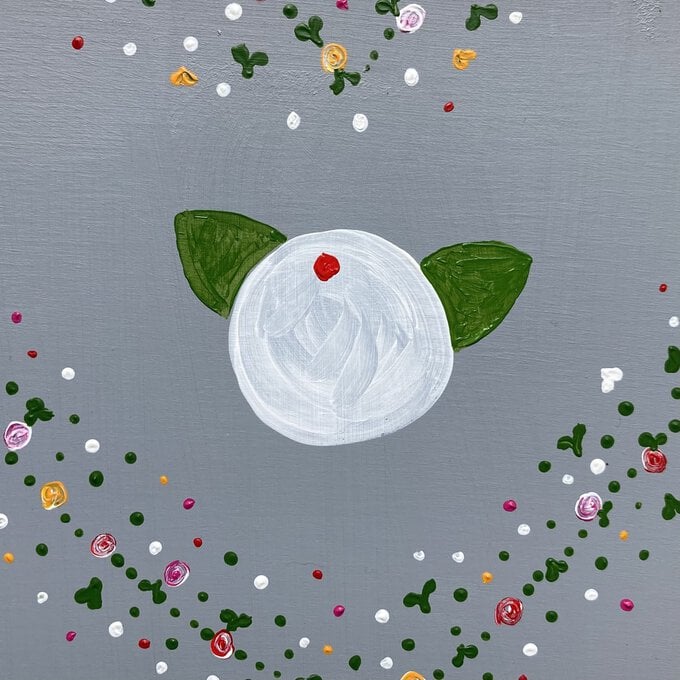
To create the central rose, use Graduate brush number 10 to paint a white circle approximately 5cm in diameter, in the centre of your heart shape. Then, Paint two green leaves, one on the left and one on the right of your white circle using Graduate brush 5/10.
To the top left of your white circle add a small circle of coloured paint to create the “centre” of your flower. I've used red in my example.
Leave until the circle, leaves, and highlight are dry.
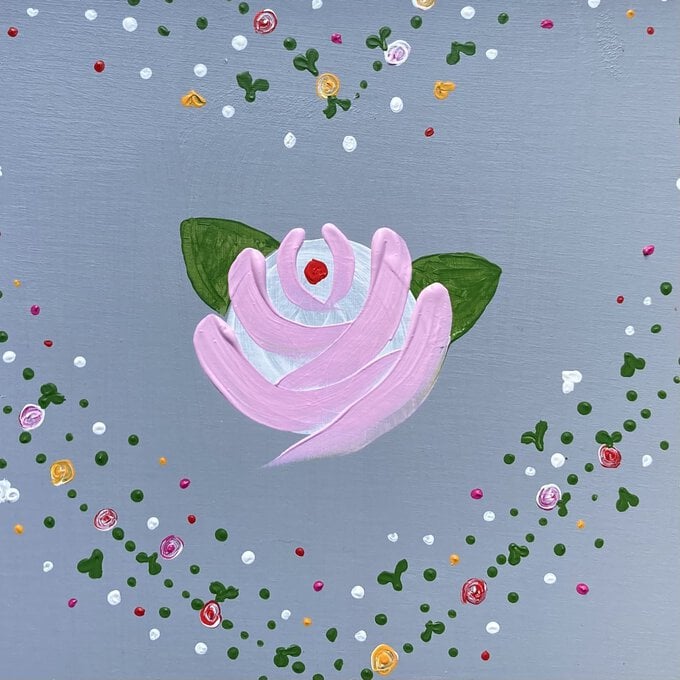
Paint on the petals using Graduate brush number 4 and 10. Choose your colour (I have mixed red and white to create a light pink) and load up the brush with plenty of paint. Use more pressure at first to create a wider line, lifting slightly as you move your hand to reduce the line thickness in order to create a tail effect.
Paint three pairs of petals, small (using brush number 4) medium and large (using brush number 10) onto your white circle. Allow to dry.
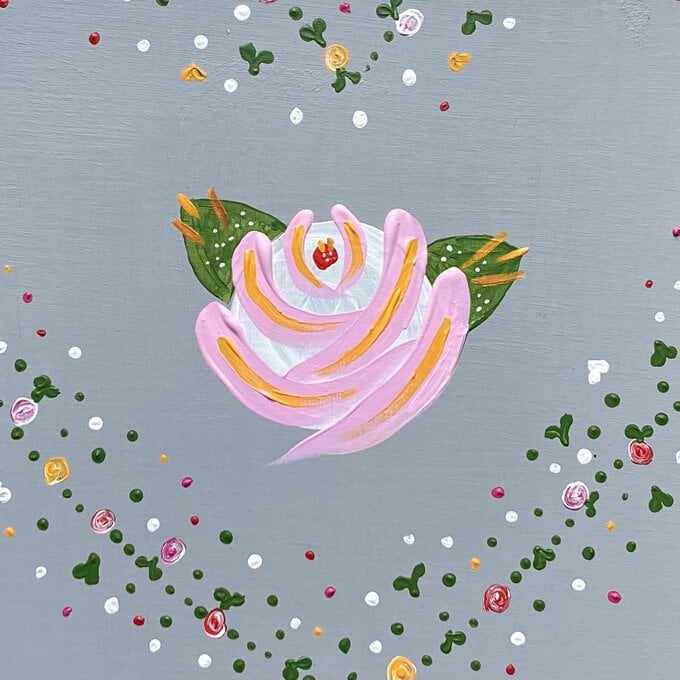
Add highlights to your rose petals using Graduate brush number 5/10. Using the same painting technique as before push and lift your brush to create a thin line of paint in each petal; I have used yellow.
Using the same brush add details to your leaves e.g., small dots or lines. Allow to dry.
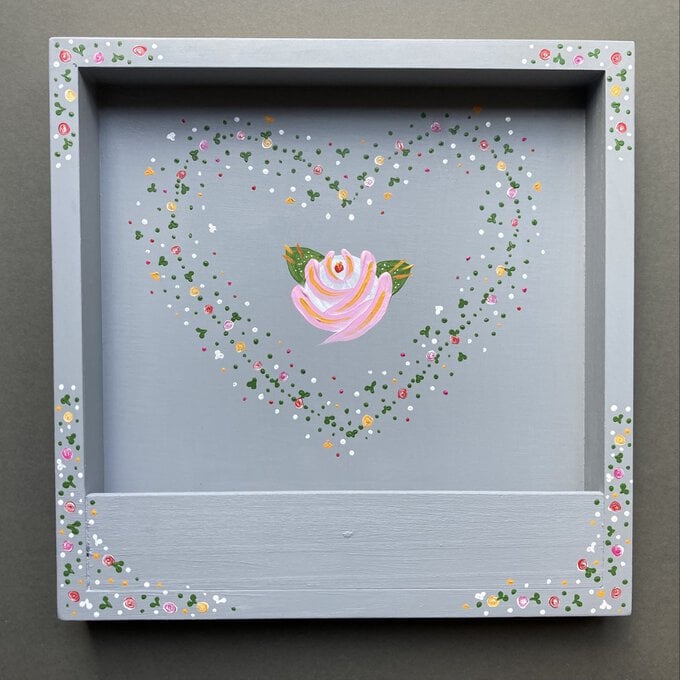
Your freestanding letter holder is now complete!
Try adding a picture hanger on the back of the frame to hang it on a wall, or why not add some hooks to the bottom of frame as a handy place to keep your keys?
Related Products