A Beginner's Guide to Screen Printing
Looking for an alternative way to make cards for your loved ones? Discover how to screen print your favourite designs and images onto materials such as fabric and card with this step-by-step guide. Perfect for beginners, this technique will give you with a whole new way to personalise gifts for special occasions.
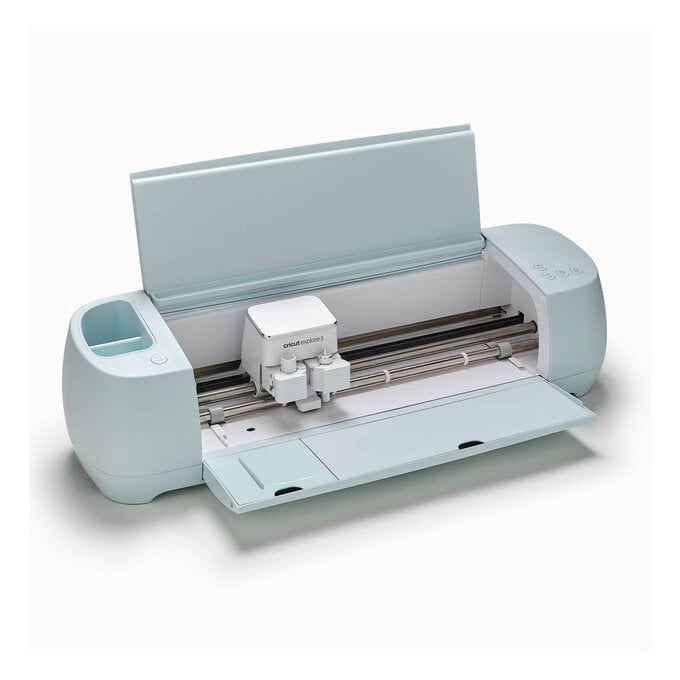
This project has been completed using a Cricut machine; however, it can be completed without one.
Project and instructions by Beth Ainsworth.
Discover more print making projects here >
This project contains paid for content from the Cricut Design Space app. Screen references images are taken from the iPad version of Design Space.
You will need

Subtotal
Is $ 40.00
Subtotal
Is $ 1.49

Subtotal
Is $ 24.00
Subtotal
Is $ 19.00
Subtotal
Is $ 19.00
Subtotal
Is $ 16.00

Subtotal
Is $ 9.49
Subtotal
Is $ 9.49
Subtotal
Is $ 12.00
Subtotal
Is $ 422.00
How to make
You will also need:
* Any vinyl (if you're using a Cricut machine).
* A craft knife (if you're not using a Cricut machine).
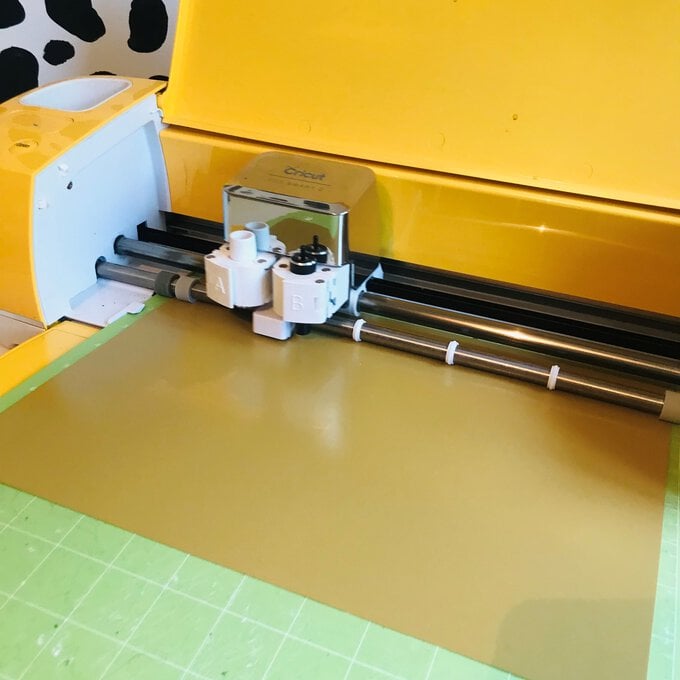
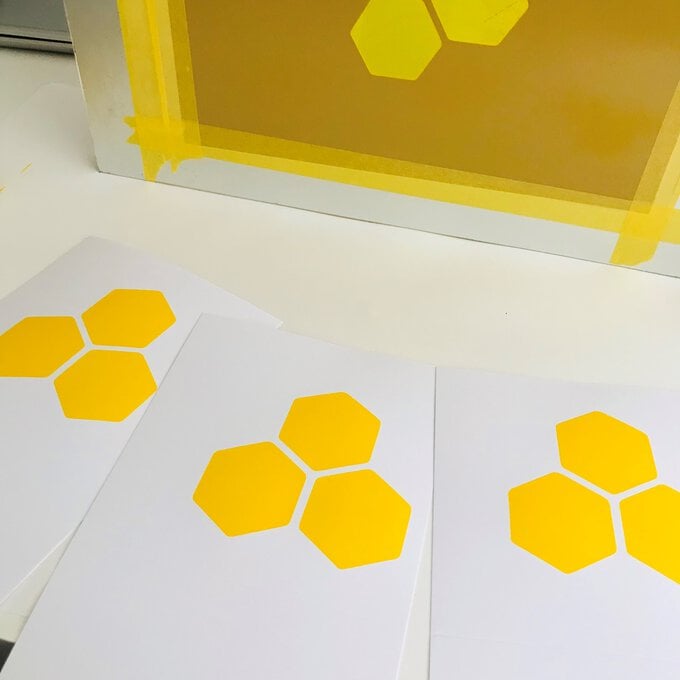
To create stencils for screen printing, cut out your designs out of removable adhesive vinyl using your Cricut machine.
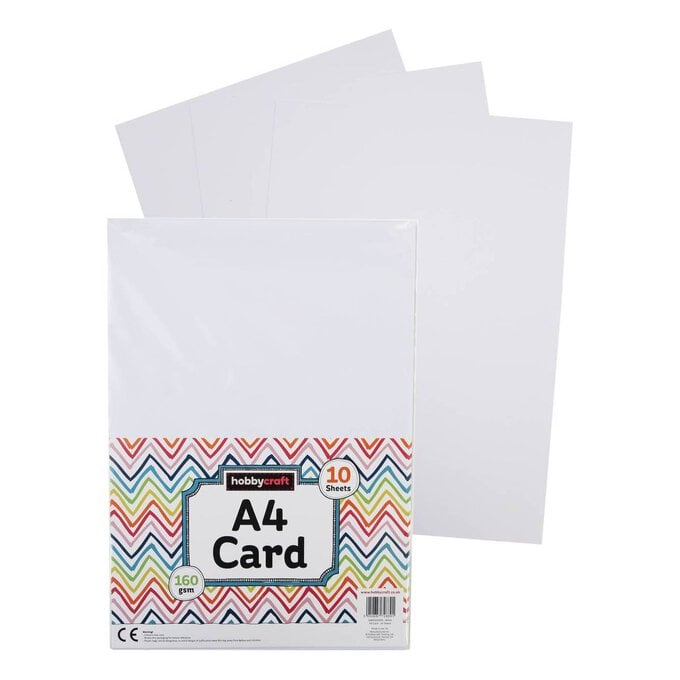
If you don't have a Cricut machine, you can do this by hand using a craft knife and A4 card.
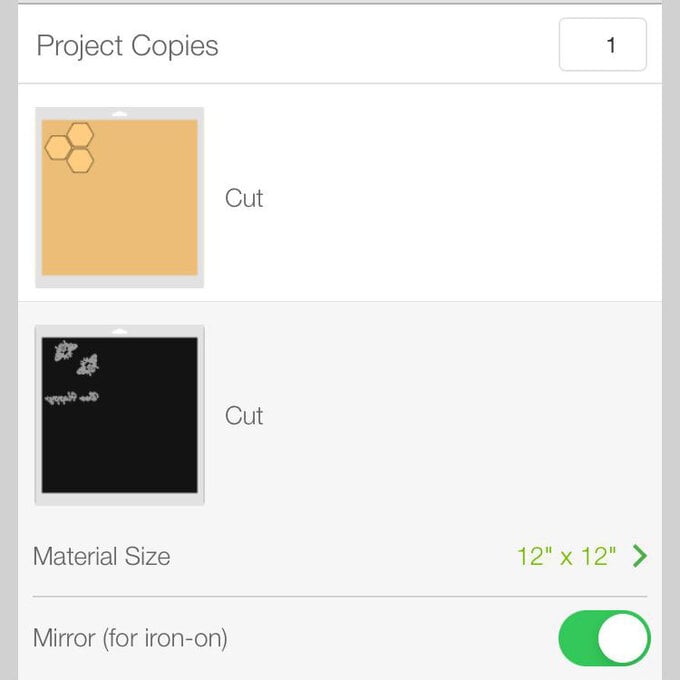
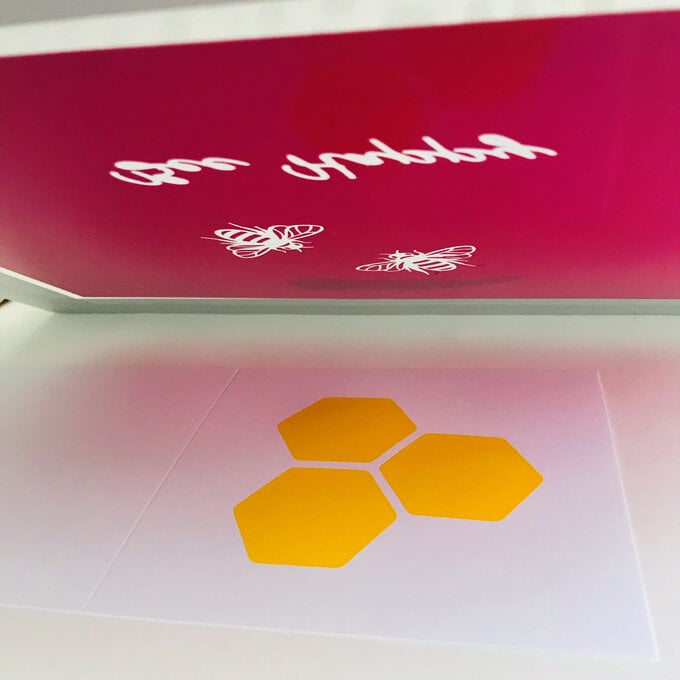
Important: if using a Cricut machine, remember to 'mirror' the image you plan on cutting out using the Design Space app, as the image will be the opposite way around once printed.
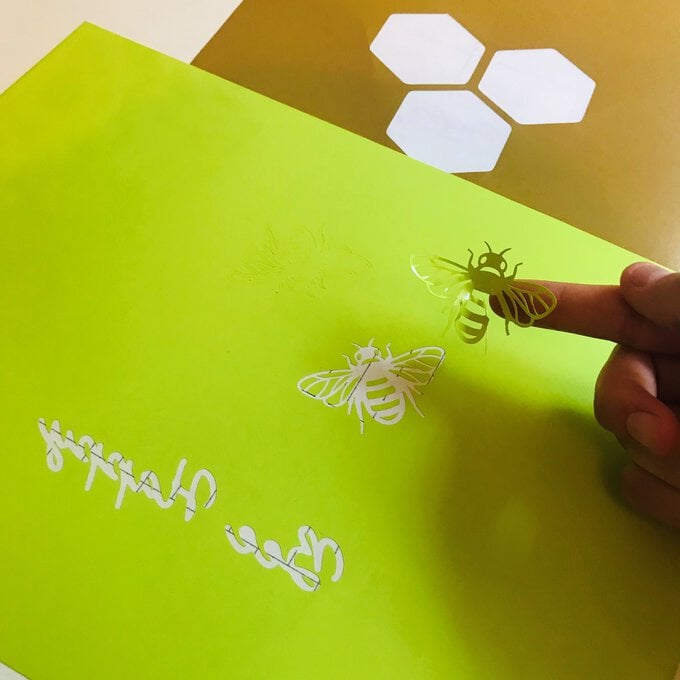
If you cut out your designs using a Cricut machine, weed the design using a weeding tool. You won't need these bits, as you'll be using the outline of the designs for the stencil to screen print with.
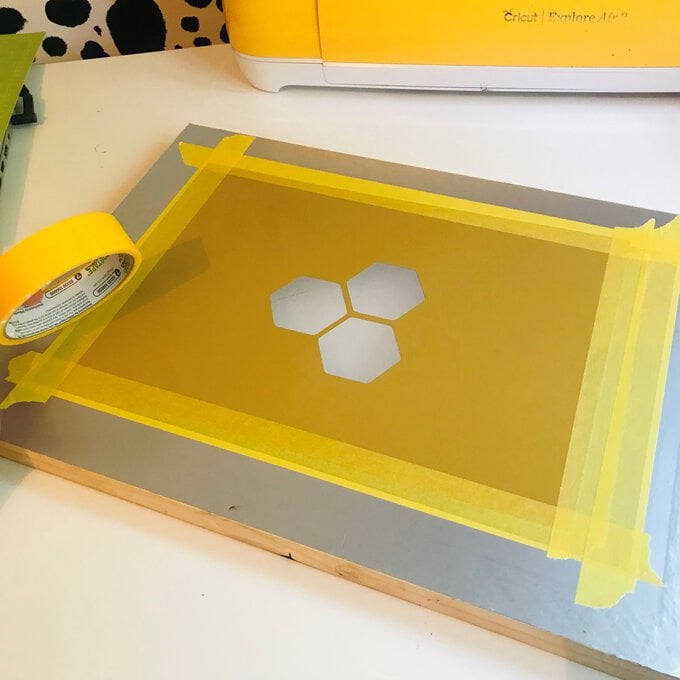
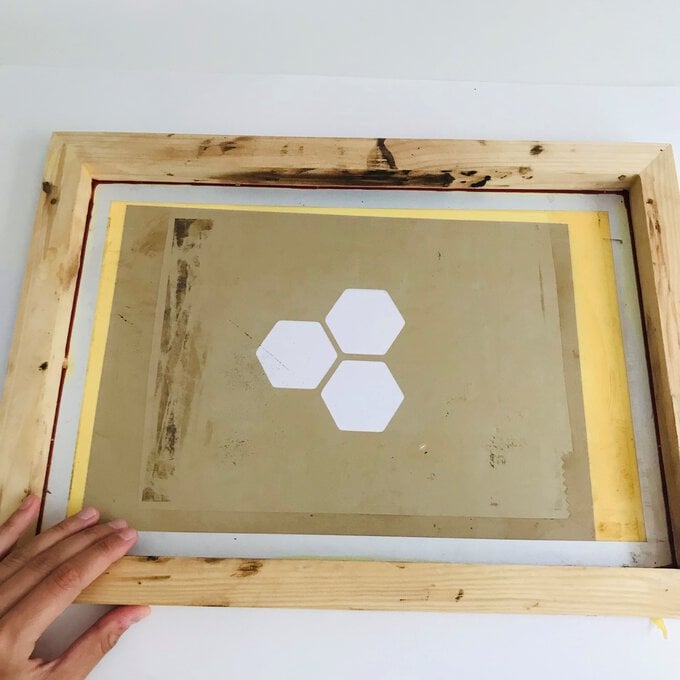
Use Cricut Transfer Tape to place your design onto the canvas, then tape down the side onto the back of your screen using masking tape.
Make sure that all the edges are covered, and that only your design is visible through the mesh, so that the ink transfers through your design in these uncovered areas only.
Place your screen onto a flat surface with your card blank positioned underneath. You're now ready to start printing!
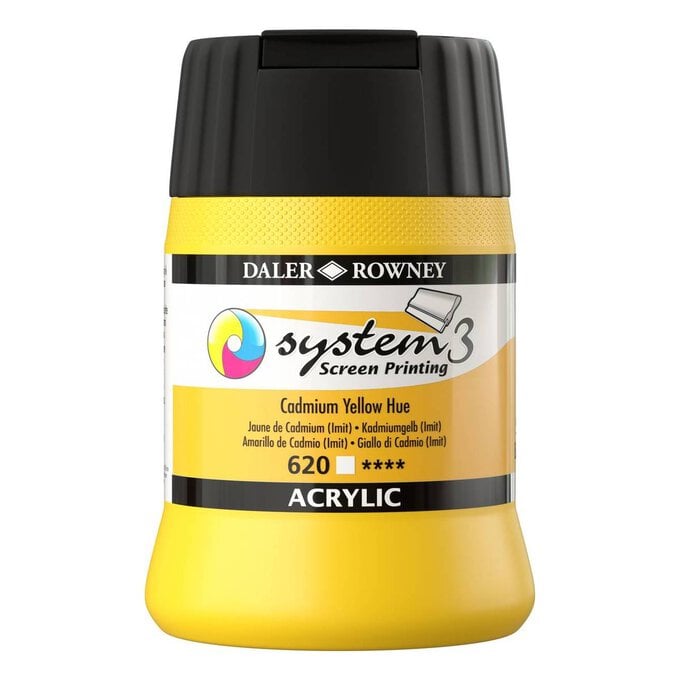
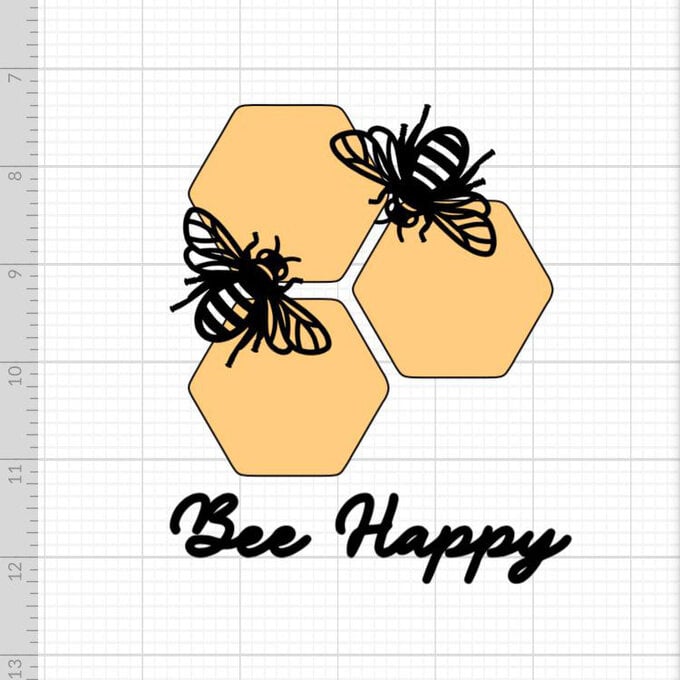
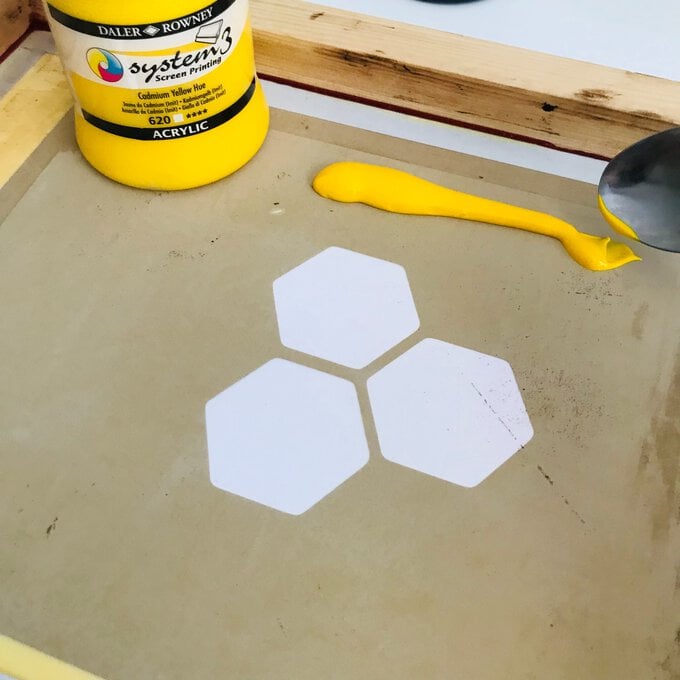
Add a generous amount of ink across the top of your screen. For this bee design, I'm using yellow ink.
Tip: use a spoon to help spread out the ink.
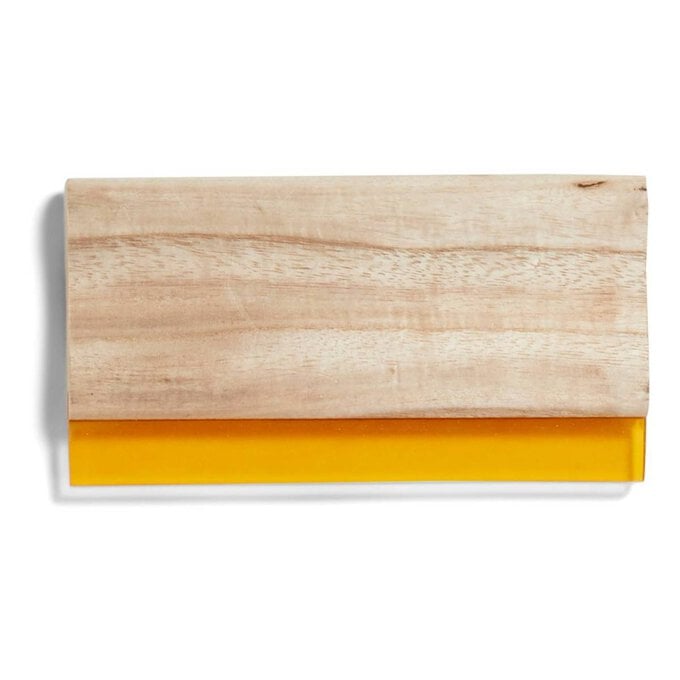
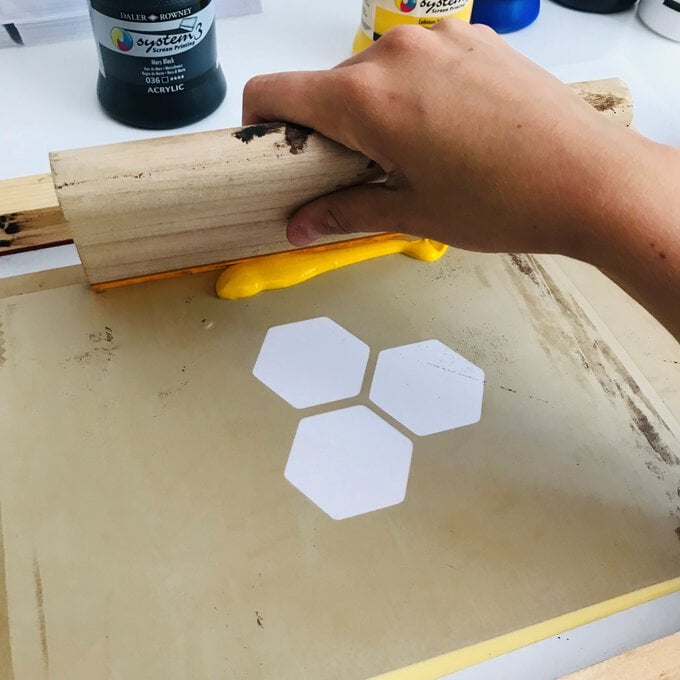
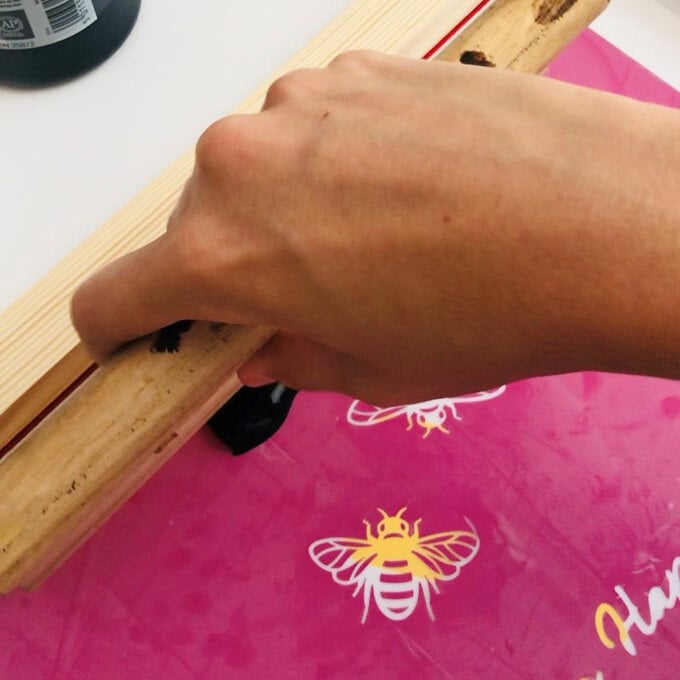
Get your squeegee and use it to spread the ink over your design. Hold the squeegee at an angle and apply with a bit of pressure. Move the squeegee in the opposite direction to apply more ink if necessary.
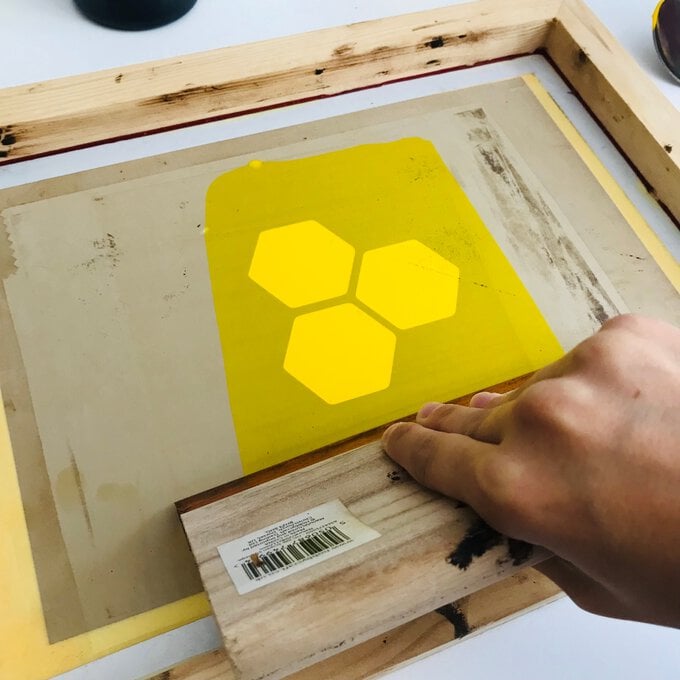
Lift up the screen from your card blank and set aside to dry. Repeat this process if you wish to create multiple cards – adding more ink if necessary.
Allow all of your card blanks dry before moving on to the second layer of your design.
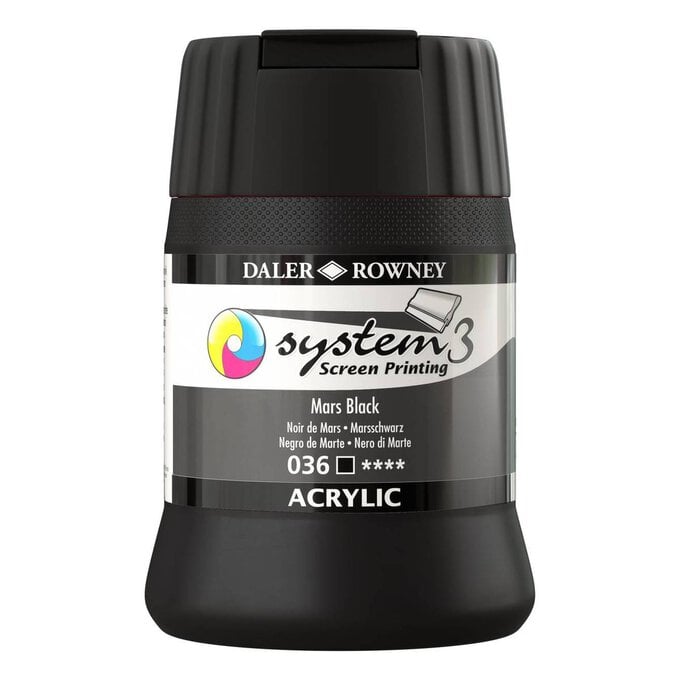
To add your second layer, place your card design back underneath your screen, and repeat steps 4 - 5 with your second stencil taped to the screen. For the second layer of this bee design, I've used black ink.
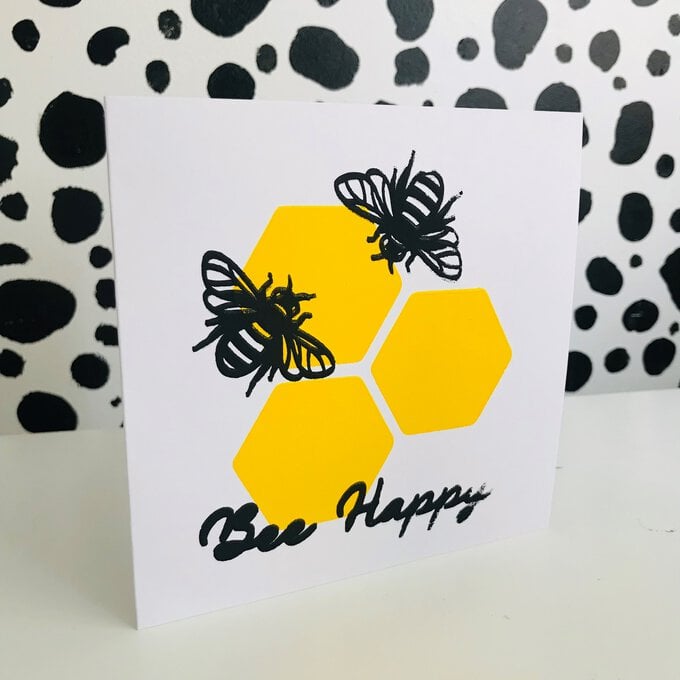
Once complete, set aside your card blank to completely dry.
Now you can put your screen-printed card design in an envelope and send it to someone special.
Why not experiment with different colours of ink, or try different card blank colours? The possibilities are endless!
Related Products

Is $ 19.00