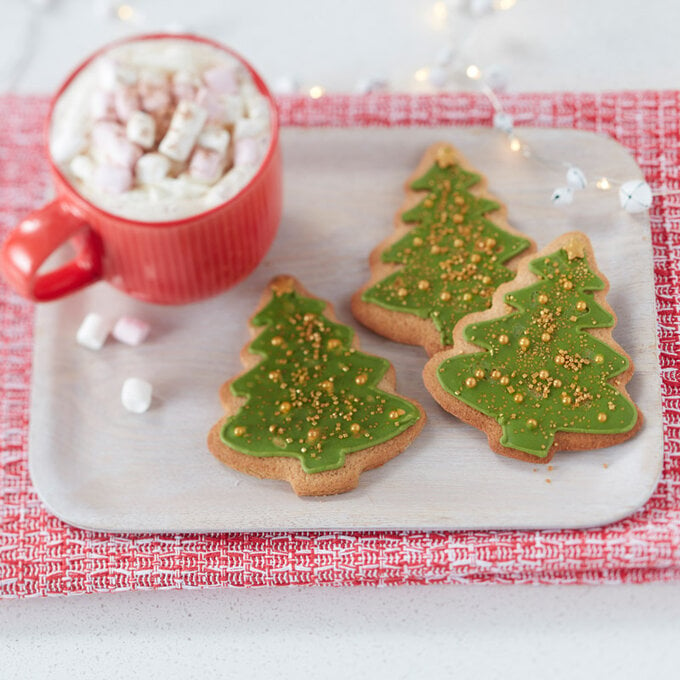
How to Make Christmas Tree Cookies
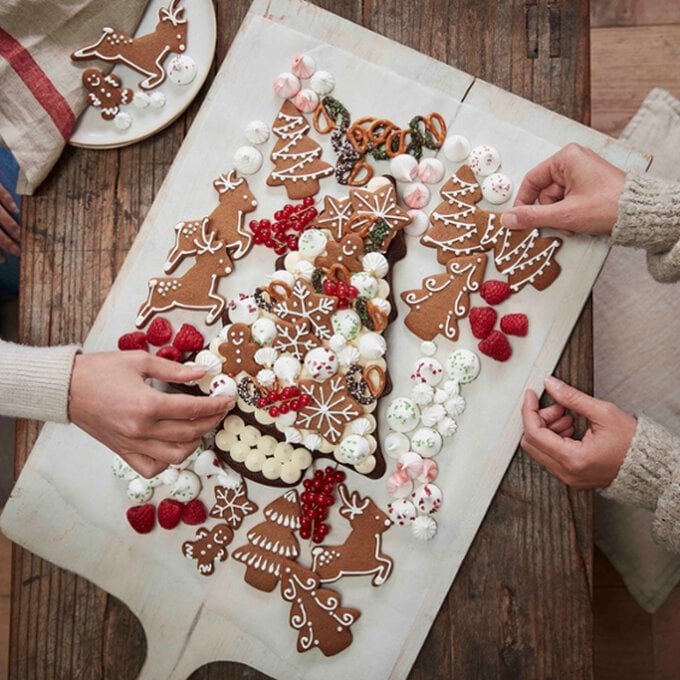
Nothing says Christmas like a classic Christmas tree cookie… and for good reason! They're easy to make and incredibly yummy, as well as putting you in the festive mood. Make a big batch and pop into cellophane bags for easy handmade gifts that everyone will love!
You will need
Subtotal
Is $ 4.49
Subtotal
Is $ 8.49
Subtotal
Is $ 3.49
How to make
You will need:
For the Cookies
350g plain flour
1 tsp salt
115g unsalted butter, softened
300g white granulated sugar
1 large free range egg
For the Royal Icing
3 table spoons Wilton Meringue Powder
450g icing Sugar
6-7 tablespoons Water
Preheat oven to 180ºC. In large bowl, beat butter and sugar with electric mixer until light and fluffy. Beat in egg and extracts. Mix flour, baking powder and salt; add to butter mixture 100g at a time, mixing after each addition. Do not chill dough. Divide dough into 2 balls.
Roll out onto a floured surface and cut out the cookies using a tree cookie cutter. Bake for approx 18 mins until golden brown and leave to cool.
Make and tint the royal icing. Beat all ingredients in large bowl with electric mixer until icing forms peaks and loses its sheen: 7-10 mins for a stand mixer, 10-12 mins for a hand mixer.
Divide the icing into 3 bowls, leave one bowl white, tint one bowl lightly with moss green, the third tint more heavily with moss green. Cover all with a damp cloth to prevent any crusting and drying out.
Prepare a disposable piping bag with a tip number 5 and the darker moss green icing. Outline the cookie in the moss green icing. Allow to dry for 1 hour.
Add a little more water a few drops at a time to the remaining 3 bowls of icing, until it is slightly thinner and runnier. To check consistency drop a dollop of thinned icing back into the bowl. If it sinks into the rest of the icing at a full count of 10 then you are good to go! If you feel the icing is too thin, add a little icing sugar and remix.
Flood the middle of the cookies with the lighter green icing, right up to the now dry outline. Add in small blobs of the white and darker green icing, swirling them together with a cocktail stick to achieve a slightly marbled look.
Allow to dry slightly for 3-4 mins, sprinkle with the gold sparkle sugars and gold sugar pearls. These should attach to the icing, but not sink into it, so do practice on a test cookie first. If they start to sink, then leave the next cookies a few more minutes, but do not allow to harden too much.
Leave the cookies at least 24 hours to dry.
Top Tip!
Reserve any left over icing (for other projects) in an airtight container for up to 2 weeks and mix thoroughly before use.
Related Products