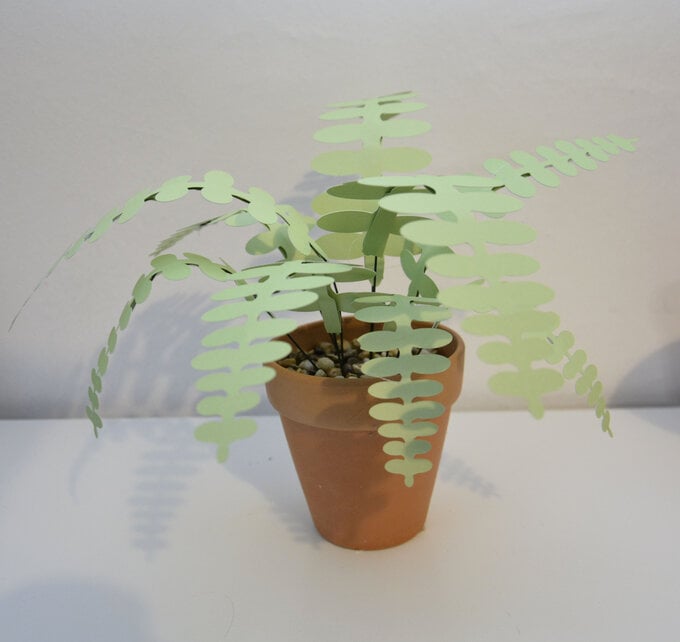
Cricut: How to Make a Paper Fish Bone Cactus
Add to your indoor garden with this handmade paper fishbone cactus. This requires a Cricut machine (any machine will be able to create however I have used the Cricut Maker) and uses the free shapes in Cricut Design Space to create the leaf shape. No designs need to be purchased from Design Space! This plant looks beautiful on a desk and is perfect for placing in a macramé hanging too.
Project by Rebecca Marie Creative
You will need

Subtotal
Is $ 40.00
Subtotal
Is $ 13.00
Subtotal
Is $ 12.00

Subtotal
Is N/A
Out of stock
Subtotal
Is $ 2.49
Subtotal
Is $ 5.49
Subtotal
Is $ 3.49
Subtotal
Is $ 7.49

Subtotal
Is $ 607.00
How to make
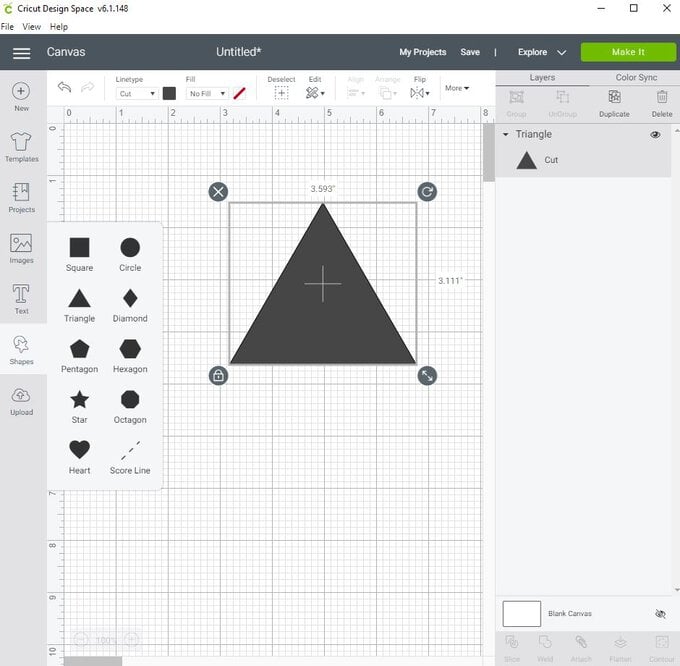
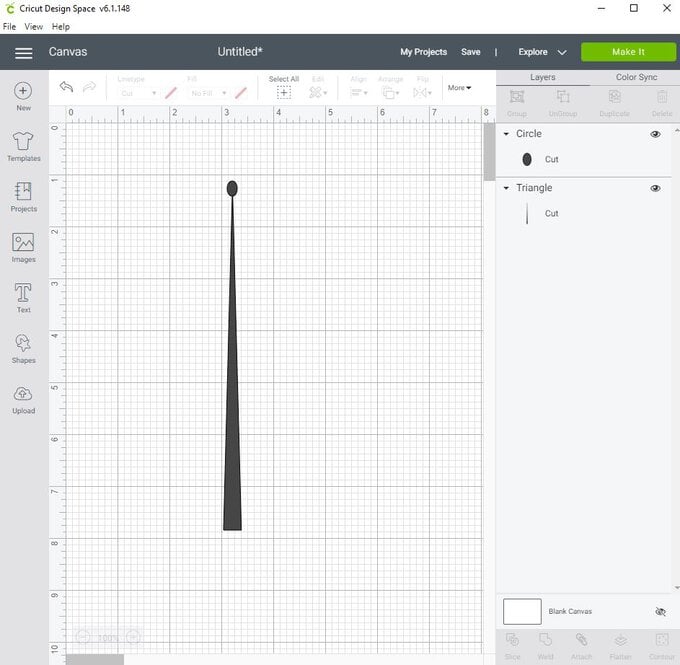
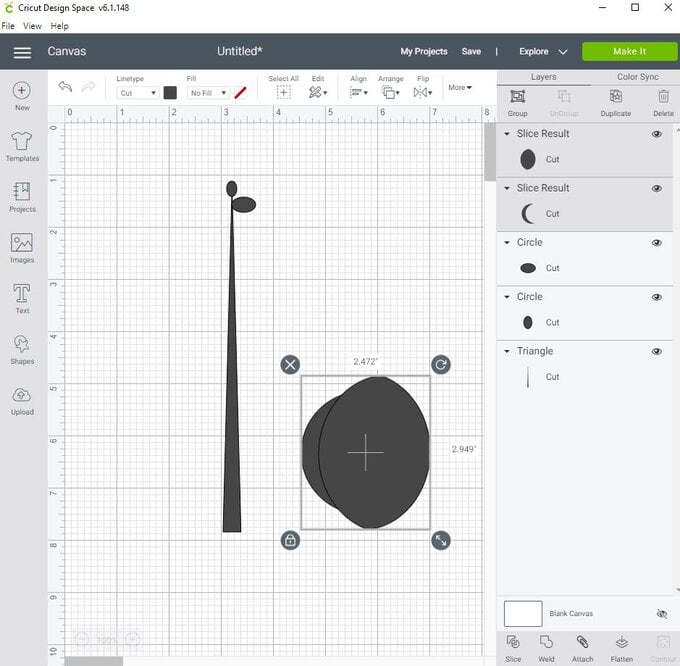
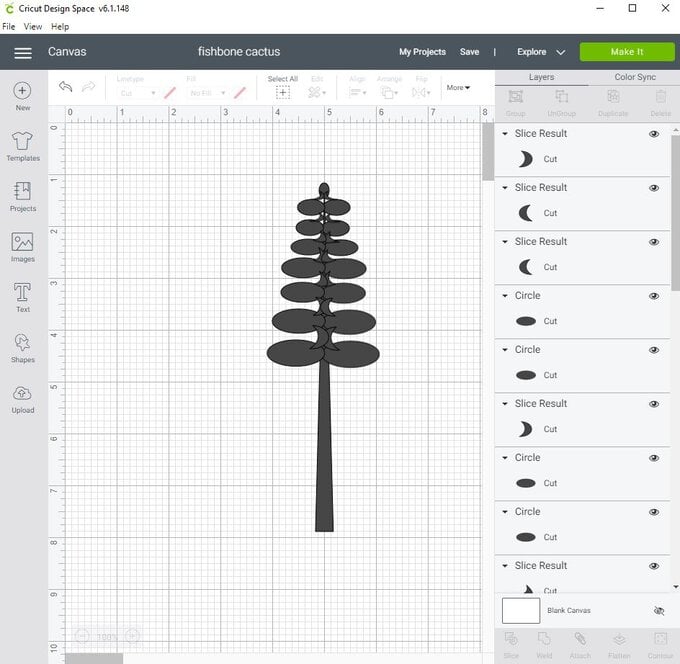
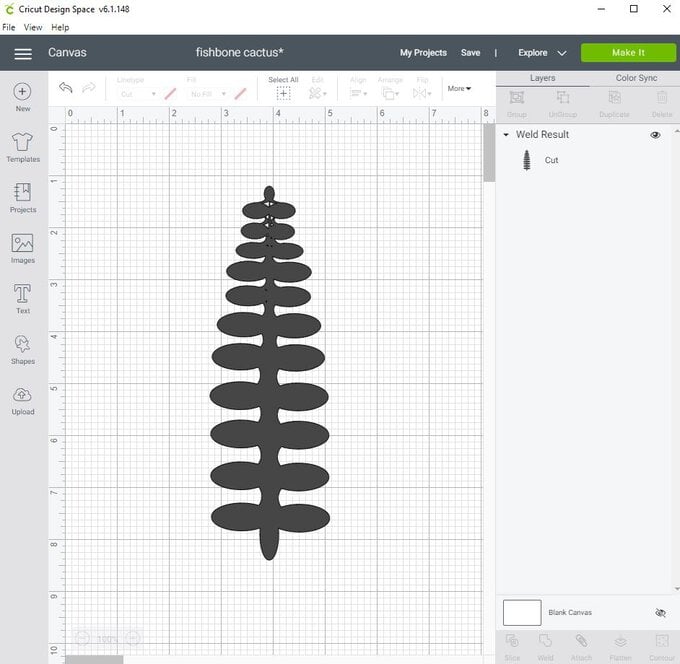
Select a triangle from the shapes option on the left-hand side of Cricut Design Space. Select the triangle and click the unlock symbol. Reshape the triangle so that it is long and thin.
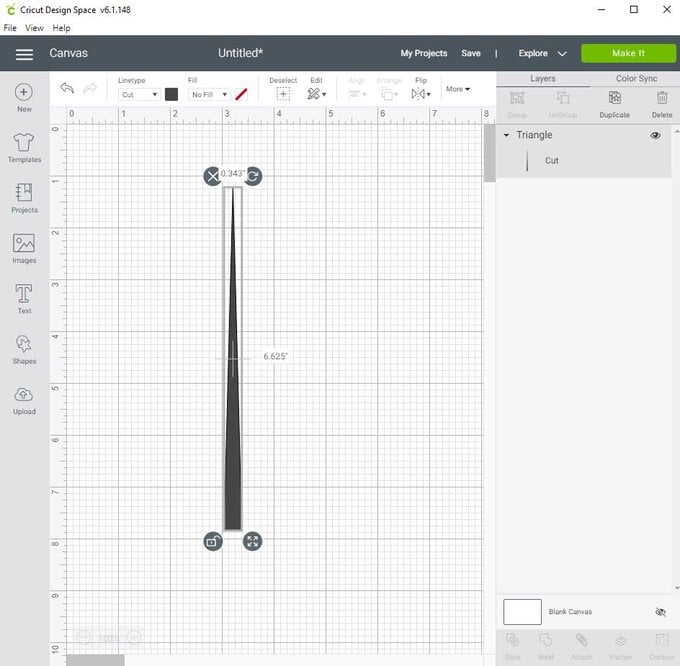
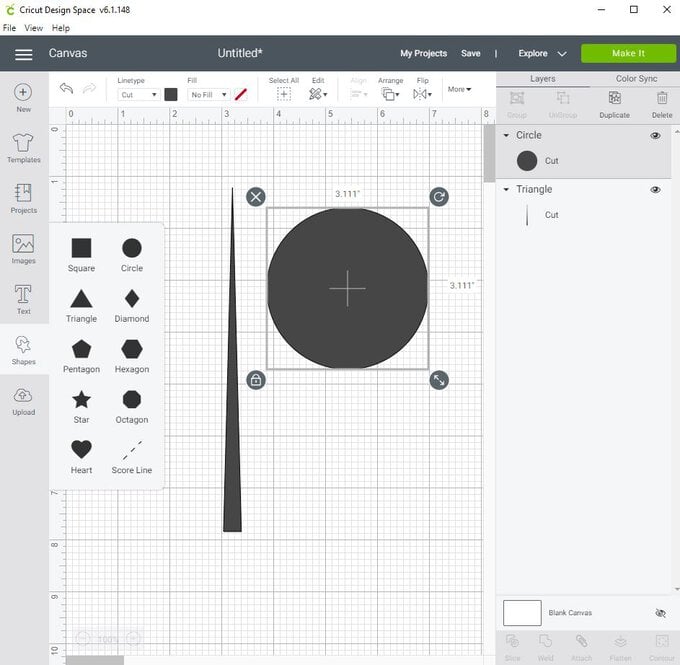
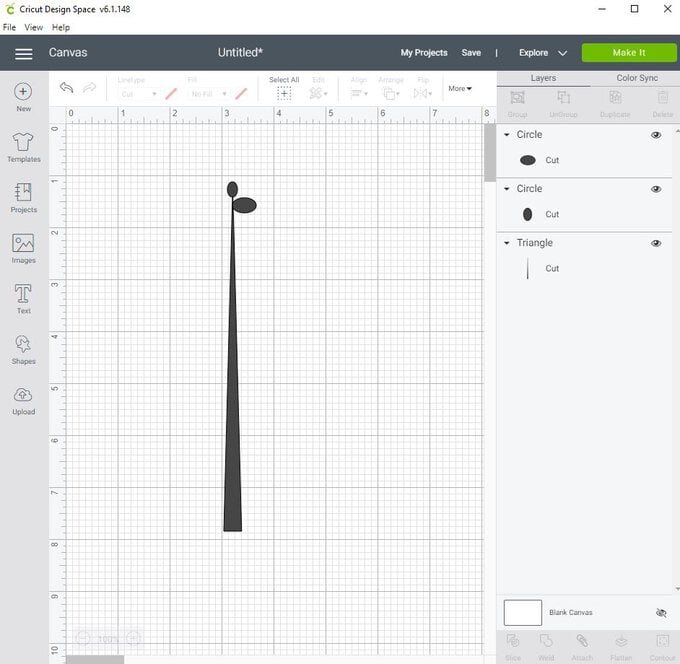
Select a circle shape. Unlock the circle and reshape to an oval. Resize and position so that it sits at the top of the point.
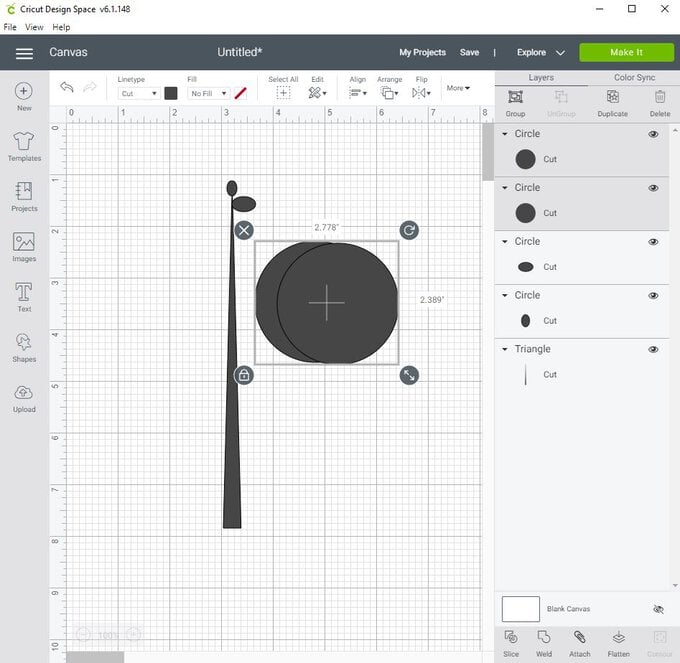
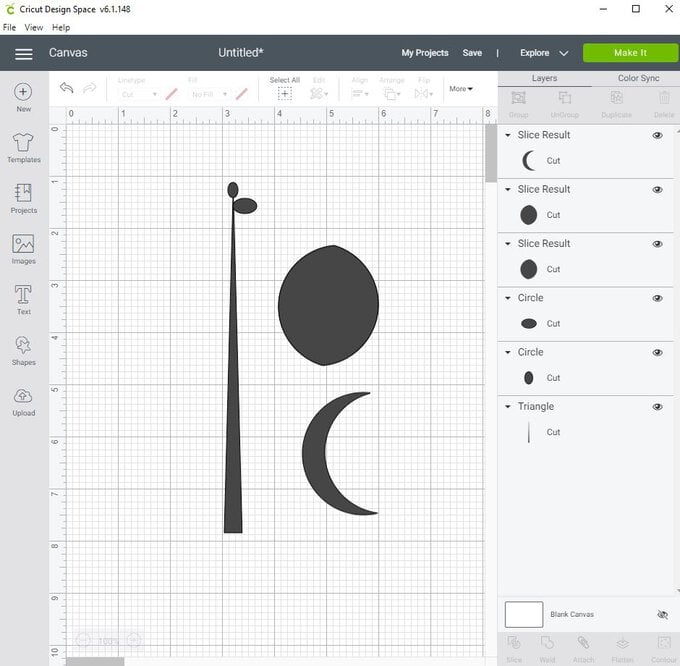
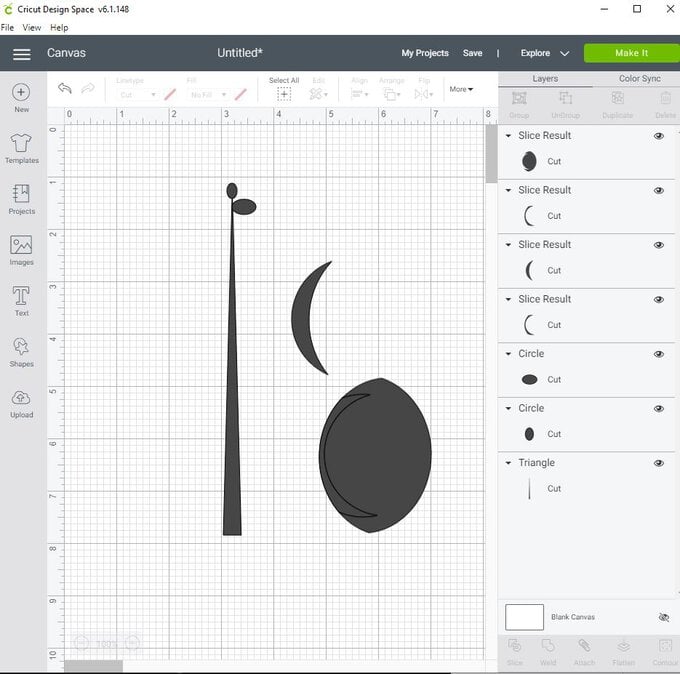
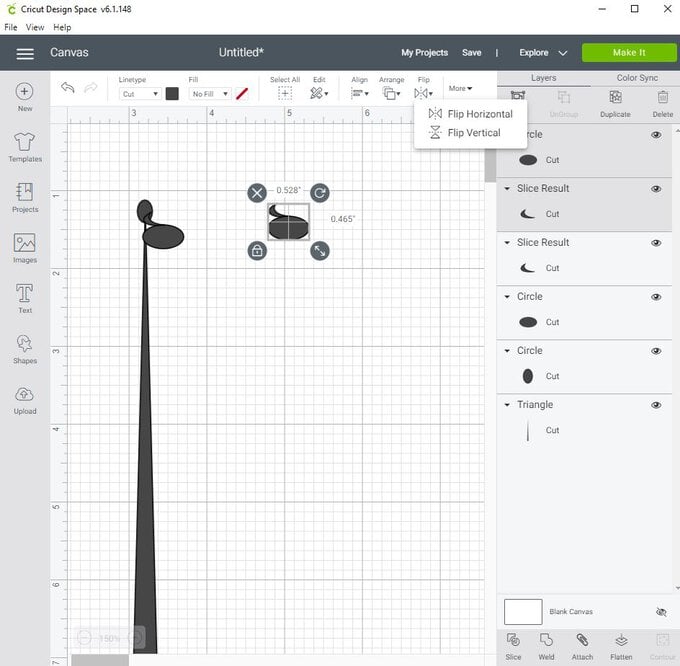
Duplicate the oval you just created and rotate 90 degrees. Position at the top of the triangle below the first oval. Next, take 2 circles and overlap them. Select both circle layers and use the slice tool. Take the sliced crescent and one of the middle sections that have just been sliced. Position this over the ends of the crescent. Select both and use the slice tool again. You will see that the crescent now has had the curled ends removed. This is because we are going to use this crescent to link the leaves together. Remove all the excess pieces from the circles. Position the amended crescent between the two ovals you placed on the triangle. Unlock the crescent if needed to reshape and position. Duplicate the side oval and amended crescent, flip horizontally and position on the other side of the triangle.


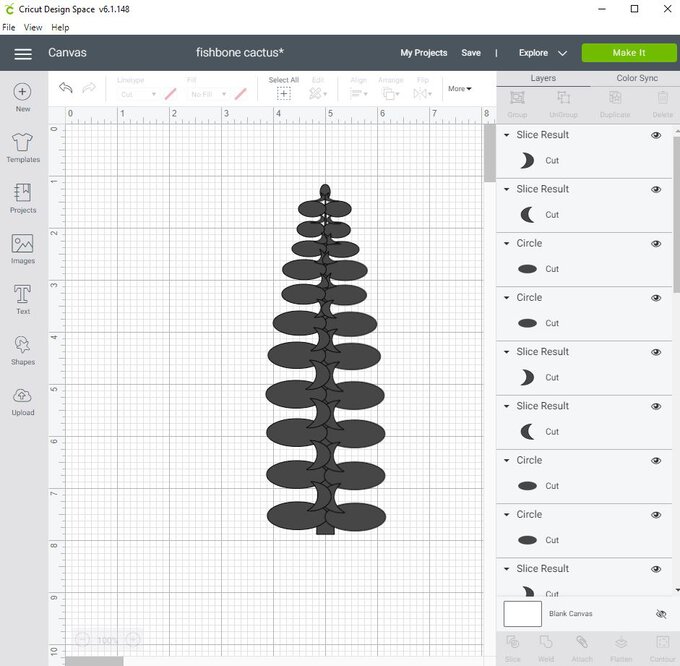
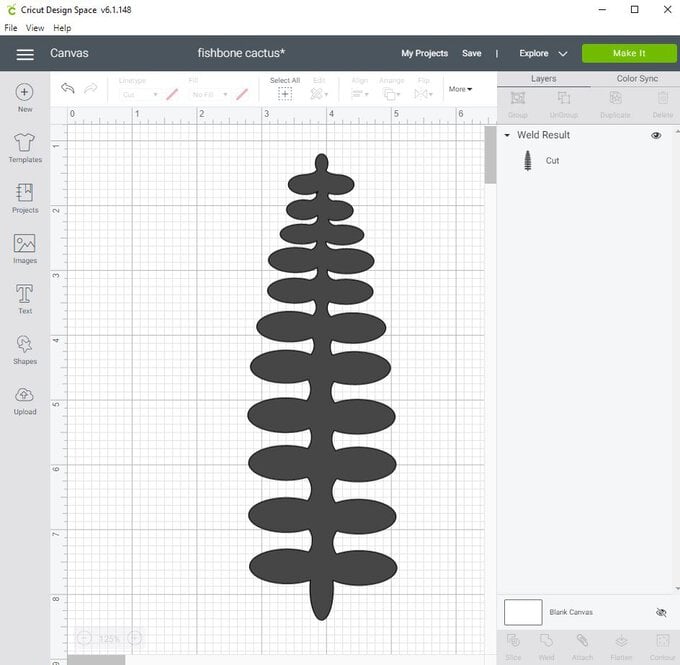
Continue this process of duplicating the side ovals and the amended crescents. Position them going down the triangle adjusting the size of the leaves each time. When you reach the bottom, select a circle shape, unlock and reshape to an oval. Position this at the bottom of the triangle as the stem.
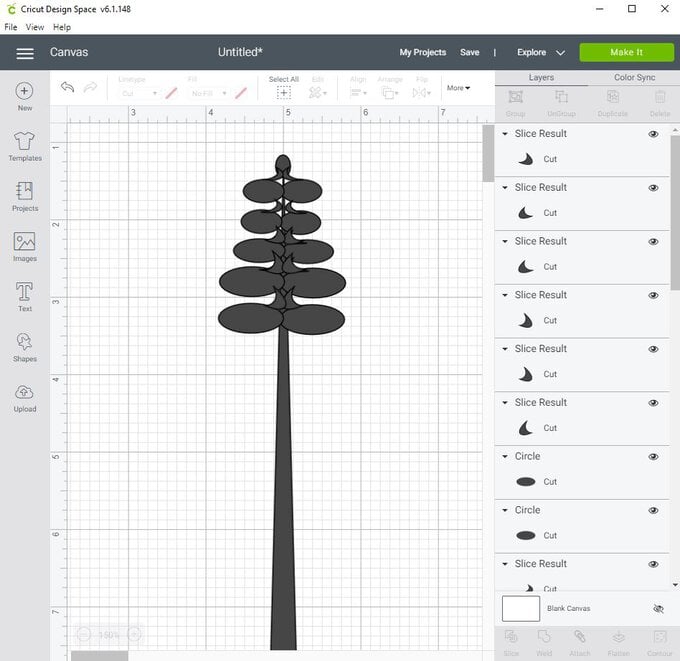
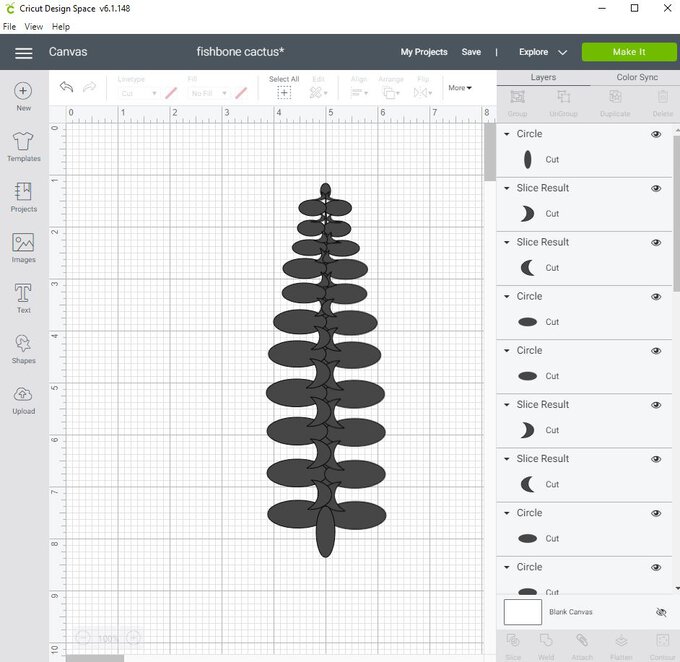
Select all and weld together.
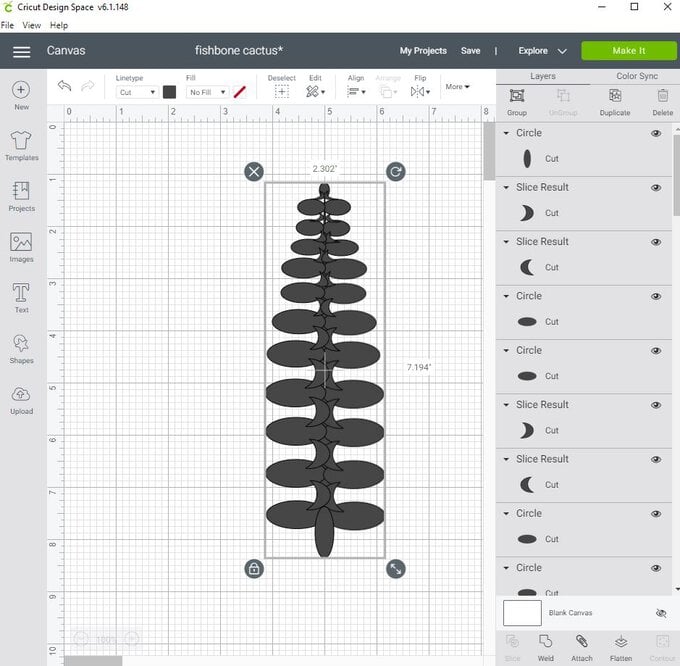
If any gaps are shown take a circle shape, unlock and position over them ensuring that the shapes do not go over the welded leaf shape. Select all and weld together. Duplicate the leaf shape in a variety of sizes ready for cutting out.

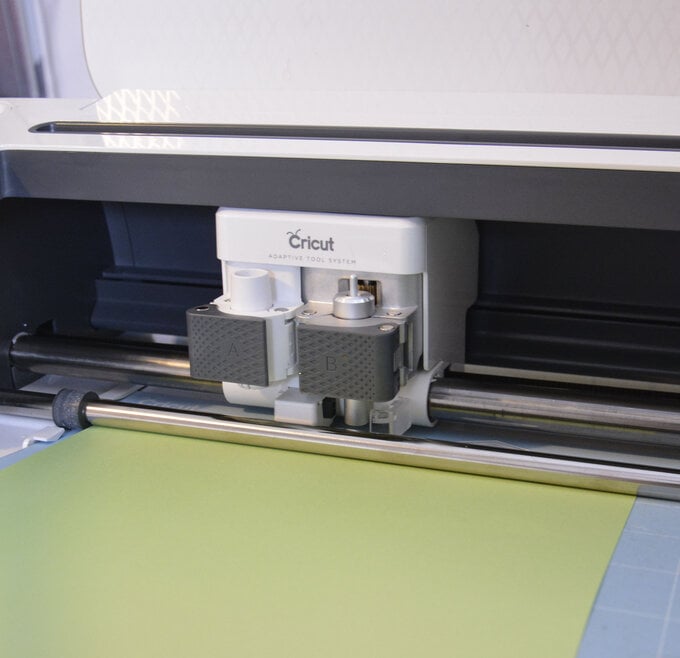
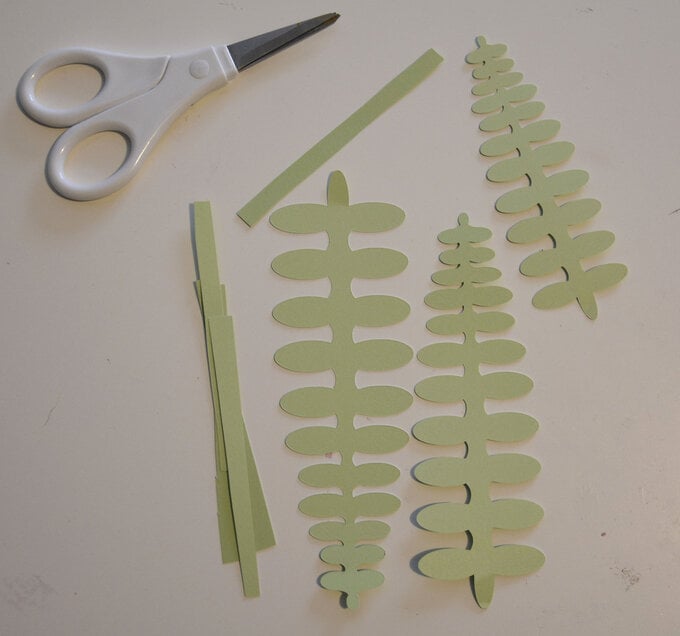
Now it's time to cut your leaf shapes out! Follow the onscreen guidance when cutting out.
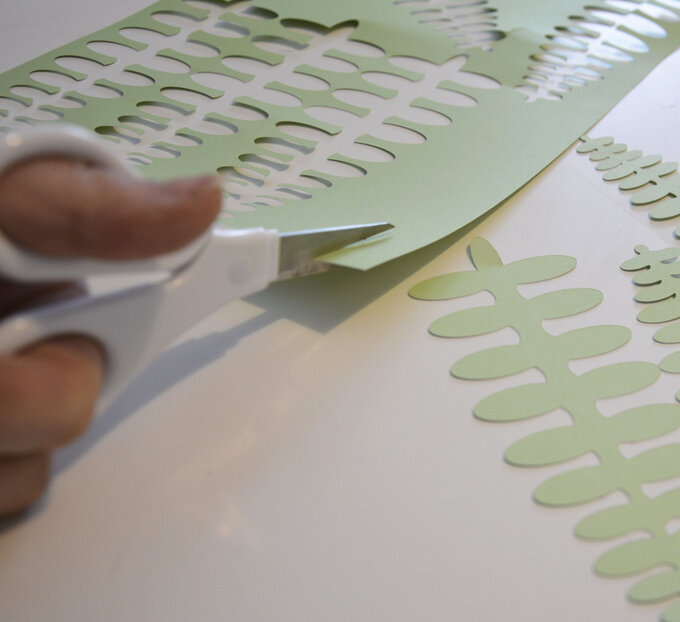
Once leaf shapes are cut out, keep the rest of the cardstock and use it to cut thin strips. These will be used to hide the florist wire.
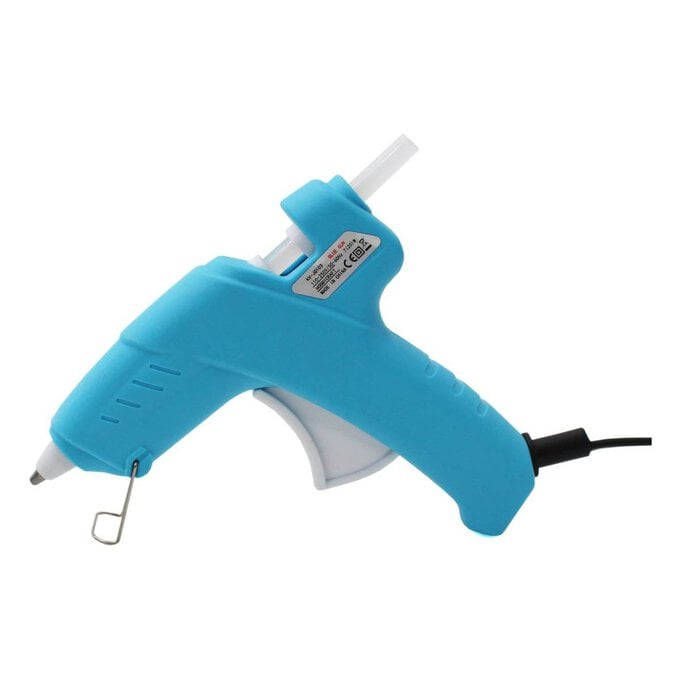
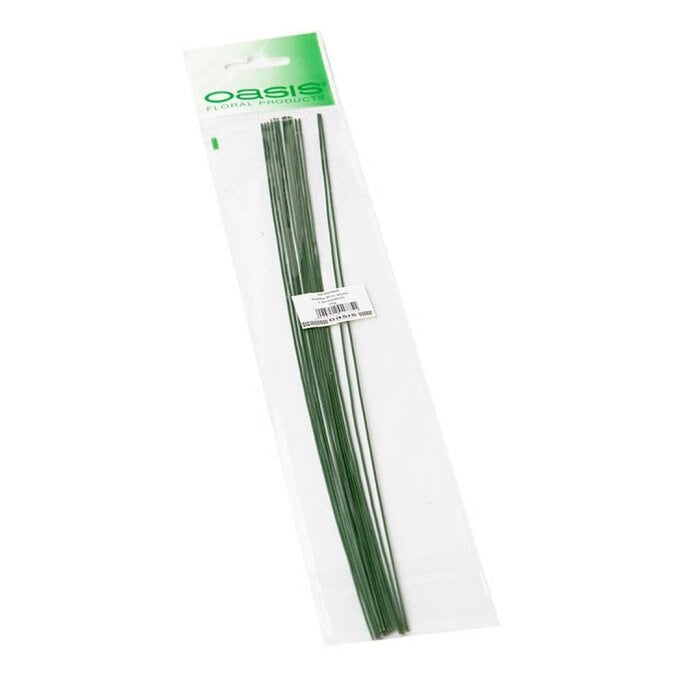
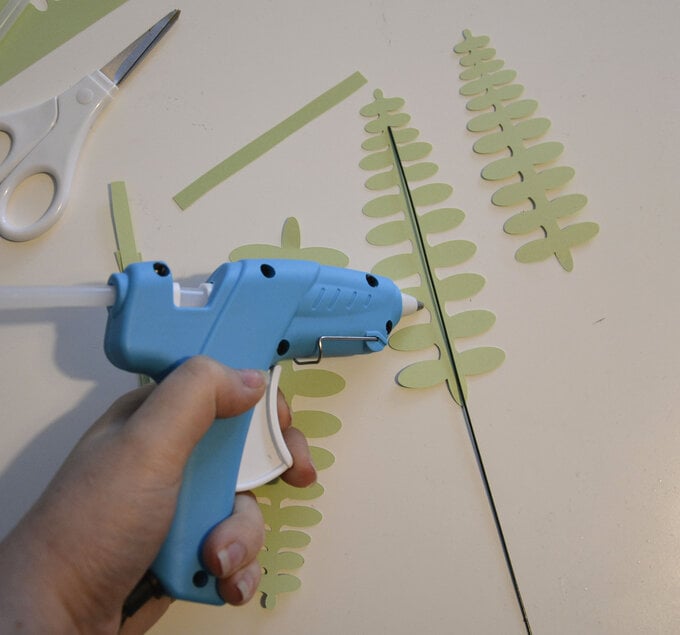
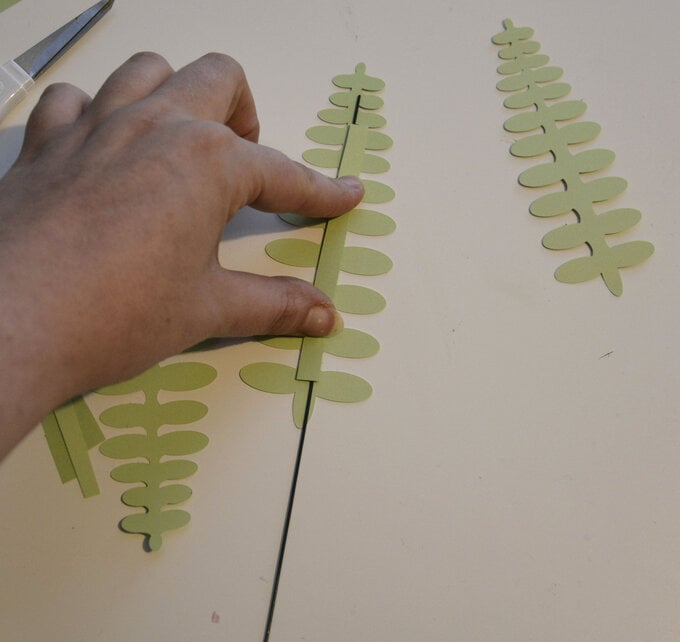
Using a glue gun and hot glue, adhere the florists wire down the centre of the leaf. Use the strips to cover the wire. You want the wire to be at least hallway up the leaf as the wire will help with the curling of the leaves.
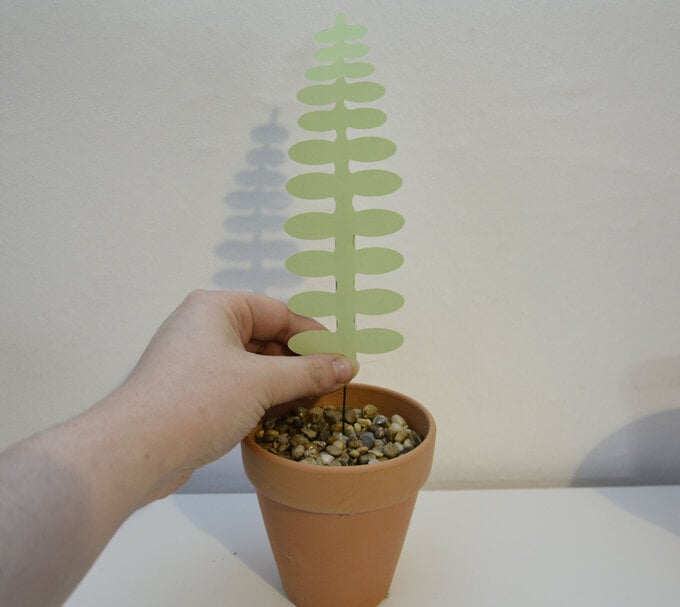
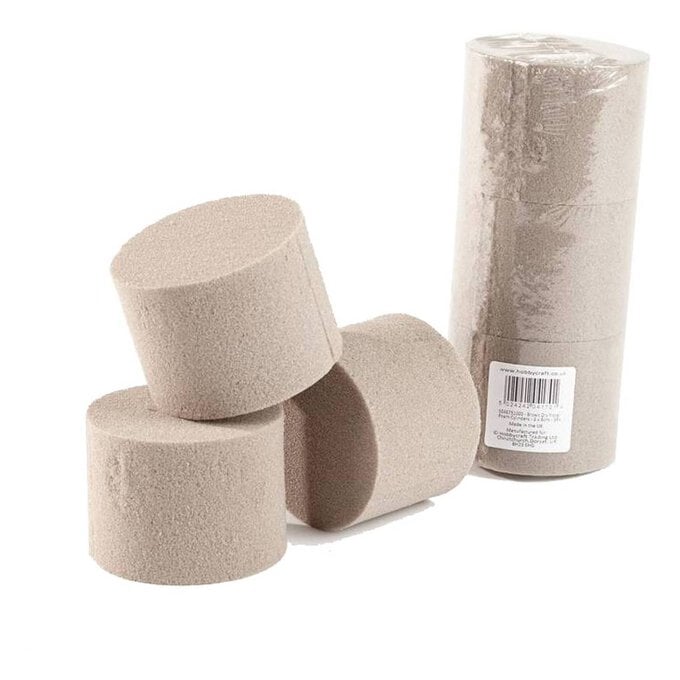
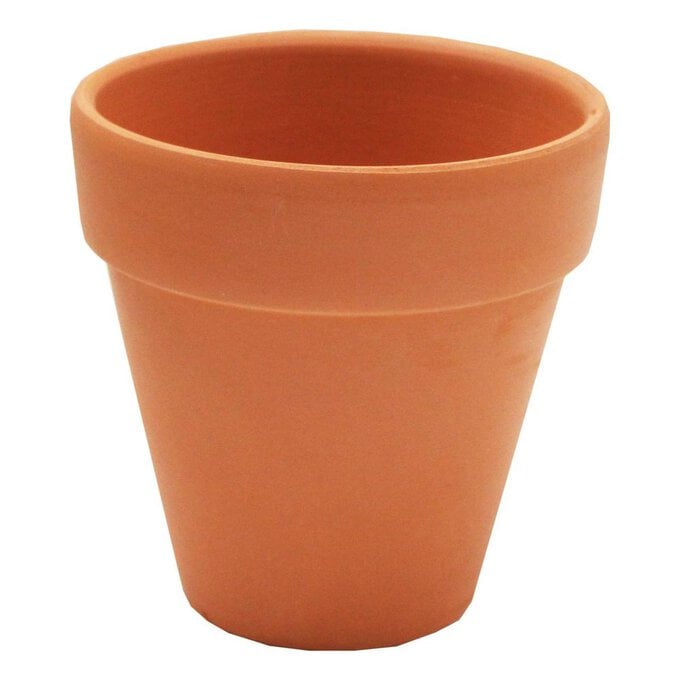
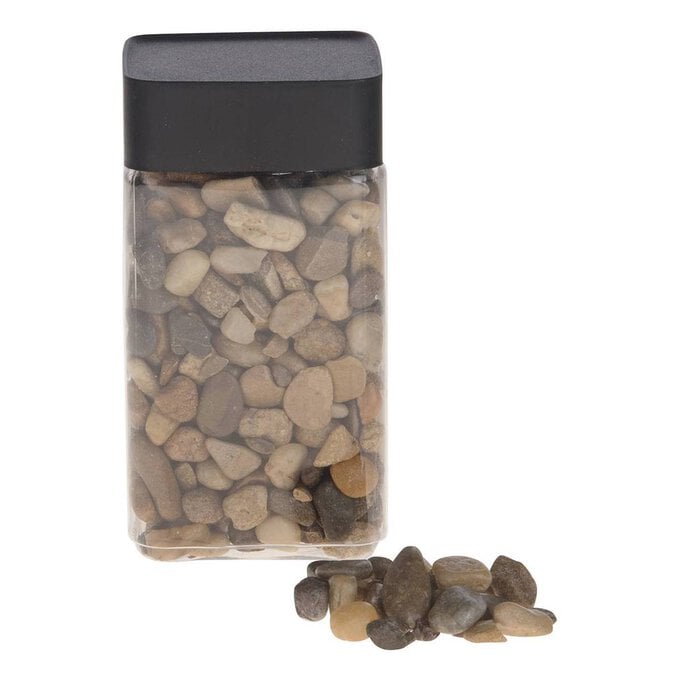
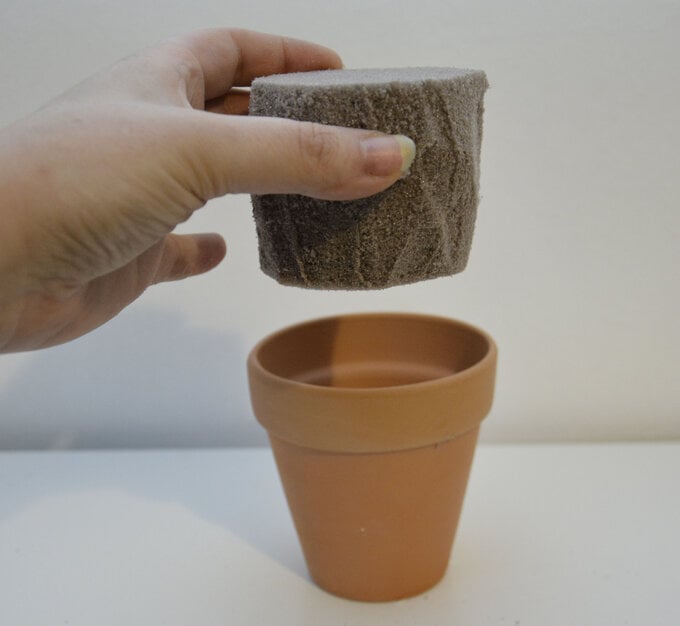
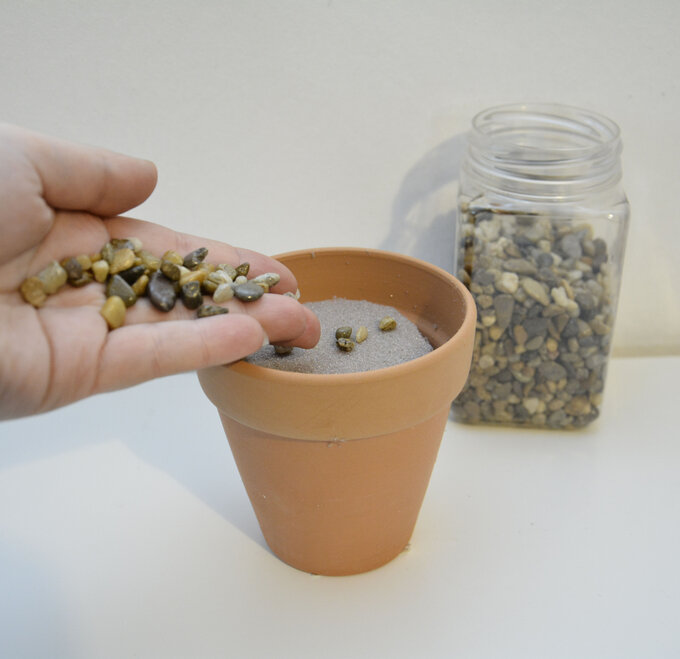
Place the foam into the plant pot. Take your decorative stones and place them into the pot covering the entire foam.
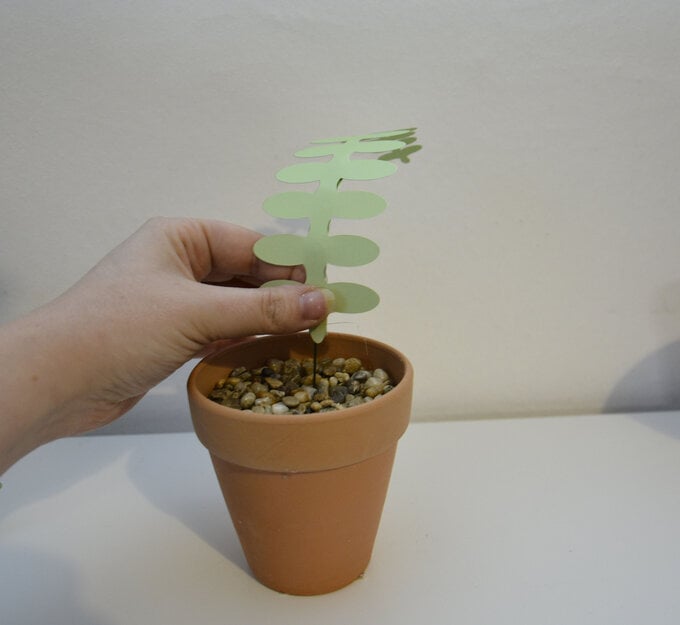
1. Insert the leaf into the floral foam and gently bend over. Work in a clockwise motion with your leaves always bending outwards.