Cricut: How to Make an Ice Cream Play Set
Create an extra-special play set for your little one using your Cricut machine and a variety of cardstock and paper, as well as Cricut adhesive vinyl.
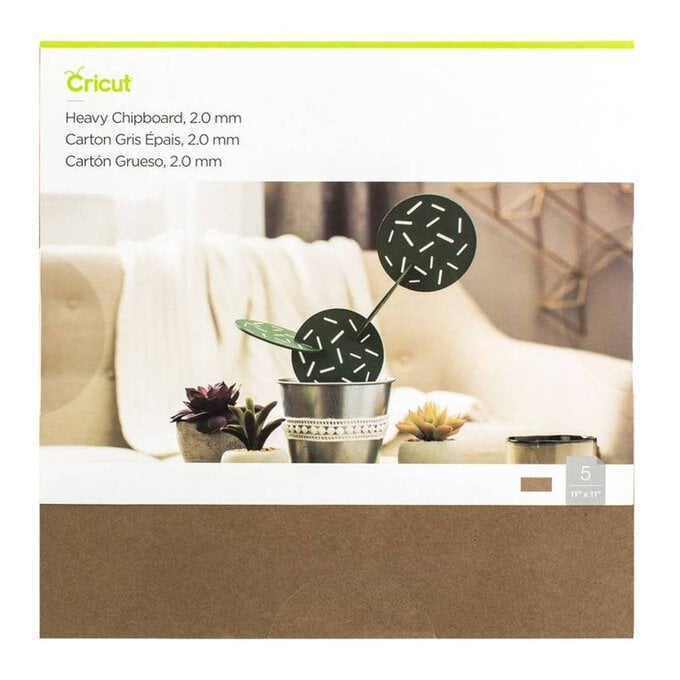
Perfect for intermediate Cricut users, this papercraft project is ideal for those looking to create something a little bit different. Cricut Heavyweight Chipboard has been used to create the base of the ice creams to ensure they last for many play sessions to come!
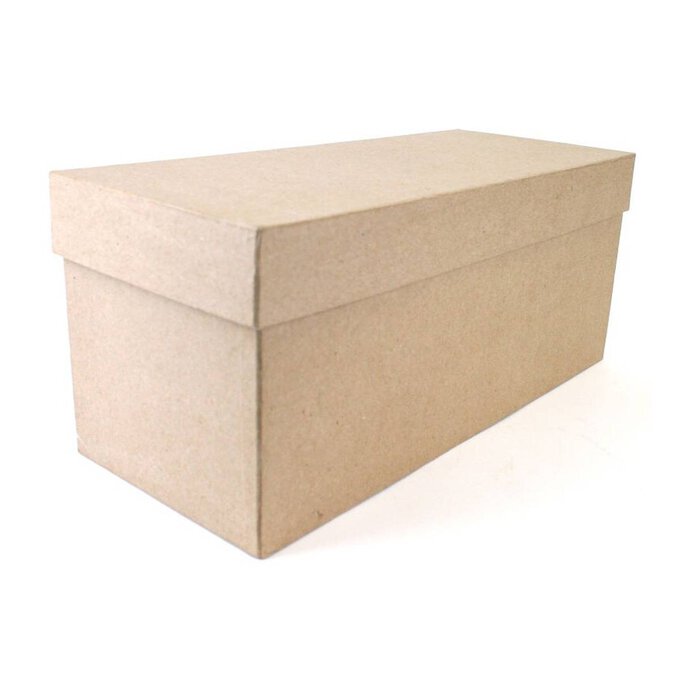
If you have one, why not upcycle a cardboard box to create the ice cream stand?
Cricut Design Space Project Link andgt;
Discover more Cricut ideas here andgt;
Project and instructions by Aisha Cluitt.
Please note: This project contains paid-for content from Cricut's Design Space app. Screen reference images are taken from the desktop version of Design Space.
You will need

Subtotal
Is $ 606.00
Subtotal
Is $ 32.00

Subtotal
Is $ 40.00
Subtotal
Is $ 64.00
Subtotal
Is $ 12.00
Subtotal
Is $ 18.00

Subtotal
Is $ 5.49 , was $ 7.49
Subtotal
Is $ 1.49 , was $ 2.49
Subtotal
Is N/A
Subtotal
Is $ 3.49
Subtotal
Is $ 16.00
Subtotal
Is $ 4.49
Subtotal
Is $ 7.49
Subtotal
Is $ 3.49
Subtotal
Is $ 1.49
Subtotal
Is $ 6.49
Subtotal
Is $ 4.49
Subtotal
Is $ 4.49
Subtotal
Is N/A
How to make
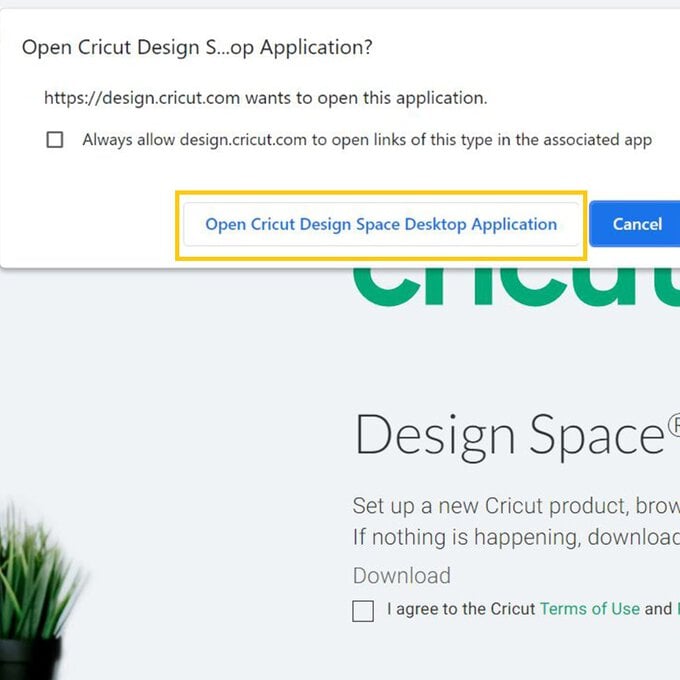
Start by opening the project in the Cricut Design Space app using the project link at the top of this post, or alternatively use the link below - https://design.cricut.com/landing/project-detail/609854fb4915f910808f3950
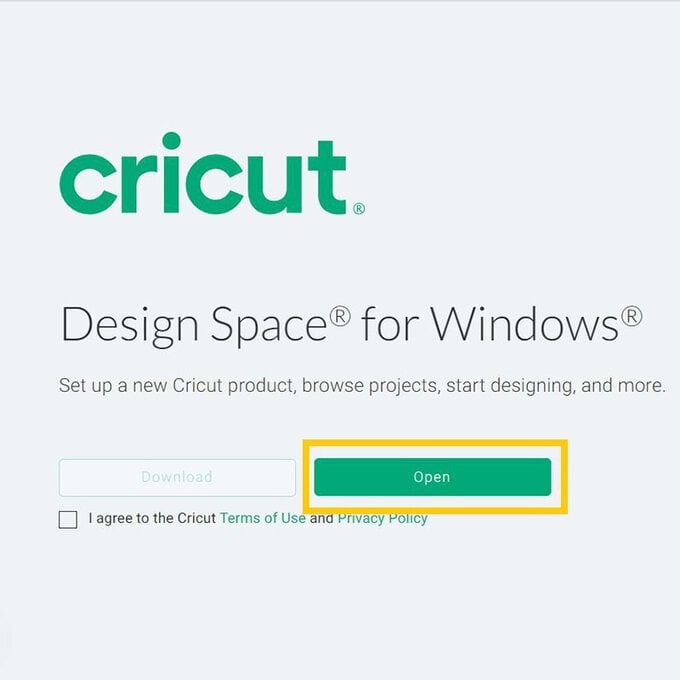
To access the project, copy and paste the link into your browser, you will be directed to a Cricut landing page, select 'Open' followed by 'Open Cricut Design Space Application'.
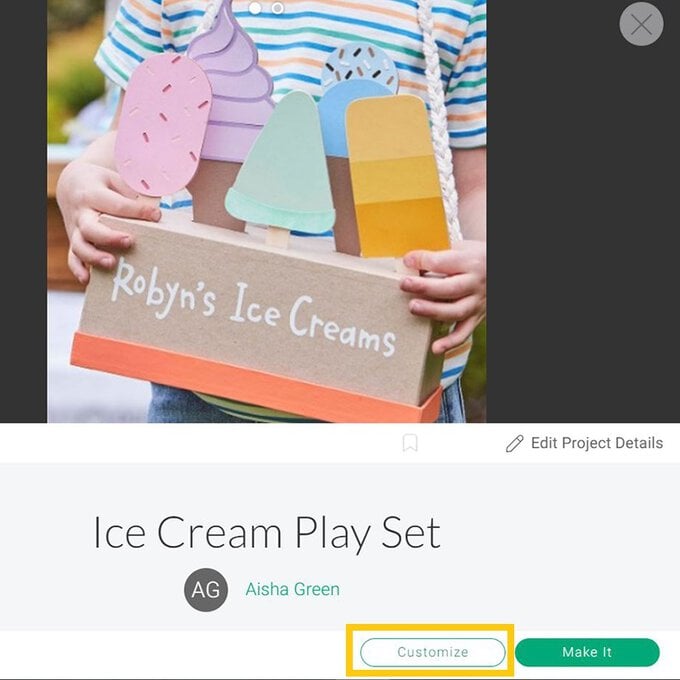
The app will open (you may be prompted to log in) and the project overview screen will appear.
Select 'Customise'.
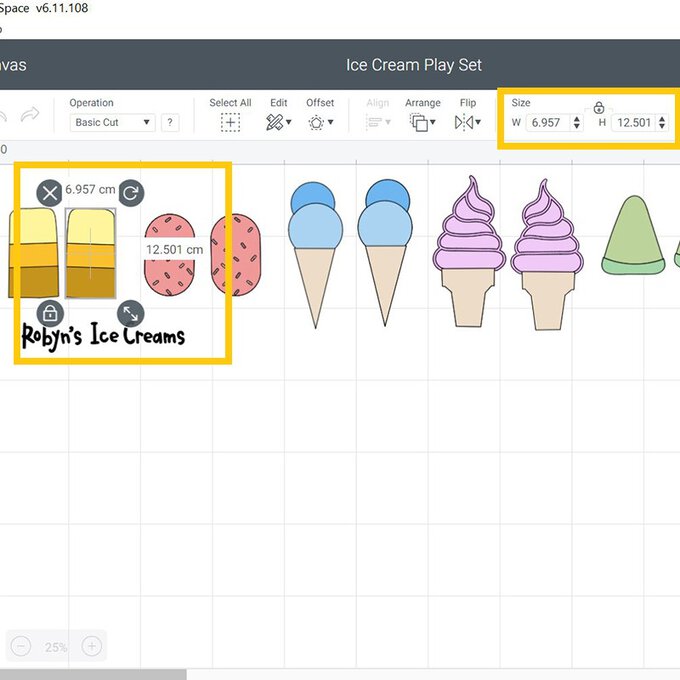
Once through to the Canvas screen, check you are happy with the size of each element by clicking on it and viewing the dimensions in the toolbar at the top of the screen.
Amend the name to suit your lucky recipient.
Once happy, select 'Make it'
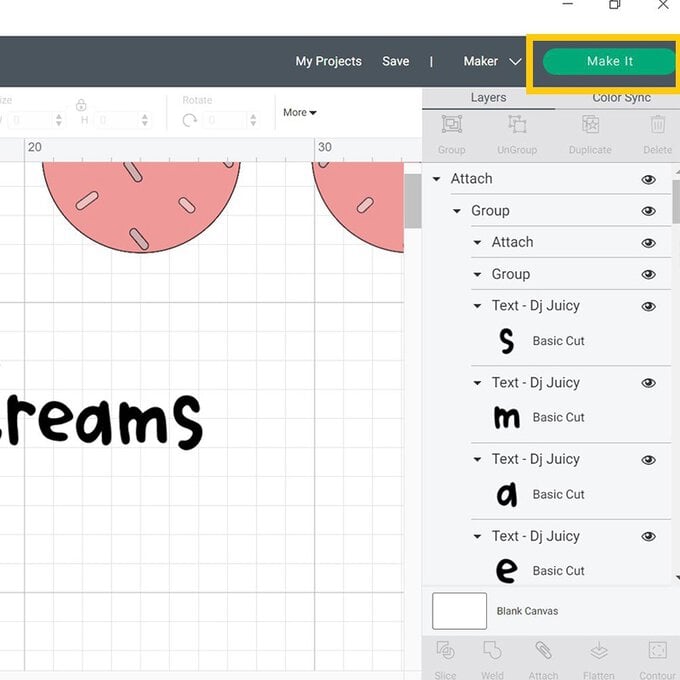
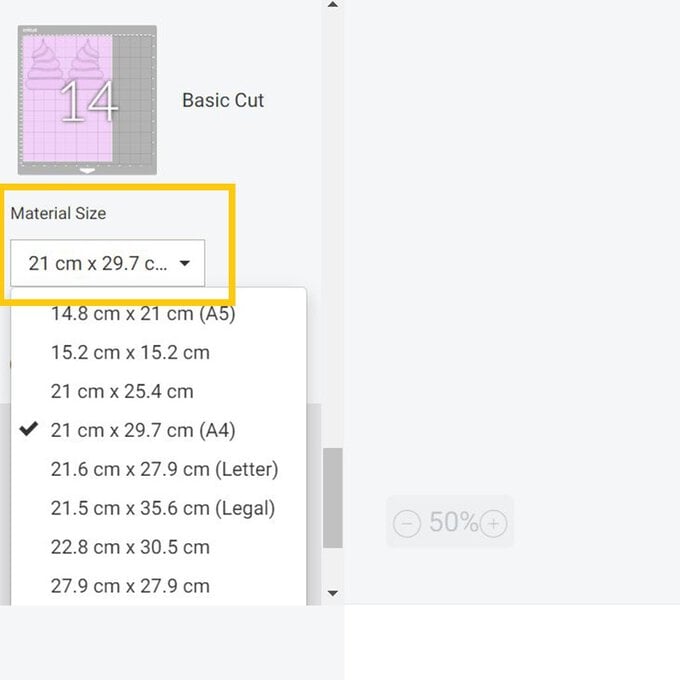
Once through to the mat preview screen, check everything is present and correct and got through each mat and amend the 'Material Size' as necessary to suit the paper/cardstock you're using.
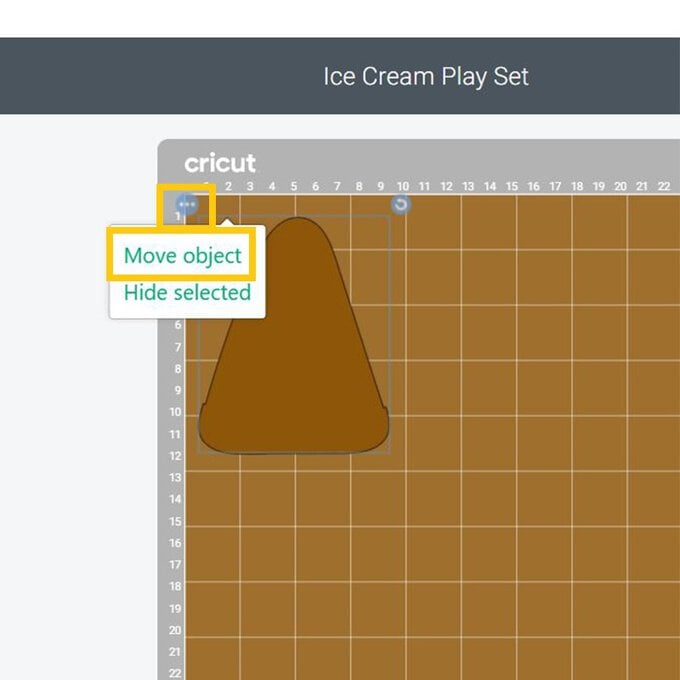
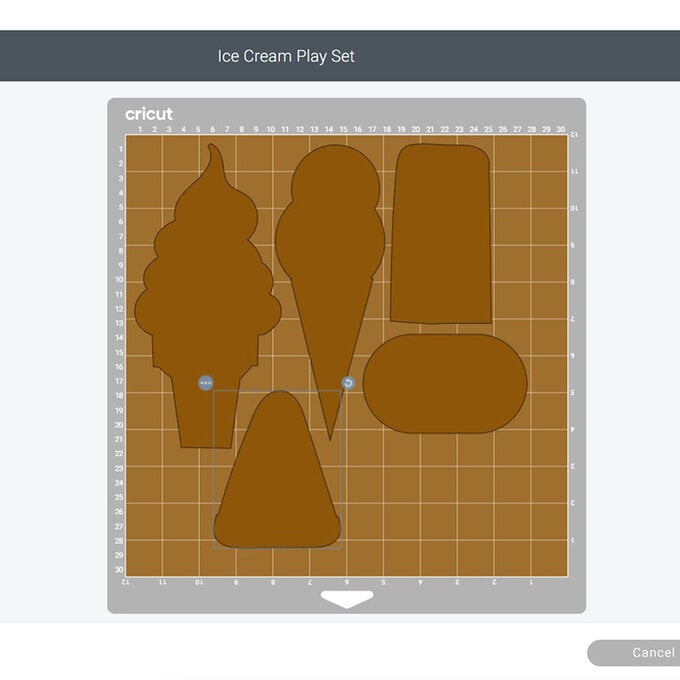
Once amended, re-position any elements to make the most of the space available on the size of material you have; this can be done by clicking on an element and re-positioning it on a mat, or you can move elements from board to board by clicking the three dots and selecting 'Move Object'.
Once happy click 'Continue'.
You will then be taken through to the machine set up screen, cut each mat one at a time, select the relevant material from the 'Materials Setting' drop down menu before cutting each mat when necessary.
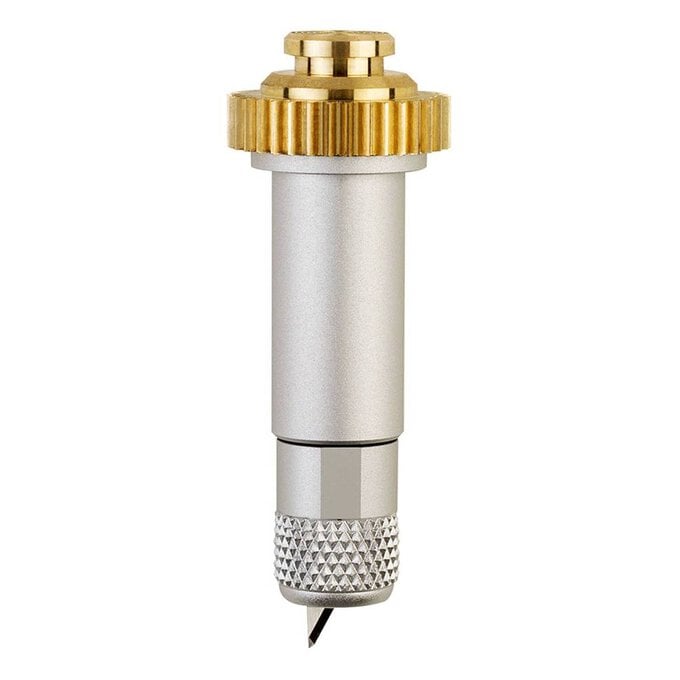
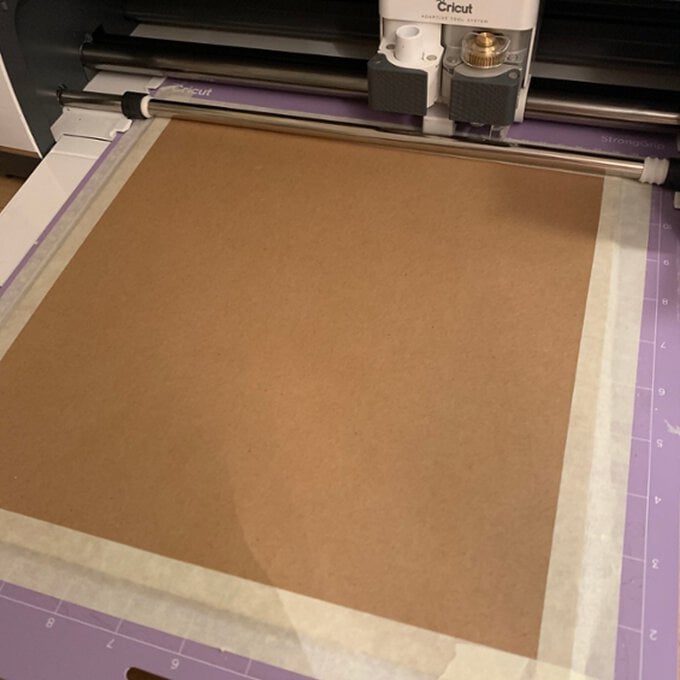
When cutting the kraft brown mat, this will need to be cut from Cricut Heavyweight Chipboard using the Cricut Knife Blade, follow the on-screen instructions on what is needed to complete the cut.
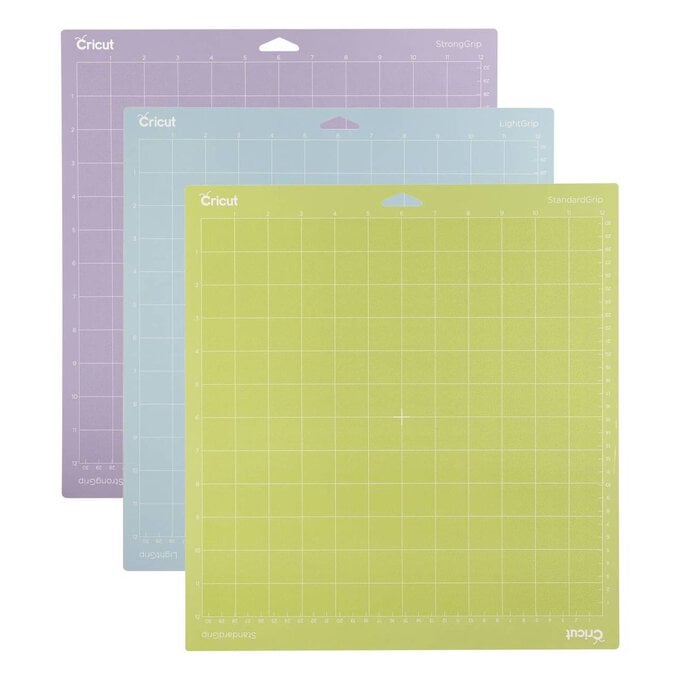
Top Tip: Make sure to secure the chipboard to the StrongGrip Cutting Mat using masking tape, and sliding the star wheels to the left or right-hand side of the Maker.
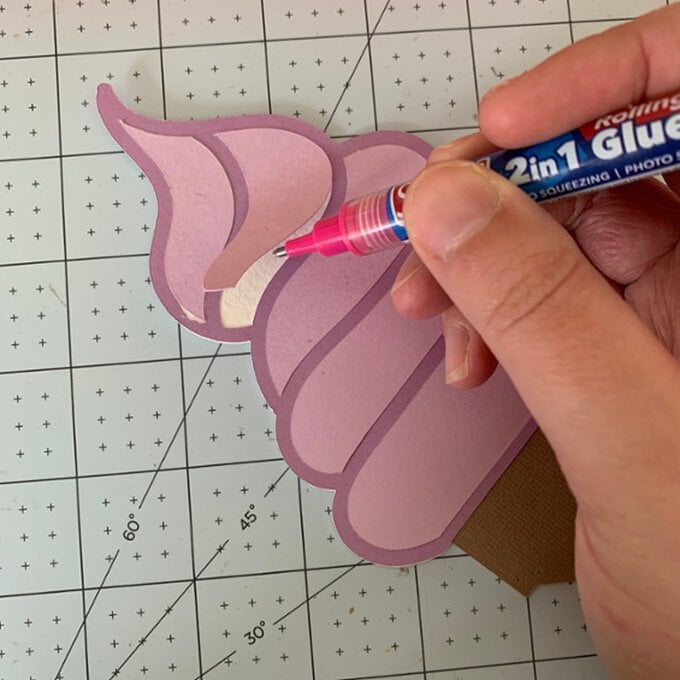
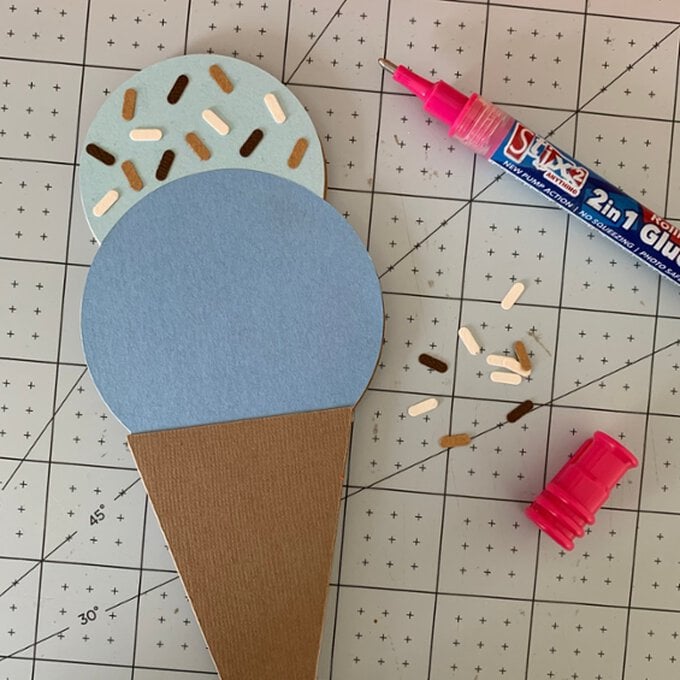
Once all the elements have been cut and carefully removed from the cutting mats, it's time to start constructing each of the ice creams!
Adhere each paper layer using a glue stick, then use tacky glue to adhere the constructed ice cream designs to the front of the corresponding chipboard piece.
Top Tip: A glue pen will come in hanfy when securing smaller, thinner elements.
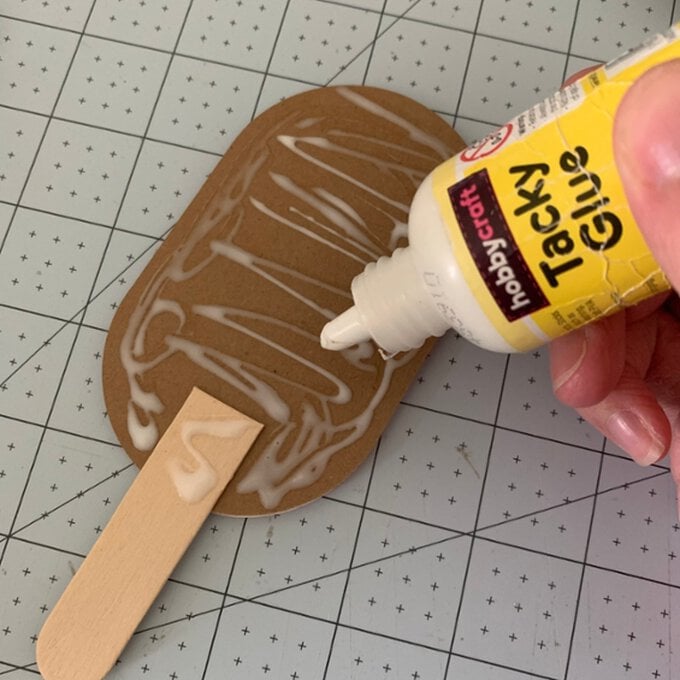
Leave the ice creams to dry under a heavy book for approximately 30 minutes.

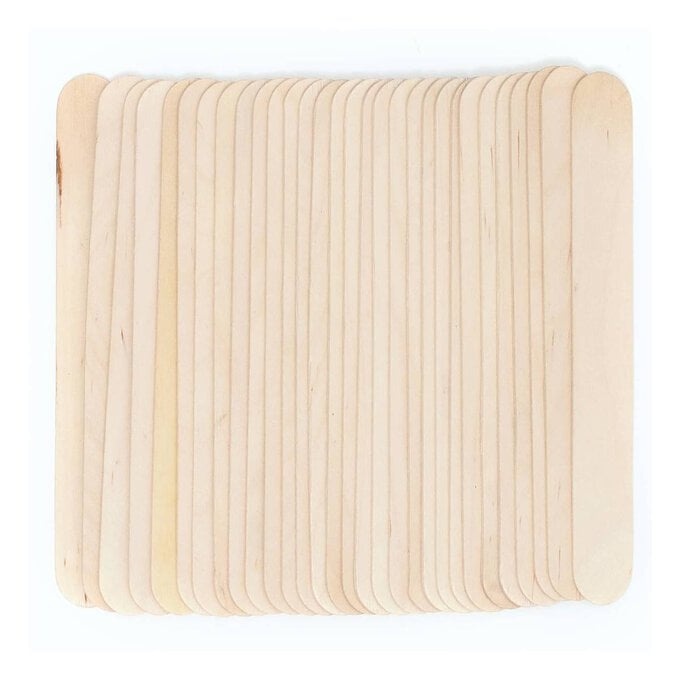
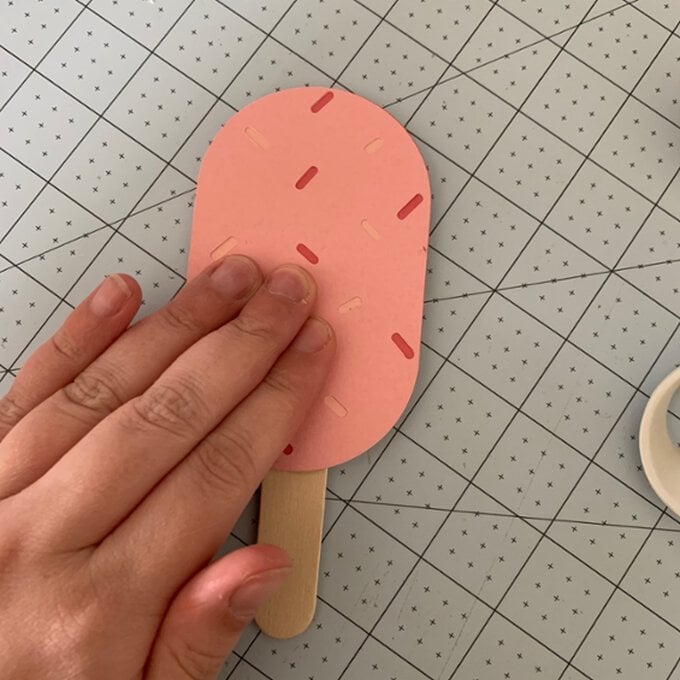
Trim the craft sticks to the desired length using a sharp pair of scissors then secure in place to the chipboard with tacky glue, apply the remaining (back) piece of the ice cream constructed in step five.
Leave the fully constructed ice cream to dry under a heavy book once more.

While the tacky glue is drying, start decorating the stand for the ice creams.
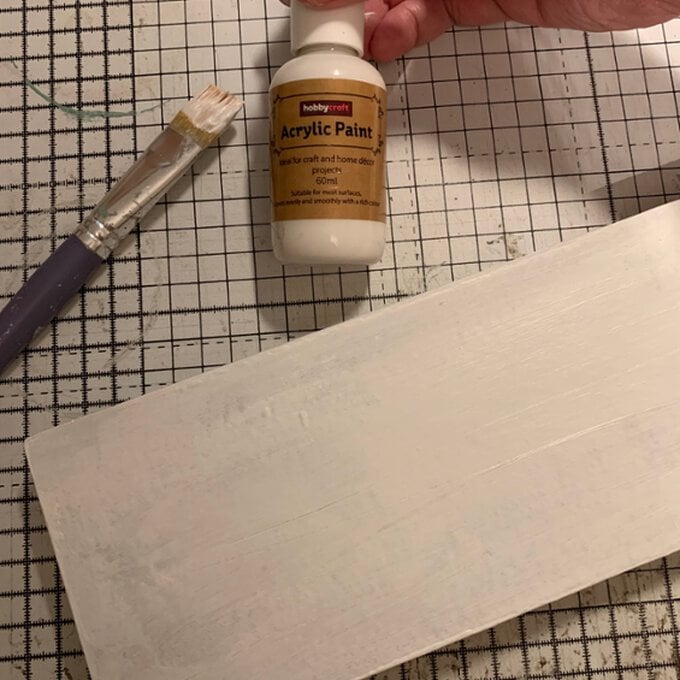
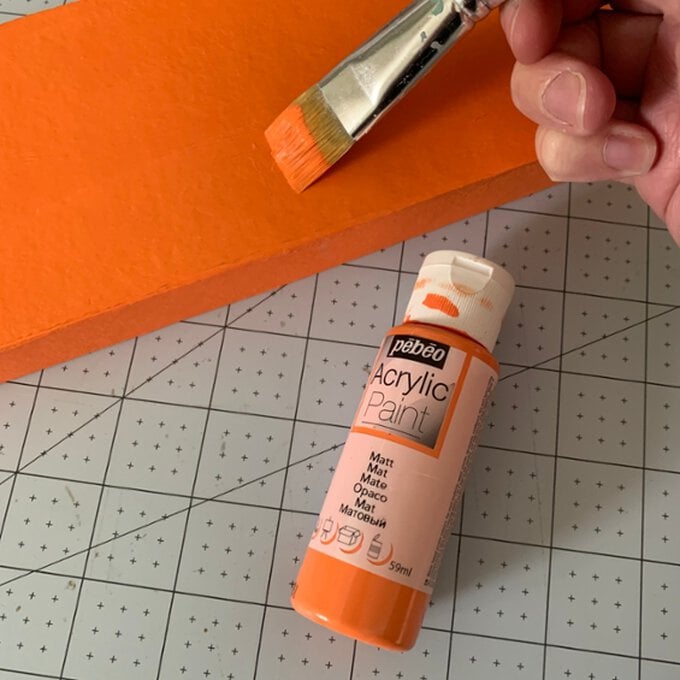
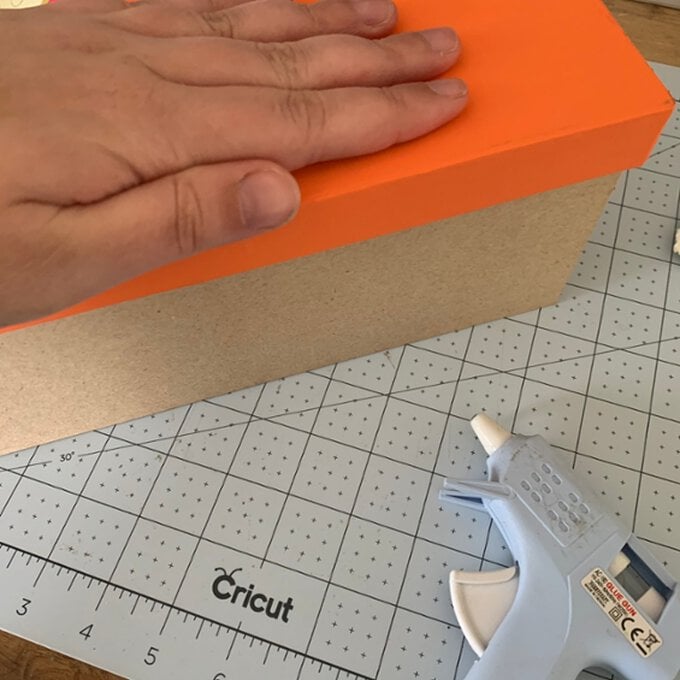
Paint the lid of the mache box using Pebeo paint, we've used orange, but you can use any colour you like! Wait for the first coat of paint to dry before applying a second.
Top Tip: If using a particularly light colour of paint, start by covering the lid in a base coat of white paint, this will avoid having to apply multiple layers of paint to the mache.
Leave to dry.
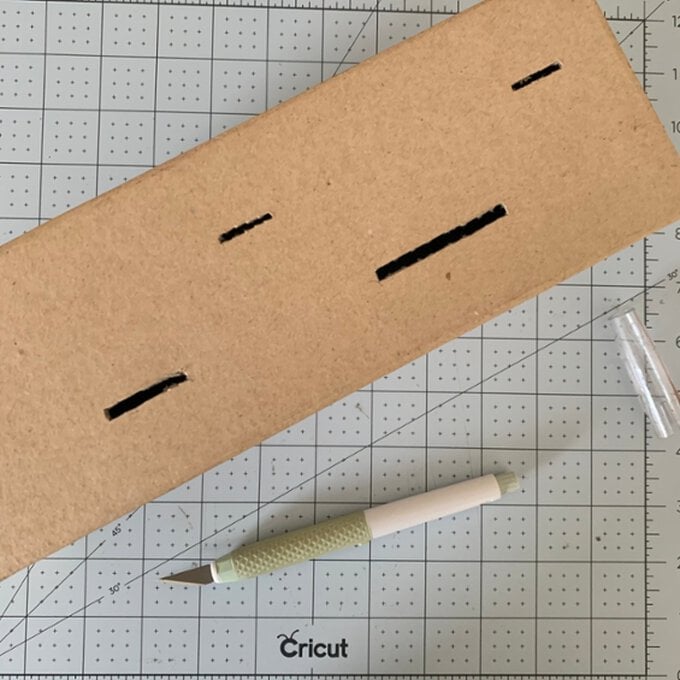
Turn the main body of the mache box upside down and use a craft knife to make slots big enough for the craft sticks to go through.
Top Tip: Mark out the position of the slots using a pencil, using a metal ruler to ensure the lines are straight and aligned as you want them.
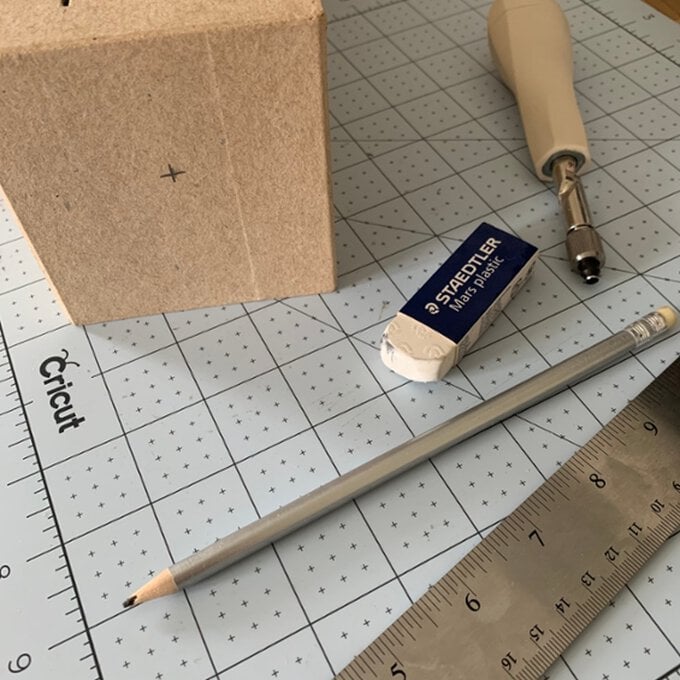
Repeat the above process to create holes on the side of the mache box, this time using a screw hole punch to create the hole for the ice cream stand strap to thread through.
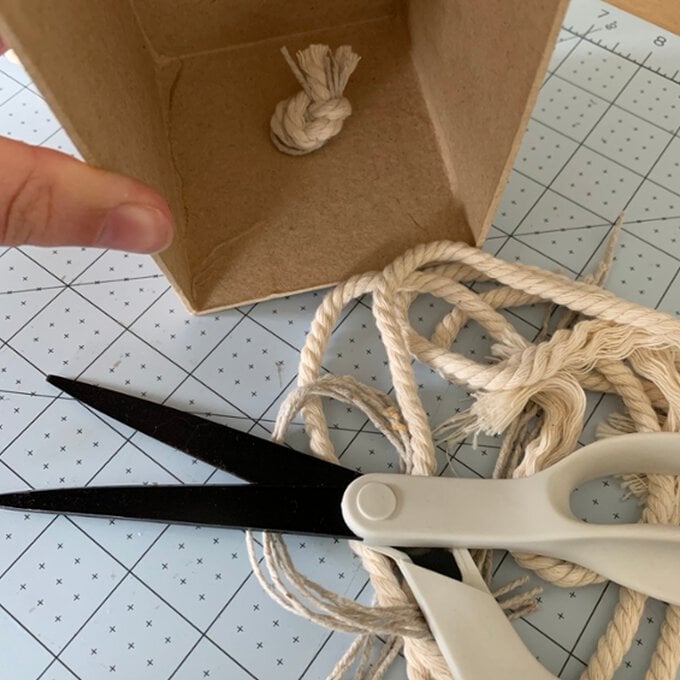
Create the strap for the ice cream stand using multiple lengths of twine and plaiting them together. Slot either end through the holes made on the side of the mache box in step eight.
Secure the ends of the strap on the inside of the mache box, making sure the knot is big enough so that it doesn't come back through the hole.
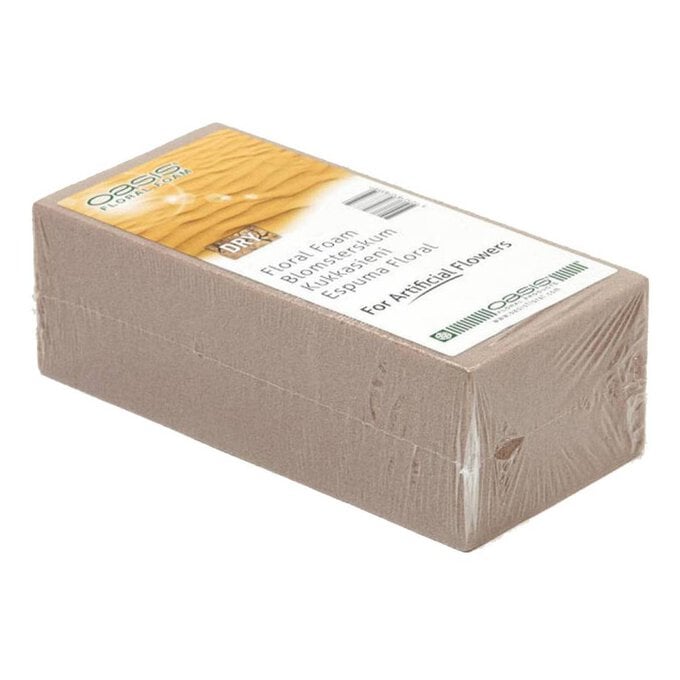
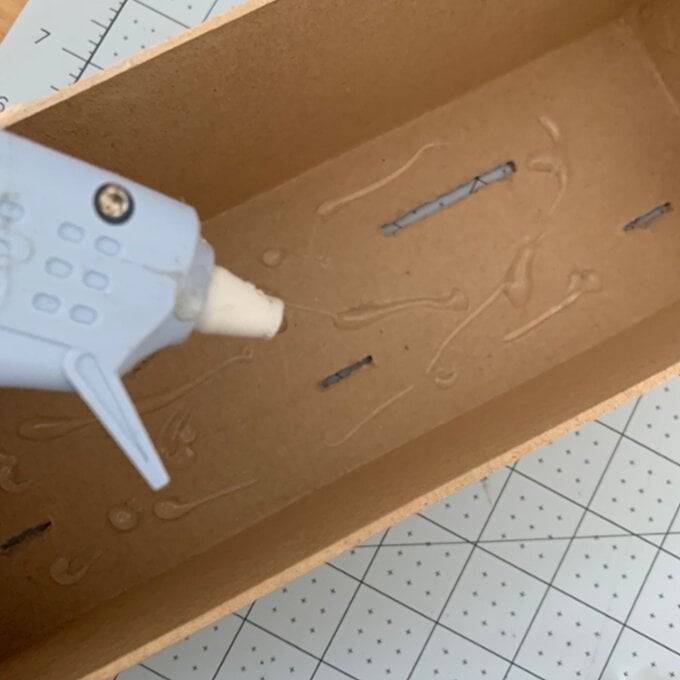
Use a glue gun to adhere the Oasis block inside the mache box. Start by applying glue to the underside of the top of the box (where the slots are), add in the block and push down into position for 10 seconds, then apply glue to the long base of the block facing you, work quickly to apply the painted base of the box on top.

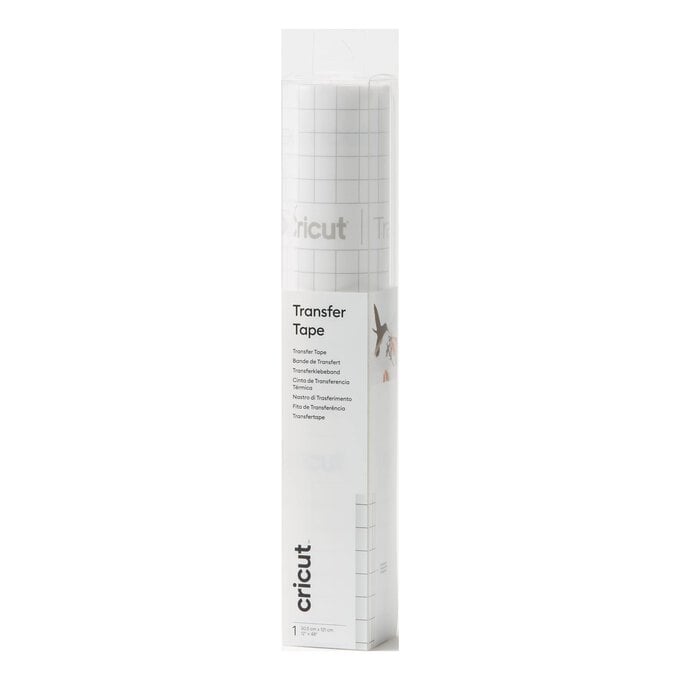
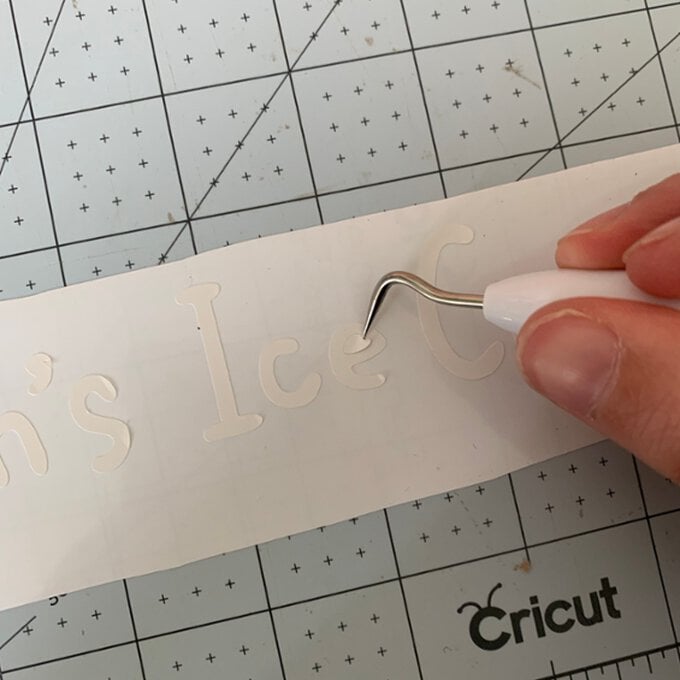
Weed the vinyl text and use Cricut Transfer Tape to adhere it centrally to the front of the ice cream stand.
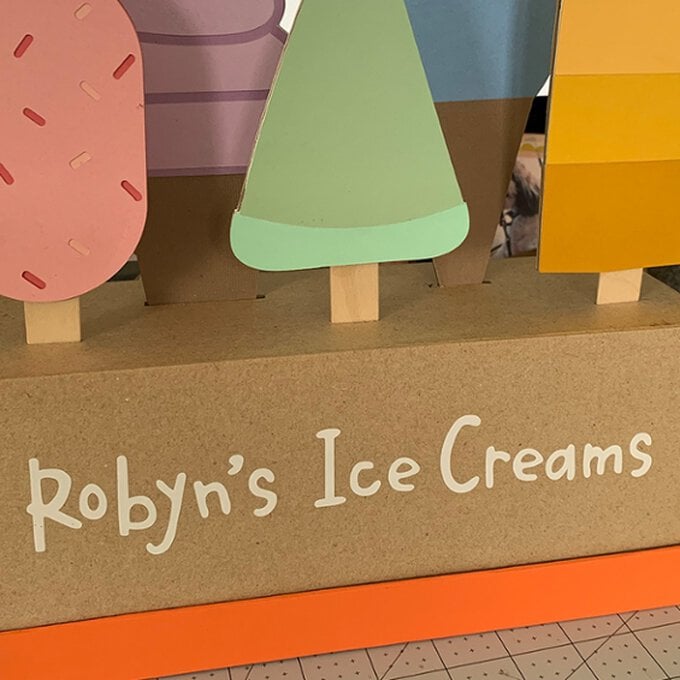
To complete the project, add the ice creams into the stand by pushing them down firmly into the Oasis block.

Related Products