Cricut: How to Make a Sweet Dreams Box Frame
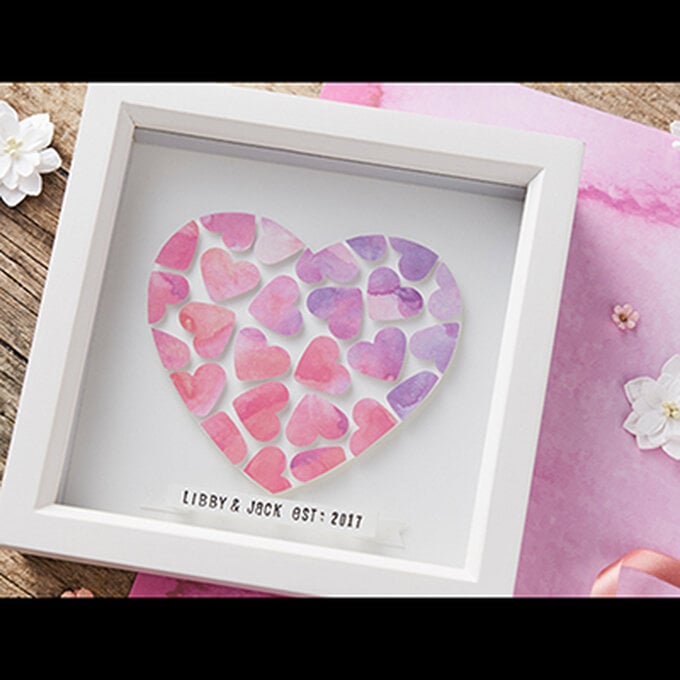
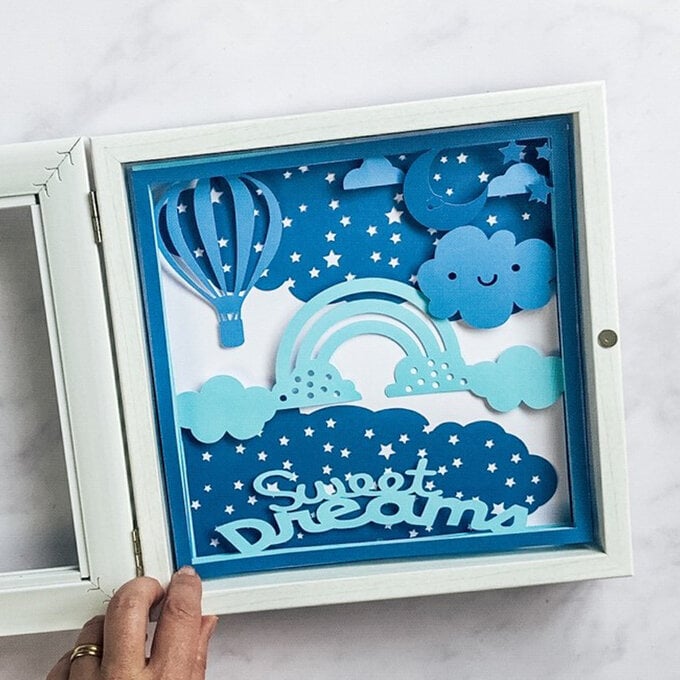
Celebrate a new arrival by crafting a personalised box frame design using your Cricut machine. The perfect addition to a child's nursery, it'll be the ideal gift for new parents. The project can be recreated in any colour of cardstock you like, and can easily be tailored to coordinate with the colour scheme of the baby's room.
This project has been created using the Cricut Maker but you can also use the Cricut Explore Air 2 to recreate this project.
Project and instructions by Sarah Christie from Extraordinary Chaos.
Please note: This project contains paid-for content from Cricut's Design Space app. Screen reference images are taken from the Mac version of Design Space.
You will need

Subtotal
Is $ 40.00
Subtotal
Is $ 17.00
Subtotal
Is $ 29.00

Subtotal
Is $ 1.49

Subtotal
Is $ 606.00
How to make
You will also need:
* Cricut Design Space app installed on a laptop, PC, tablet or mobile device
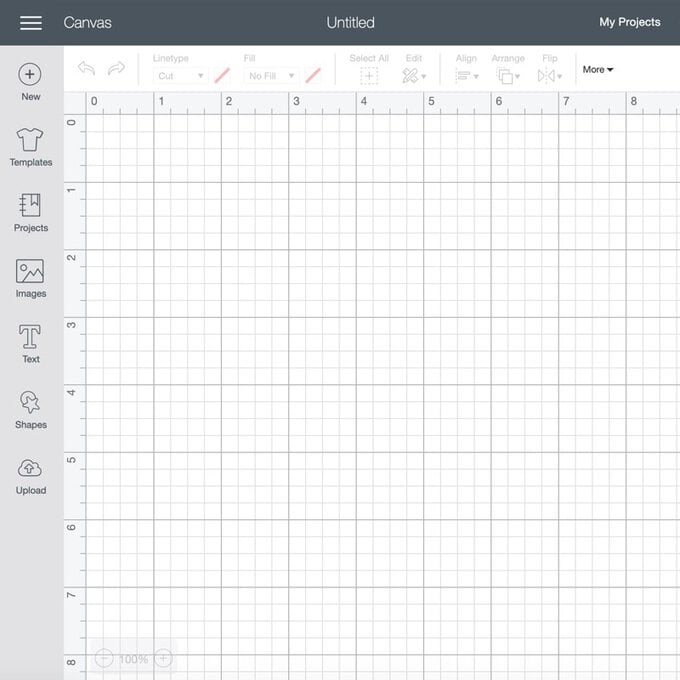
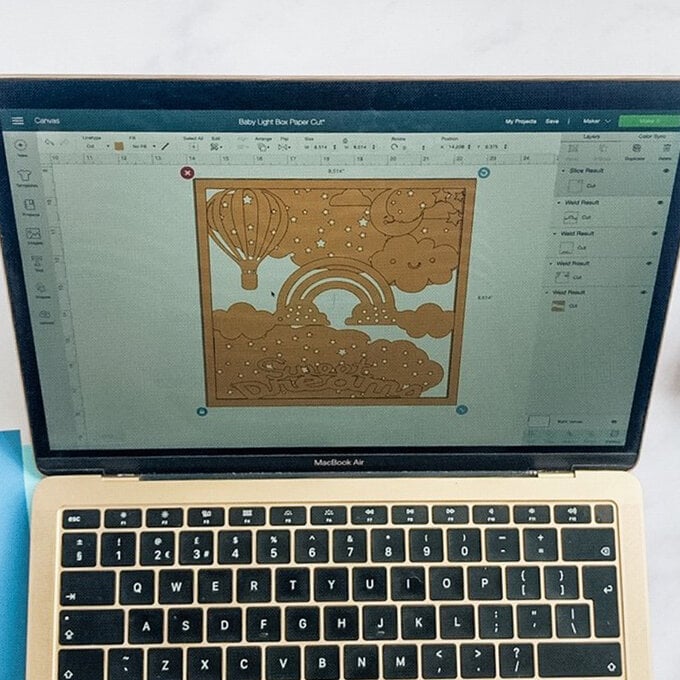
Grab your supplies and open the Cricut Design Space app, then click 'new project'.
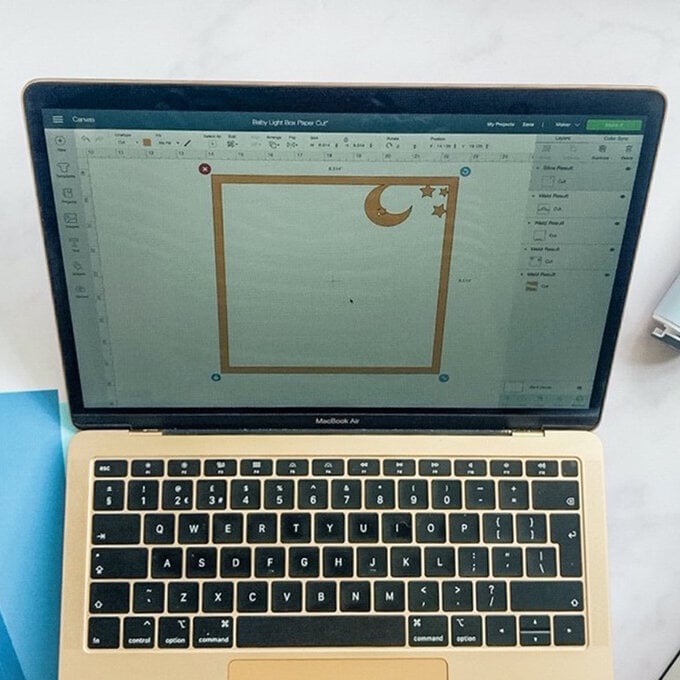
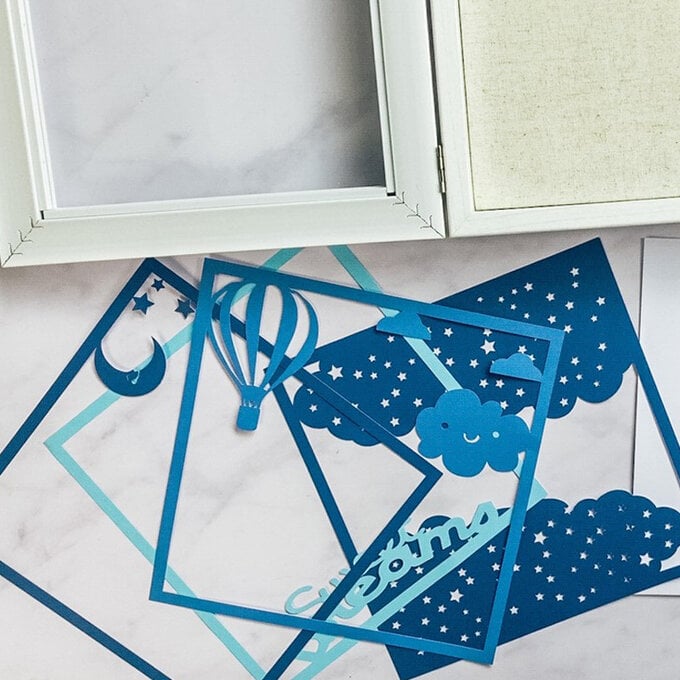
To create a 3D effect in your box frame, you'll need to create multiple layers.
Create a square to fill your box (8” x 8") then create a second square (7.5” x 7.5”) and place it in the centre of your first box.
Click the "Slice" button to remove the centre, leaving just the outline of the box. You can then add the elements you'd like on your bottom layer using the "Shape" and "Images" sections within Design Space. We added a moon and some stars.
Once you've inserted your images, "Attach" them to the edges of your square and then click "Weld" to create one image that will be cut as one.
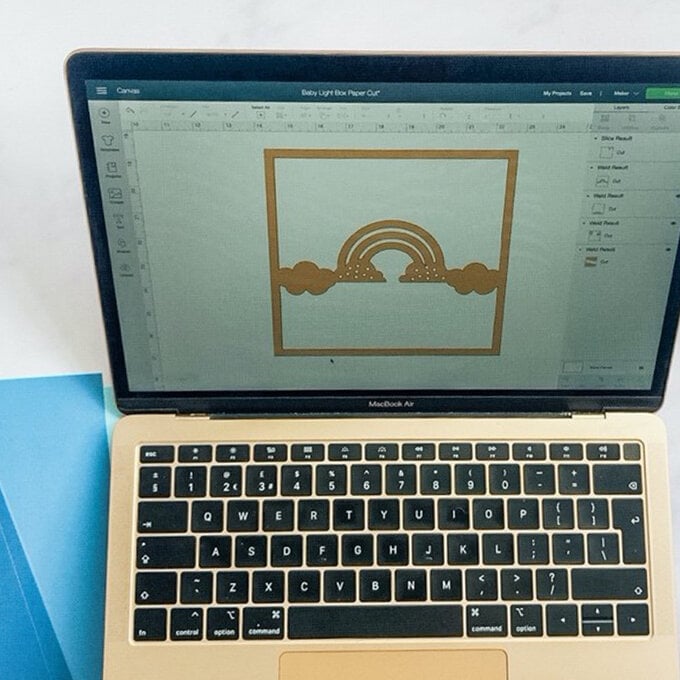
For the next layer, complete the same steps, adding other images to build up your design.
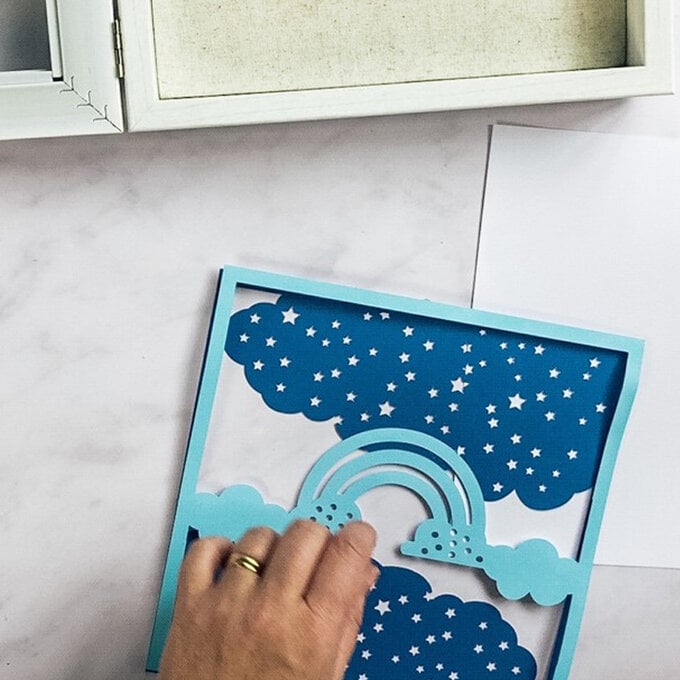
For this layer, we chose a rainbow and used some clouds to link the rainbow to either side of the outer square.
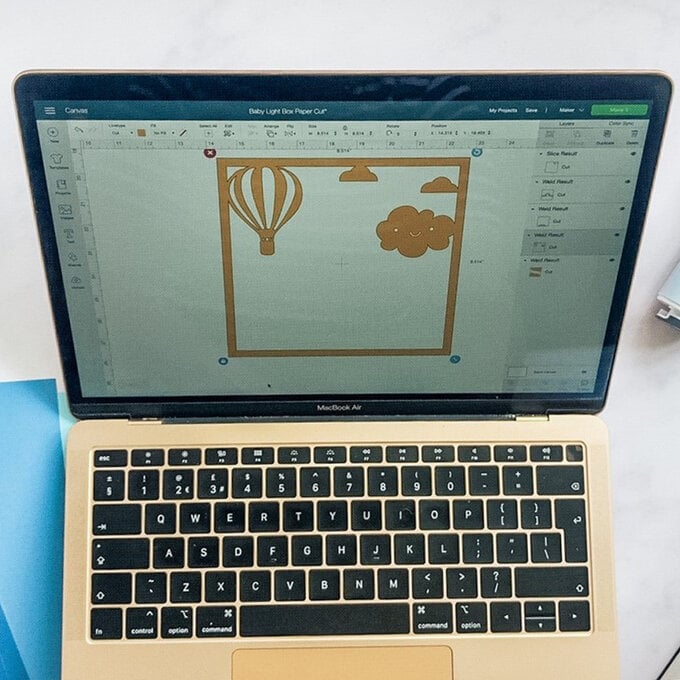
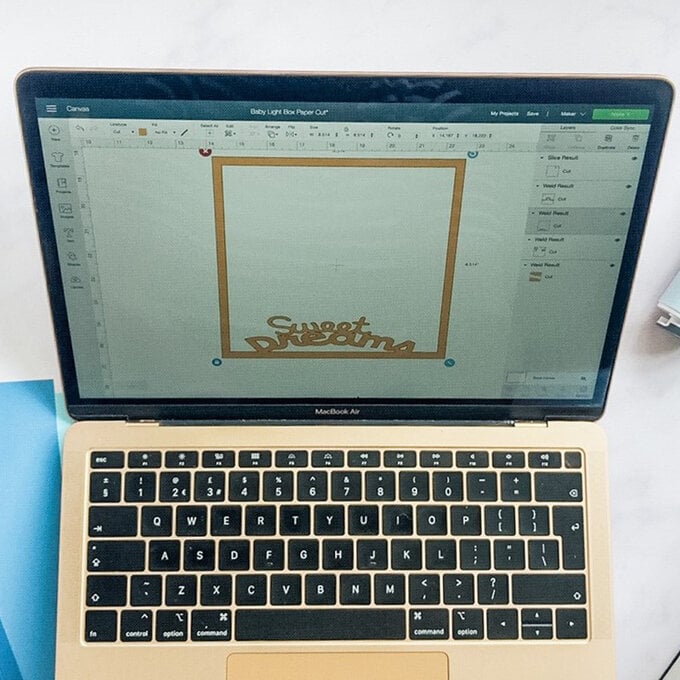
Repeat the same process for any additional layers you'd like to add to the design. We added two more using a mixture of both imagery and text.
To check how all the layers will look together, use the "Align Centre" function in the "Align" menu to stack all of the sqaures on top of one another.
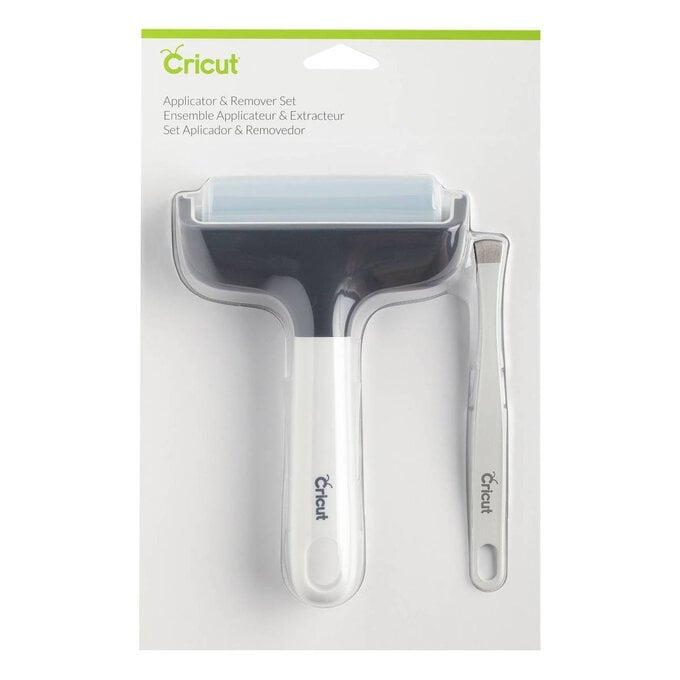
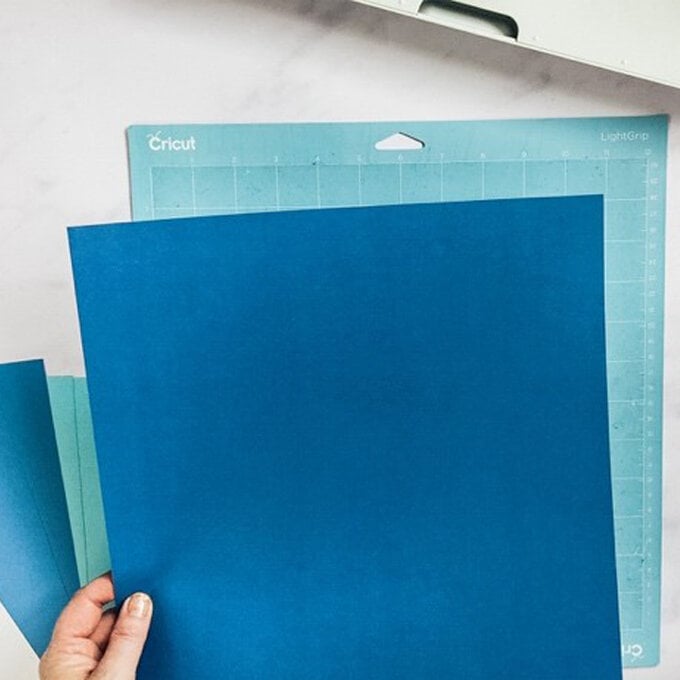
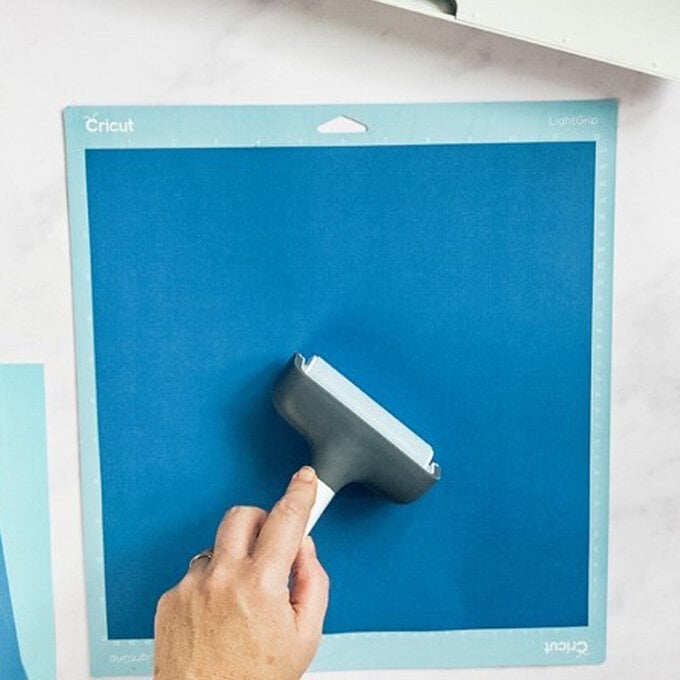
Once you're happy with your design, it's time to start cutting! Grab your LightGrip Mat, and add your cardstock using the Cricut brayer tool, then load the mat into your machine.
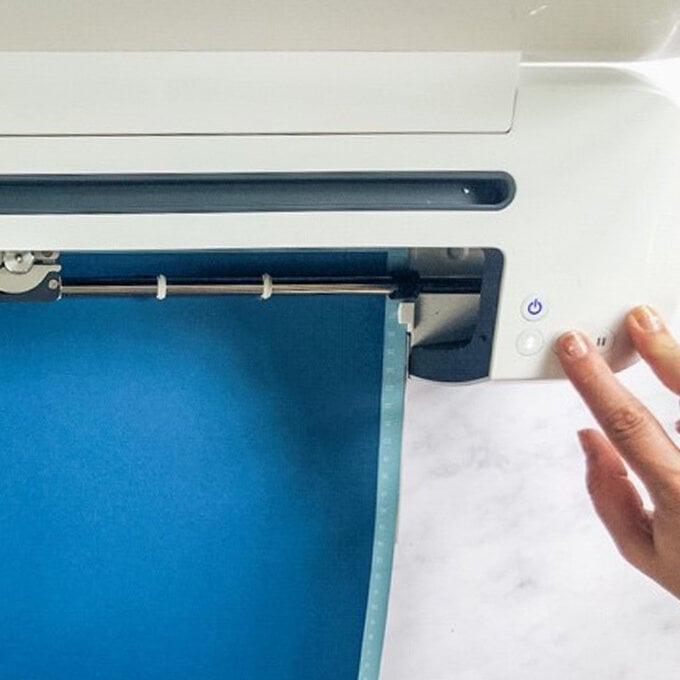

Repeat step six for each additional layer.
To assemble, layer your cut designs one on top of the other using glue dots or foam pads.
Place your adhesive of choice in the corner of each of the squares and anywhere else you feel is necessary.
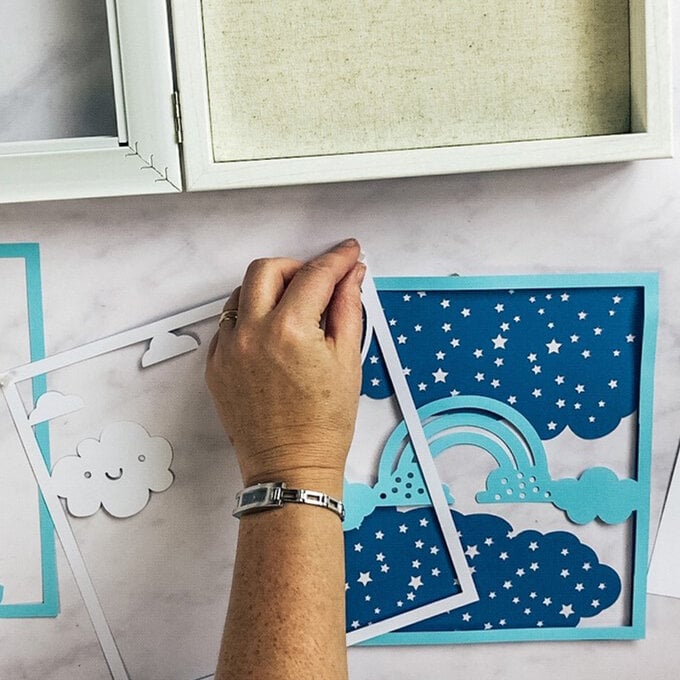
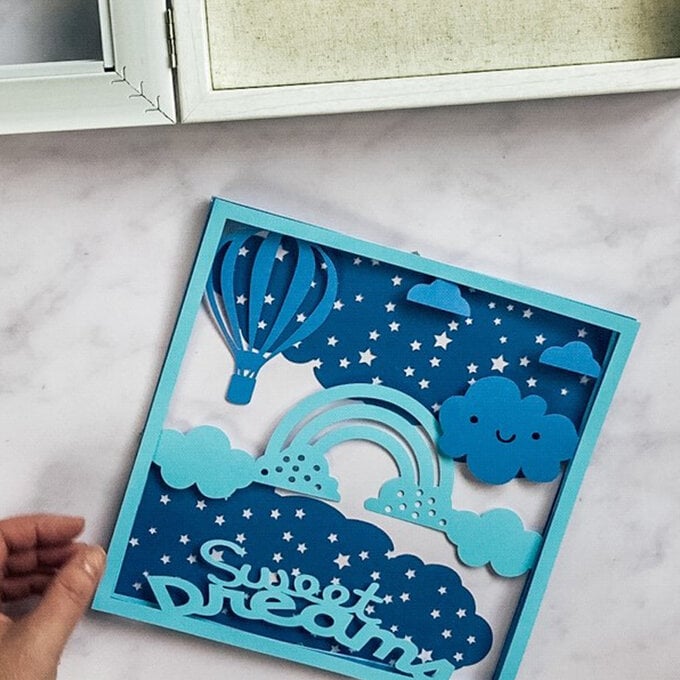
Once assembled, you can then place the finised artwork inside your box frame!

Related Products

Is $ 3.49 , was $ 6.49