Cricut: How to Make a Personalised Tree Skirt with Iron-on
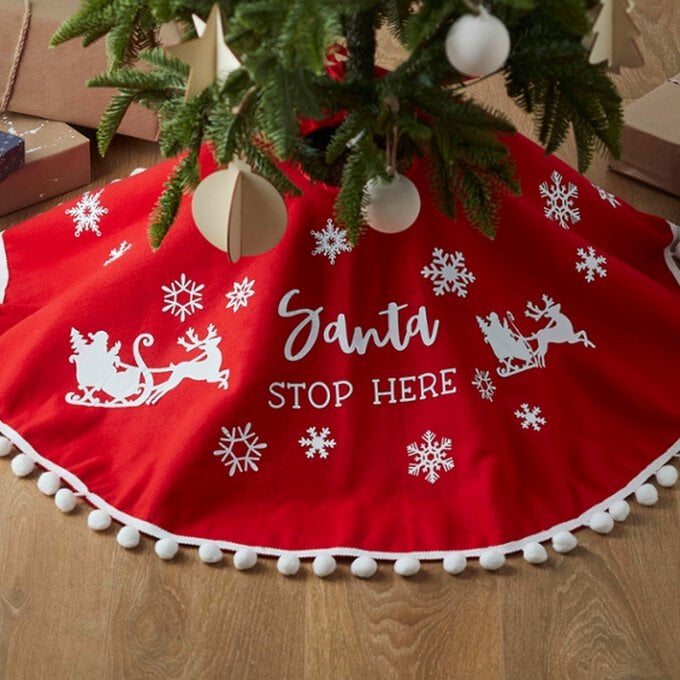
This year make your Christmas extra-special by creating a personalised tree skirt! This craft has beautiful and unique features that will surely bring a festive mood to your home!
Simply, make this Christmas tree skirt using the Cricut Explore three machine and Cricut Smart Iron-on!
Please note: This project contains paid-for content from Cricut’s Design Space app. Screen reference images are taken from the Mac version of Design Space.
This project was created using the Cricut Explore however, this project can also be made on the Cricut Joy and Explore Maker machines.
You will need

Subtotal
Is $ 422.00

Subtotal
Is $ 40.00

Subtotal
Is $ 52.00
Subtotal
Is $ 68.00

Subtotal
Is $ 20.00
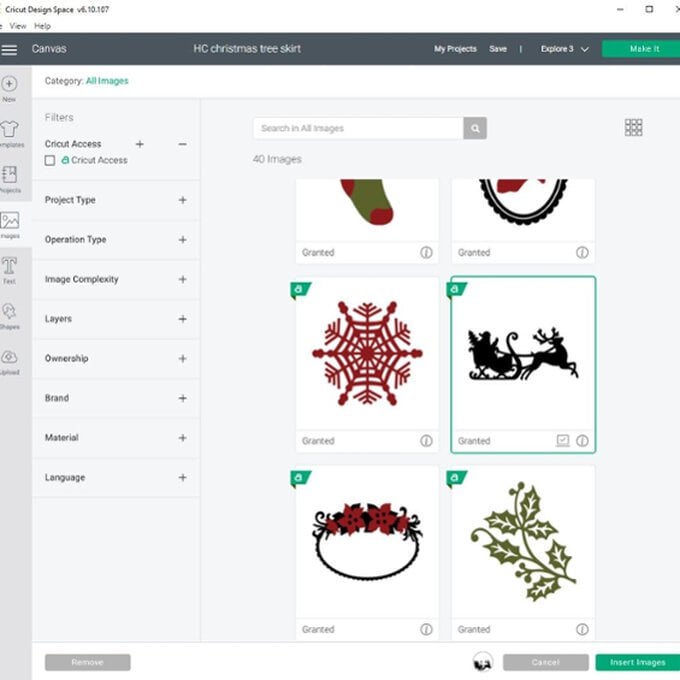
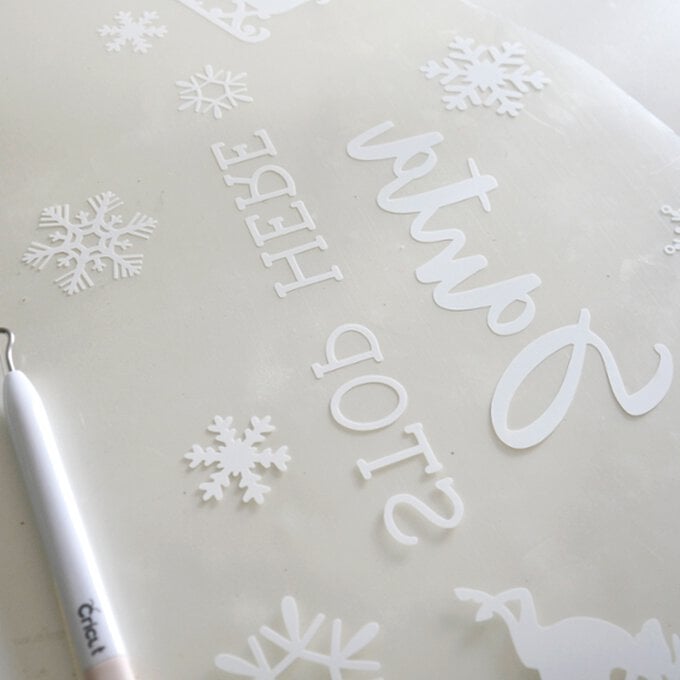
In Cricut Design Space, begin a new project. Select Images and search for Christmas images! I have used Snowflakes: #M4526E, #M422FD, #M35753, #M46DF0, #M3407B, #M85531A9, Santa Image: #M3D535
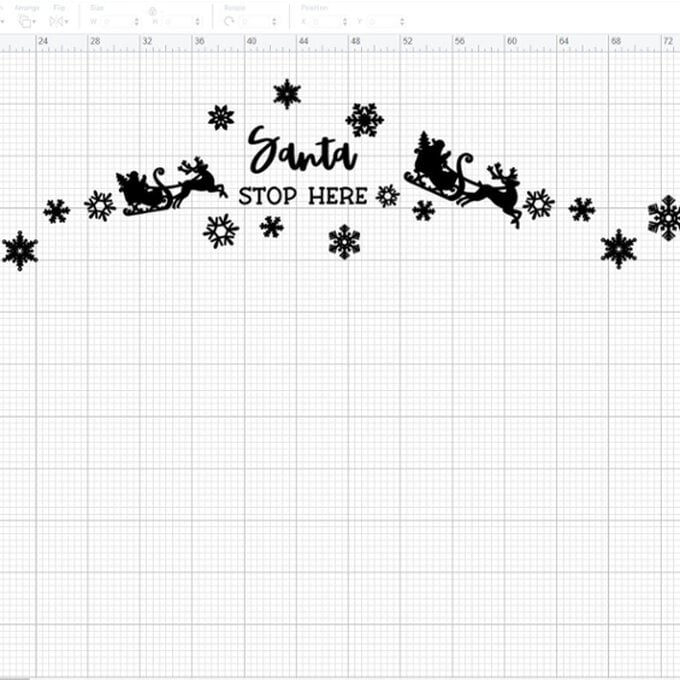
Select the text option again and write: ‘Santa Stop Here’ I used two fonts for this: DTC Barn Acre and DTC Bikini Babe. Then arrange your images and use the ‘attach’ tool, to keep the design in place for cutting.

Gather the materials you will be using. As I am using an Explore 3 Machine, I have used a Smart Iron-On Material that does not need a cutting mat. If you are using a machine that is not compatible with Smart Materials, you will need to use a cutting mat.

Now you are ready to cut out. Ensure you have selected ‘Mirror’ when cutting iron on. The shiny side should be down cutting into the matte side of the material.

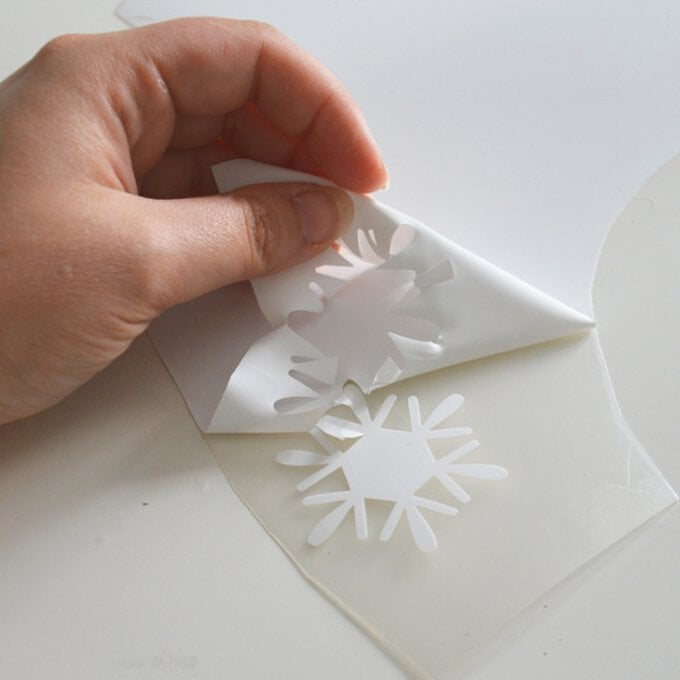
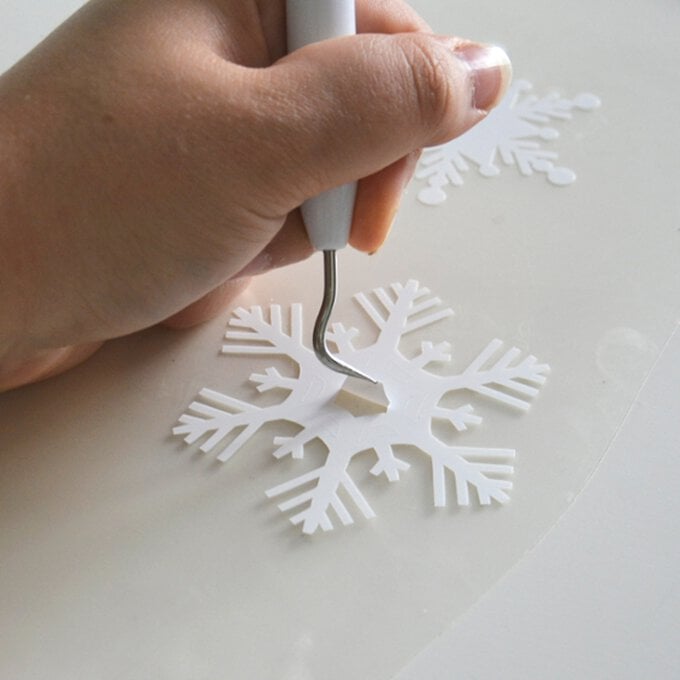
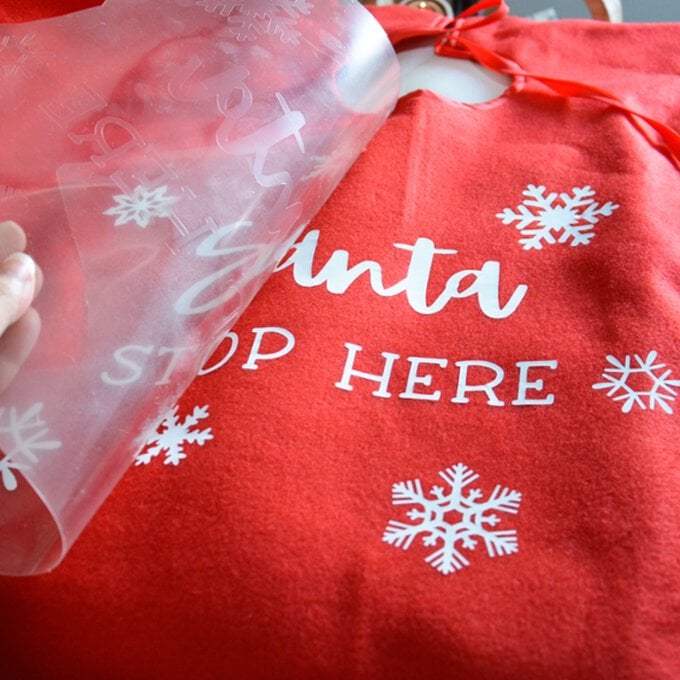
Remove the excess iron on and use a weeding tool to help remove the negative pieces.
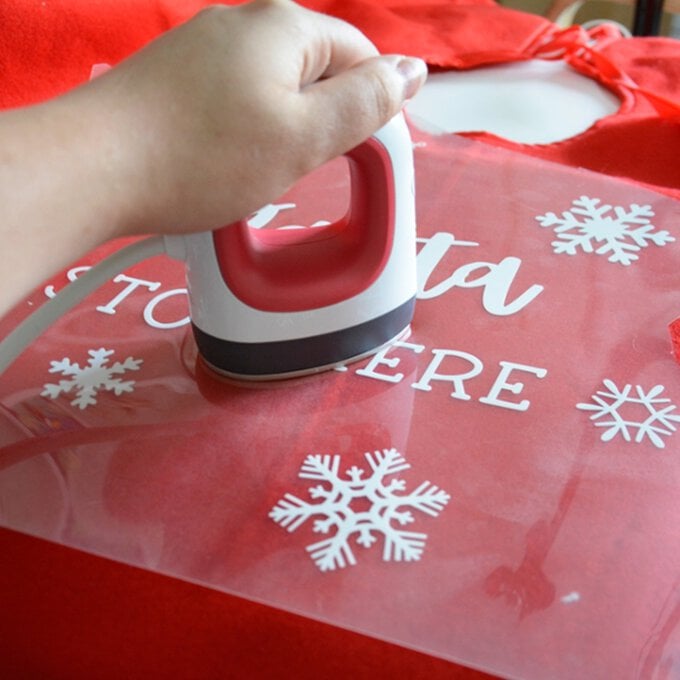
Place the iron on pieces down onto the Christmas Tree skirt ensuring there is a liner protecting all the shapes. Then use the Cricut Heat Guide to find the details you need for transferring over with your heating tool. I am using the Cricut Mini Easy Press.

Slowly remove the backing away to finish your skirt!
Position the skirt around the base of your tree, and secure in place using the ties on the skirt towards the back of the tree, so that they're hidden.