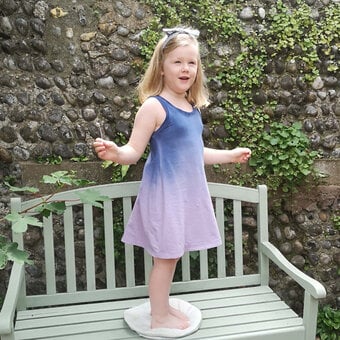
How to Make an Ombre Dyed Tote Bag
Create an on-trend ombre dyed tote bag by using Tulip One Step Dye Kits. Simply add water and brush onto the surface with a large paintbrush and fade out into a lighter colour by diluting with water. Follow the tutorial below to find out how it's done!
You will need


How to make
Prepare your work area with a washable or wipe clean mat, water and kitchen roll. Place a piece of baking paper into the tote bag to protect the inside.

Wearing the gloves provided, fill your first dye bottle with water up to the fill line and shake until all of the dye has dissolved into the water.

With your paint brush ready add a few drops of the dye to the bottom of the bag.

Carefully brush the dye upwards.

Dip your brush into the water and continue to brush upwards until you have an ombre effect. You can go back and add more dye to the bottom if you wish.

Using a piece of kitchen towel, dab the top of the dye to soften the edge of the design.

Once you are happy with how you have dyed the bag, take a hair dryer and carefully dry the bag. Repeat for the back of the bag and the base.

Make sure the bag is completely dry before using.

Craft with us at our workshops


Related Products