How to Sew a Floral Clam Quilt
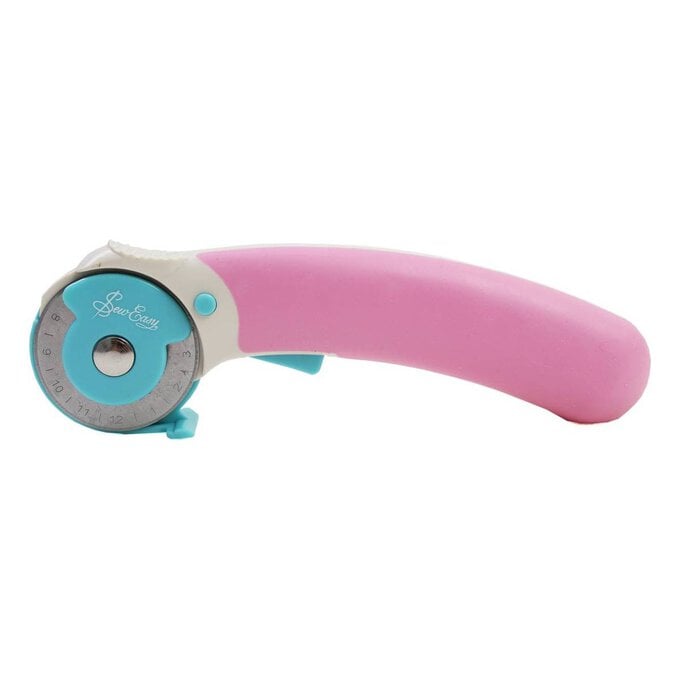
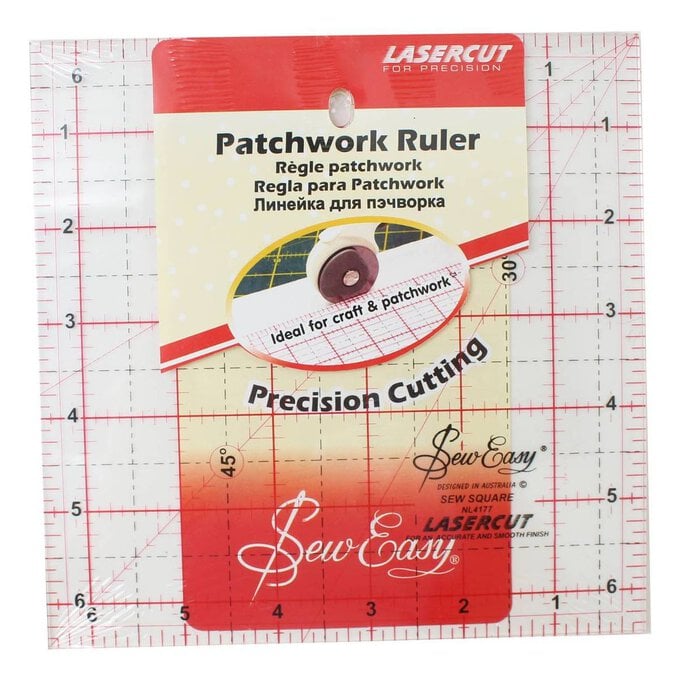
Use beautiful floral fat quarters to sew the most stunning clam quilt! Follow the tutorial below for a step-by-step guide. There are so many tools to help with the process of quilt making, such as Quilting Templates and Rotary Cutters.
Designed and pieced by Michelle Roberts at Creative Blonde with a Glam Clam Quilt Pattern by Latifah Saafir Studios.
Finished size of quilt 48 inches X 54 inches
You will need
Subtotal
Is $ 121.00
Subtotal
Is $ 24.00
Subtotal
Is $ 25.00
Subtotal
Is $ 28.00
Subtotal
Is $ 20.00

Subtotal
Is $ 7.49
Subtotal
Is N/A
Subtotal
Is $ 7.49
Subtotal
Is $ 8.49
Subtotal
Is $ 12.00

Subtotal
Is $ 8.49
How to make
You will also need:
Glam Clam Quilt Pattern by Latifah Saafir Studios
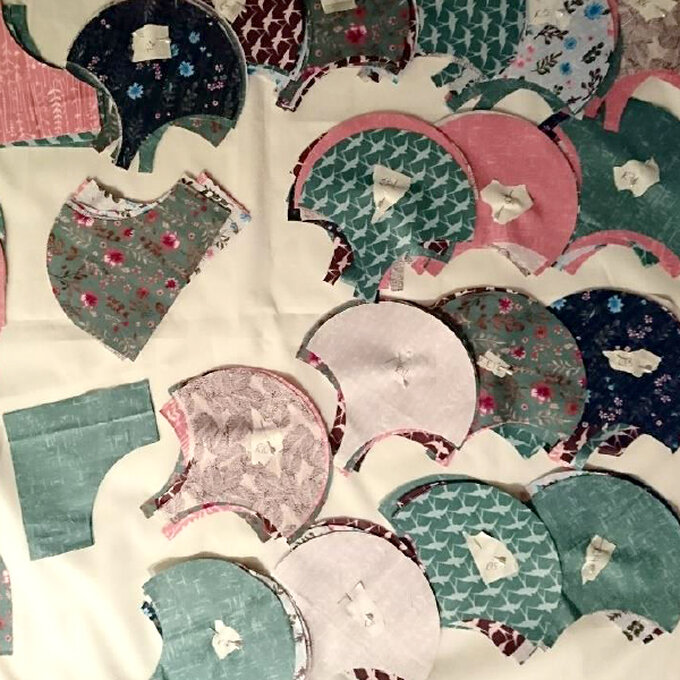
Cut out all clams – remember you can fold your fabric and cut out multiple clams at one time, just make sure you're happy with the direction of the fabric.
To prepare
(15) 6” whole clams in pink fabric
(9) 6” whole clams in floral fabric
(104) 6” whole clams in a variety of the other fabrics.
Using the 'Latifah Saafir' pattern, cut the remaining 34 partial clams
Cut small pieces of paper marked 1 to 19, lay out your quilt and pin the clams in rows. This will help when you are sewing the pink clams to create the heart shape in the centre.
Begin by sewing together the 'B1' and 'C's and finishing with 'B2' for the first row.
Begin adding each row together, remembering to mark the points using the 'clammy' as these are what you use to match up and then sew together. No need for lots of pins or paper piecing!
The following photo shows you the placement of how you pin each clam in a row.
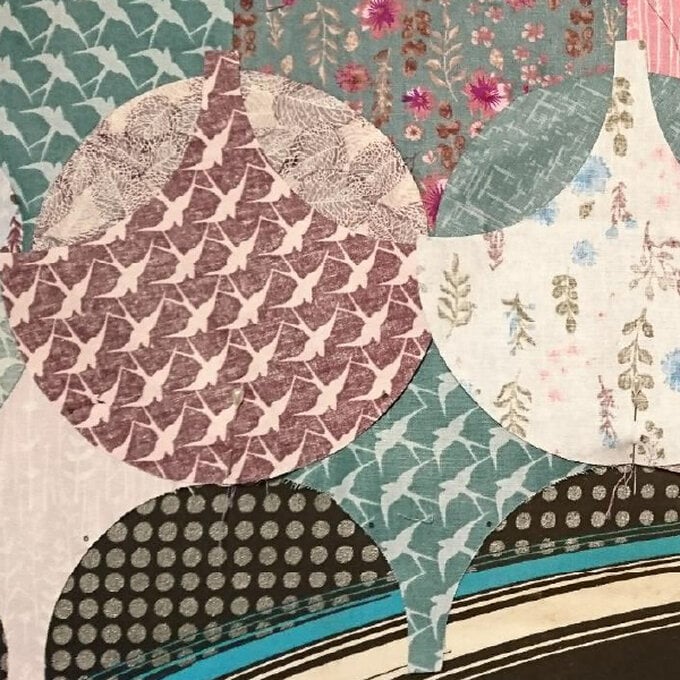
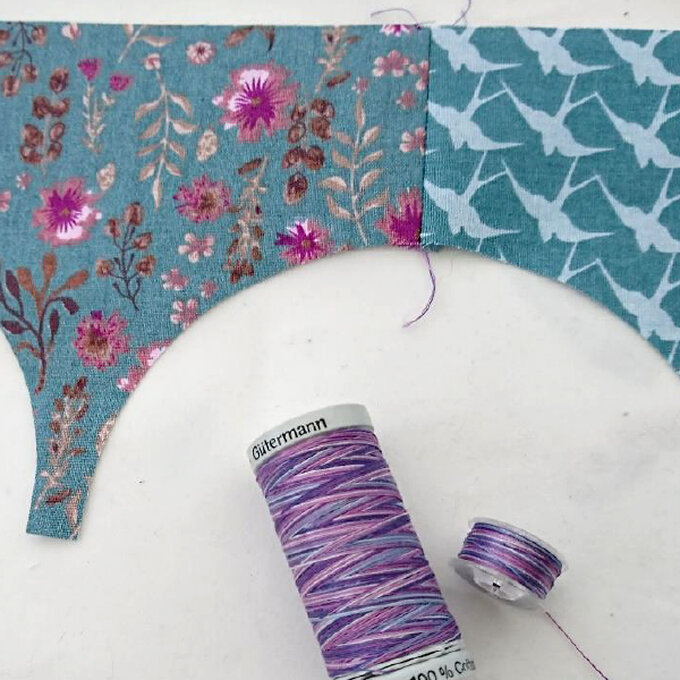
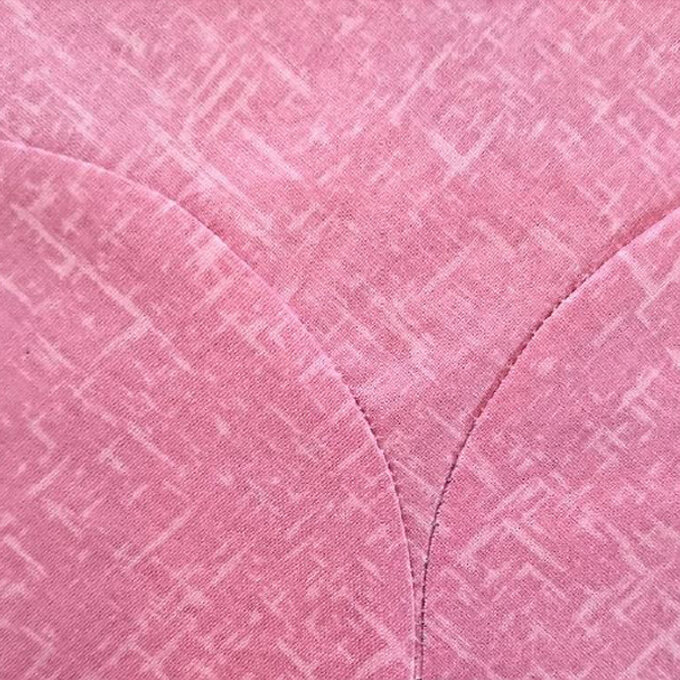
Pin right sides of the fabric together with the new row pointing up. Tease the clam around, matching up the points as you go.
Press your seams towards the point of the clam on the reverse.
Keep going until you reach row 19.
This is where the quilt begins to come together quite quickly, especially as you get the hang of matching the seams. It helps to hold the quilt up into the mirror after each row, to check if you're happy with the placement of each clam.
Once the front of your clam quilt is complete, trim your quilt, leaving it ½” bigger all the way round than the pattern requires.
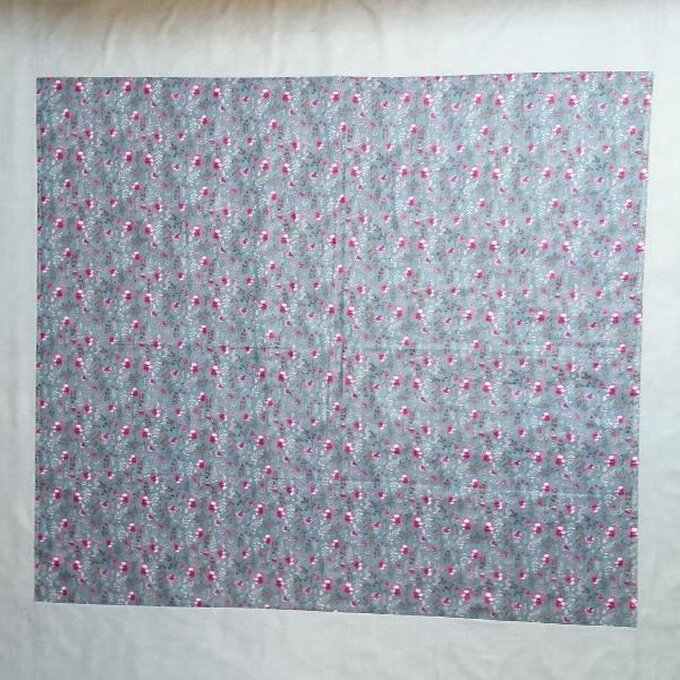
To create the back of your quilt, take your 1.5 metres of the grey fabric, and cut four strips: 2 measuring 9” by 52”, and 2 measuring 9” by 44”.
Sew these to the extra piece of fabric
Create your quilt sandwich, using the batting.
The backing will be 1 ¼” bigger than the batting and front of the quilt
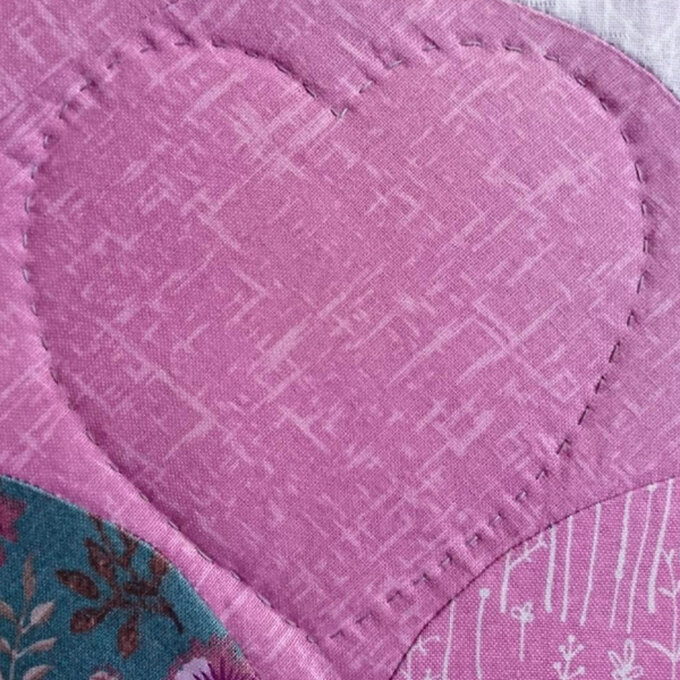
Using an iron-away pen, draw 4” hearts in random places and
Using the same pink variegated Gutermann thread, hand-quilt your quilt.
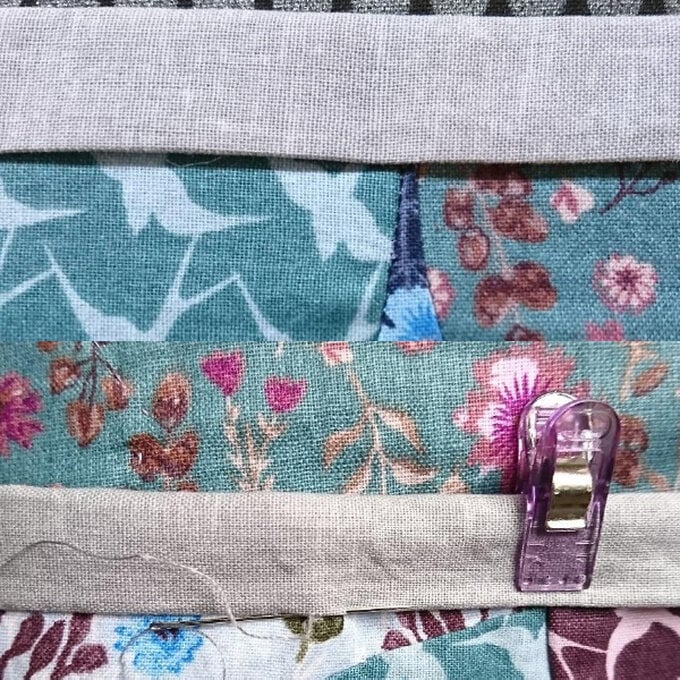
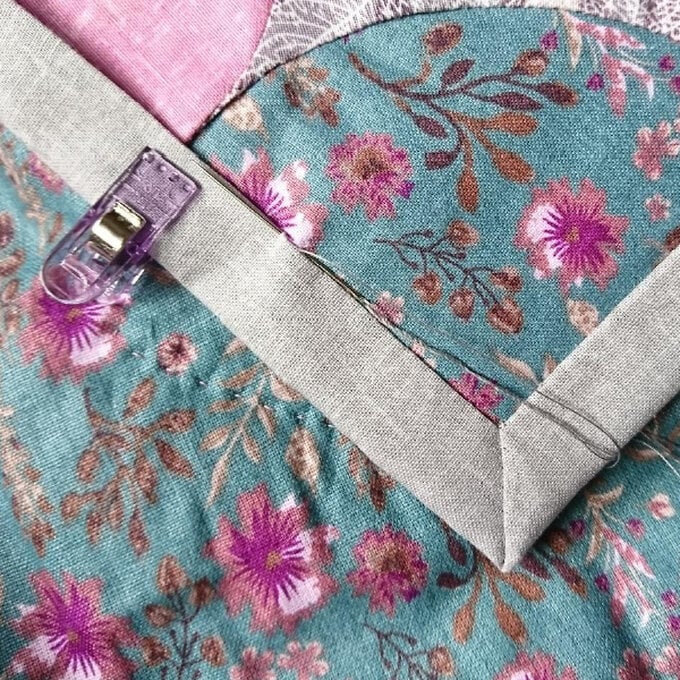
Press your extra fabric in half and in half again, all the way round.
Use pins or binding clips to hold this in place, while you hand-sew the binding using the grey thread.
Trim the corners, to remove the excess bulk, and create a diagonal seam.
Your quilt is complete!

Related Products