Summer Bunting Crochet Pattern
Level
Intermediate
Time
1/2 day
Budget
10 - 30
Crochet is a massive trend in crafting right now, but it doesn't have to just be about hats and snoods - why not have a go at some colourful crochet bunting? Bring a bit of spring and summer inside, and hang it up for a fun and colourful decoration.
You will need
Quantity:
1
Subtotal
Is $ 9.49
Quantity:
1
Subtotal
Is $ 5.49

Quantity:
1
Subtotal
Is $ 3.49
Total:
£0.00
How to make
Stitches used (UK terms):
CH – Chain
SK – Skip
SS – Slip Stitch
TR – Treble
The flagsStep-1
Row 1: Start with a slip knot then CH 3. Your next stitch will be worked into the 3rd CH from the hook. Work 2 x TR into this stitch. (3 stitches). Row 2: Turn, CH 3, then work 2 x TR into the base of the CH as shown in the photo.
Step-2
Step-3
Step-4
Step-5
Step-6
Step-7
Step-8
Step-9
Step-10
Step-11
Step-12
Step-13
Step-14
Step-15
Step-16
Step-17
Step-18
Related Products
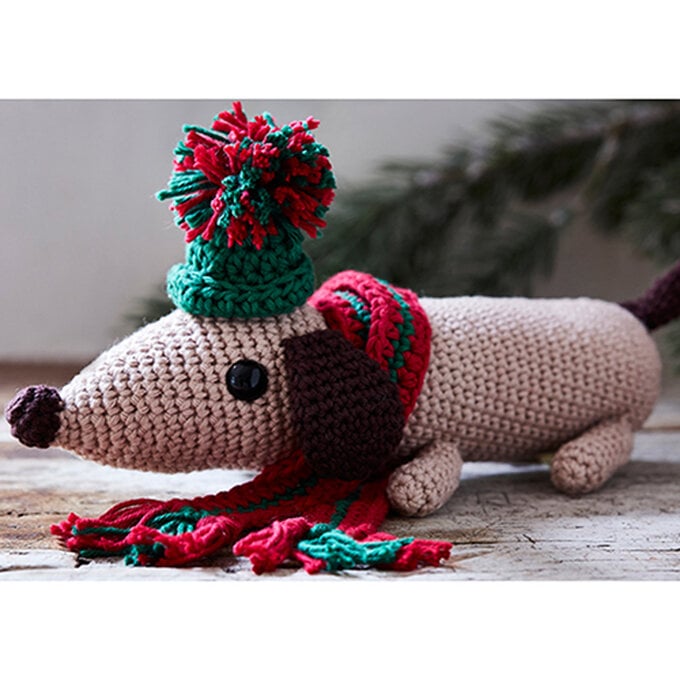
How to Crochet a Festive Dachshund
Pattern by Hobbycraft Artisan: Fiona Field Find out more. Looking for a fun and creative way to update your space? Try hooking up these colourful crochet flowers! They're perfect for brightening up any room and they'll be far less maintenance ...
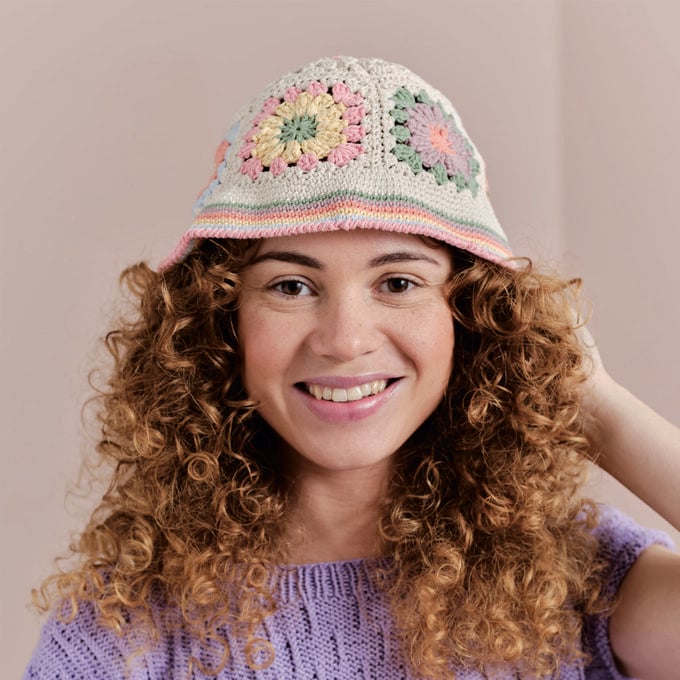
How to Crochet a Flower Sun Hat
FREE PATTERN Woolly Hat for Grown UpsRequired yarn: Unique Yorkshire Number of balls: TwoFinished size: To fit average adultSkill level: BeginnerNeedle size: 3.25 mm, 4 mm, tapestry needleFREE PATTERN Woolly Hat for Grown Ups. FREE PATTERN Lion Brand Short Hills ...
How to Crochet a Penguin Mug Cosy
Create a trendsetting accessory perfect for summer with the help of Cricut Design Space! You'll be all set to sew your own customised bum bag design thanks to this easily downloadable pattern. Sewing expert Kathi shows step-by-step how to download ...

How to Crochet Amigurumi Safari Animals
Create your own personalised and unique Christmas acrylic baubles using your Cricut machine. Choose from a range of designs to create stunning adornments, which can either be used as place settings at the dinner table or beautiful decorations for your ...
How to Make a Crochet Gingerbread Village Wreath
Spark off the festive excitement with this beautiful Artificial Fir Christmas Wreath!No Christmas is complete without a stunning wreath! This reusable accessory is wonderful for popping onto your front door, wall, table and more! Add a variety of decorations, such as ...
How to Make a Crochet Tassel Beach Bag
Discover five creative ways to use Cricut vinyl for unique personalised labels and stickers that will transform our classic three-tier trolley in no time! Customising your storage has never been easier thanks to the removable vinyl range from Cricut, giving ...

