How to Make a Fabric Placemat
A fabric placemat is a great project for beginner quilters who want to progress their skills. If you've already had a go at basic quilting and patchwork, this will teach you how to advance your skills, introducing techniques such as binding. Plus, they're super useful!
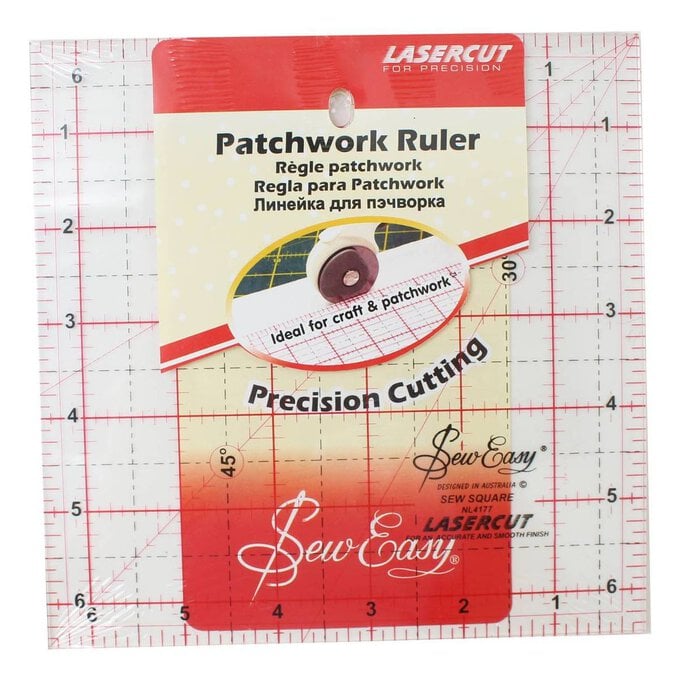
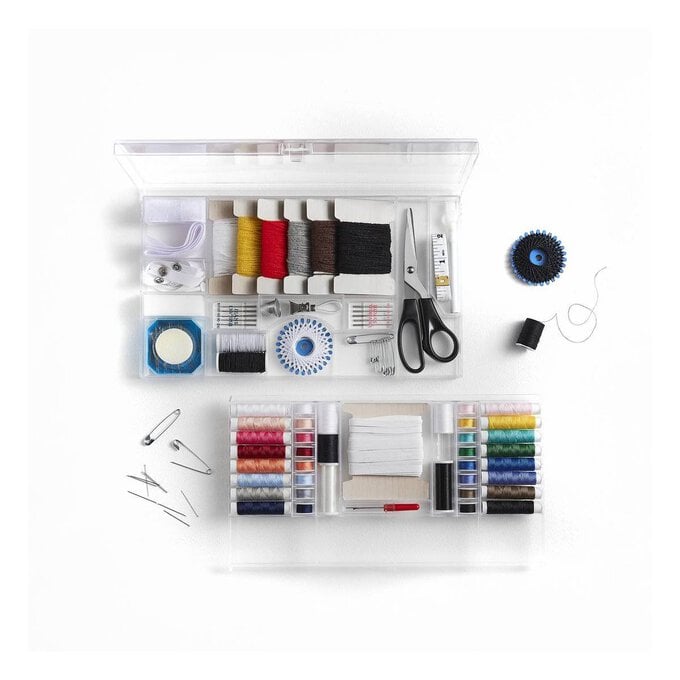
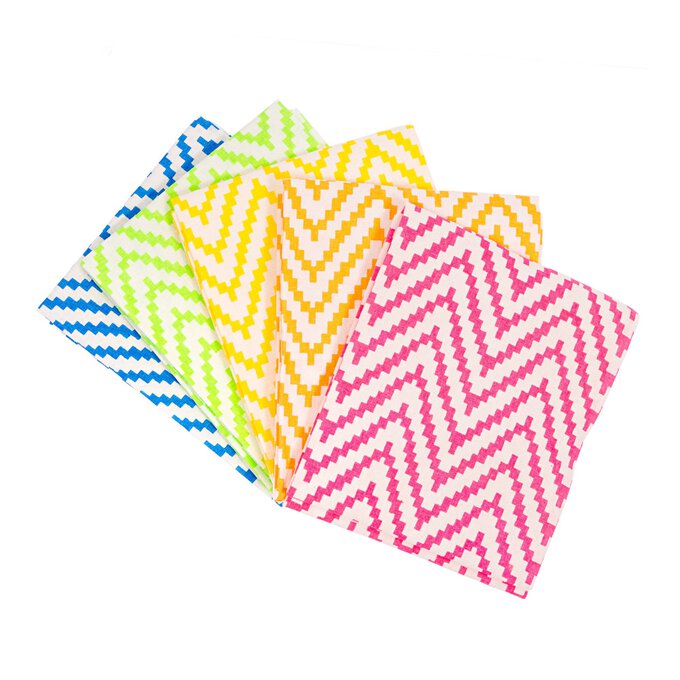
You will need
Subtotal
Is $ 120.00
Subtotal
Is $ 24.00
Subtotal
Is $ 25.00
Subtotal
Is $ 3.49
Subtotal
Is $ 20.00
Subtotal
Is $ 6.49
Subtotal
Is $ 5.49
Subtotal
Is $ 27.00
Subtotal
Is $ 16.00
Subtotal
Is $ 13.00
How to make
Sizing this is a little tricky, I would recommend using the largest plate you eat from as a template for the finished size.
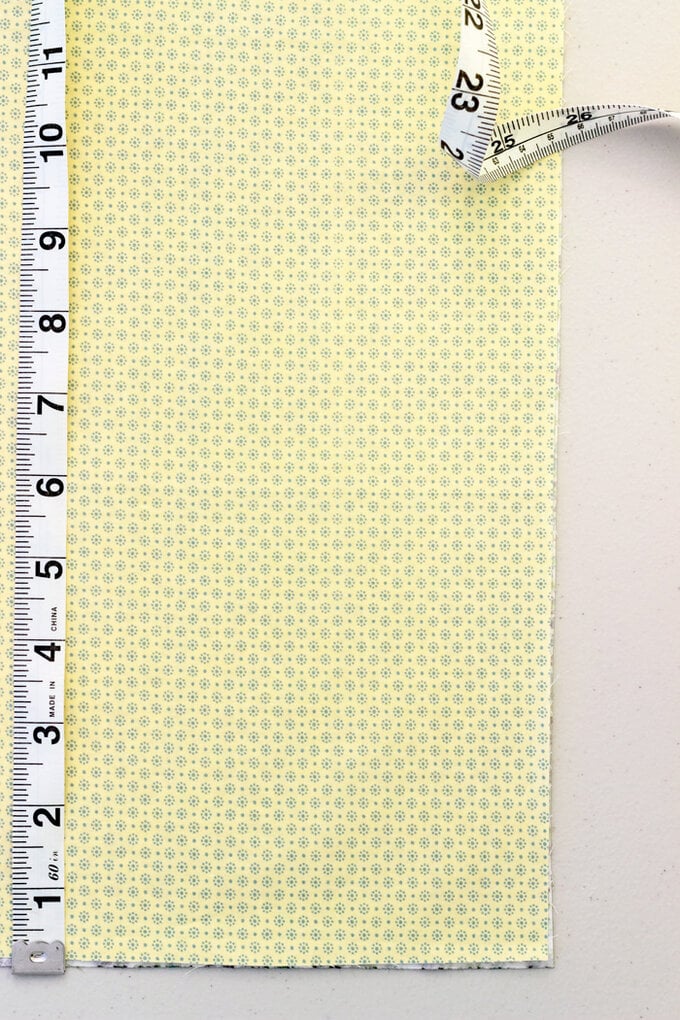
Mark out a square on the wrong side of the fabric, slightly larger than the plate, my plate was 11 inches so I have made my square 12 inches by 12 inches.
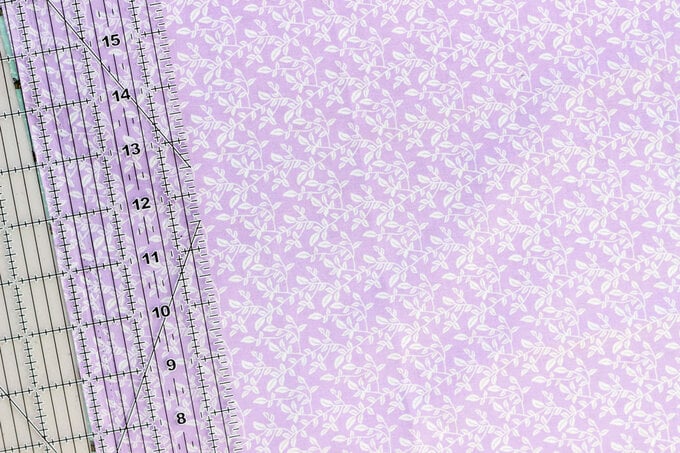
Cut a 2 ½ inch wide by however long your square is strip from both of the other fat quarters.
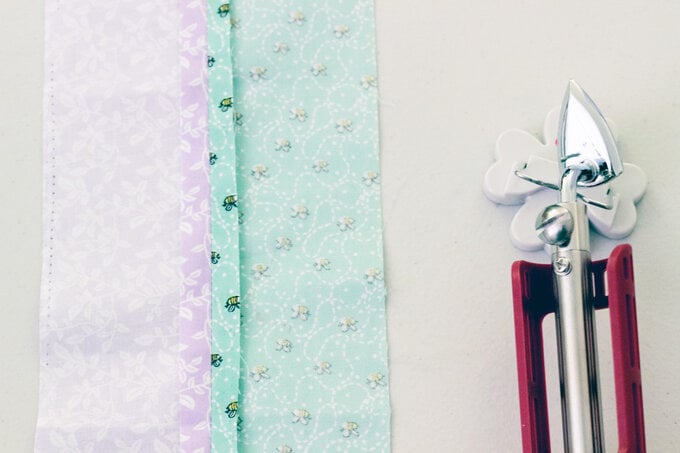
Place the strips right sides together and sew a ¼ seam down one side, then press the seam open.
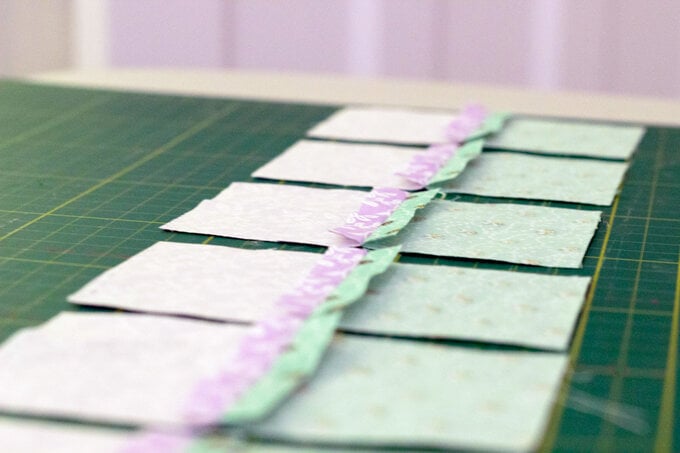
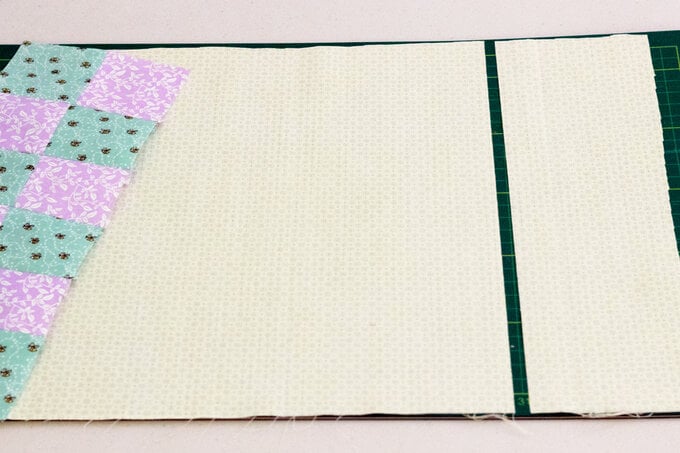
Lay the strips open and cut them into smaller pieces 2 ½ inches wide.
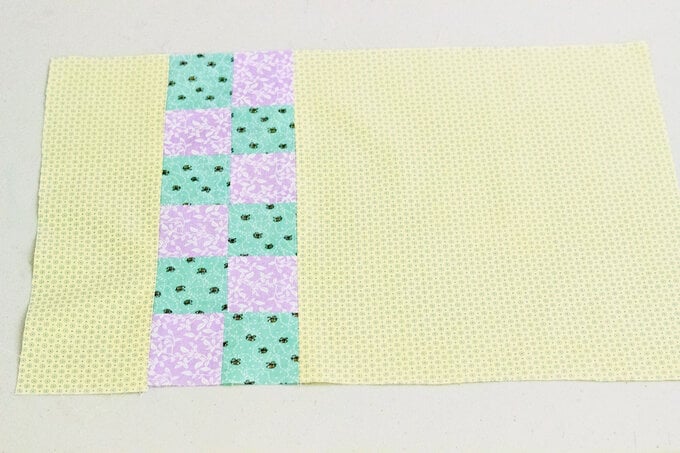
Alternate the pieces so that they form a checked pattern, then sew them together with a ¼ inch seam and press open.
Decide where you would like your accent strip to appear on the placemat and make a cut at that point. I cut my square 3 inches in so that the strip was closer to one edge.
Once you have cut the square, sew the two pieces to the strip with another ¼ inch seam and press open.
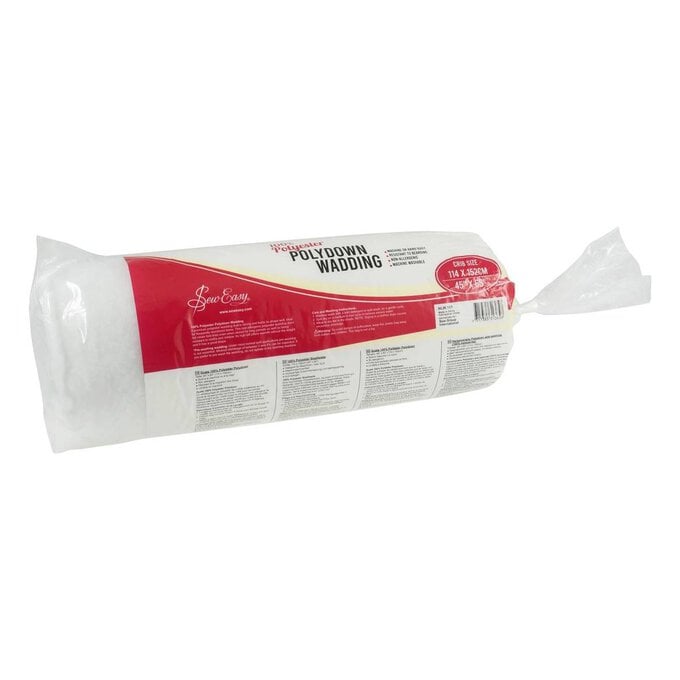
Measure the size of the placemat and cut the other fat quarter and some wadding to the same size.
Match the edges and pin the fabric and wadding together so that it won't move.
Sew down the strip edges where the seam is so that the stitches fall into the dip where the fabric meets. This is known as stitching in the ditch.
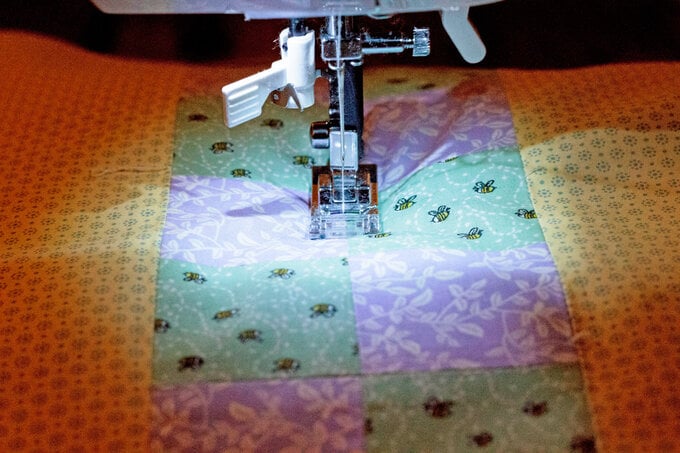
Sew across the small squares in the strip using the same method. This will give a quilted look to the strip. If you don't want stitches on the reverse of the placemat, then you can do this step without having the backing fabric pinned on.
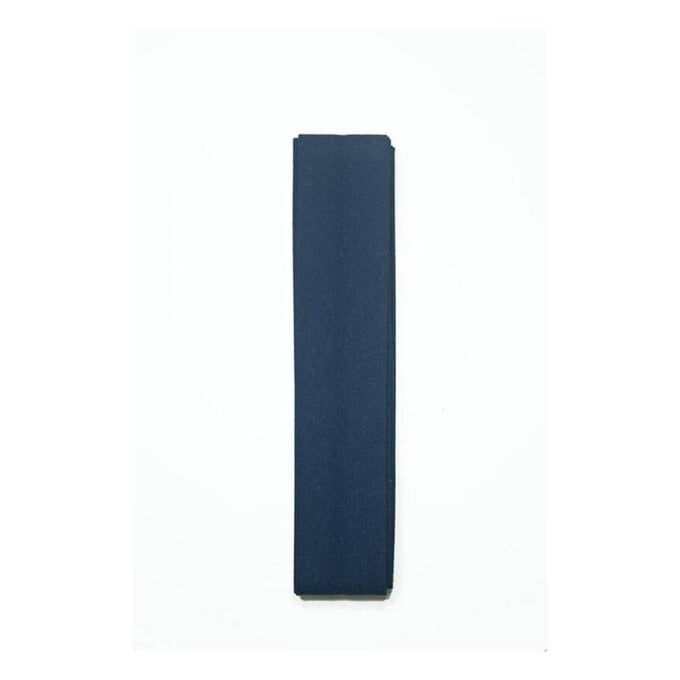
Measure around the outside edge of the placemat and cut or make bias tape to the same length.
Fold the bias tape over the edge, same as if you were binding a quilt, and sew close to the edge with a small straight stitch.
You now have a totally custom place setting! You can use different coloured buttons on the napkins to ensure that people know which one is theirs. For a different look, you can also try cutting the strips in the placemat at 45 degrees to make diamonds instead of squares. Happy eating!

Related Products