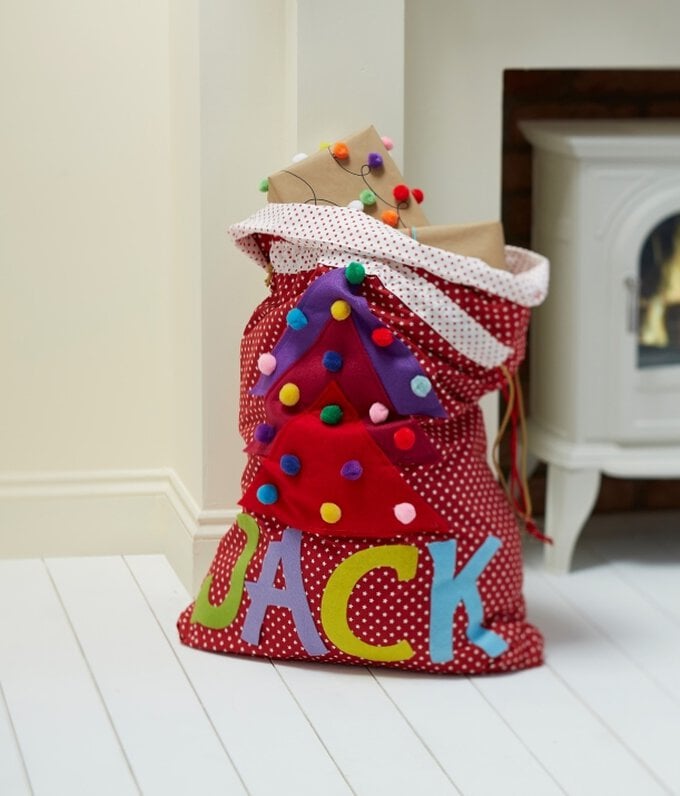
How to Make a Santa Sack
Level
Beginner
Time
1 hour
Budget
10 - 30
Sometimes a stocking just isn't big enough, and that's when you need a Santa Sack! There's plenty of room in this bright and fun sack for all sorts of gifts and goodies, and with a name attached to the front, everyone will know whose is whose!
Whether you're making one for yourself or for a family member, this Santa Sack is sure to be treasured for years to come.
Project with thanks to Caroline Giles
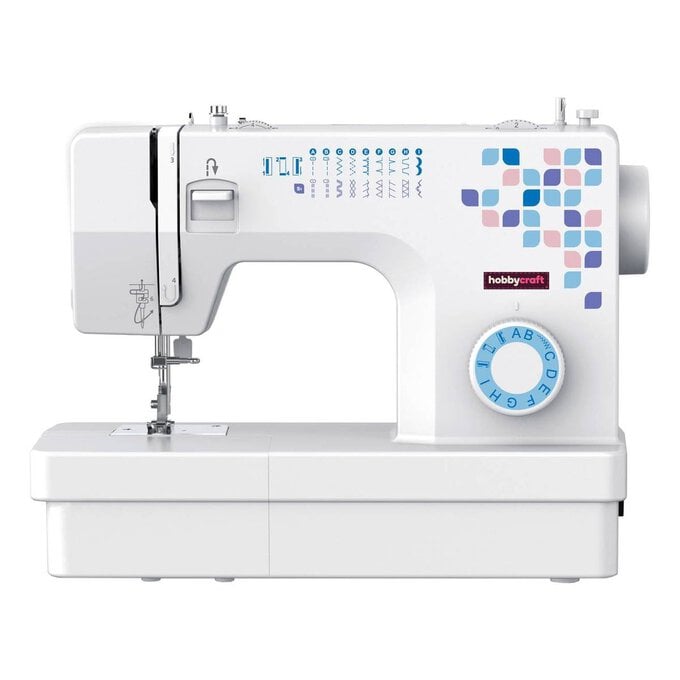
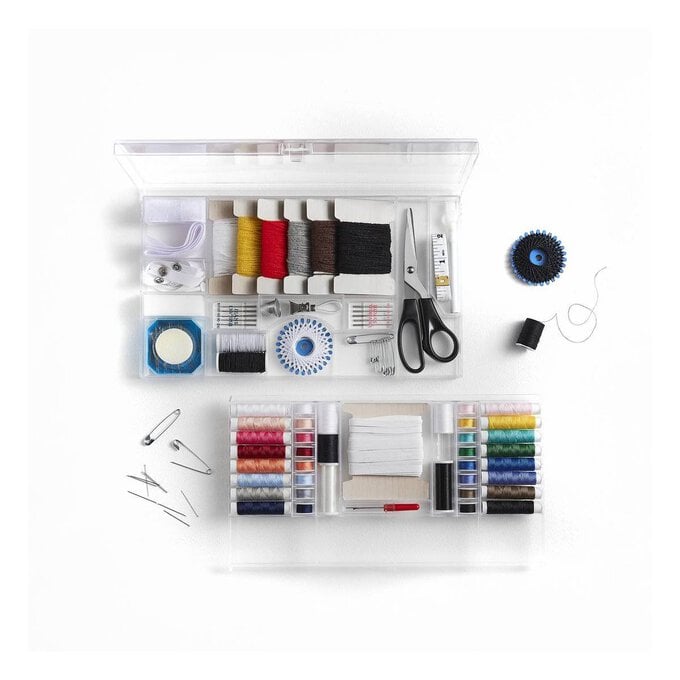
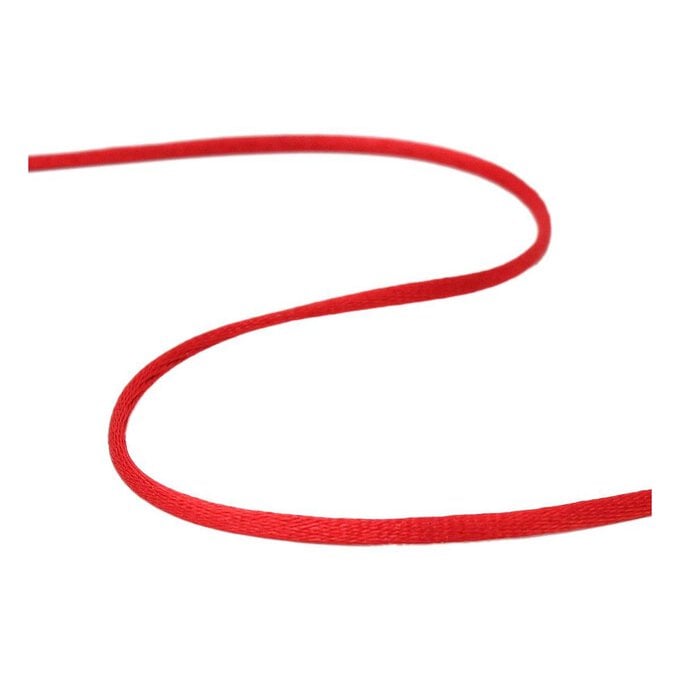
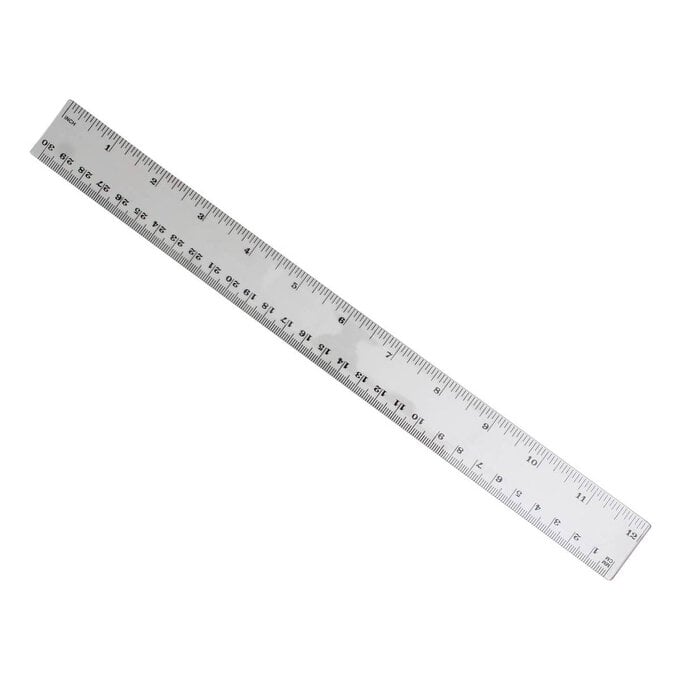
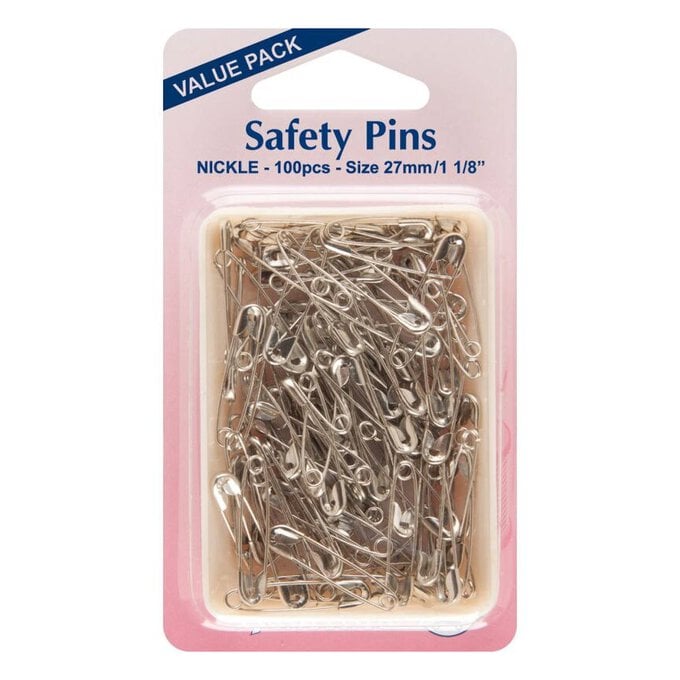
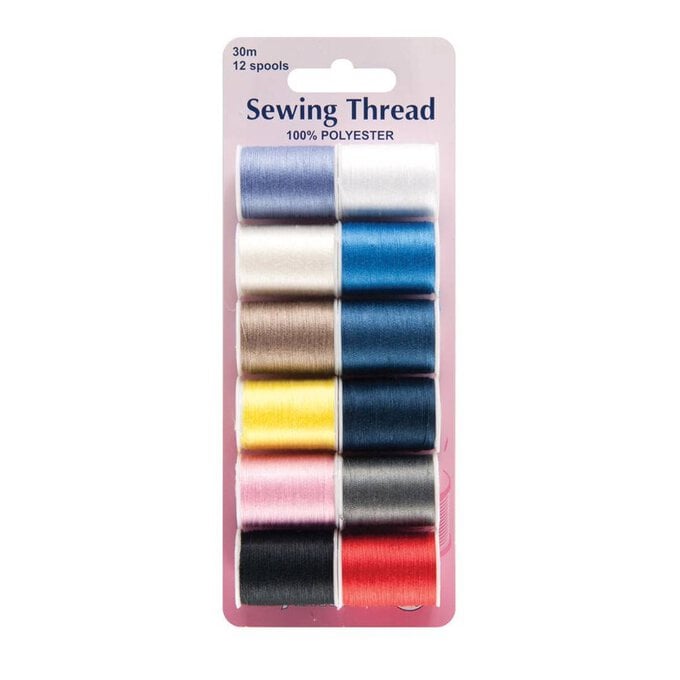
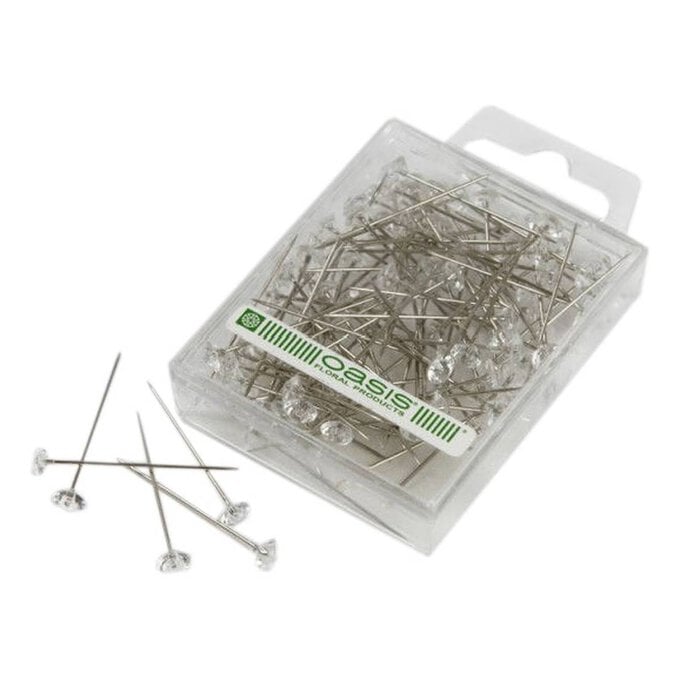
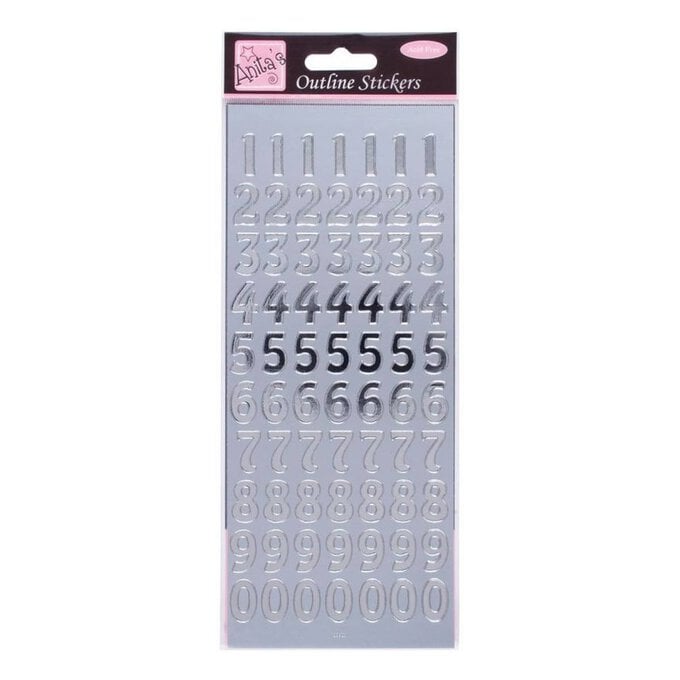
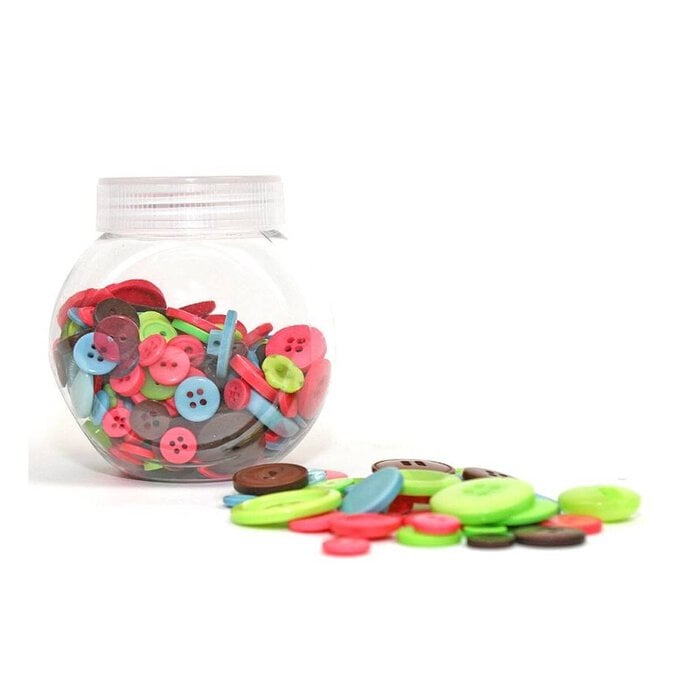
You will need
Quantity:
1
Subtotal
Is $ 121.00
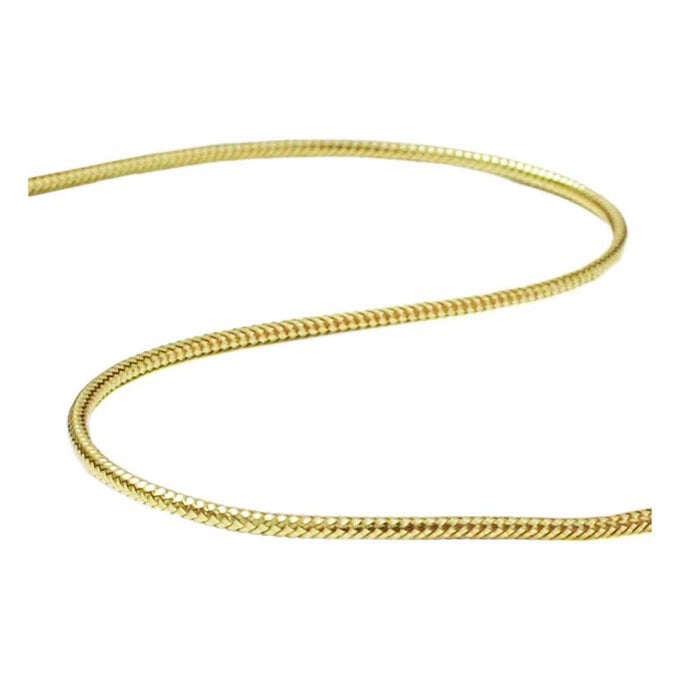
Quantity:
1
Subtotal
Is $ 27.00

Quantity:
1
Subtotal
Is $ 15.00
Quantity:
1
Subtotal
Is $ 3.49
Quantity:
1
Subtotal
Is $ 8.49
Quantity:
1
Subtotal
Is $ 4.49
Quantity:
1
Subtotal
Is $ 5.49
Quantity:
1
Subtotal
Is $ 6.49
Quantity:
1
Subtotal
Is $ 6.49
Quantity:
1
Subtotal
Is $ 3.49
Quantity:
1
Subtotal
Is $ 2.49
Quantity:
1
Subtotal
Is $ 7.49
Quantity:
1
Subtotal
Is $ 5.49
Total:
£0.00
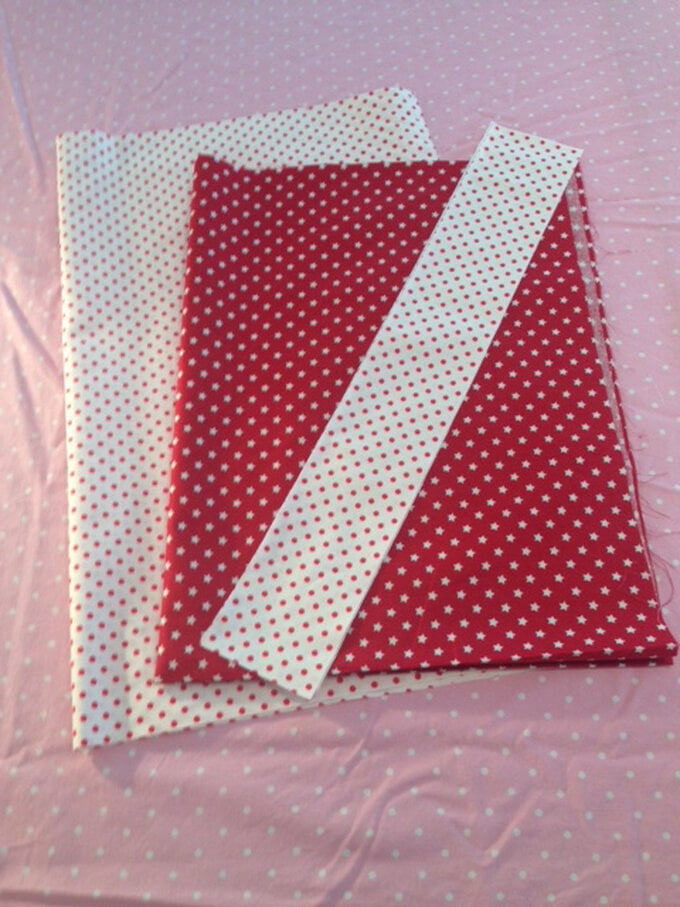
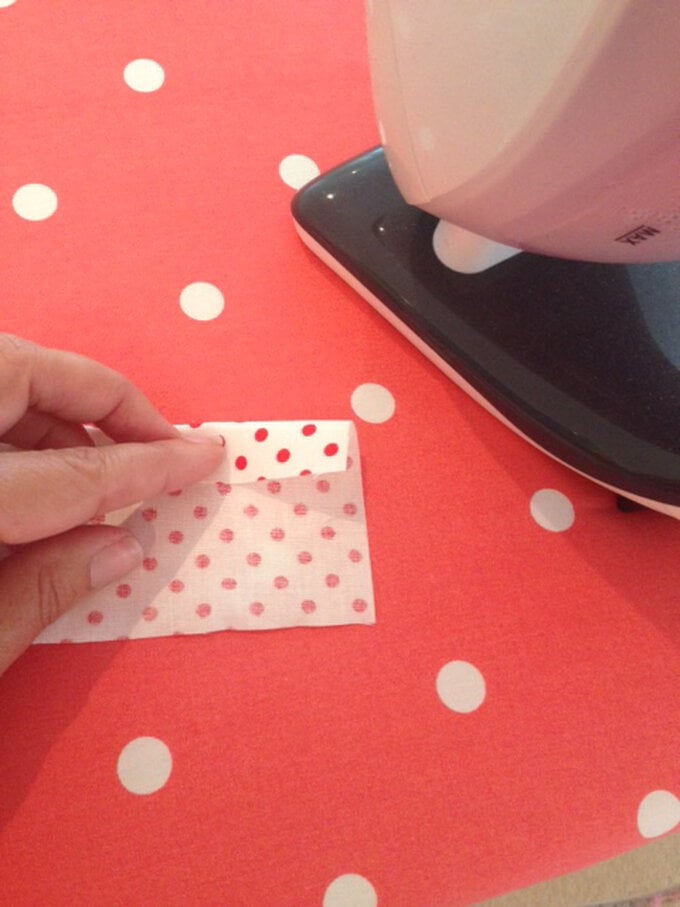
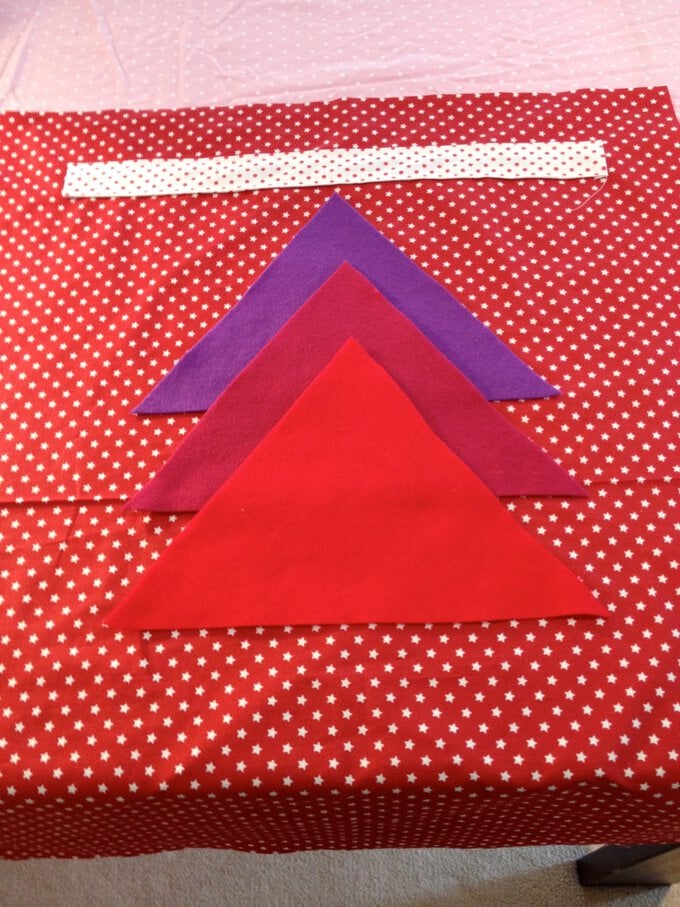
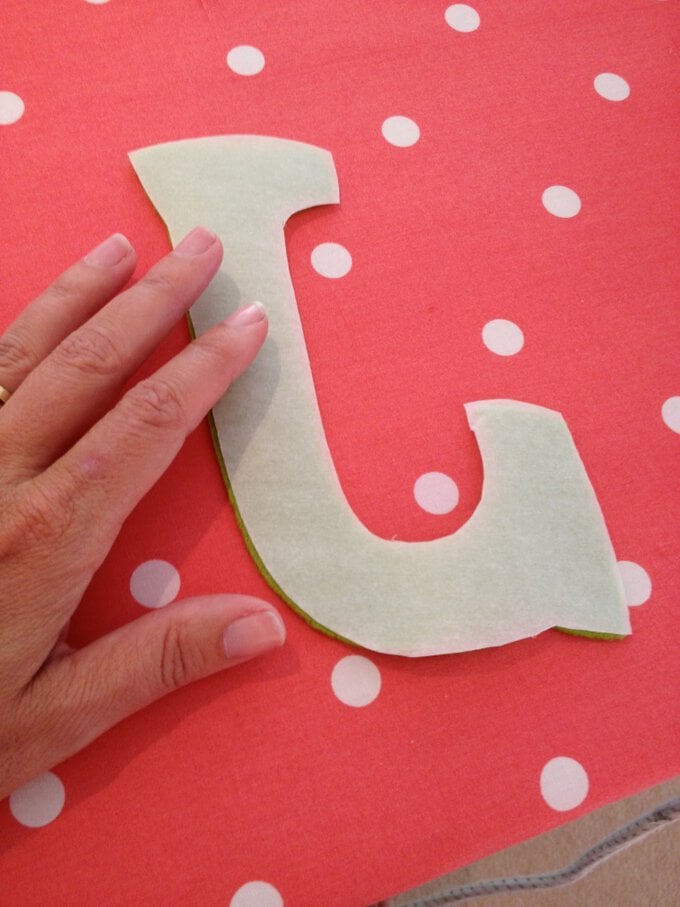
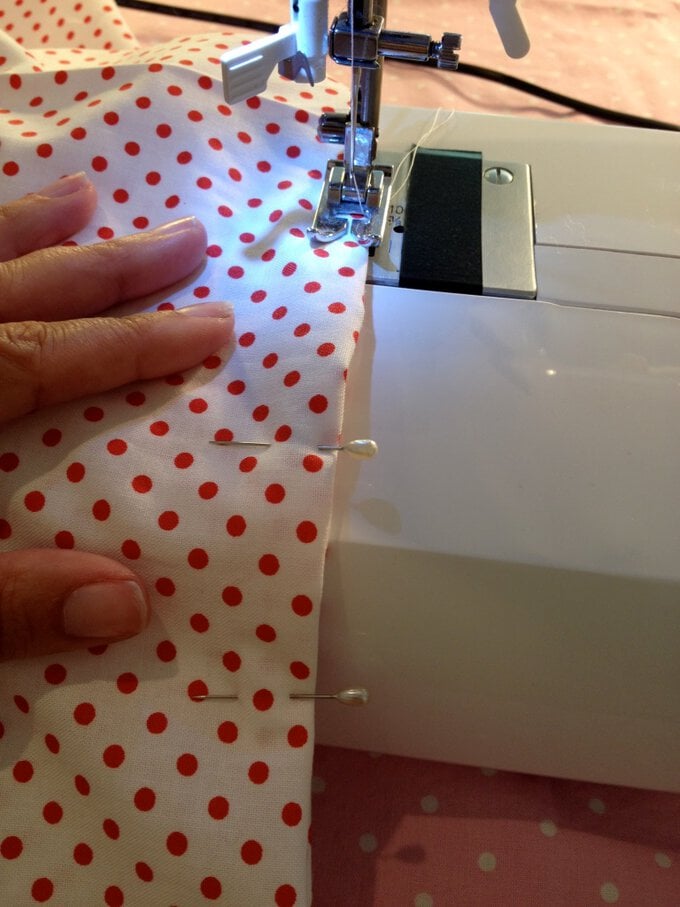
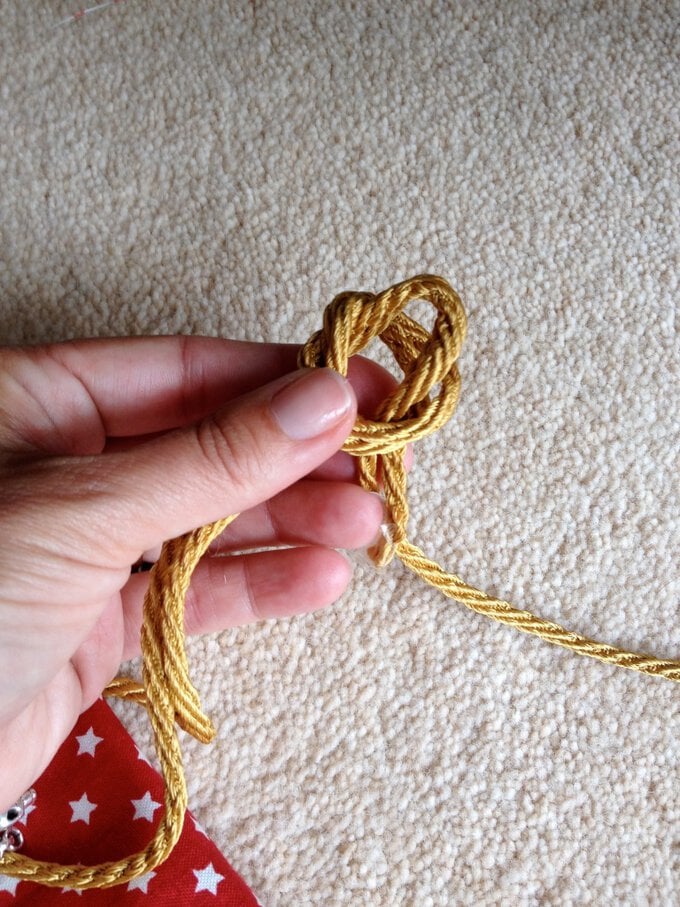
How to make
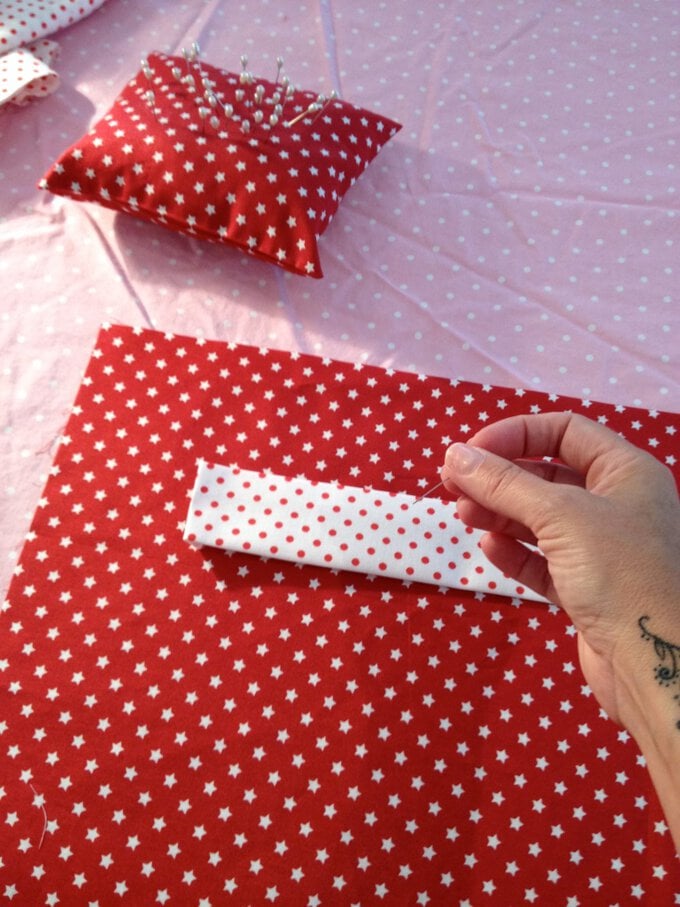
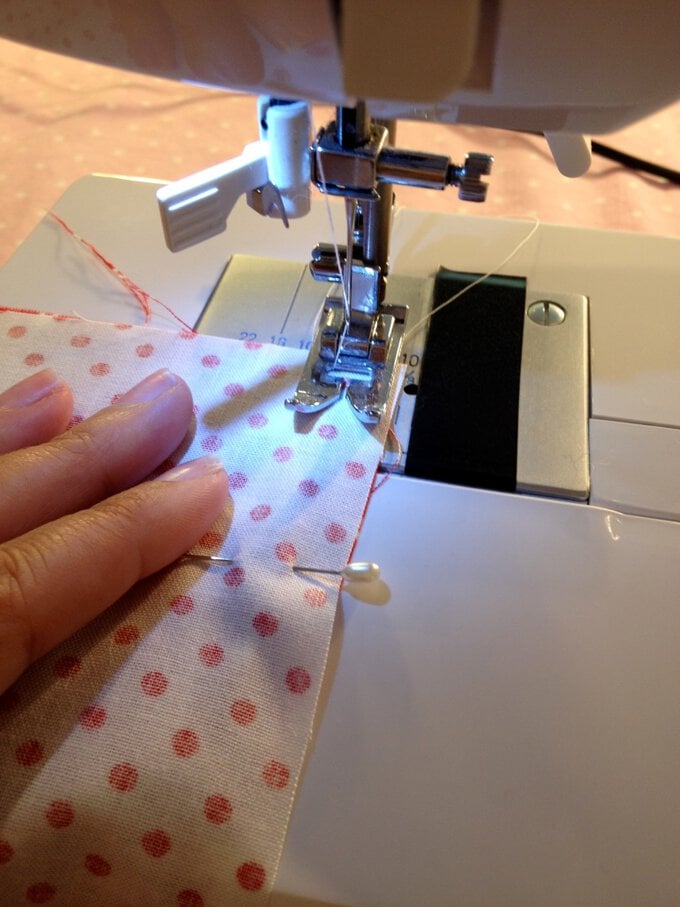
Step-1
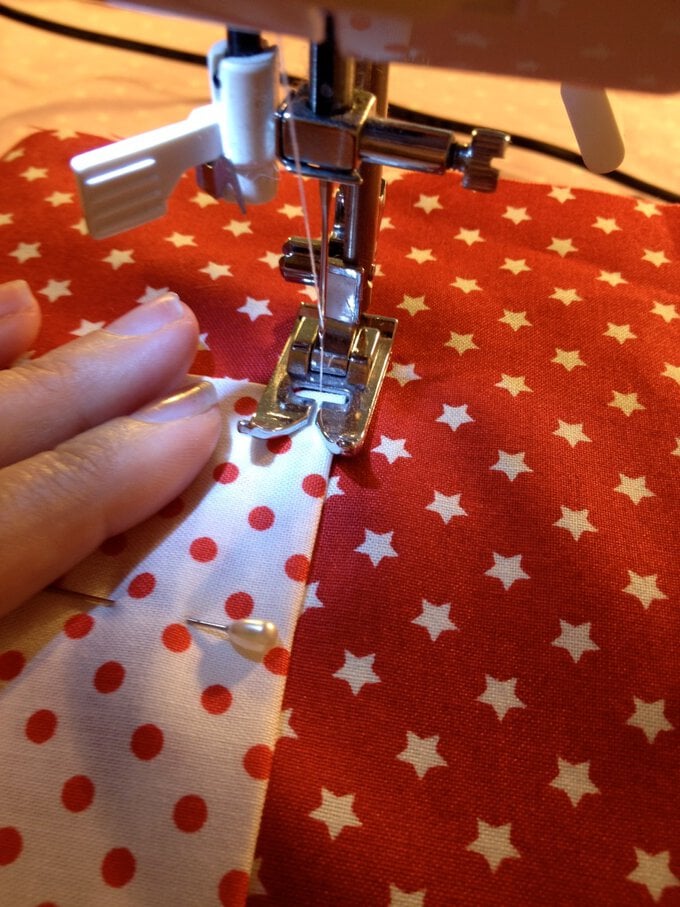
Step-2
Step-3
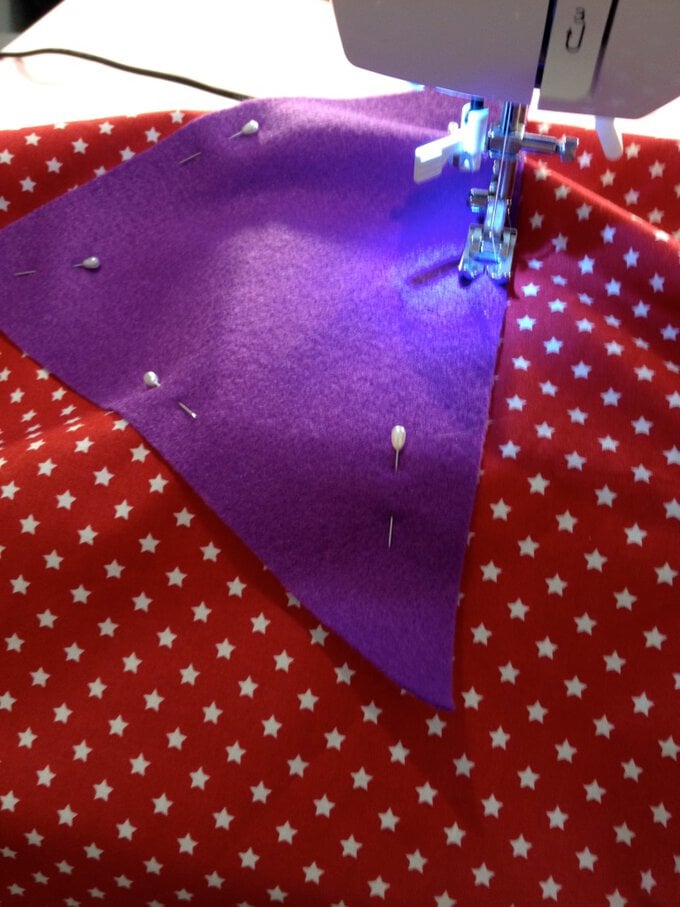
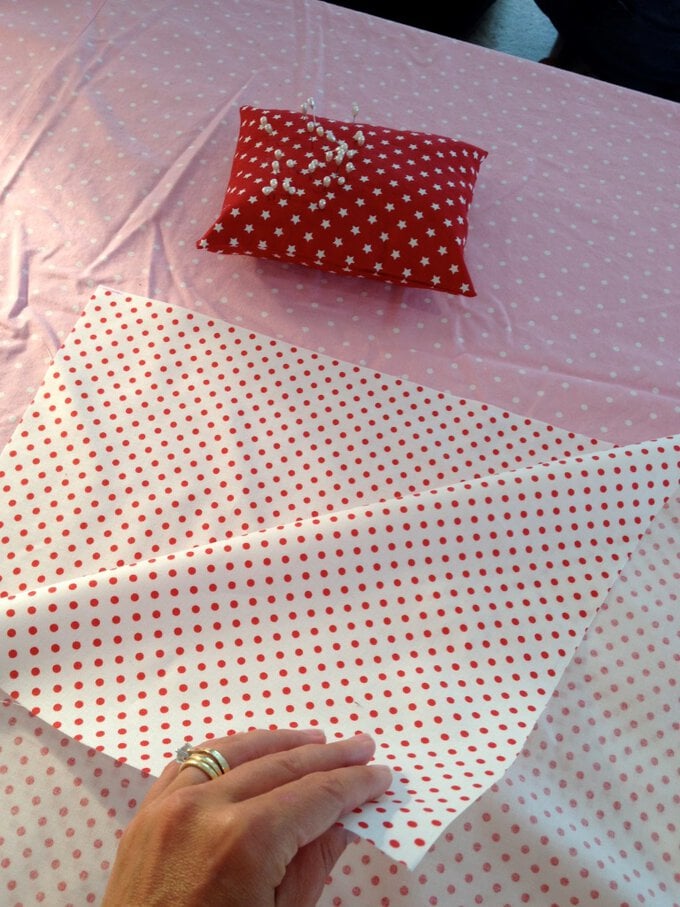
Step-4
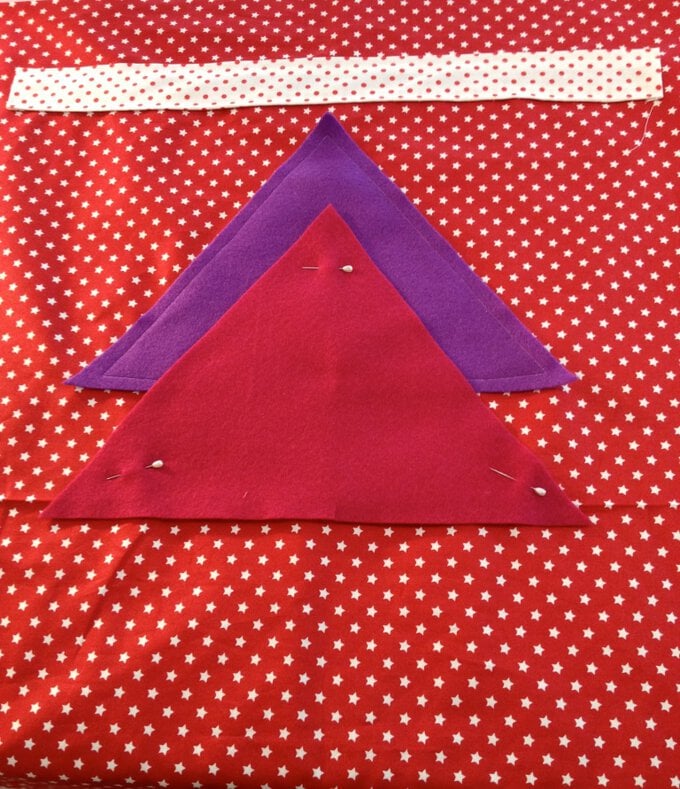
Step-5
Step-6
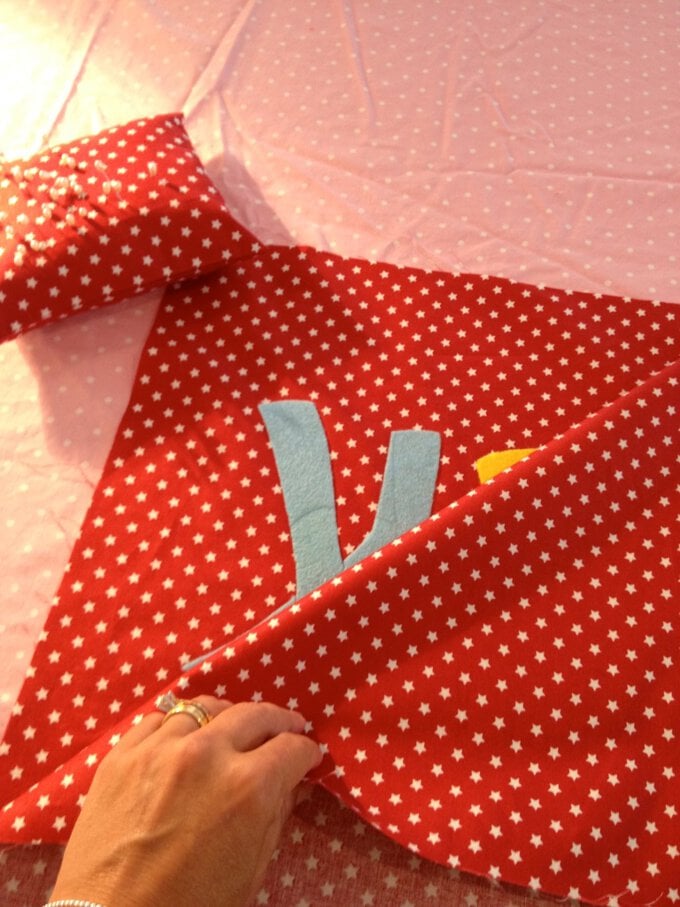
Step-7
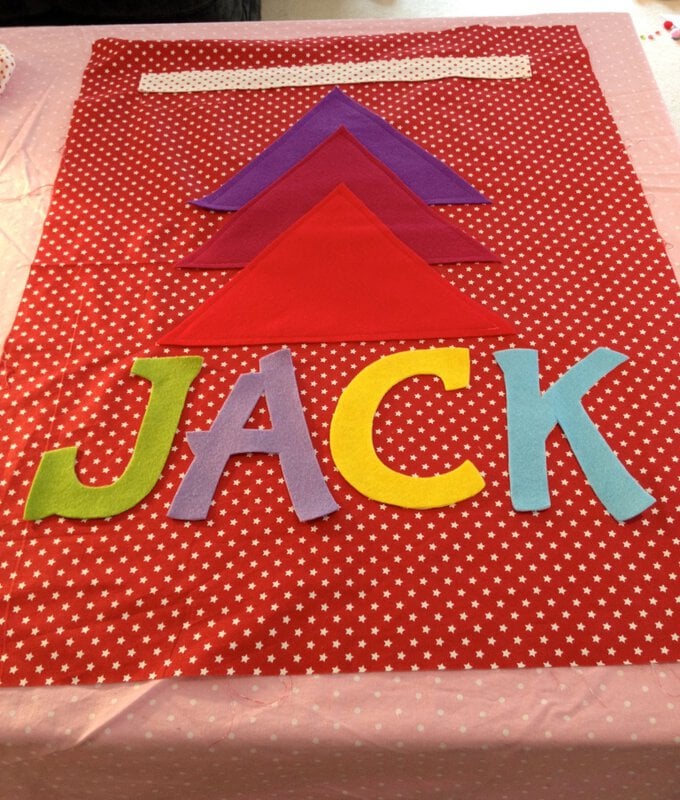
Step-8
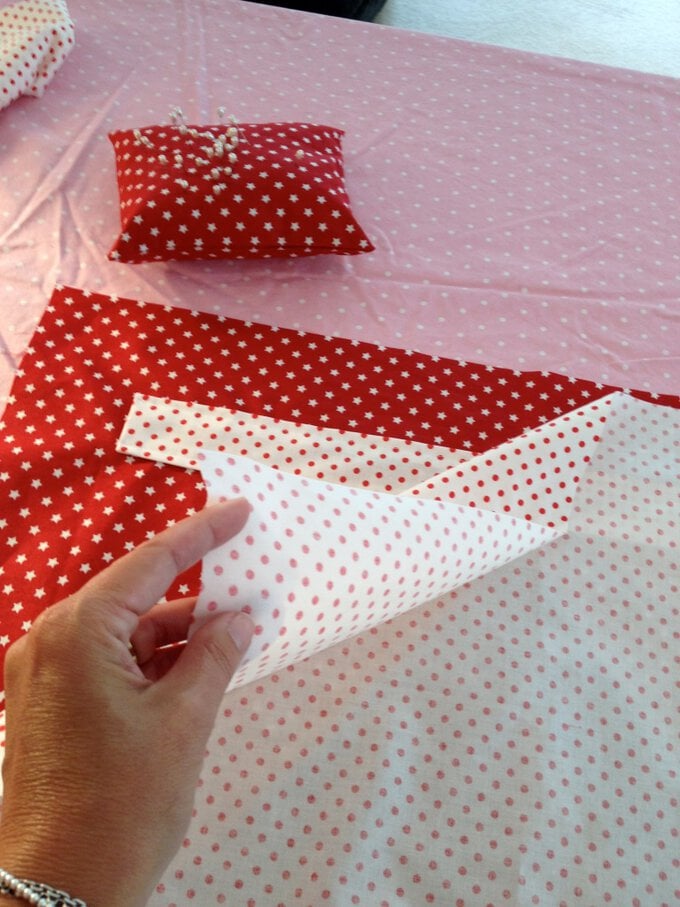
Step-9
Step-10
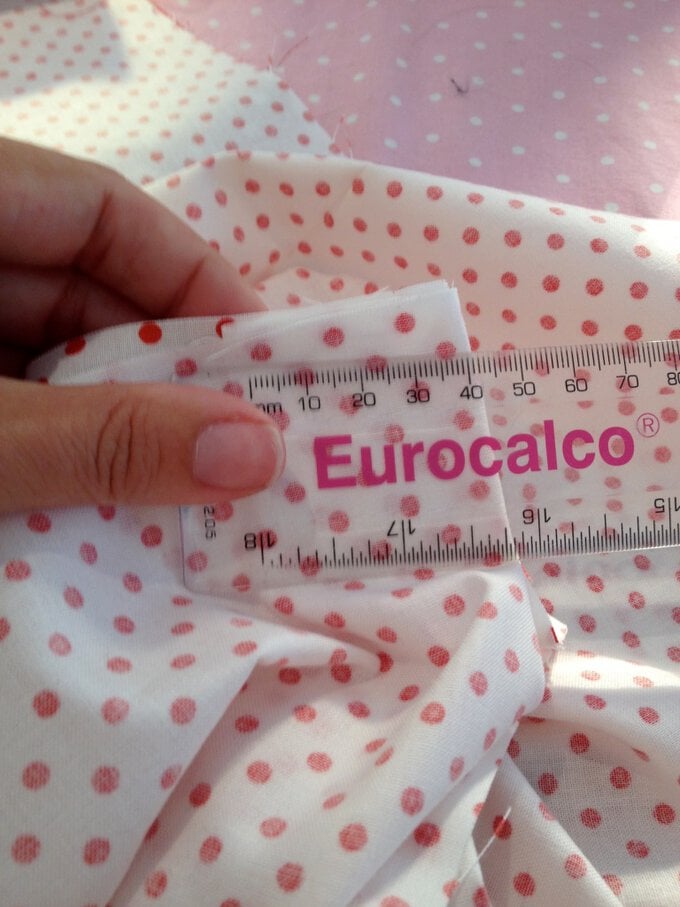
Step-11
Step-12
Step-13

Step-14
Related Products
Cricut: How to Make a Personalised Santa Sack
Bargello is a tapestry method that dates back hundreds of years, with a technique that uses straight stitches to create striking, geometric patterns. Bargello embroidery made its big comeback in the 70s, revived with lots of bright colours and intricate ...
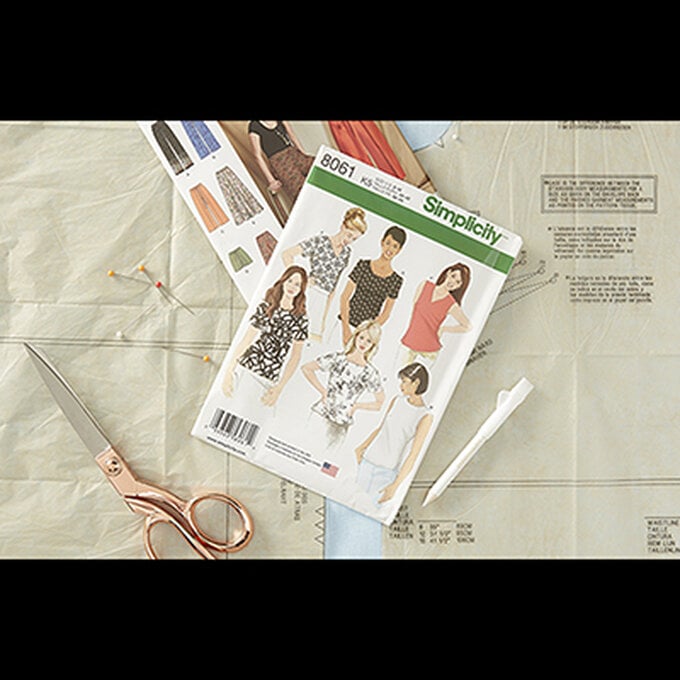
How to Choose and Use a Sewing Pattern
Create a beautiful embroidery piece inspired by Black History Month, designed by Shikira from Kreative Pursuit Crafts. Capturing a multicultural collection of faces, the embroidery hoop design is the perfect creative project to mark this occasion. A classic craft that's ...
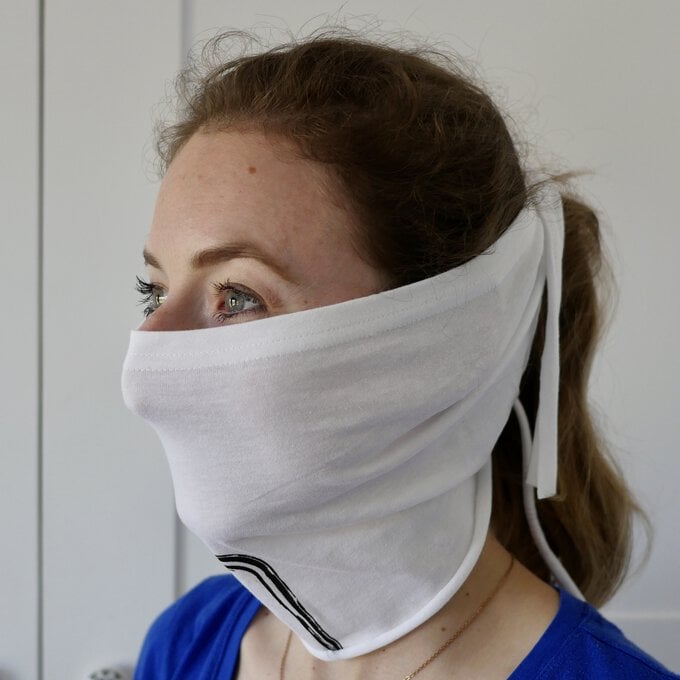
How to Make a No-Sew Face Covering
These fun colourful bunny ear scrunchies are a great scrap buster. Don't waste any of your cute printed fat quarters. Make them plain, or add these cute bunny ears for an additional spring detail. Mix and match the patterns to ...
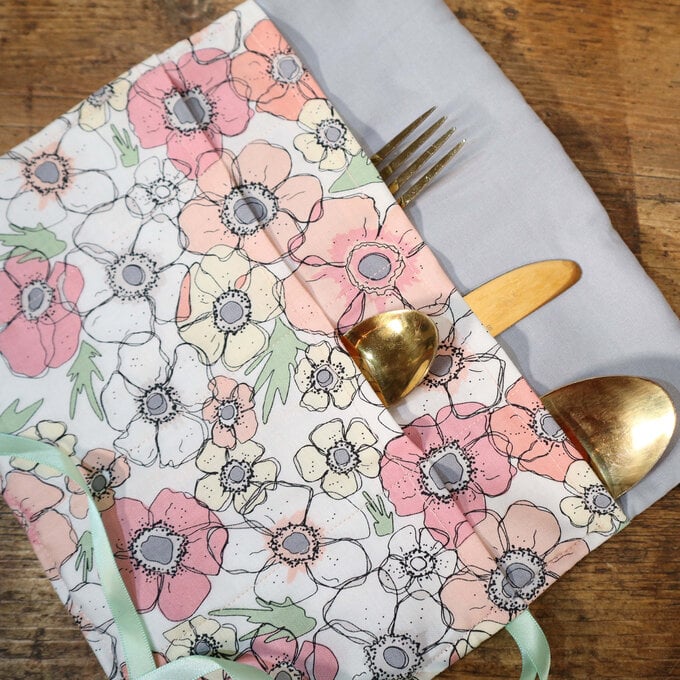
How to Sew a Cutlery Wrap
These fun colourful bunny ear scrunchies are a great scrap buster. Don't waste any of your cute printed fat quarters. Make them plain, or add these cute bunny ears for an additional spring detail. Mix and match the patterns to ...
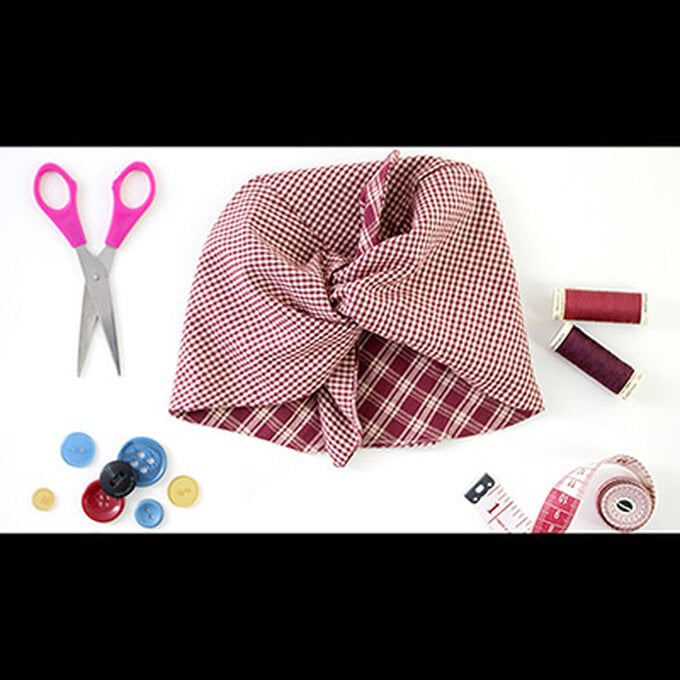
How to Sew a Land Girl Style Head Scarf
Celebrate International Women’s Day with these adorable sewn dolls. Although the template stays the same, they’re completely customisable! Choose different skin tones, hair types and even add glasses. We're feeling inspired to get sewing, we just keep looking up new ...
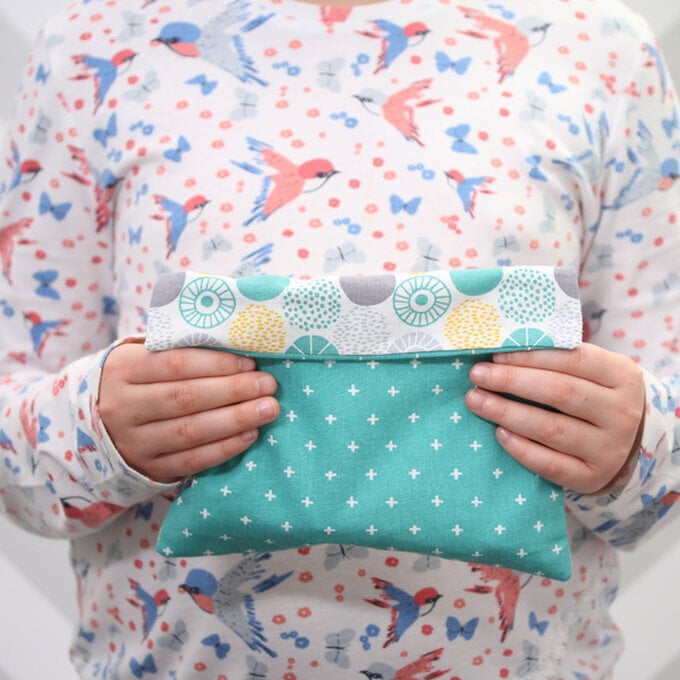
How to Sew a Pencil Case Using VELCRO Brand Tape
These fun colourful bunny ear scrunchies are a great scrap buster. Don't waste any of your cute printed fat quarters. Make them plain, or add these cute bunny ears for an additional spring detail. Mix and match the patterns to ...

