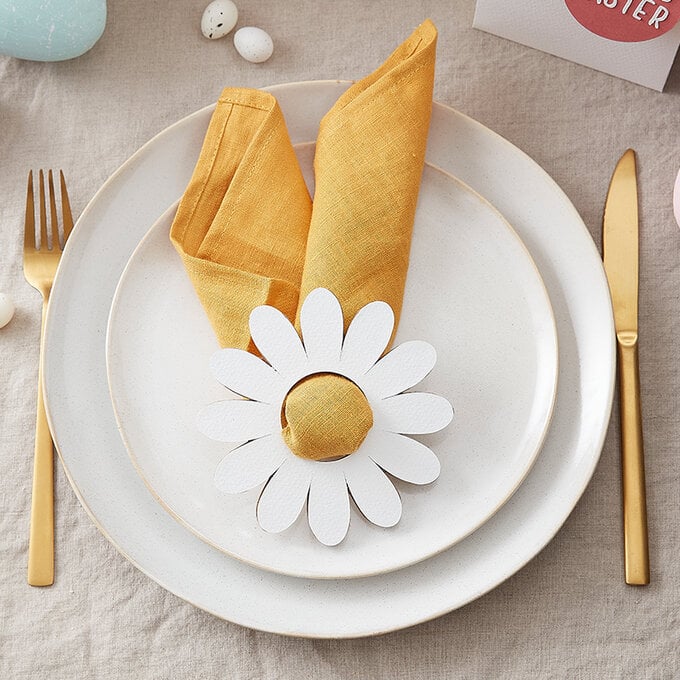
Cricut: How to Cut Chipboard Daisy Napkin Rings
If you've got a Cricut Maker and always wanted to know how to cut chipboard, this is the project for you to learn how!
Perfect for beginners, this project takes you through the process step by step. At the end, you'll have a beautiful set of daisy napkin rings to adorn your dinner table!
Project and instructions by Aisha Cluitt.
Cricut Design Space Project Link: Chipboard Daisy Napkin Rings
Discover more Cricut ideas here
This project contains paid-for content from the Cricut Design Space app. Screen grab reference images are taken from the desktop version of Design Space. This project was created using the Cricut Maker 3; however, it can also be recreated on the Cricut Maker machine.
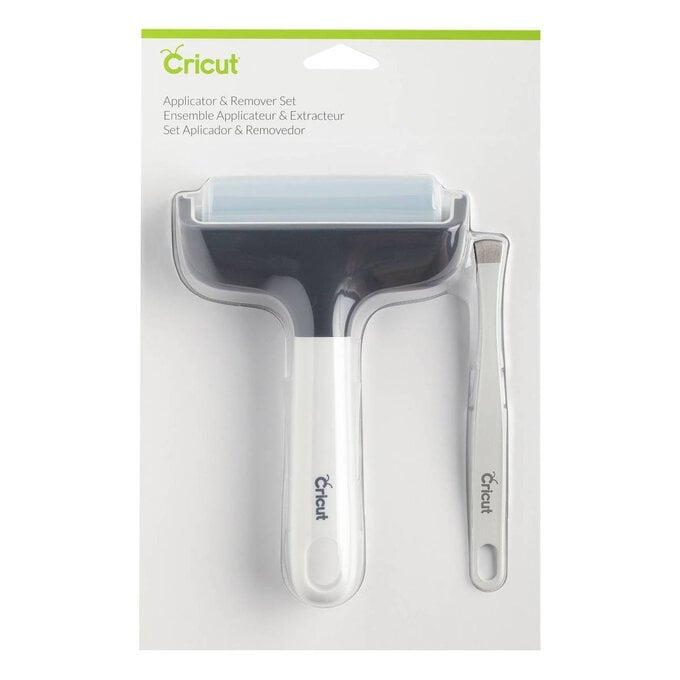
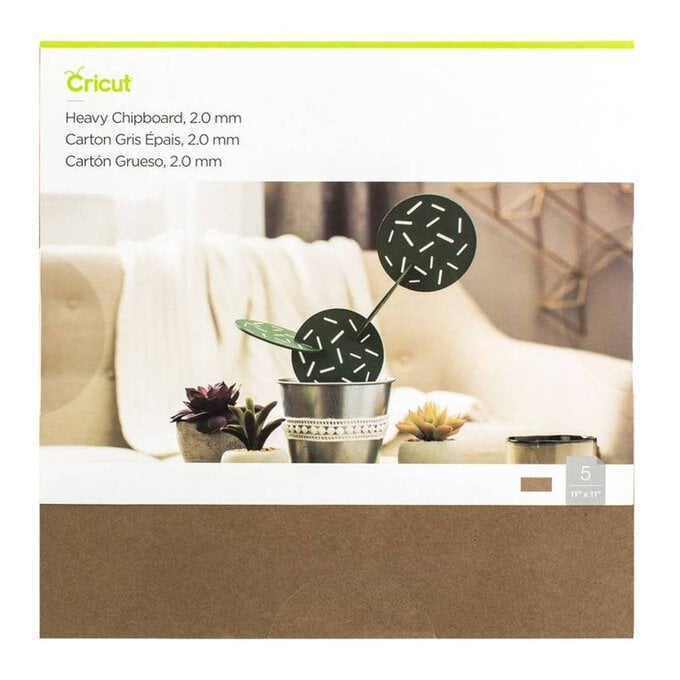
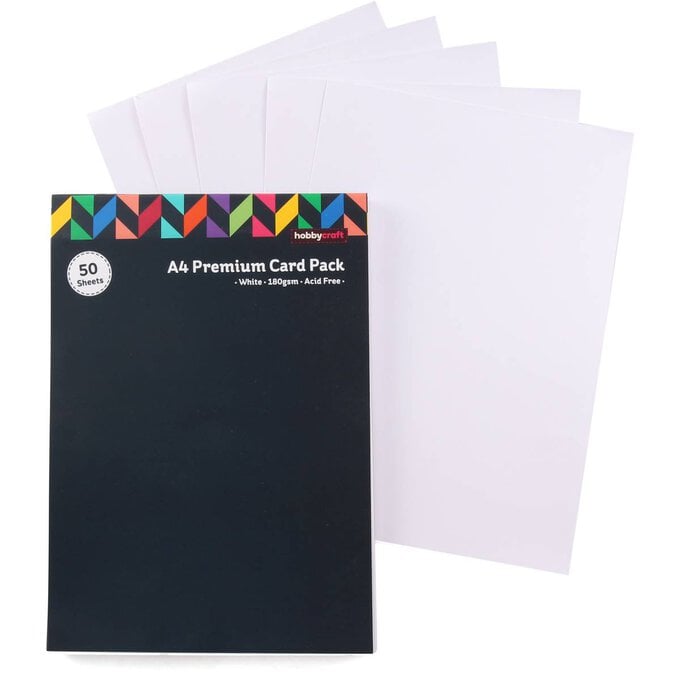
You will need

Subtotal
Is $ 606.00
Subtotal
Is $ 32.00
Subtotal
Is $ 64.00
Subtotal
Is $ 29.00
Subtotal
Is $ 18.00
Subtotal
Is $ 8.49
* Cricut Design Space app installed on a PC or laptop
* Napkins
Start by opening the project in the Cricut Design Space app using the project link at the top of this post, or alternatively use the link below - https://design.cricut.com/landing/project-detail/61db58950b75b143da57faca
To access the project, copy and paste the link into your browser, you will be directed to a Cricut landing page, select 'Open' followed by 'Open Cricut Design Space Application'.
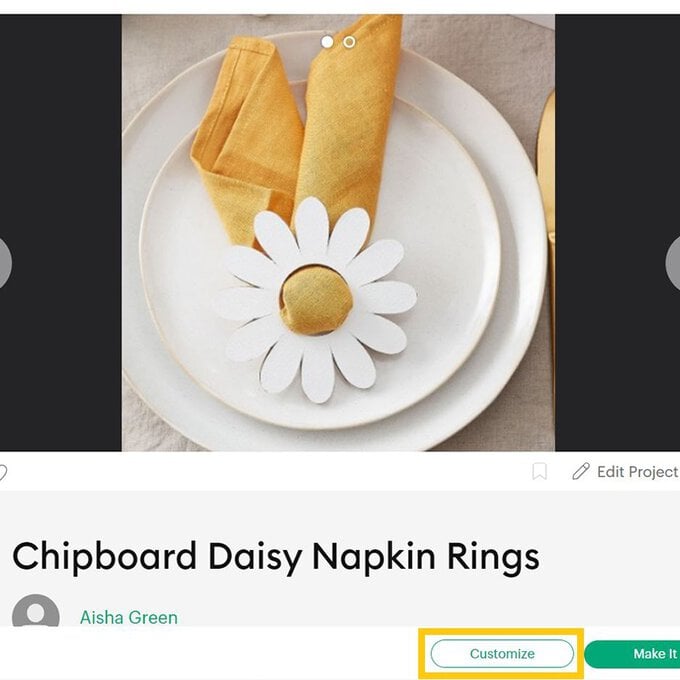
The app will open (you may be prompted to log in) and the project overview screen will appear.
Select 'Customise'.

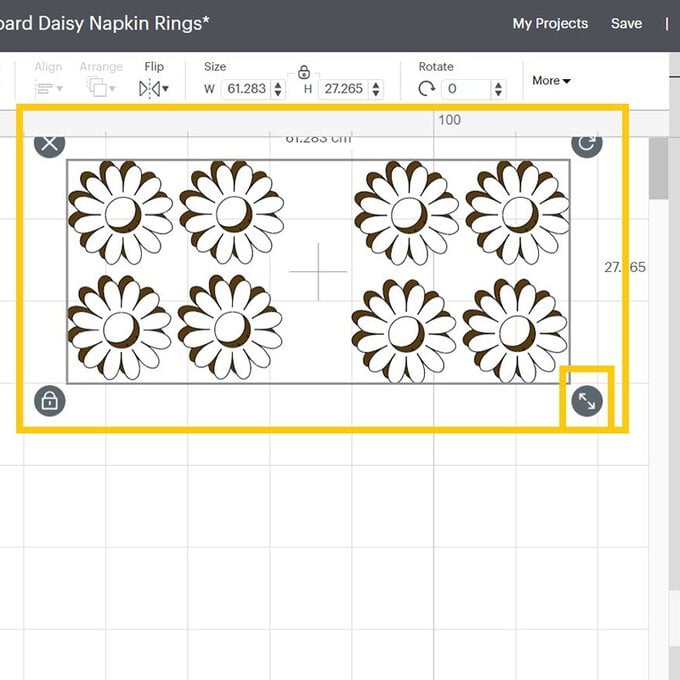
Once through to the Canvas screen, re-size and 'Duplicate' the components as desired, ensuring all the elements are selected if re-sizing to ensure all the elements re-size proportionately.
Once happy click 'Make It' in the top right-hand corner.
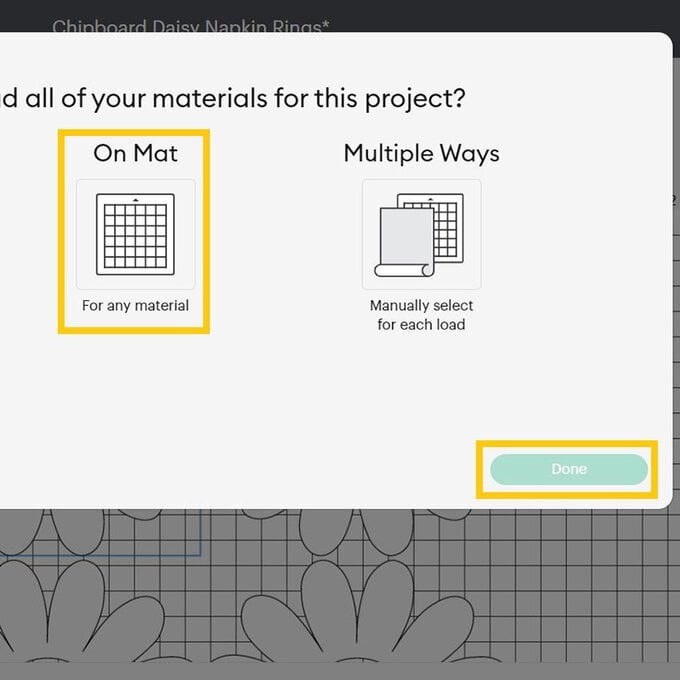
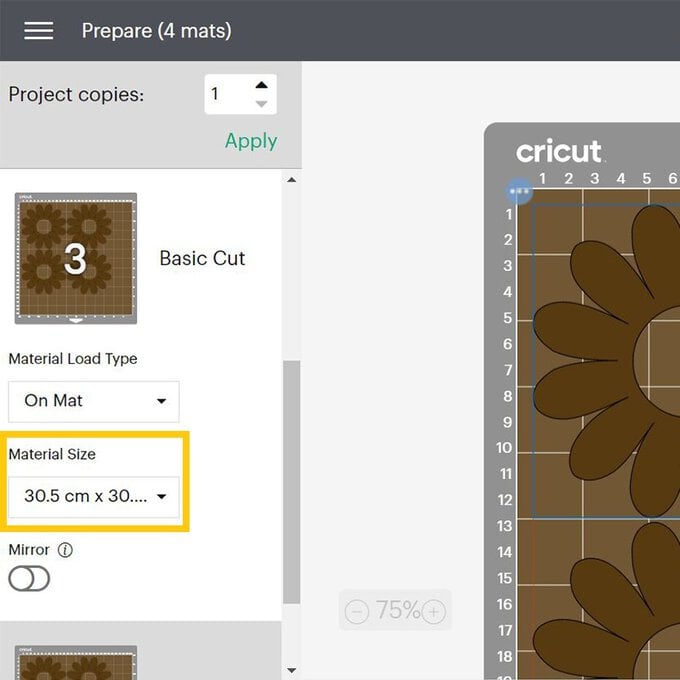
You'll then be taken through to the mat preview screen, check everything is present and correct before clicking 'Continue'.
Amend the size of material on each kraft brown mat to 30.5 x 30.5cm and move the elements so they sit one square in from each side.
To do this, click on each element and move it manually making sure none of the elements overlap.
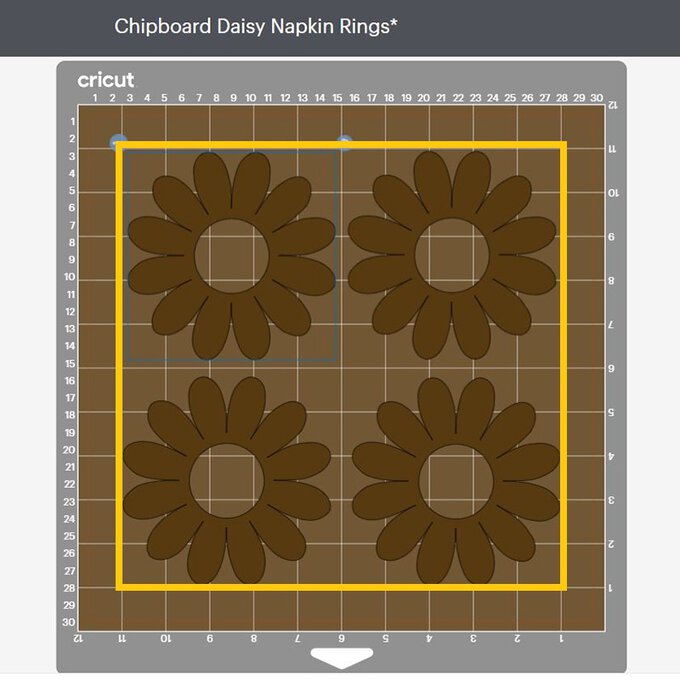
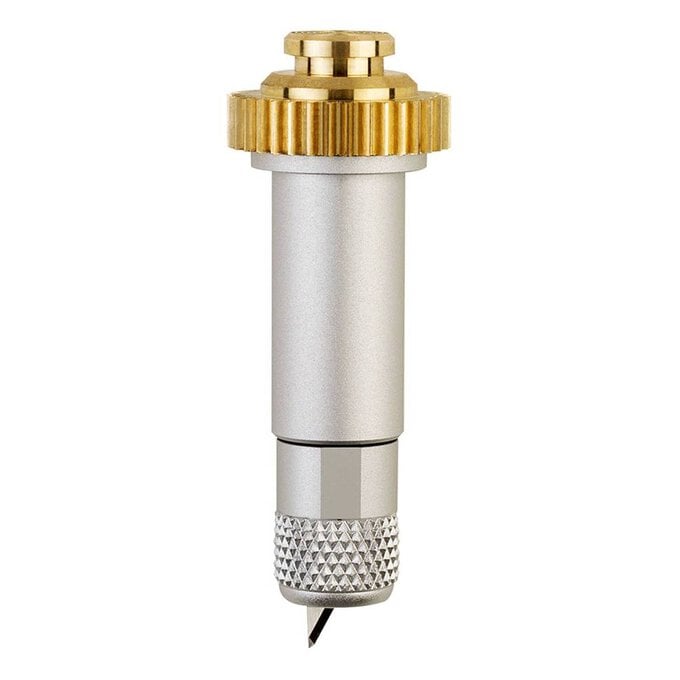
Once through to the machine set up screen, select the 'Heavy Chipboard' setting from the Materials menu then follow the on-screen instructions to cut out each of the design elements, making sure to change the cut material as and when needed.
Top Tip - pay special attention to the blades and tools you'll need to insert in your machine, as this will vary from mat to mat.
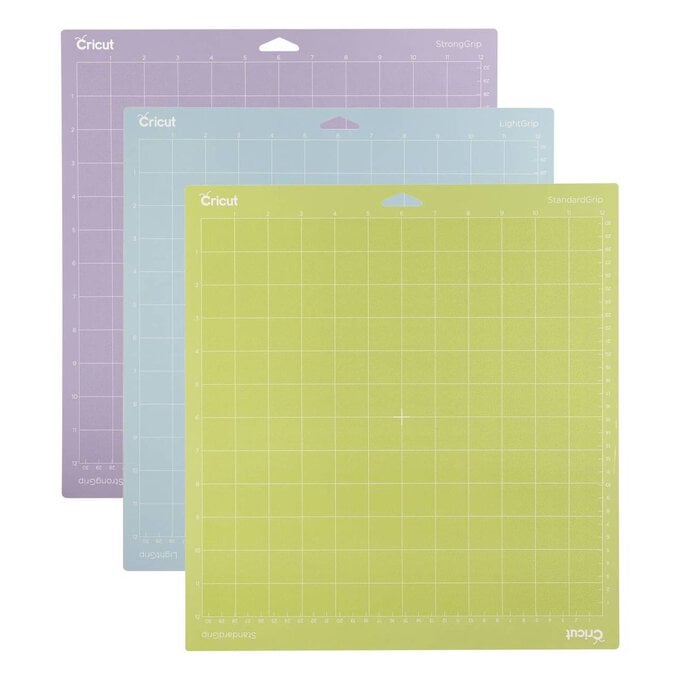
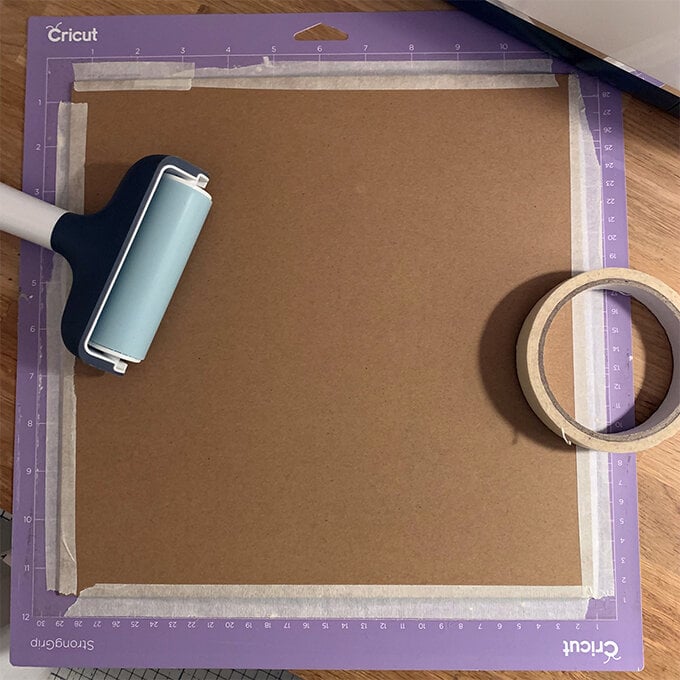
When cutting the Cricut Heavy Chipboard, use the purple StrongGrip cutting mat, and secure the sheet to the centre of the mat using a Cricut Brayer, adhering masking tape on all four sides of the sheet.
Slide the star wheels on your machine to one side and then load your mat followed by the Knife Blade, keep an eye on the cut as it progresses; a progress dial will appear on screen alerting you of the cut time and the percentage of the cut completed.
If, once all the cut passes are complete, the chipboard has not cut all the way through, use the on-screen prompt to initiate another pass.
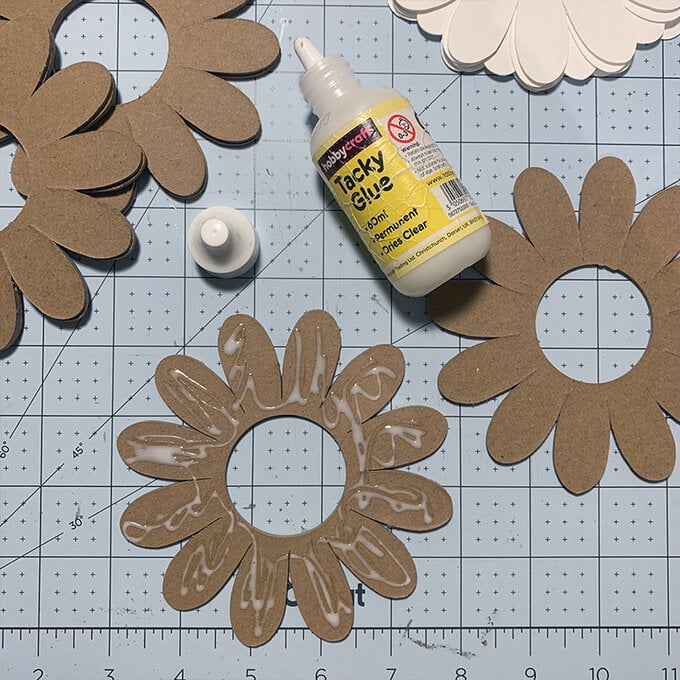
Once all the elements have cut, carefully remove them from the cutting mats.
Apply a sparing amount of Tacky Glue to one side of the chipboard daisy, leave the adhesive to set for 30 seconds, then apply one of the white daisies on top.
After each chipboard daisy has been covered on one side, turn them over and apply the remaining daisies.
Leave the chipboard daises to dry overnight under a stack of heavy books.
Your napkin rings are then ready to use!
Related Products

Is $ 6.49

Is $ 4.49


Is $ 10.00