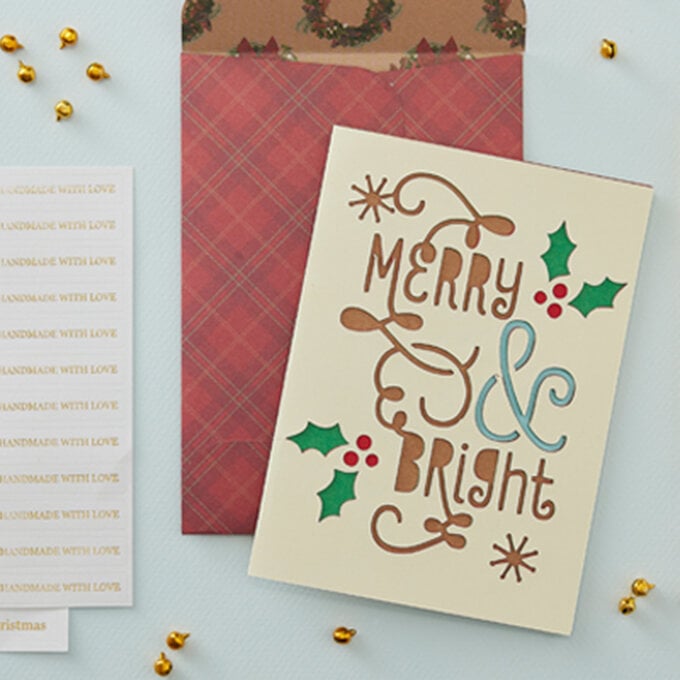
How to Make Die Cut Christmas Tags
Don't neglect your gift wrapping when you've put so much effort into choosing or making your special gifts; go the extra mile and make some easy die cut Christmas tags to truly impress and make the outside of your gifts look as great as the inside!
You will need

Subtotal
Is $ 4.49
Subtotal
Is N/A
Subtotal
Is $ 1.49
Subtotal
Is $ 11.00
Subtotal
Is N/A
Subtotal
Is $ 3.49 , was $ 4.49
Subtotal
Is $ 7.49
Subtotal
Is $ 8.49
Subtotal
Is $ 4.49
How to make
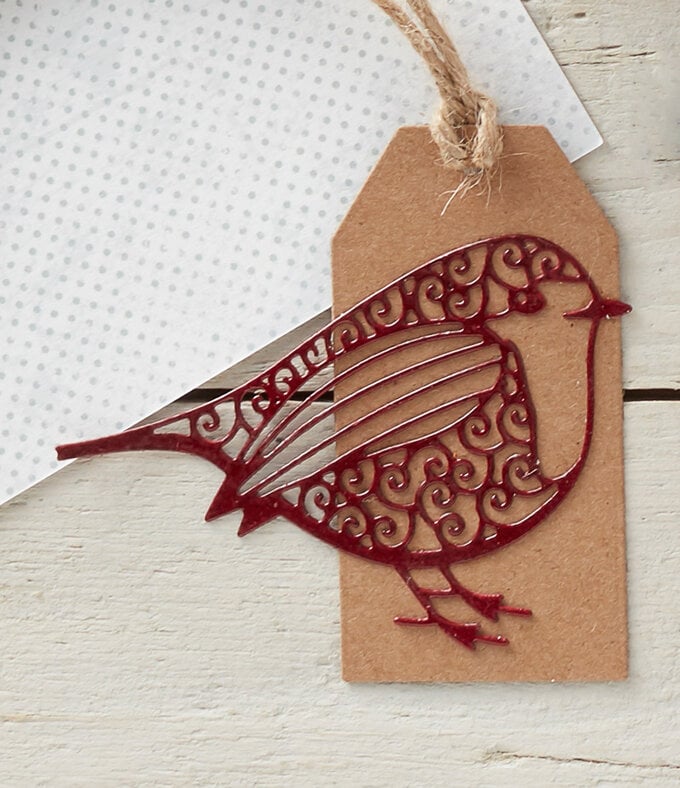
Die cut the robin Intricut design from your choice of cardstock – we opted for a plum colour. Remove the robin from the die and place face up on a scrap of cardstock, cover with clear embossing ink.
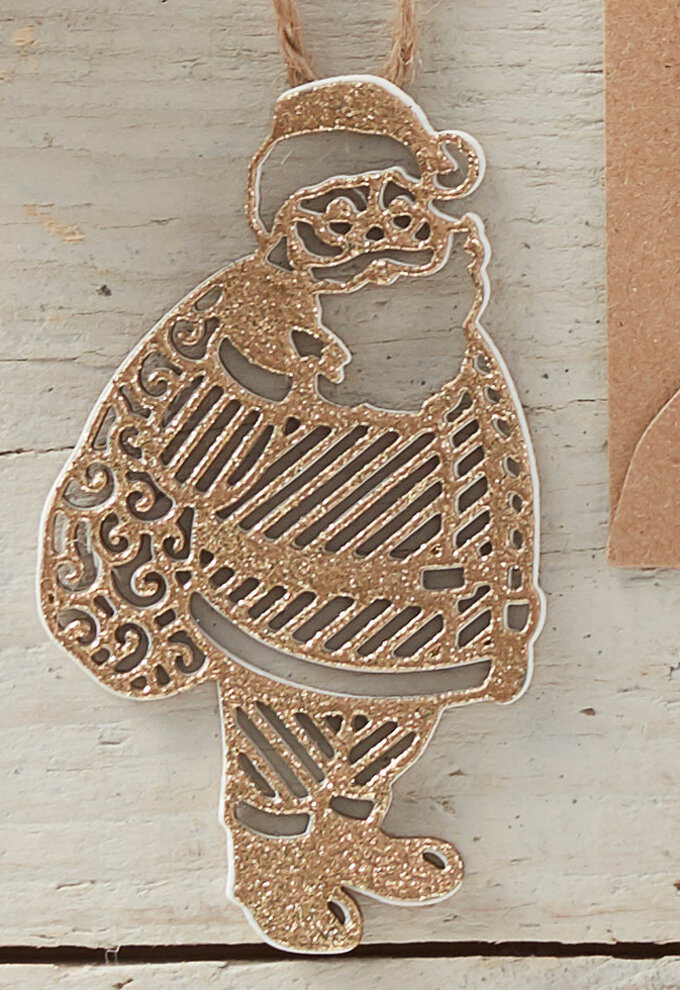
Die cut the Santa Claus Intricut design twice from kraft card. On a scrap piece of cardstock, cover both die-cuts with clear embossing ink – you'll need to cover the front of one die-cut and the back of the other.
Cut two 12cm diameter circles from acetate, two from kraft card and another two from grey cardstock. Place to one side.
Create 'snow' confetti using a small circle palm punch and a selection of different card and paper stocks – we used vellum and white card.
Take one of the acetate circles and apply two stacked layers of squares foam pads around the outer edge, making sure there are no gaps. Place the confetti inside the ring of foam pads and secure the second acetate circle on top. Gently press down to make sure everything is nice and secure.
Cut a 15cm length of twine, fold in half and secure the looped section to the top of the circle using a glue gun – make sure this extends no further down than the inside edge of the foam pads.
Take the two kraft and grey cardstock circles and cut a 10cm diameter aperture in the centre. Secure one of the kraft circles on top of the grey with a glue stick. Repeat with the remaining two circles.
Using a little bit of tacky glue secure one circle to the front and the other to the back of the tag, lining up the edges.
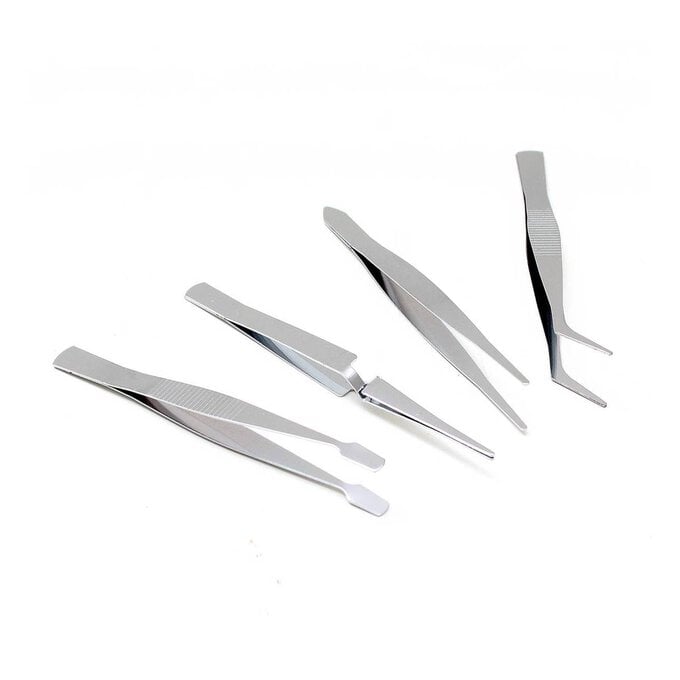
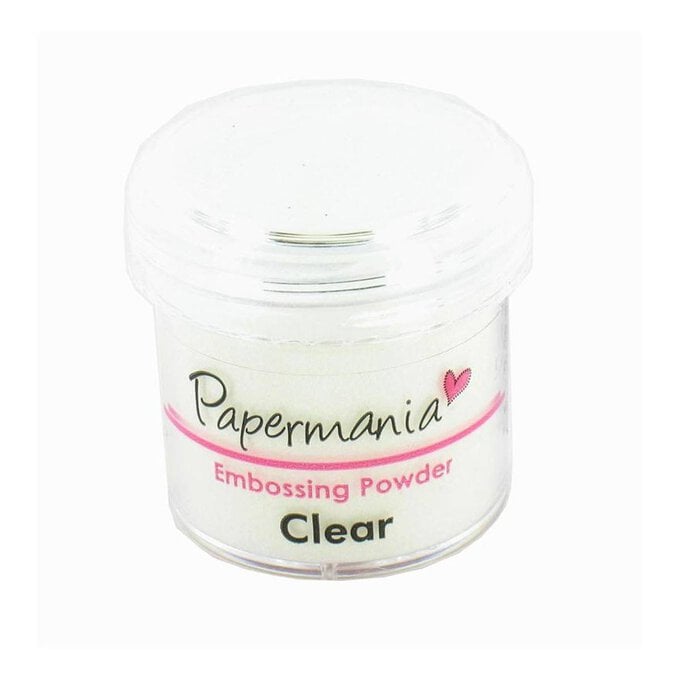
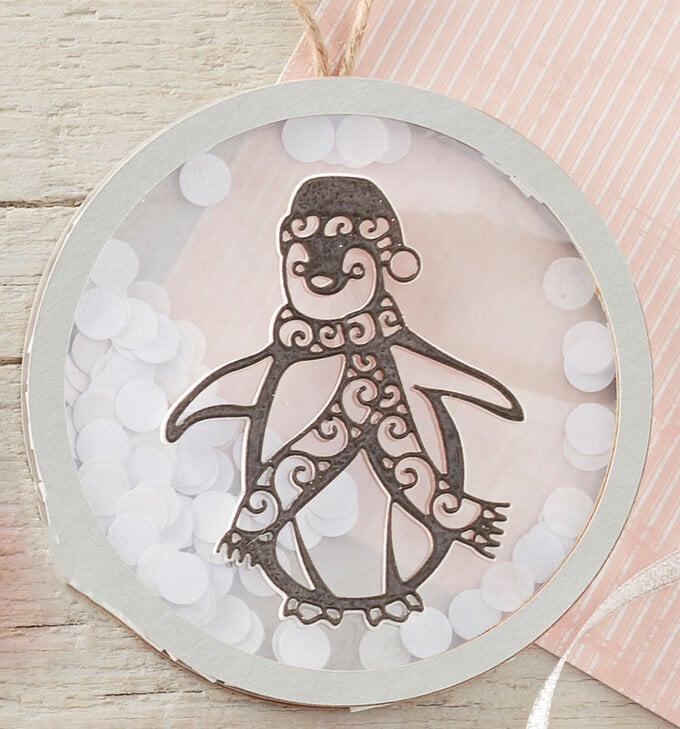
Die cut the Intricut penguin design for cardstock and white foam. Ink the cardstock penguin with an embossing ink pad on a scrap piece of paper. Working quickly, move the inked design to a second scrap of card and sprinkle over clear embossing powder. Use a pair of tweezers to pick up the design and tap off any excess powder.
Place on a heatproof mat and set with a heat tool.
Apply glue to the front of the foam die-cut and place the heat embossed penguin on top. Secure centrally on the acetate.
Related Products