How to Make Wooden Spoon Dolls
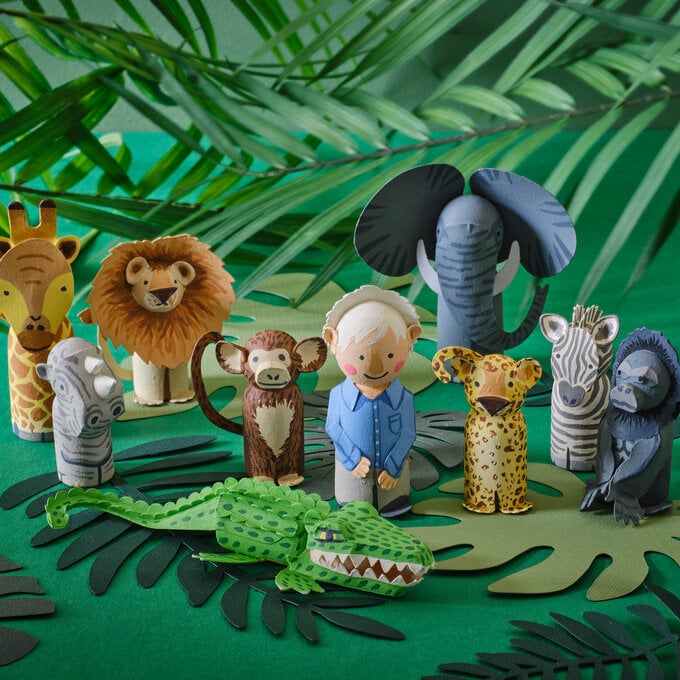
If you're looking for great family crafting ideas, look no further! Your kids will love bringing these wooden spoon dolls to life, creating quirky characters that are perfect for imaginative play.
Create your wooden dolls however you like – with paints, yarns, fabrics; use whatever you have to hand to make yours unique. It's a great kids' craft project to help you use up craft scraps, like card and fabric, so why not create a whole family!
Project and instructions by Edit by Emily.
Find even more projects to create with your children here andgt;
You will need
Subtotal
Is $ 3.49 , was $ 4.49

Subtotal
Is $ 1.49
Subtotal
Is $ 5.49
Subtotal
Is $ 7.49

Subtotal
Is $ 4.49
Subtotal
Is $ 7.49
Subtotal
Is $ 9.49
Subtotal
Is N/A
Subtotal
Is $ 6.49
Subtotal
Is $ 3.49
Subtotal
Is $ 3.49
Subtotal
Is $ 3.49
Subtotal
Is $ 1.49
Subtotal
Is $ 1.49 , was $ 4.49
Subtotal
Is N/A
How to make
You will also need:
* Large plate
* Cardstock off cuts
* Cocktail stick and tweezers (optional, but handy!)
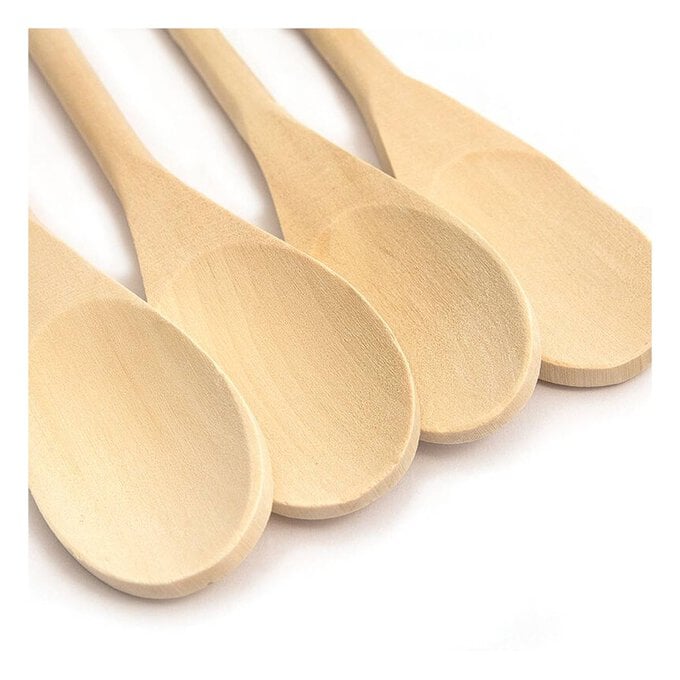
Mix up some brown and pink paint, then use the large paintbrush to paint the wooden spoon.
Lay out your piece of fabric, wrong side up, then position the plate towards a corner.
Draw round the plate using a pencil.
Lift away the plate, then cut the circle out using pinking shears.
Top Tip: It's a good idea to give your fabric an iron at this stage to get rid of any creases.
Fold the circle of fabric in half, and then half again.
Using a pair of scissors, snip off the very tip to create a small hole in the centre of the fabric - it needs to be big enough for the handle of the spoon to go through.
Open the fabric back out, fold in half, then make a tiny snip about an inch either side of the central hole - these will be for threading through the pipe cleaner arms.
Open the fabric out once again.
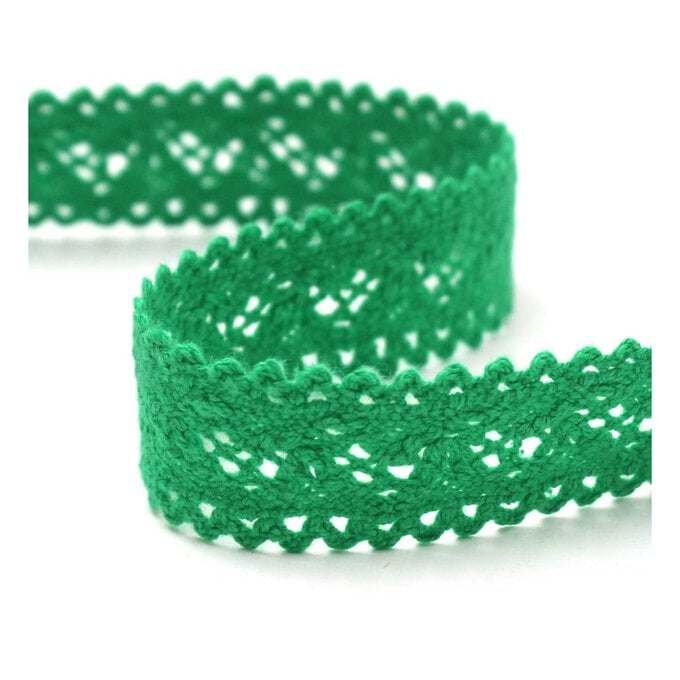
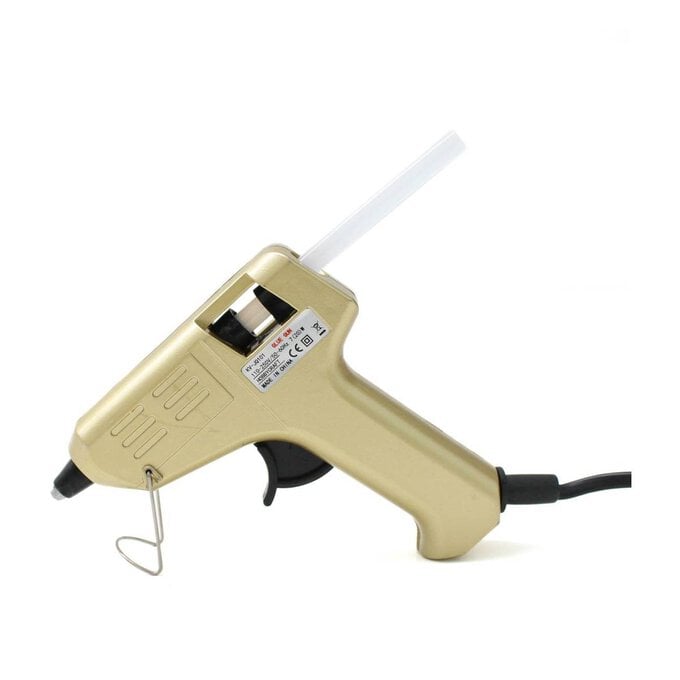
Take a length of trim and secure it all the way round the curved edge of the fabric using a glue gun - be careful as the glue is very hot. Once back to the beginning, slightly overlap the trim, snip away any excess and use the glue gun to secure the end in place.
Adult help will be needed with the this stage of the project.
Top Tip: To prevent getting the hot glue on your fingers, use the end of a pencil to push the trim down into the glue.
Feed the handle of the wooden spoon down through the hole in the dress.
Lift up the fabric, then twist a pipe cleaner around the handle a couple of times.
Top Tip: You can add a little glue here to prevent them from slipping down.
Take one end of the pipe cleaner arms and feed it through one of the holes. Then do the same with the other one.
Take a length of trim (we used ricrac) and use it to gather up the dress just below the arms. Turn the doll over and tie a bow on the back.
Trim away the ends.
Take the yarn and pull a piece that's roughly 30cm in length. Double the wool back on itself, and again, and again.
Keep adding 30cm lengths until you have enough wool to create the desired hair for the doll.
Tie a loose single knot in the centre of the wool, then apply some hot glue to the top of the spoon, position the wool knot centrally and push down into the glue.
Add more glue to either side of the spoon, then secure the wool in place using the end of a pencil to push the yarn into the glue.
Turn the doll over, then stick the remaining lengths of yarn down - don't worry if there is a gap where you can see the spoon, you can either add more wool, or as we have, add some feathers.
Use the end of a penicl once more to secure everything in place.
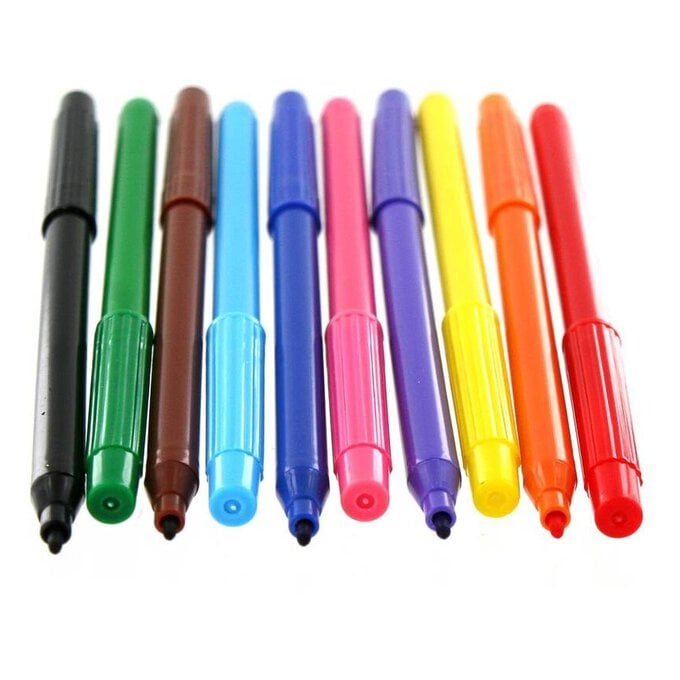
Draw a small pair of lips onto the red card, then carefully cut out. Position them on the doll's face, then cut a nose from pink card, and use a hole punch to create the eyes (use the green pen to add pupils) looking sideways.
Once happy with the postioning of all the elements secure them in place, applying glue with the tip of a cocktail stick or tweezers.
Squeeze out a little pink paint, then use a fine paintbrush to paint on two round cheeks.
Leave to dry.
The wooden doll is then complete!

Related Products