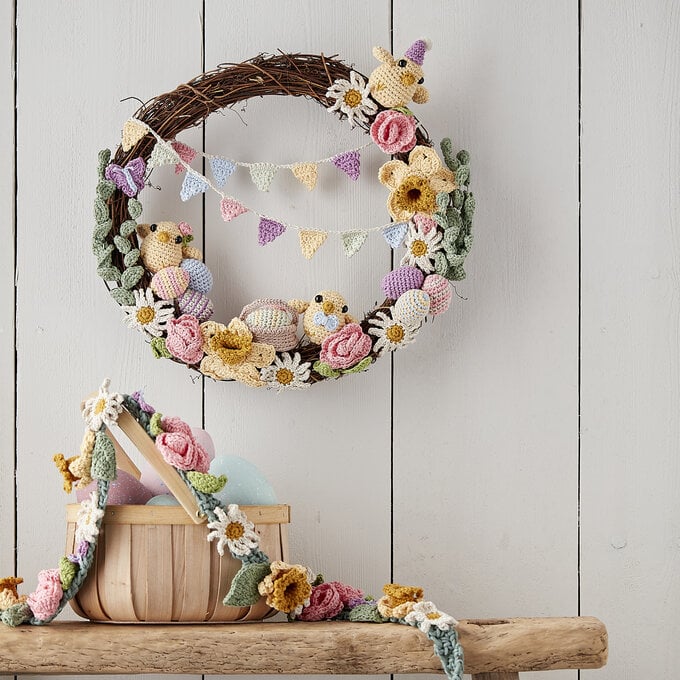
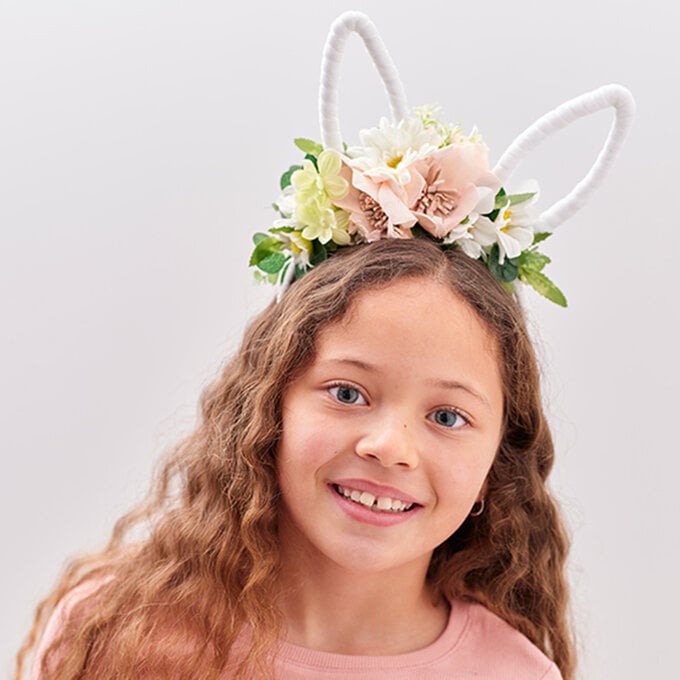
How to Crochet Bunny Bunting
Get your home ready for spring with this colourful crochet bunting. It'll add a handmade garland to the seasonal celebrations that will get everyone in the mood for Easter fun!
It's a great project to try out your intarsia crochet and use up yarn in your stash.
You will need
Subtotal
Is $ 4.49
Subtotal
Is $ 13.00

Subtotal
Is $ 5.49
Out of stock
Subtotal
Is $ 5.49
Out of stock
Subtotal
Is $ 5.49
Subtotal
Is $ 5.49
Subtotal
Is $ 4.49
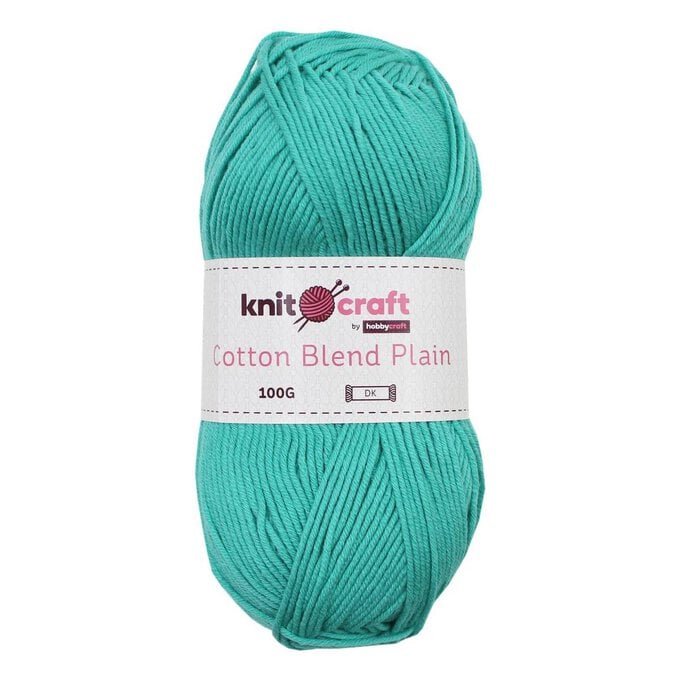
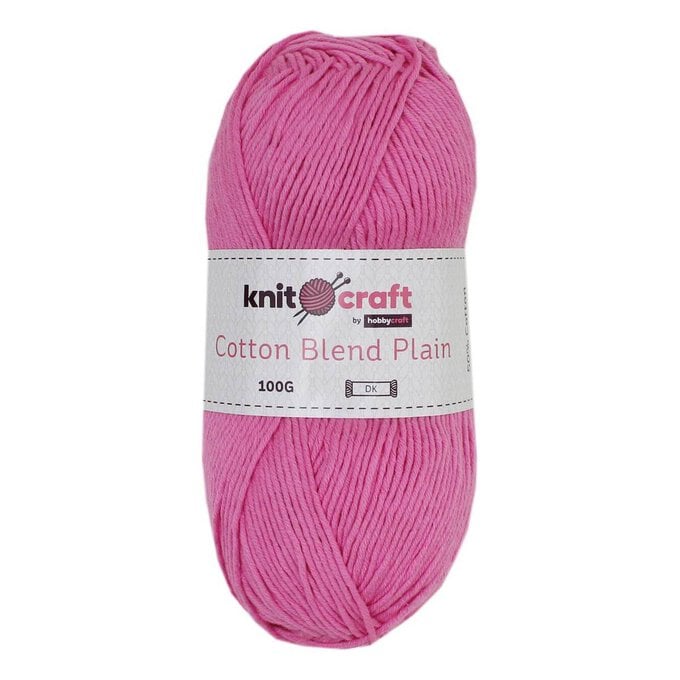
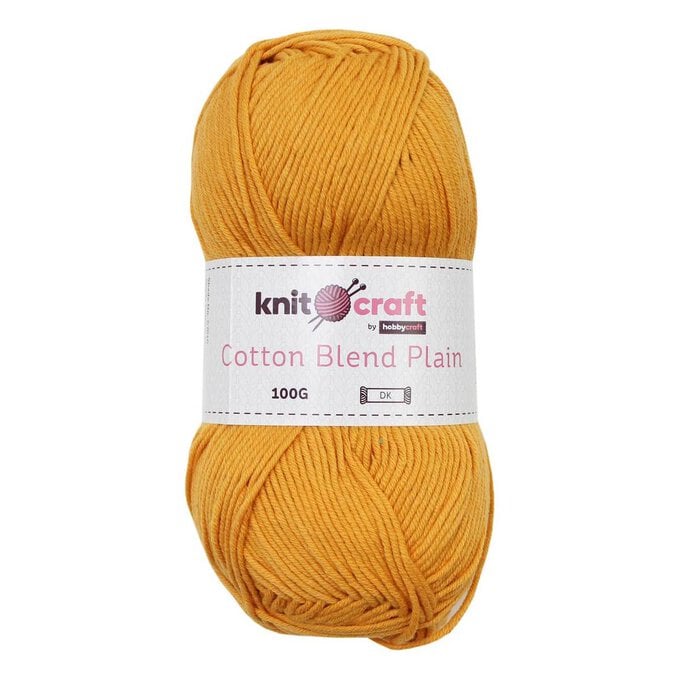
* Knitcraft Cotton Blend DK Yarn - Blue, Teal, Hot Pink, Mustard
* 4.5mm Hook
* Scissors
* Yarn Needle

Yarn
Yarn A - Bright Blue
Yarn B - Mustard
Yarn C - Teal
Yarn D - Hot Pink
Abbreviations
Ch - Chain
Dc- Double Crochet
St- Stitch
Slst- Slip stitch
Using yarn A and 4.5mm hook ch2.
Row 1: 3dc into 2nd ch from hook, turn. (3sts)
Row 2: 1ch (does not count as st), 2dc into first st, 1dc into each st to end, turn.
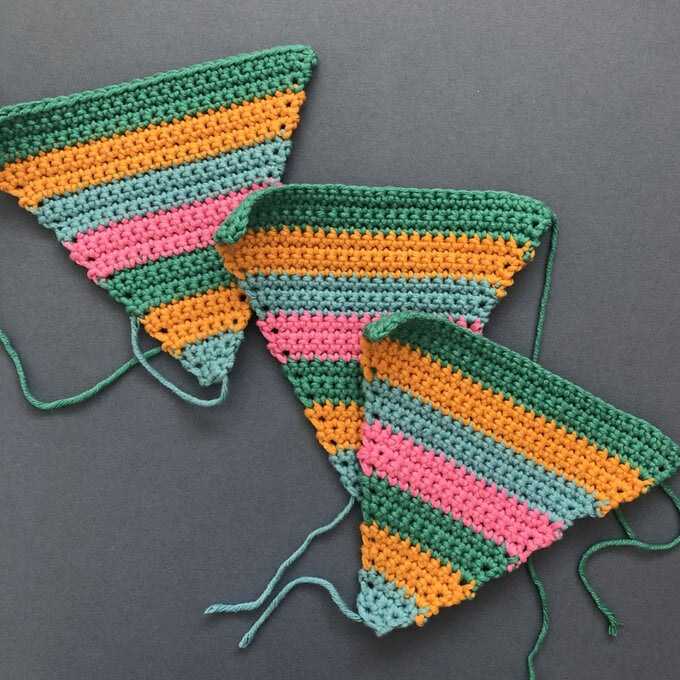
Repeat row 2 until 30sts, working in the following stripe sequence:
Rows 1-4 – yarn A
Rows 5-8 – yarn B
Rows 9-12- yarn C
Rows 13-16 – yarn D
Rows 17-20- yarn A
Rows 21-24 – yarn B
Rows 23-28- yarn C
Fasten off.
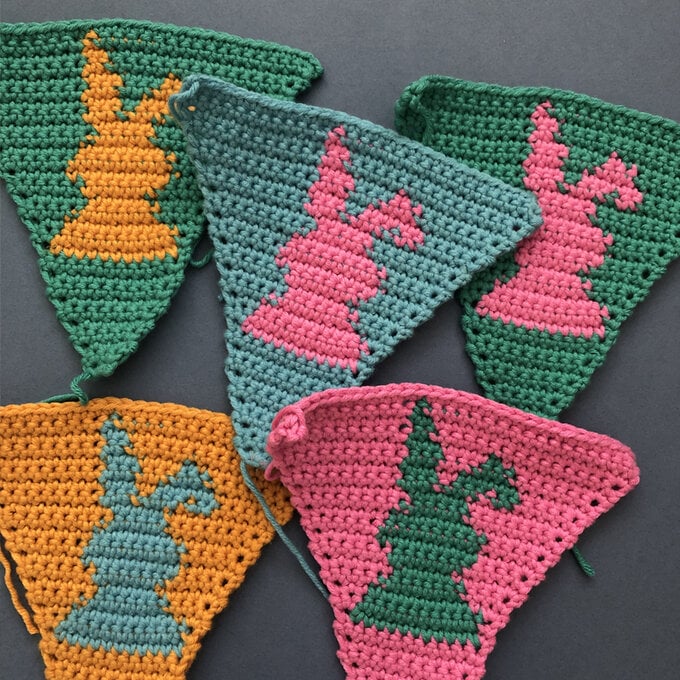
Make in the following colour combination:
Background -Yarn B, Bunny – Yarn A
Background -Yarn A, Bunny – Yarn D
Background -Yarn D, Bunny – Yarn C
Background -Yarn C, Bunny – Yarn B
Background -Yarn C, Bunny – Yarn D
Using the correct colour and 4.5mm hook ch2.
Start to work chart as follows:
Row 1: 3dc into 2nd ch from hook, turn. (3sts)
Row 2: 1ch, 2dc into first st, 1dc into each st to end, turn.
Continue to work chart until all rows are complete.
Fasten off.
Block each triangle and sew in all ends.
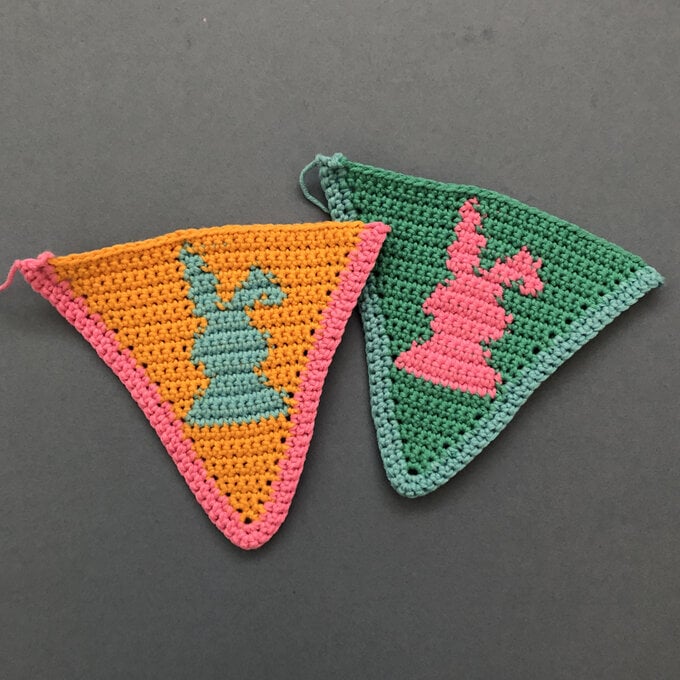
Border
Using photo as a guide select a contrasting colour for each bunting flag.
With RS facing insert hook into top of triangle and join yarn with a SlSt.
Row 1: 1ch (does not count as st), 1dc into same space as SlSt, 1dc into each row along edge, 3dc into point of triangle, place marker on central st, 1dc into each row along edge, turn.
Row 2: 1ch, 1dc into each st to marker, 3dc into marked st, 1dc in each st to end.
Fasten off.
Repeat edging on all bunting triangles.
Using yarn B and 4.5mm hook ch25, work 1dc into each st on first bunny bunting flag, ch12, work 1dc into each st on stripe bunting, ch12. Rep alternating bunny flag and stripe flag and working 12 chains in between each flag until all flags have been attached, ch26, turn.
Next row: 1dc into 2nd ch from hook, 1dc into each st across.
Fasten off.
Sew in all ends

Related Products