How to Make a Quilled Unicorn
Level
Intermediate
Time
1/2 day
Budget
10 - 30
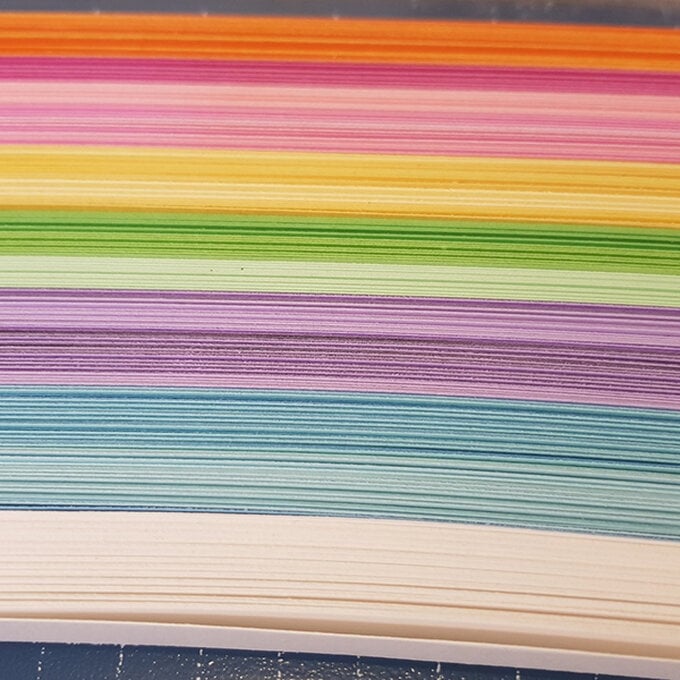
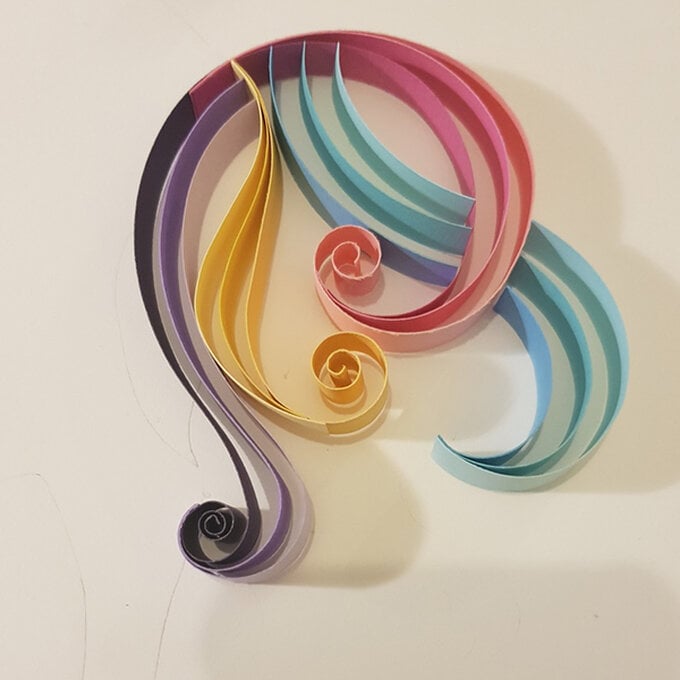
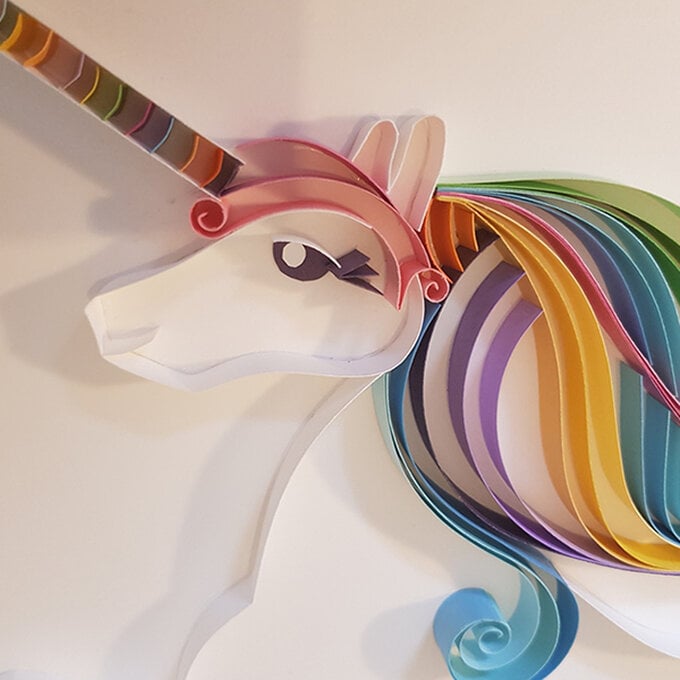
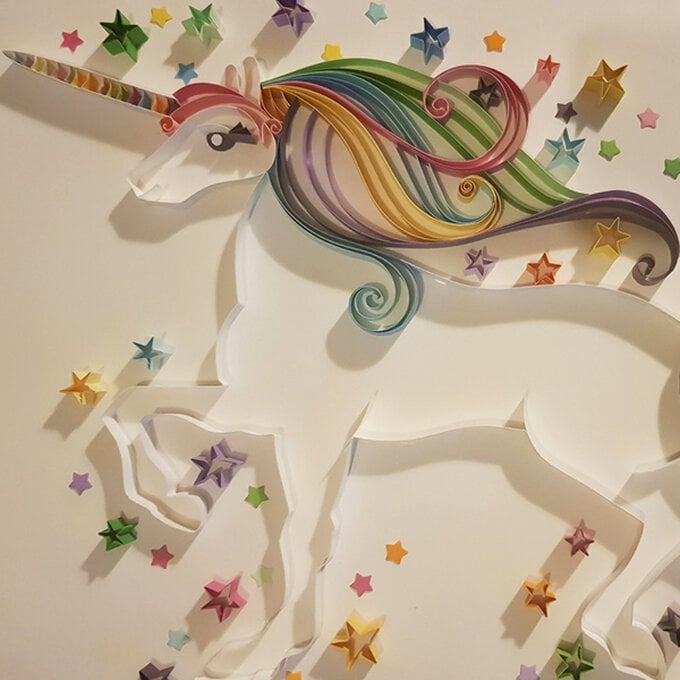
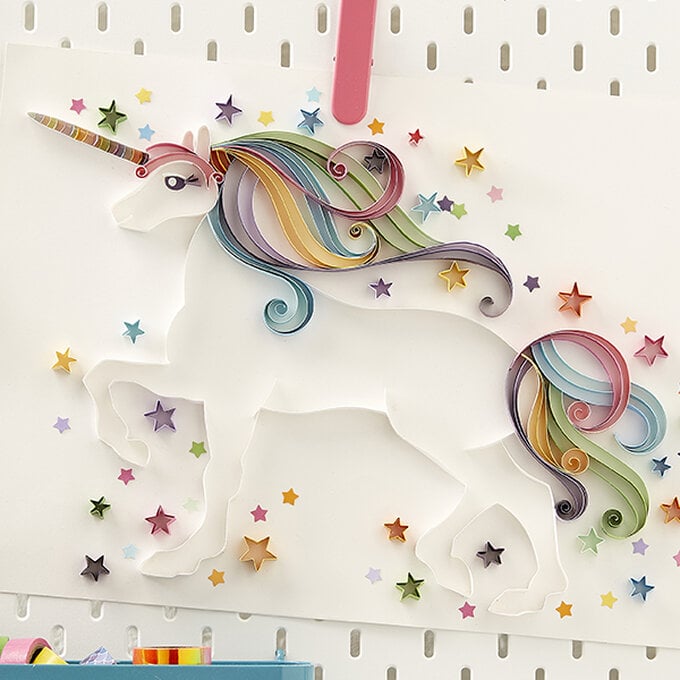
Create this majestic quilled unicorn using the Papermania Capsule Solid Cardstock - follow the guide below to find out how to make your own.
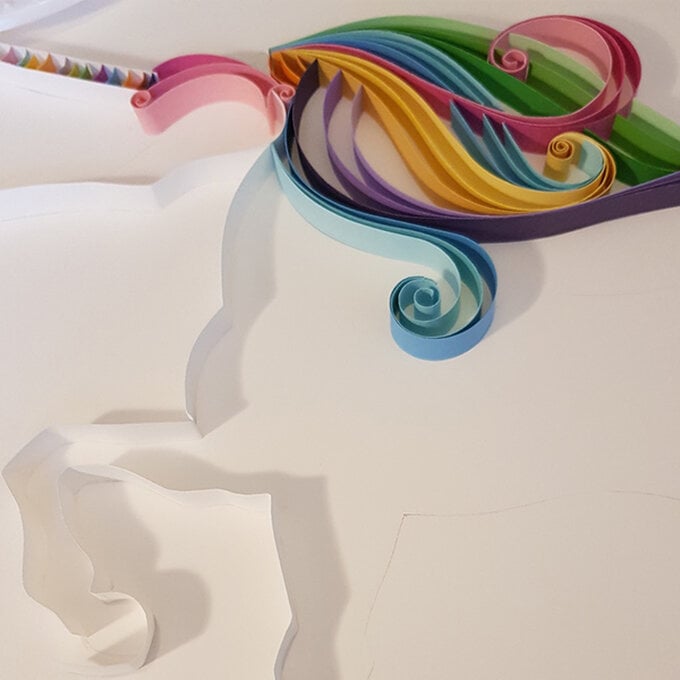
This is a brilliant project to learn the basics of quilling, and there's no need to draw out your own unicorn outline as there's a handy downloadable template provided.
You will need
Quantity:
1
Subtotal
Is $ 3.49
Quantity:
1
Subtotal
Is $ 3.49
Quantity:
1
Subtotal
Is $ 5.49
Quantity:
1
Subtotal
Is $ 1.49
Total:
£0.00
How to make
You Will Need
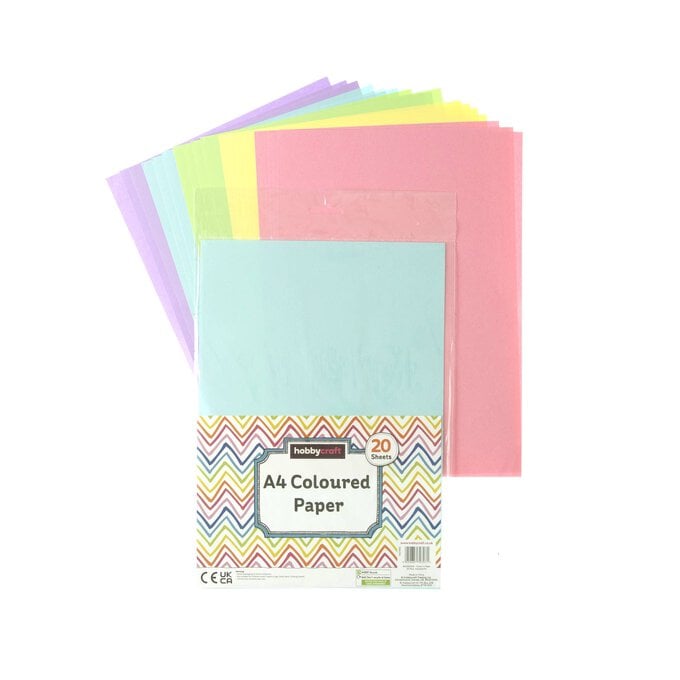
* A4 Card (around 6 different colours)
* A2 Card - White
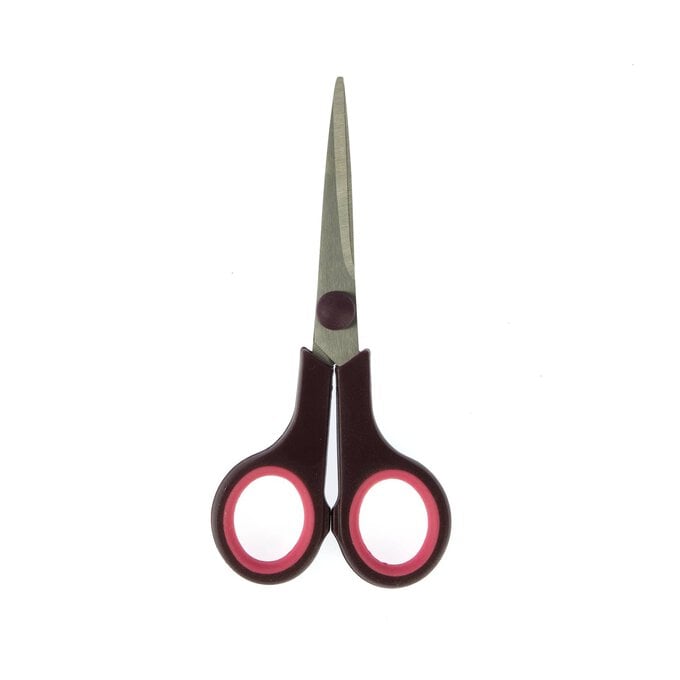
* Scissors or a Craft Knife
* Pencil
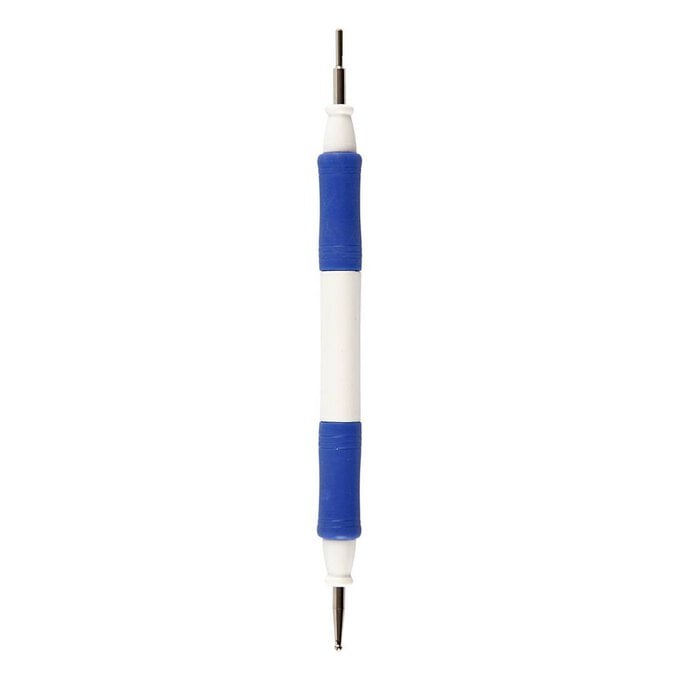
* Quilling Tool
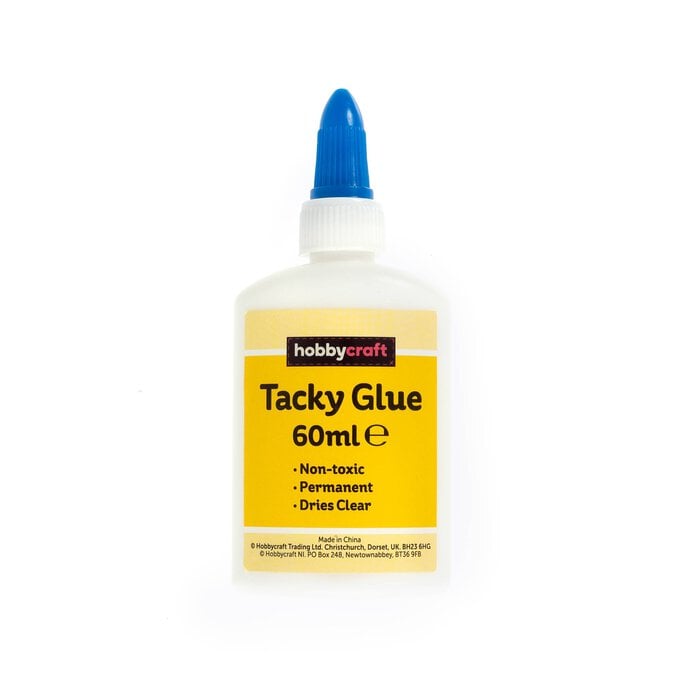
* Tacky Glue


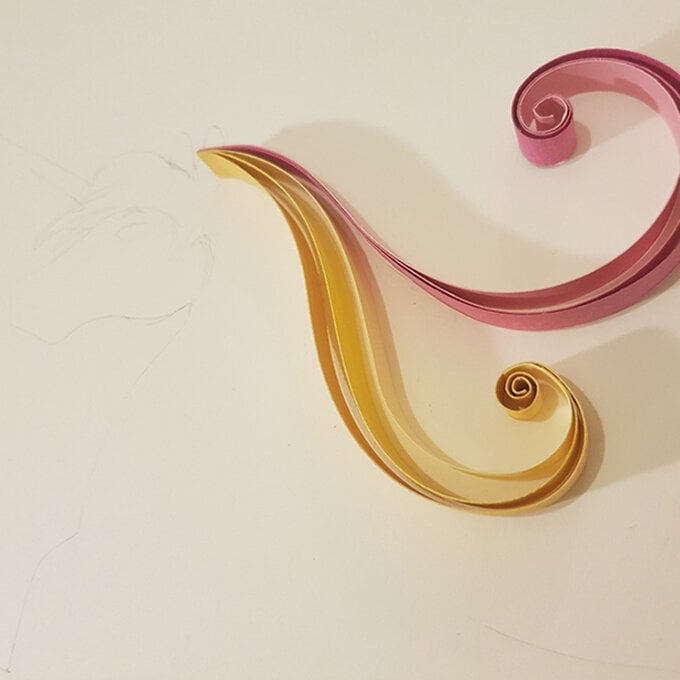
Step-1
Step-2
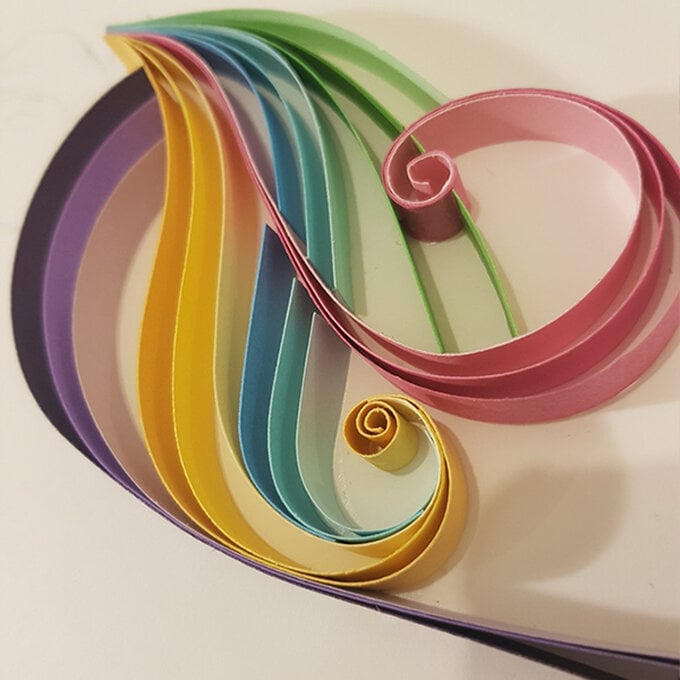
Step-3

Step-4
Step-5
Step-6
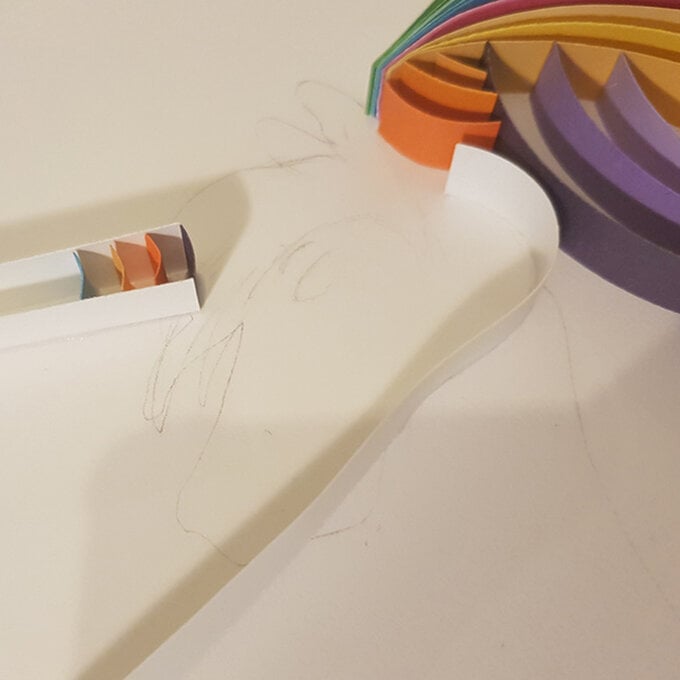
Step-7
Step-8
Step-9
Step-10
Related Products
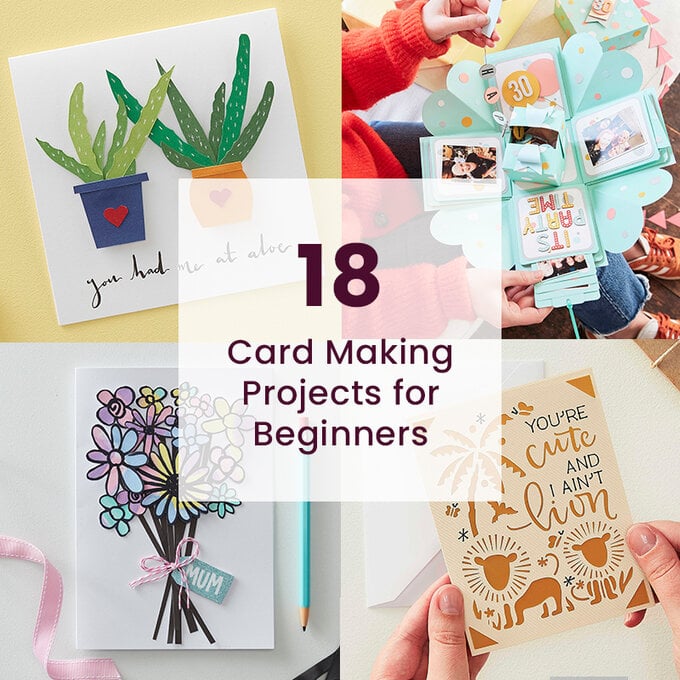
18 Card Making Projects for Beginners
Hook yourself up this handy basket to add a festive touch to your home this Christmas. The stylish crochet basket is the perfect seasonal addition to your home, featuring a charming Christmas tree design. Valentine's Day is right around the ...
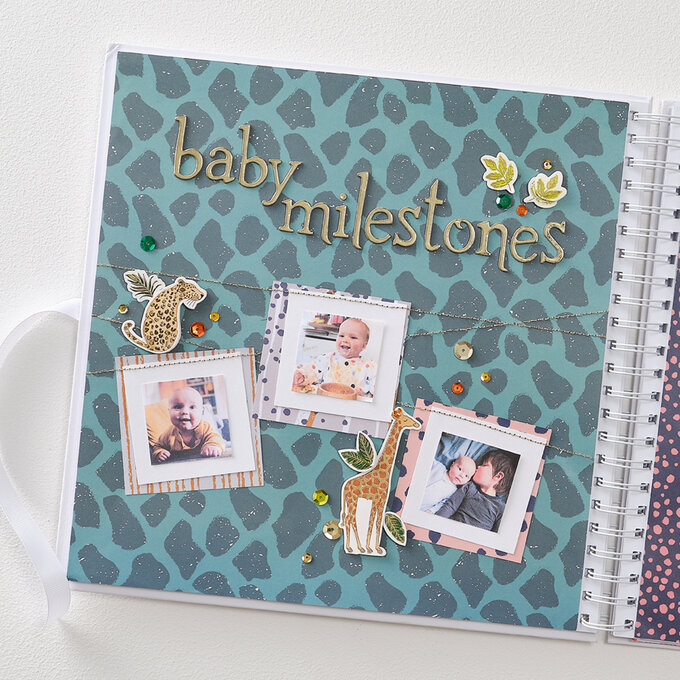
How to Create a Baby Milestone Scrapbook
Embrace a modern bohemian theme with this Ginger Ray Macramé Chandelier. This is great for combining contemporary style with rustic details, offering a beautiful focal point that is perfect for weddings, hen parties, engagement celebrations and much more. You could ...
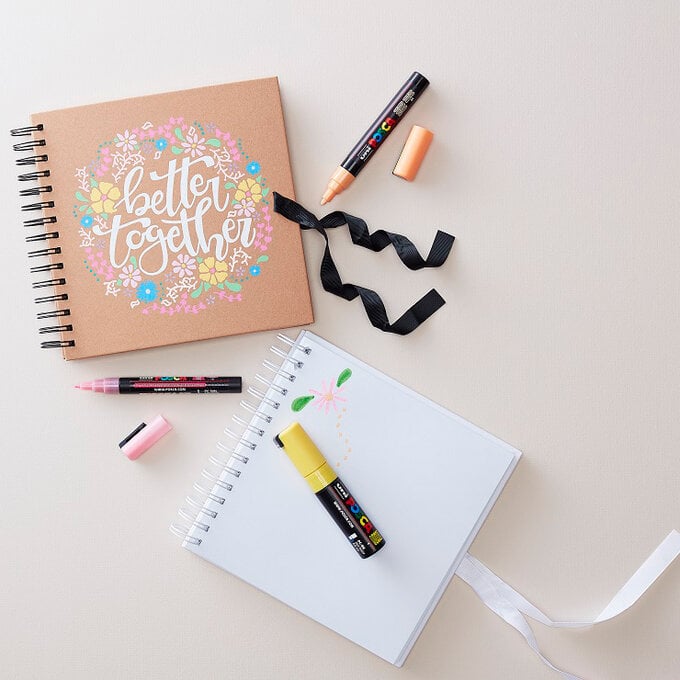
How to Make a Better Together Scrapbook Cover
Hook yourself up this handy basket to add a festive touch to your home this Christmas. The stylish crochet basket is the perfect seasonal addition to your home, featuring a charming Christmas tree design. Valentine's Day is right around the ...

How to Make a Celebration Gift Box
Project and instructions by Hobbycraft Artisan: Becky Wallace from Rock Paper Vinyl Find out more. Make a simple and elegant memory box for your bridesmaids! Fill it with personalised goodies and treats to help them plan for your big day. ...

How to Make a Craft Project Planner
Discover five creative ways to use Cricut vinyl for unique personalised labels and stickers that will transform our classic three-tier trolley in no time! Customising your storage has never been easier thanks to the removable vinyl range from Cricut, giving ...
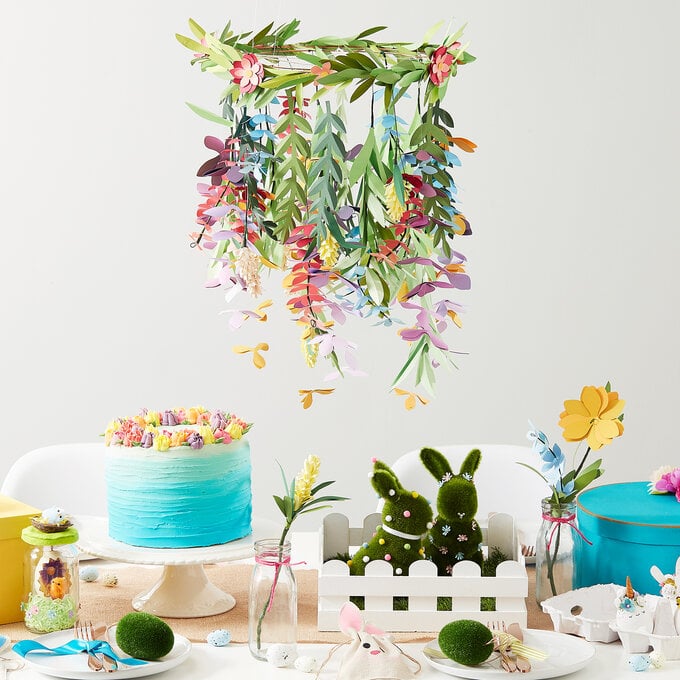
How to Make a Floral Paper Chandelier
Spruce up your home with a little creative flair! With our selection of inspirational, beginner-friendly projects, it'll be easy to create stunning décor using your Cricut machine. Personalise little touches to brighten up every home – from organising your kitchen ...

