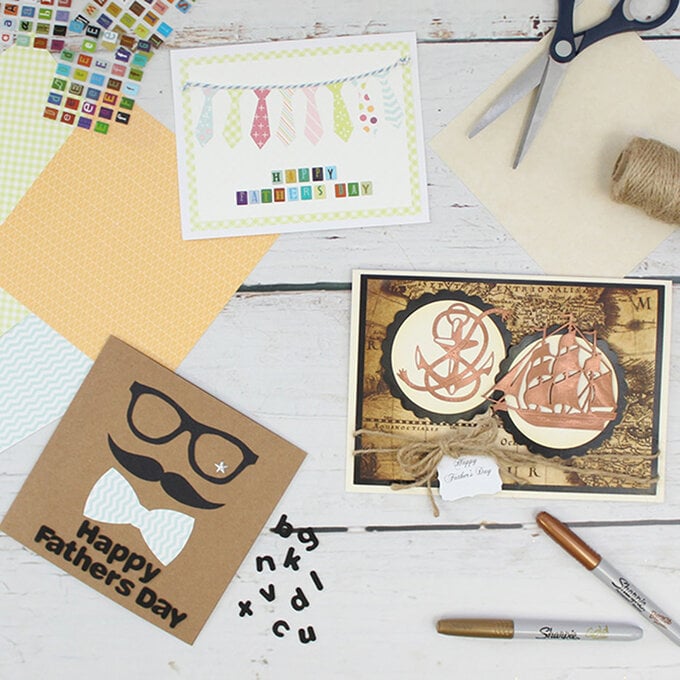
How to Make an Exploding Scrapbook for Father's Day
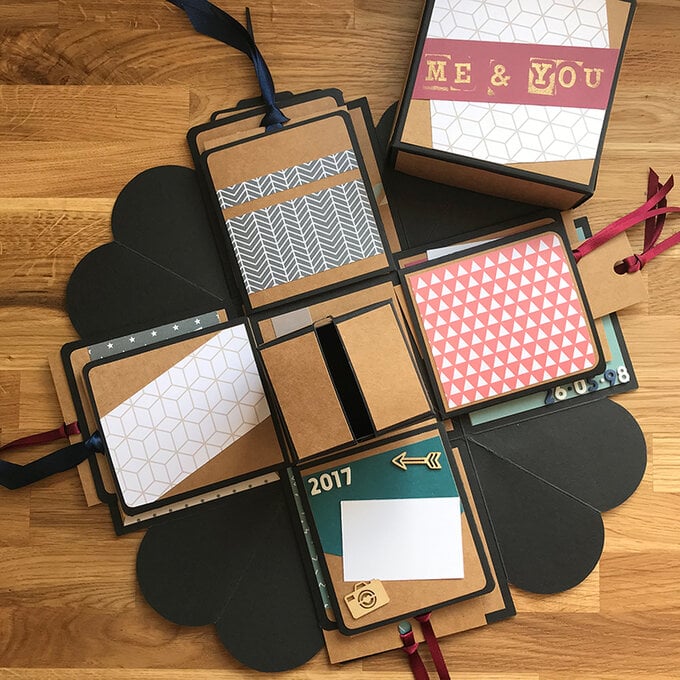
Create an explosion of memories with our exploding box scrapbook! It's perfect for crafting a personalised Father's Day gift that your dad is sure to treasure forever.
Add unique details, such as patterned paper to match your recipient's taste. Highlight memories with embellishments, special dates with stickers and add a little extra finishing touch with heat embossing to truly craft something special. It'll make for a wonderful trip down memory lane.
Project and instructions by Hobbycraft Artisan Joey Daley.
You will need

Subtotal
Is $ 18.00
Subtotal
Is $ 7.49
Subtotal
Is $ 6.49
Subtotal
Is $ 3.49
Subtotal
Is $ 4.49
Subtotal
Is N/A
Subtotal
Is $ 4.49
Subtotal
Is N/A
Subtotal
Is $ 13.00
Subtotal
Is N/A
Subtotal
Is N/A
Subtotal
Is $ 5.49
Subtotal
Is $ 5.49
Subtotal
Is $ 3.49
Subtotal
Is $ 5.49
Subtotal
Is N/A
Subtotal
Is $ 13.00
Subtotal
Is $ 8.49
Subtotal
Is $ 10.00
How to make
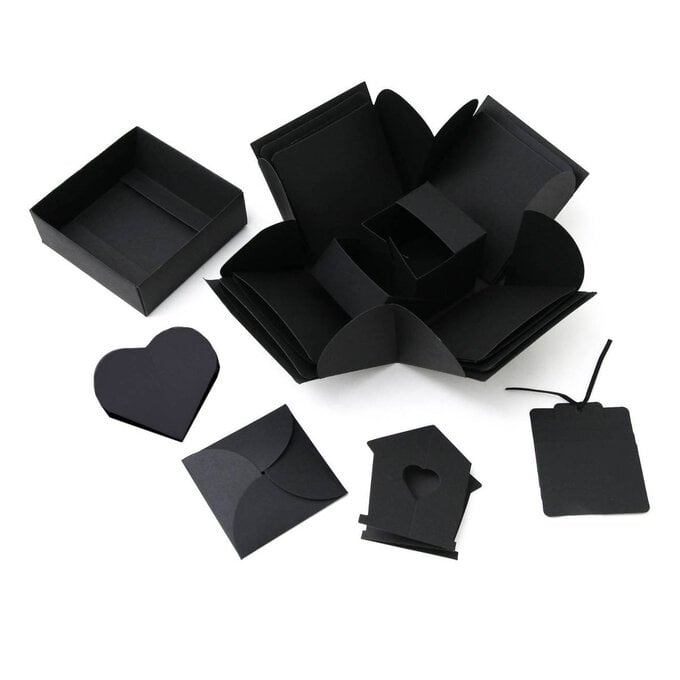
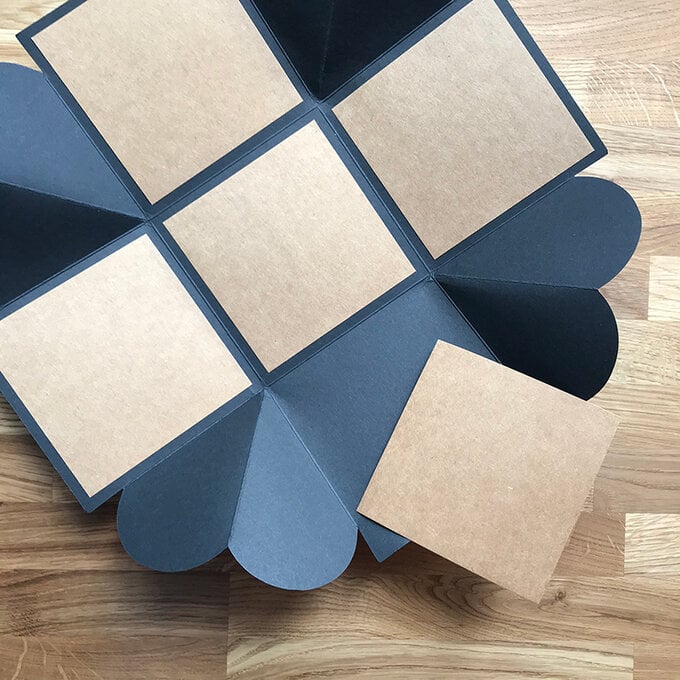
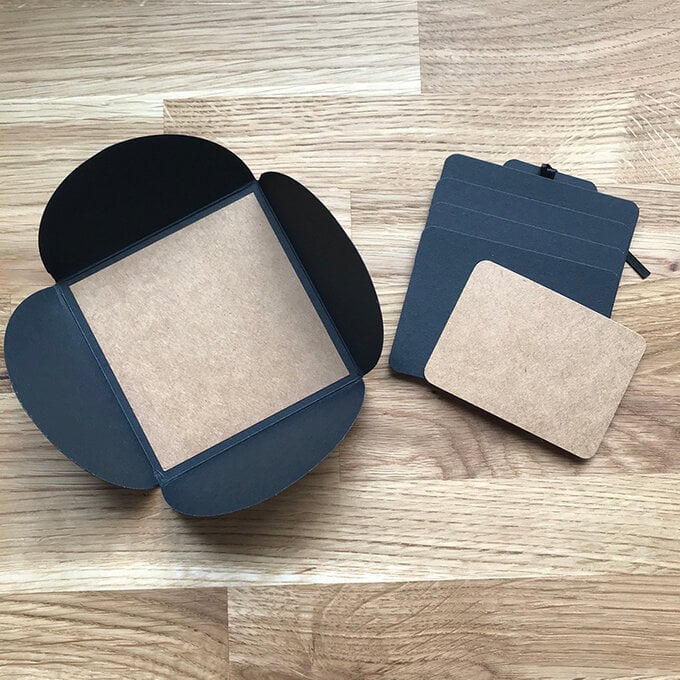
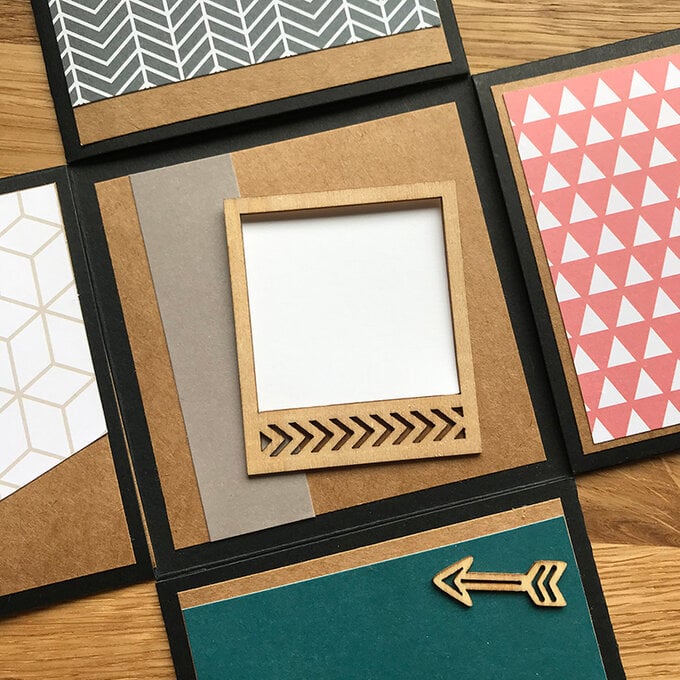
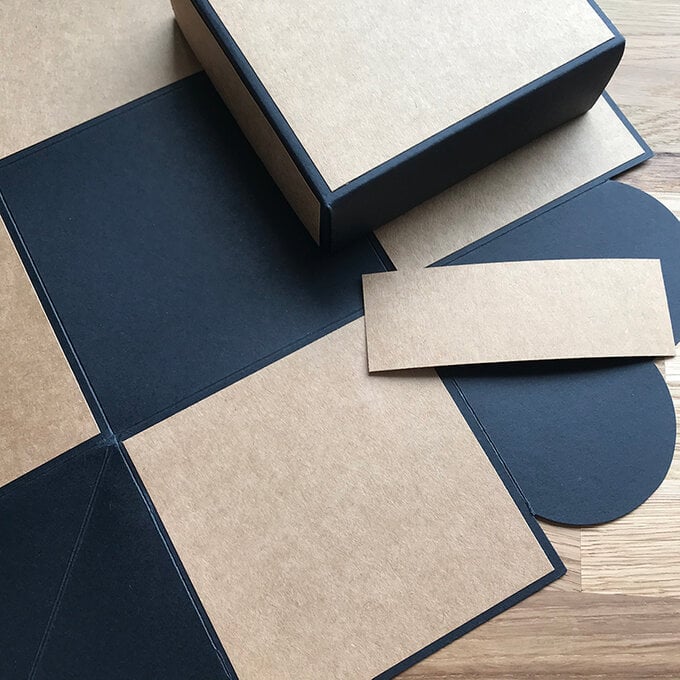
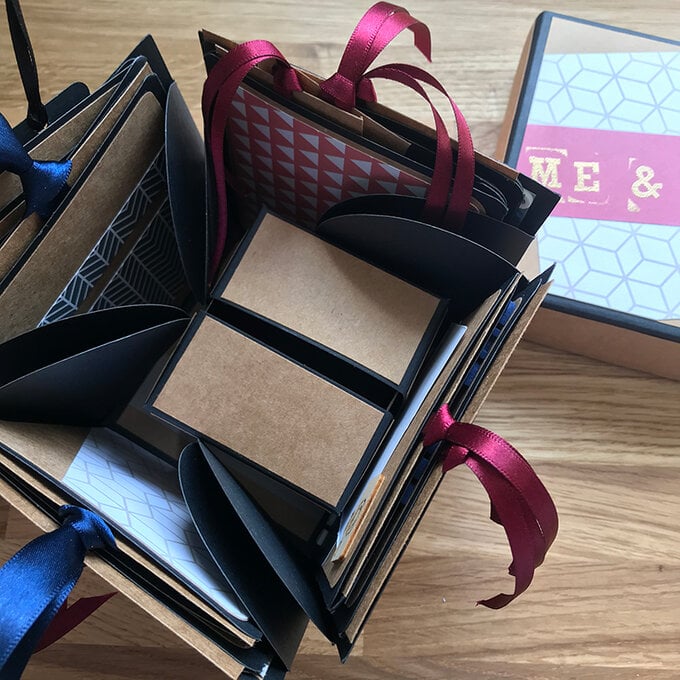
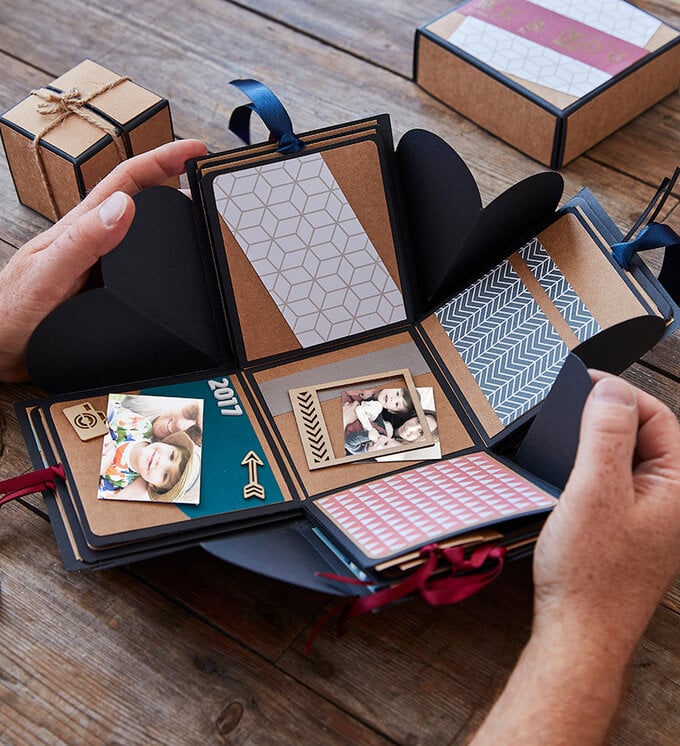
Open the Explosion Scrapbook and separate all the elements, lying flat where needed.

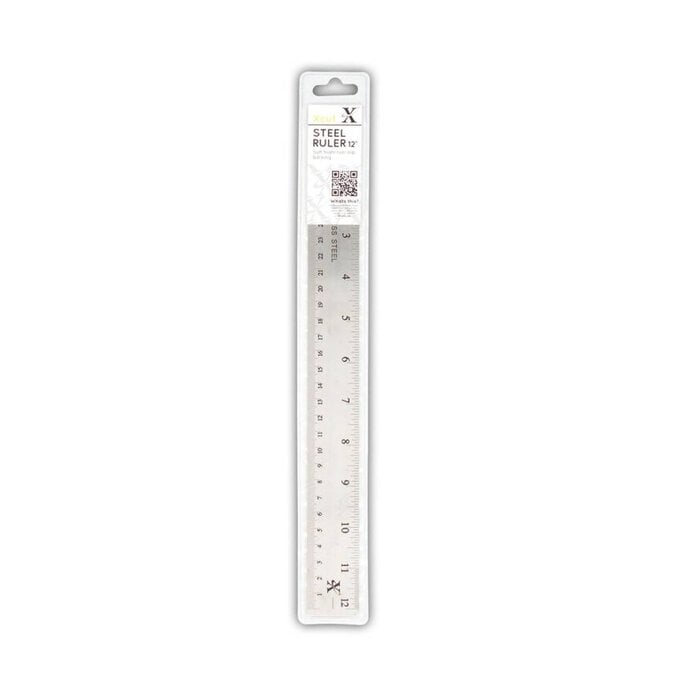
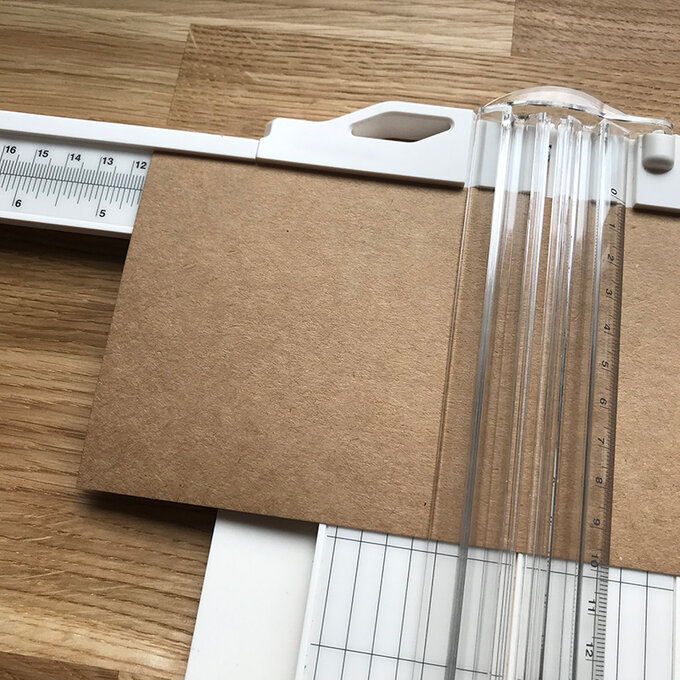
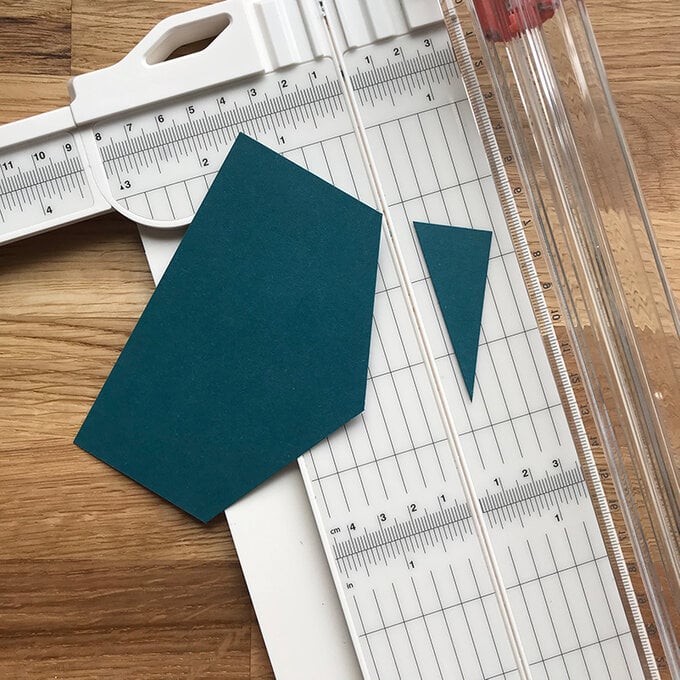
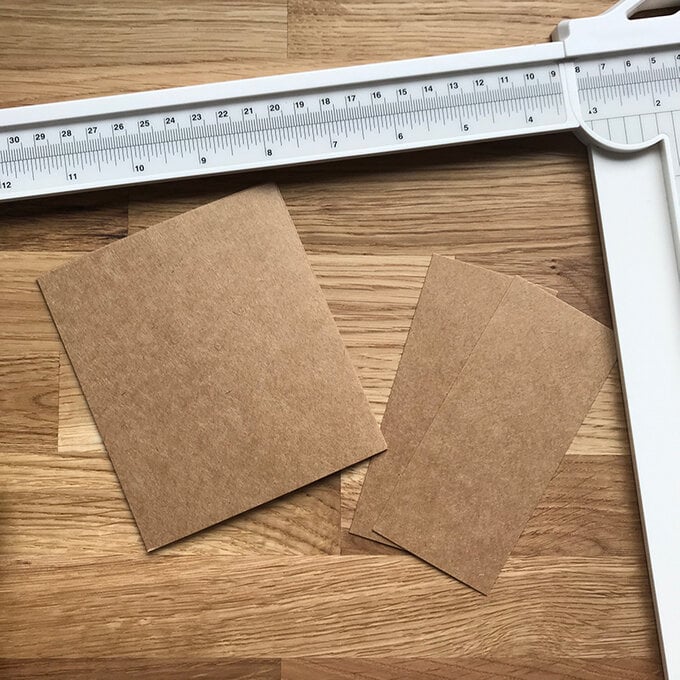
Using a ruler, measure the square panels on each layer of the Explosion Scrapbook.
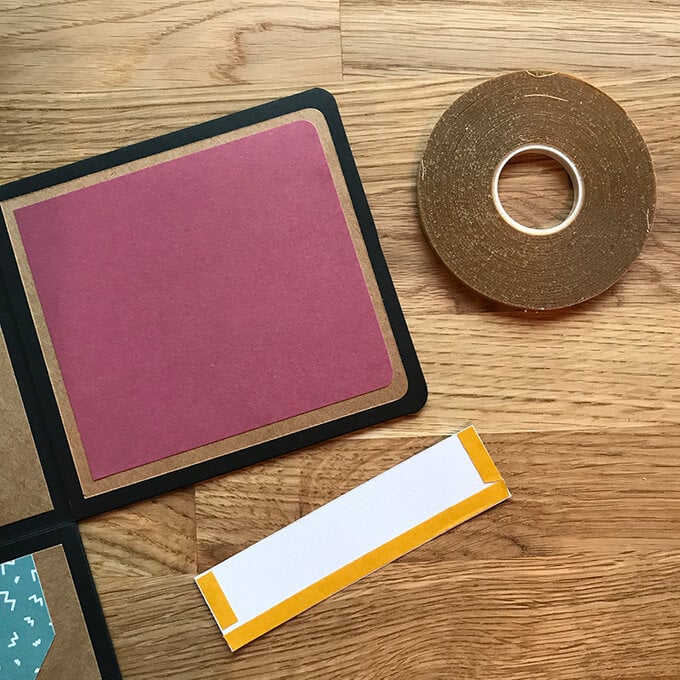
Cut a square from kraft card slightly smaller using a paper trimmer. Round the corners if desired using a mini corner punch.
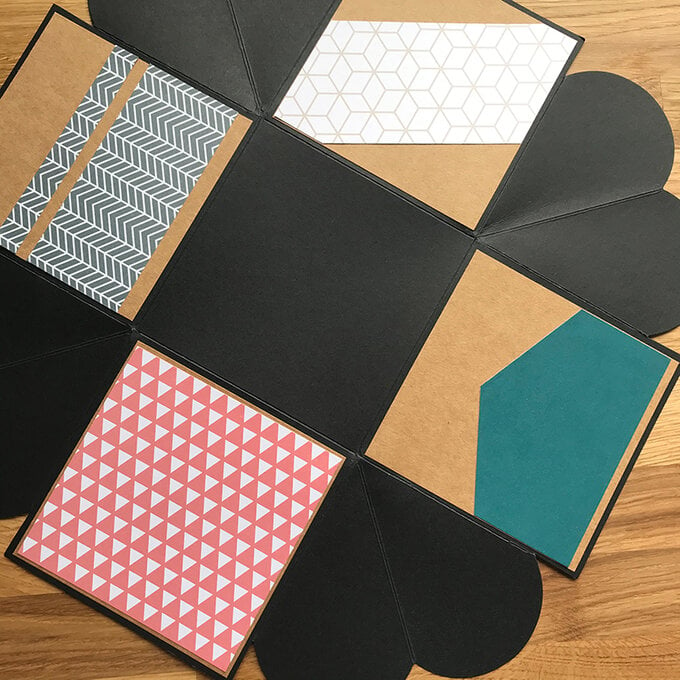
Adhere to the panels using double sided tape, this is called matting.
Top Tip: Use acid free tape to ensure the archival quality of your memory keeping.
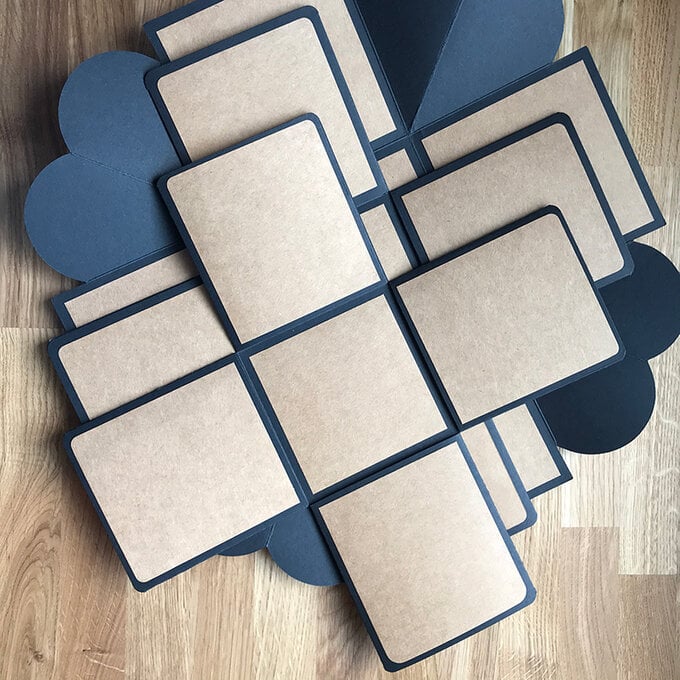
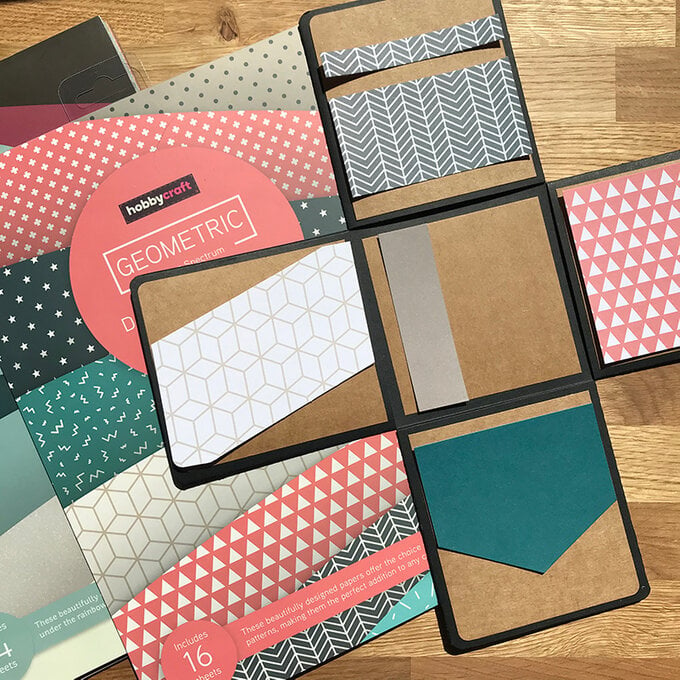
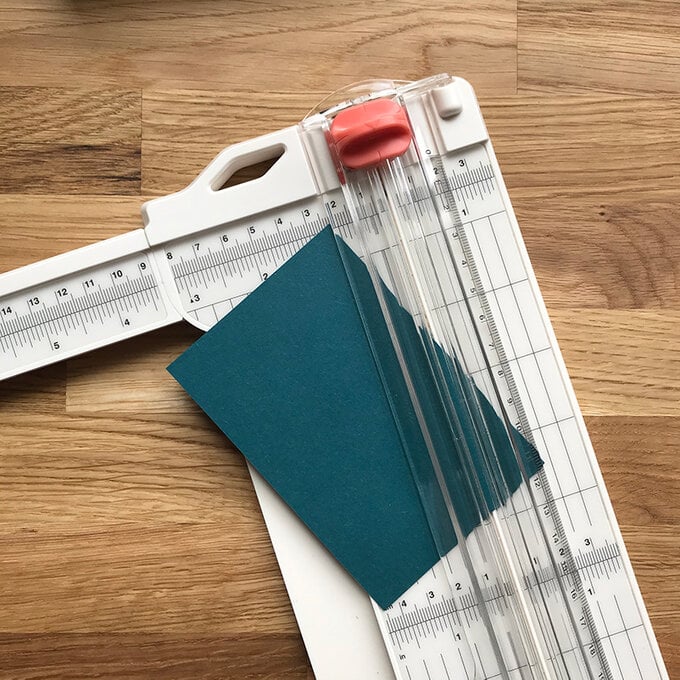
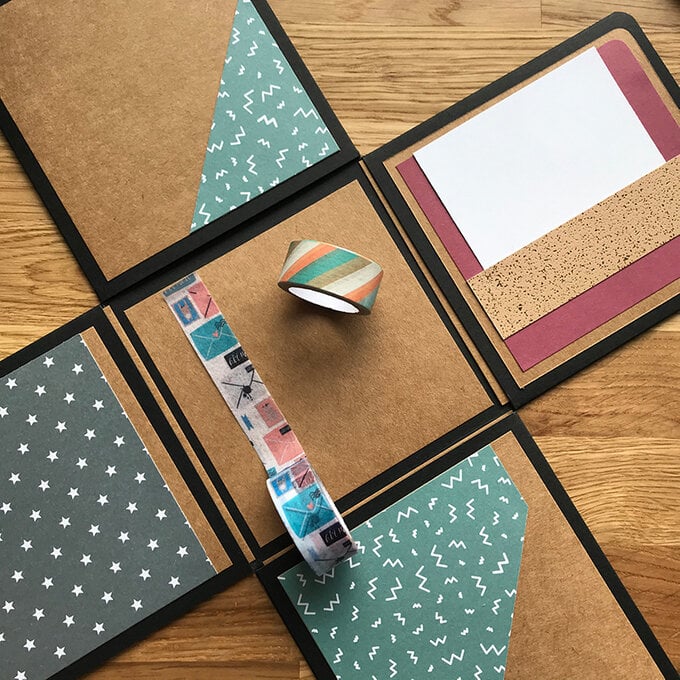
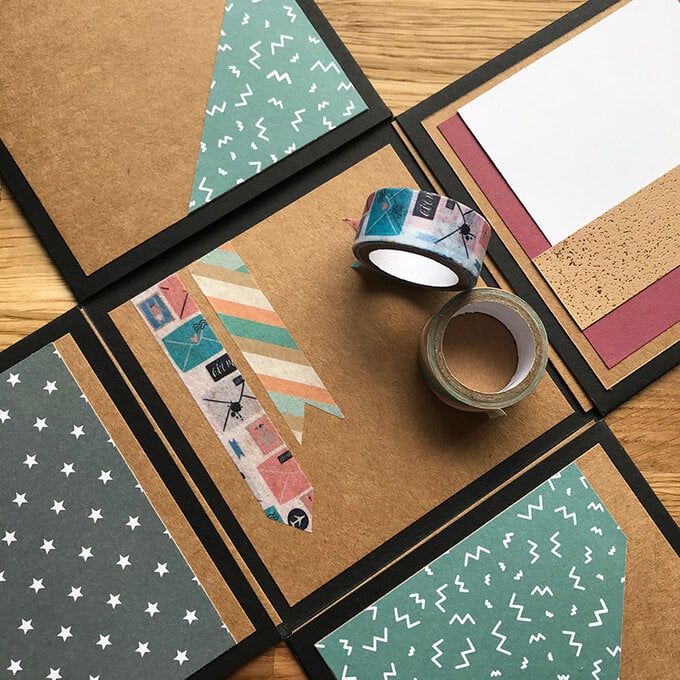
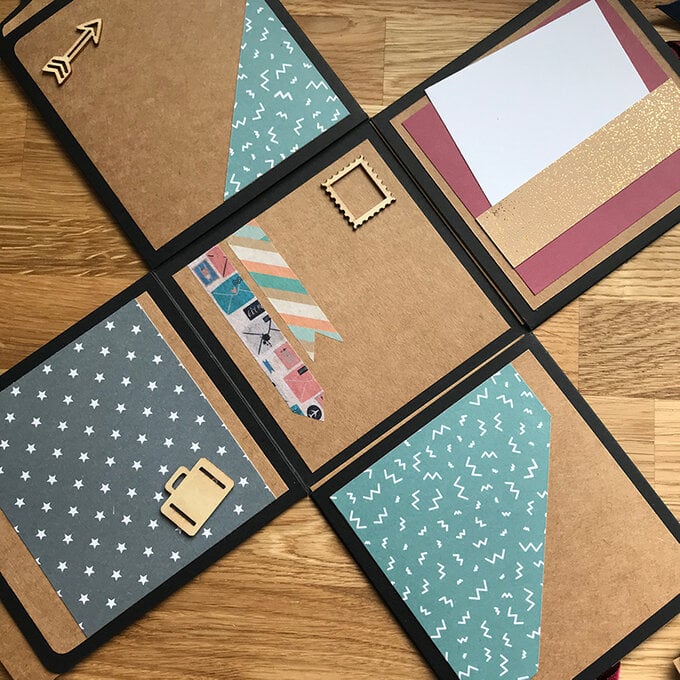
Now using the Geometric Designer Pad and Earth Paper Pack continue to decorate the layers with the matting technique. Use the paper trimmer to create different shapes and patterns with the paper.
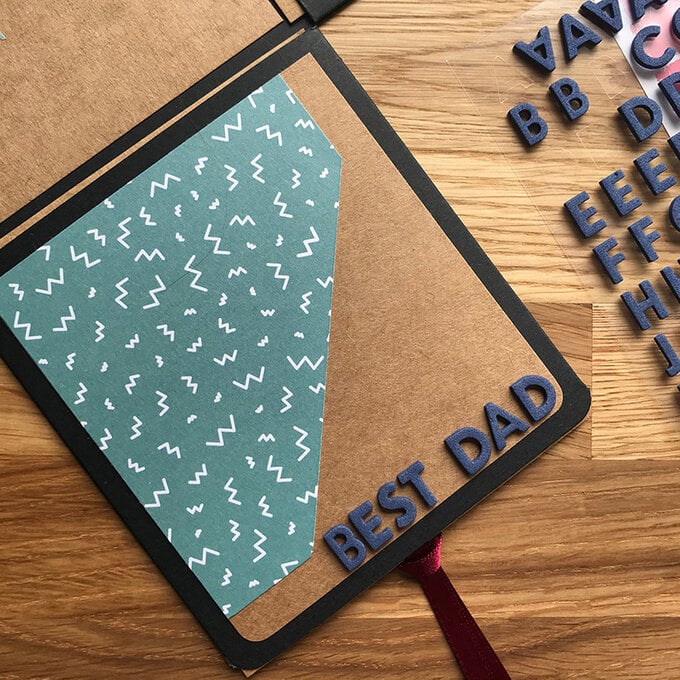
Add interesting pockets and picture holding mats by strategically taping 3 out of 4 sides.
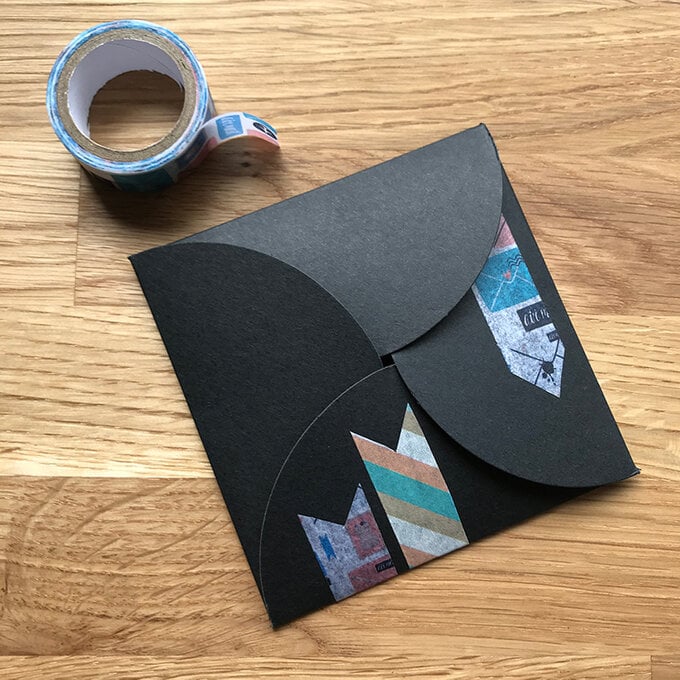
Also, don't forget to mat the pull-out die cut shapes and centre box if desired.

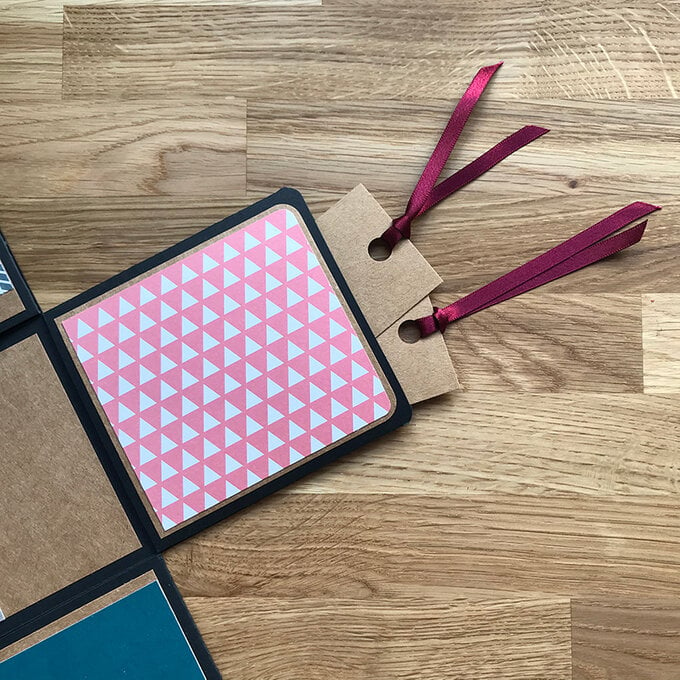
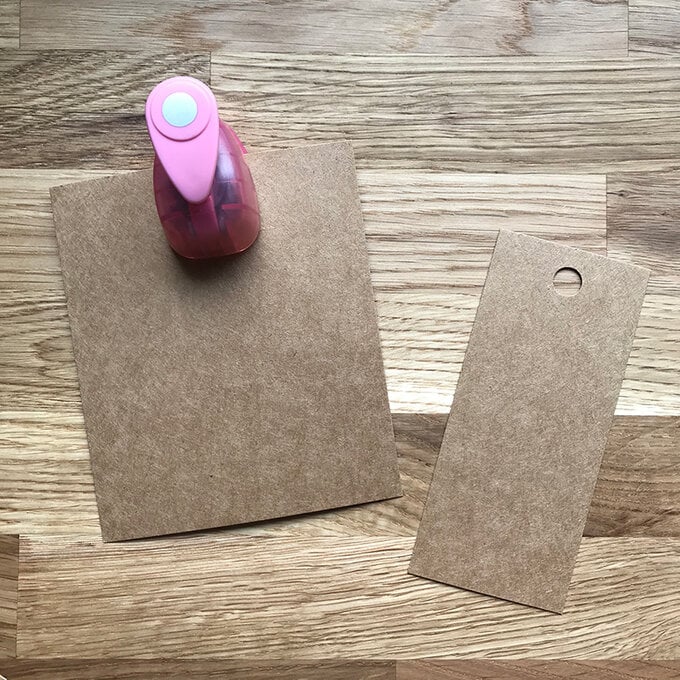
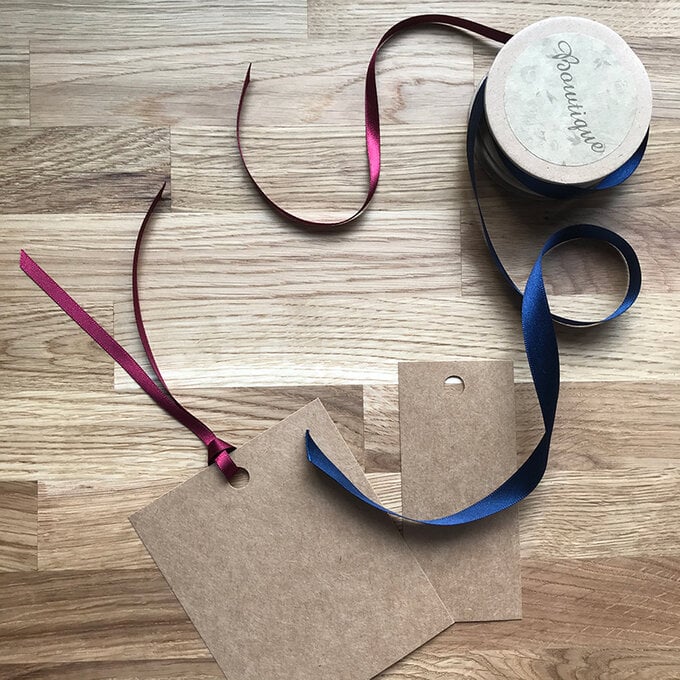
To create extra pull-out tags for added pictures and memories, use the trimmer to cut kraft card to size, slightly smaller than the scrapbook pockets.
Punch a circle centred at the tops and add ribbon to aid pulling out.
Add extra detail with washi tape, cutting the ends into angles and points.

Add embellishments with tacky glue. If you glue only along lower edges you can slip photos behind.
Top Tip: Use glue sparingly as wet glues can warp your paper projects.
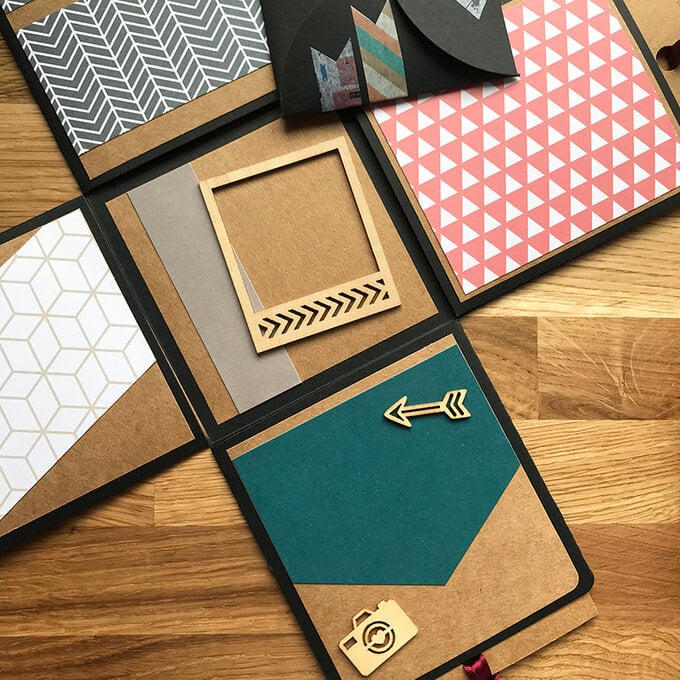
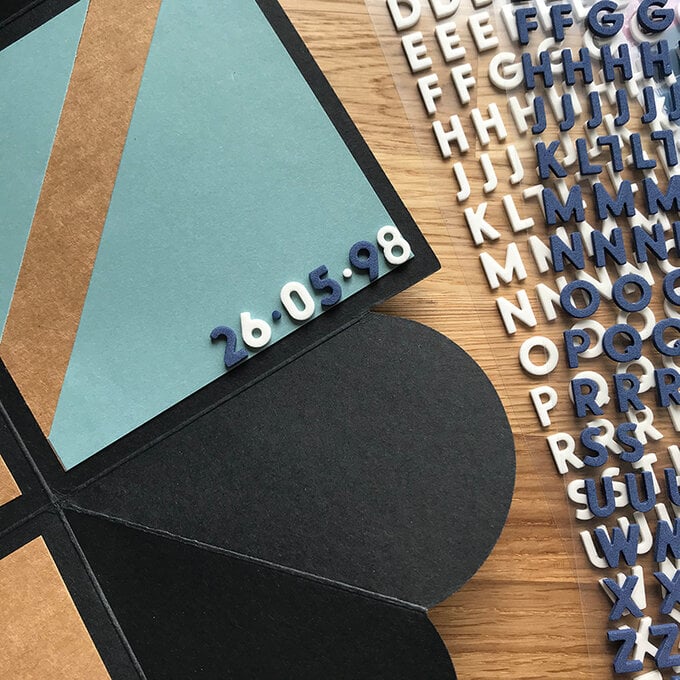
Place numbers and alphabet stickers to highlight special dates and memories.
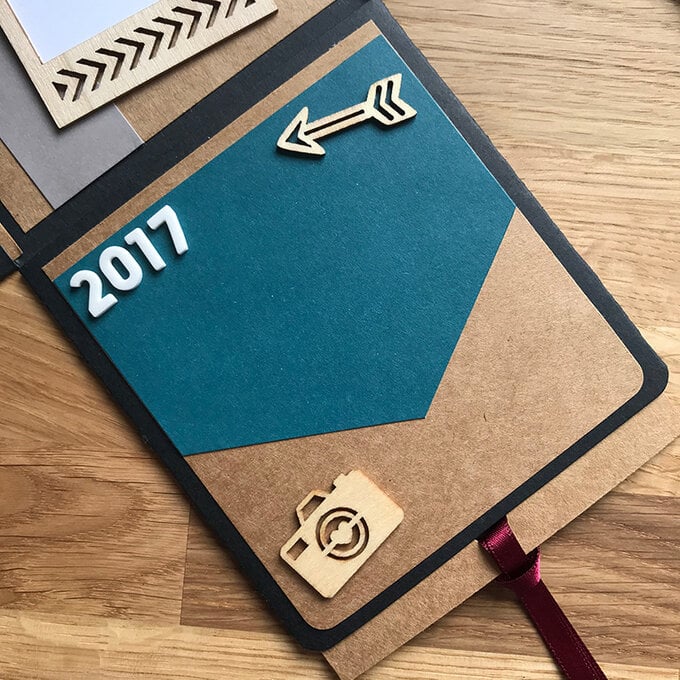
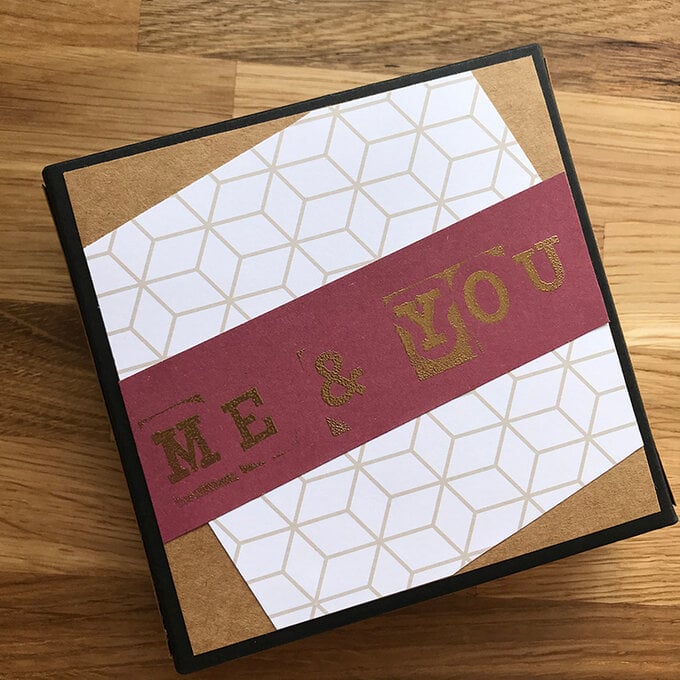
Now you have a theme to your scrapbook, use the matting technique to decorate the outside of the scrapbook. Make sure not to forget to decorate the lid.
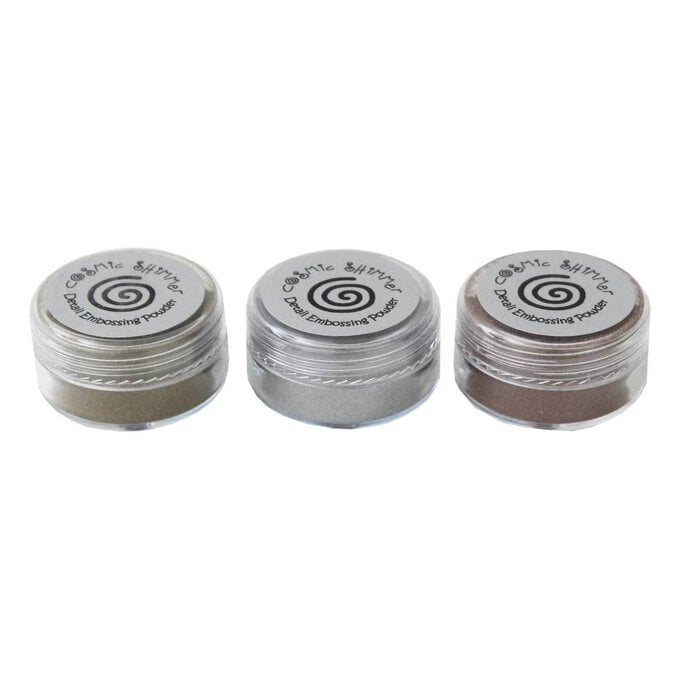
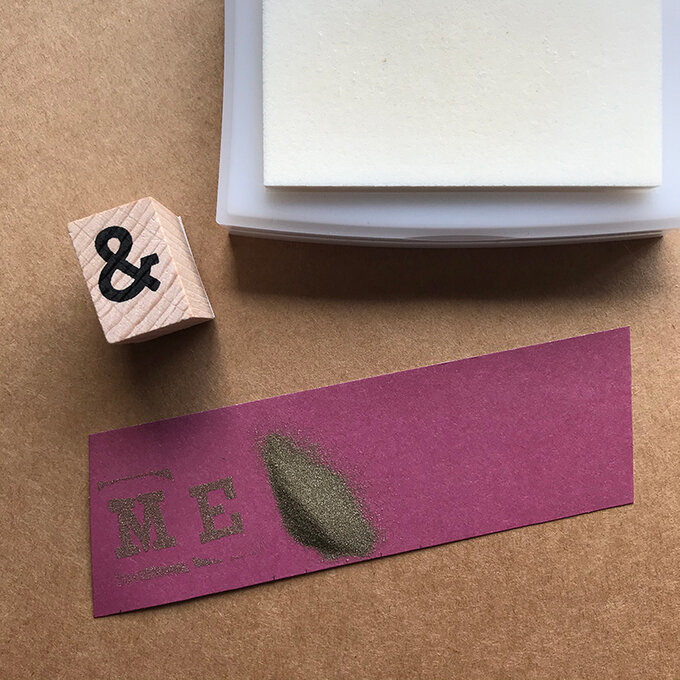
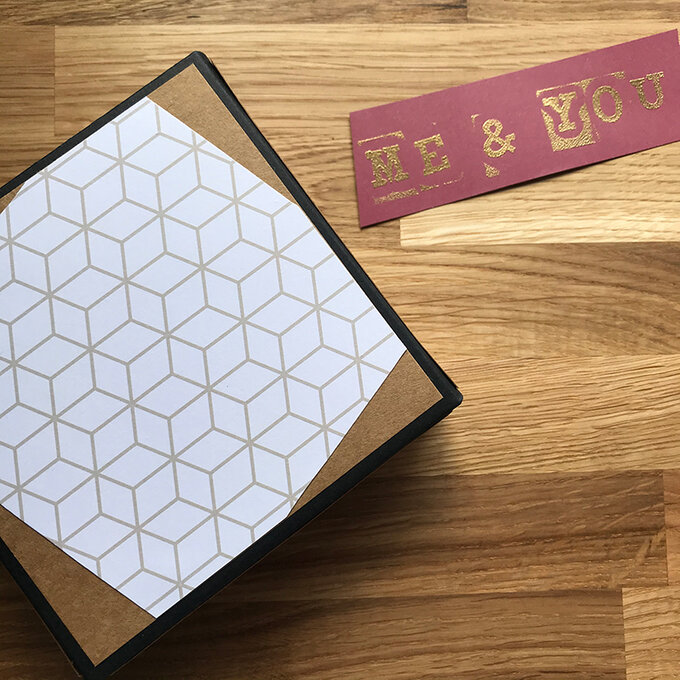
To add an extra level of detail, use heat embossing to embellish your scrapbook.
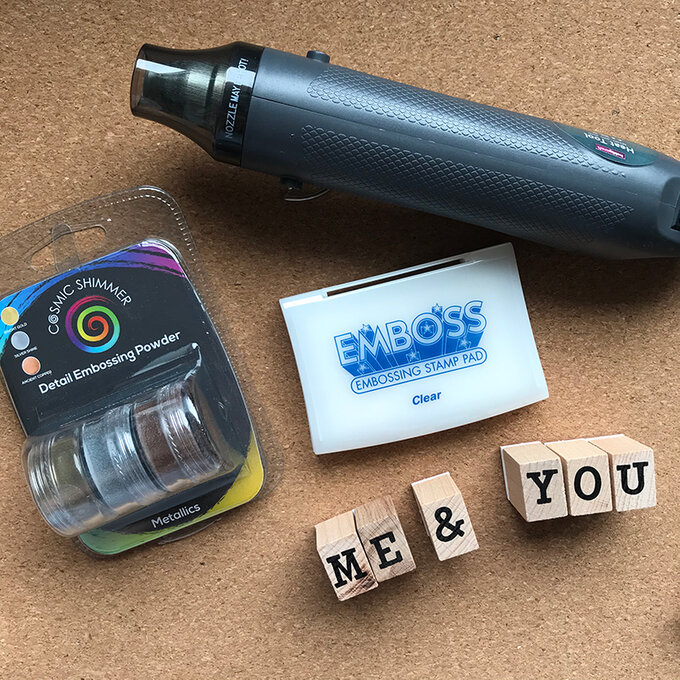
Start by trimming down the layer you would like to add the heat embossing detail to. Ensure the stamped words will fit on the layer, you could practice first.
Use the clear embossing stamp pad to stamp the letters, then while the ink is still wet apply a generous layer of embossing powder.
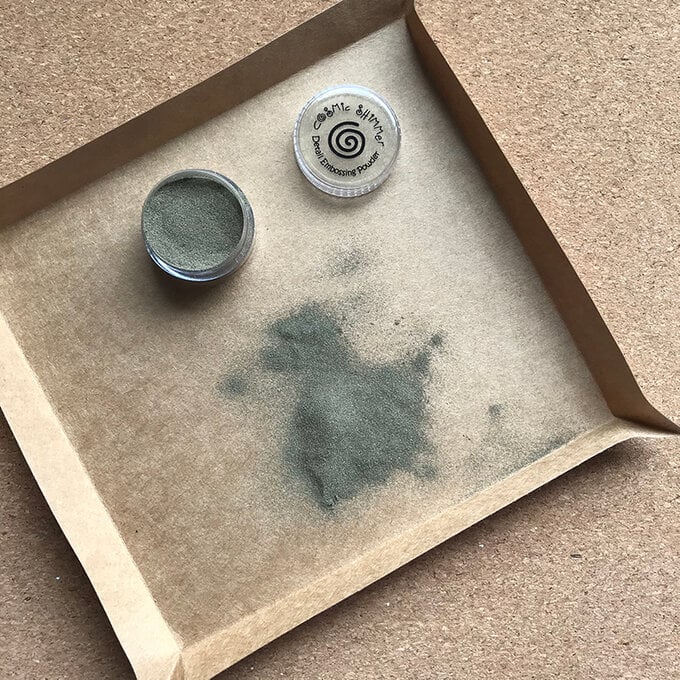
Gently tap off the excess powder. You can do the words in stages if needed.
Top Tip: Create a powder tray from scrap paper to pour the discarded powder back into the pot to use again. Also, if you don't like a line or the way the powder has laid you can use a paint brush to remove the powder- before you heat it (we like ours looking rustic).


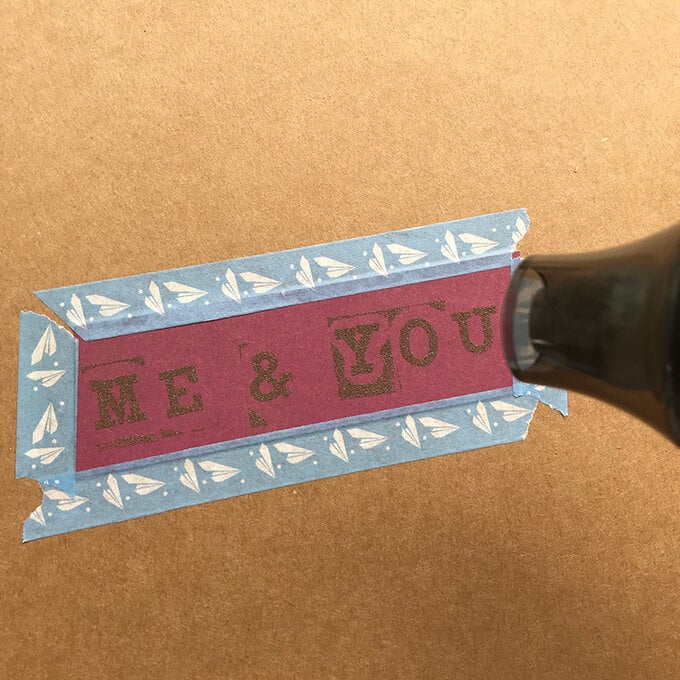
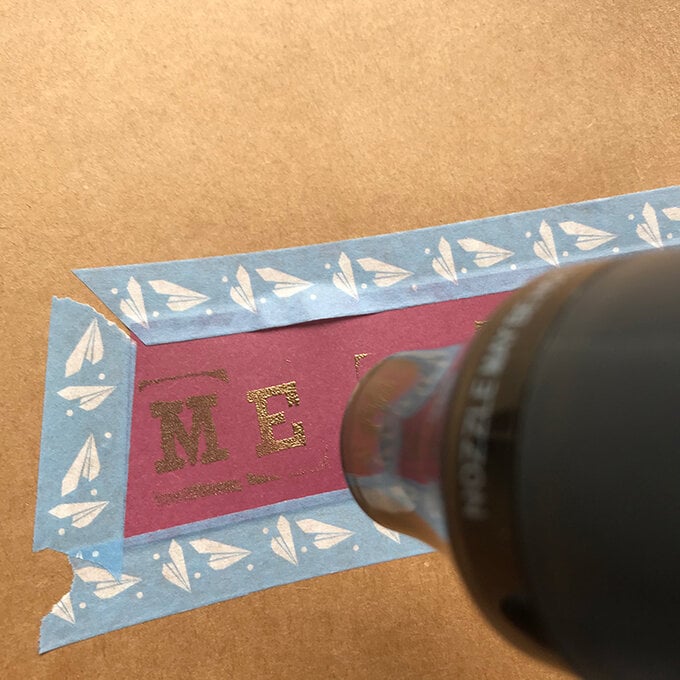
Tape down your card with masking or washi tape, this helps prevent the card from warping when using the heat tool.
Turn on your heat tool, bearing in mind to protect the your surface from the heat.
Angling the heat tool at 45 degrees, heat the powder and move over the whole design until it has all melted and adhered fully.
Be careful not to get too close and to linger too long, this may cause scotch marks.
Once cooled, adhere using double sided tape. If your piece has warped a little, place under a heavy book for a while.
Add pictures, memorabilia and handwritten notes to your scrapbook.
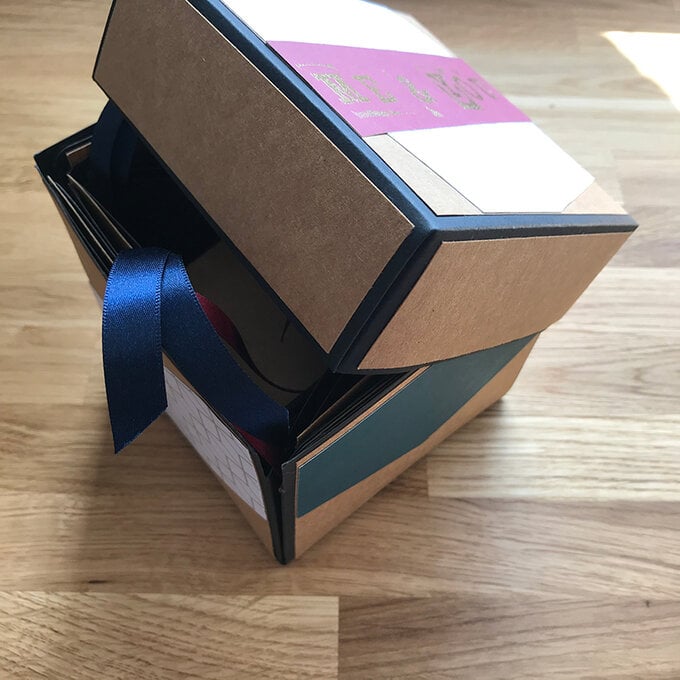
Once you've finished adding items, then stack the layers and fold in the sides, ensuring everything is tucked in.
Pop on the lid and you've completed your explosive Father's Day Scrapbook.
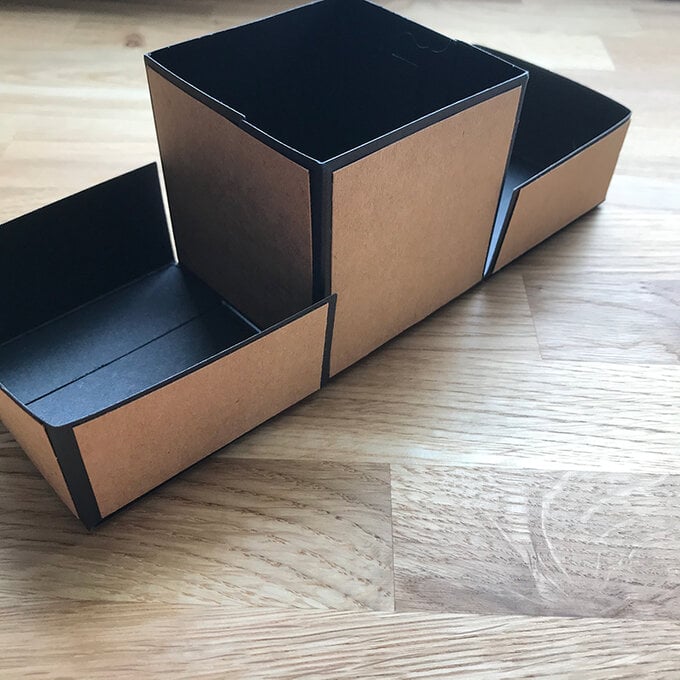
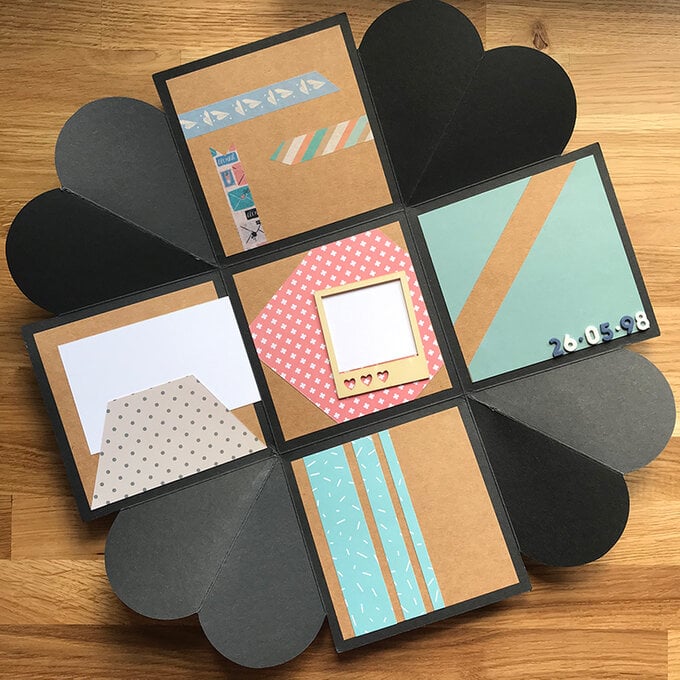
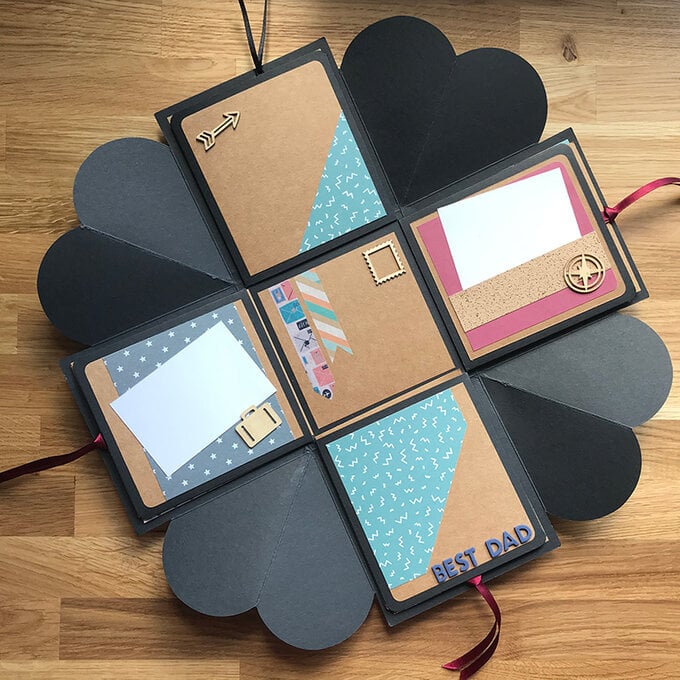
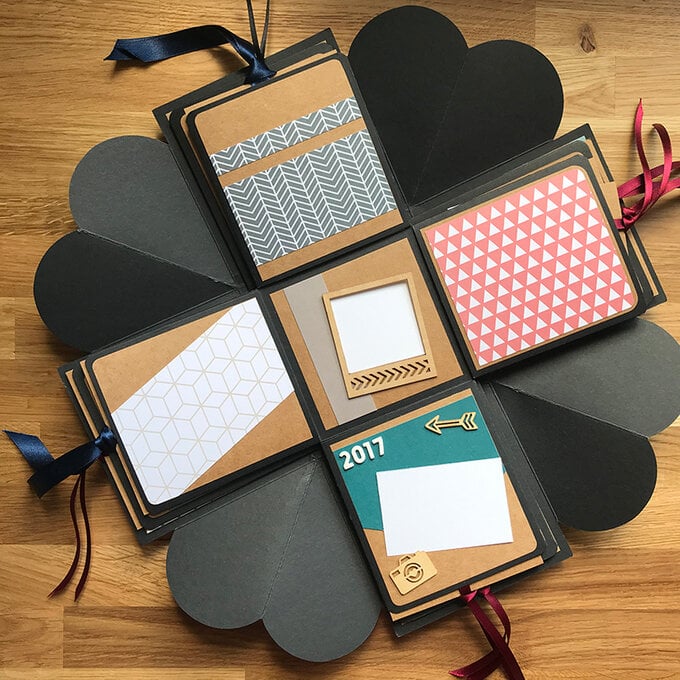
Have a look at how we have finished all the different layers.
Related Products