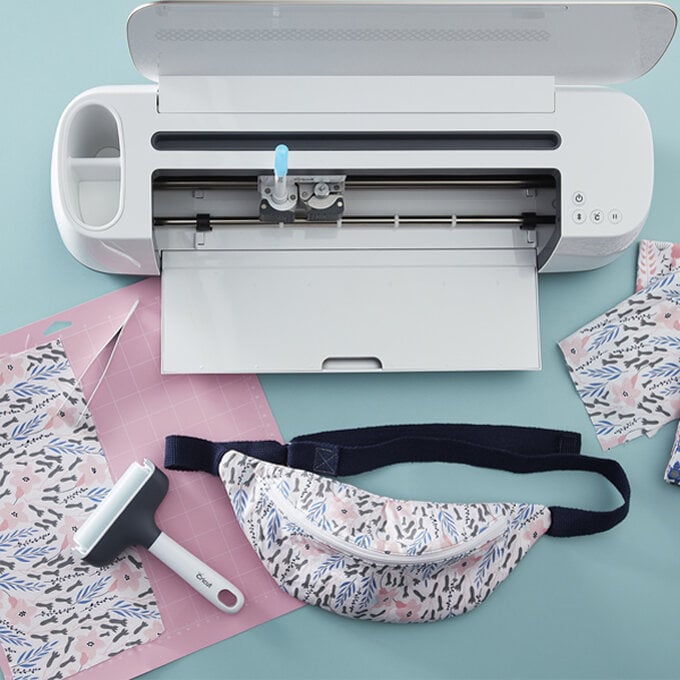
Cricut: How to Make a Floral Bum Bag
Create a trendsetting accessory perfect for summer with the help of Cricut Design Space! You'll be all set to sew your own customised bum bag design thanks to this easily downloadable pattern. Sewing expert Kathi shows step-by-step how to download and make the beautiful floral bum bag to hold all your essentials hands-free!
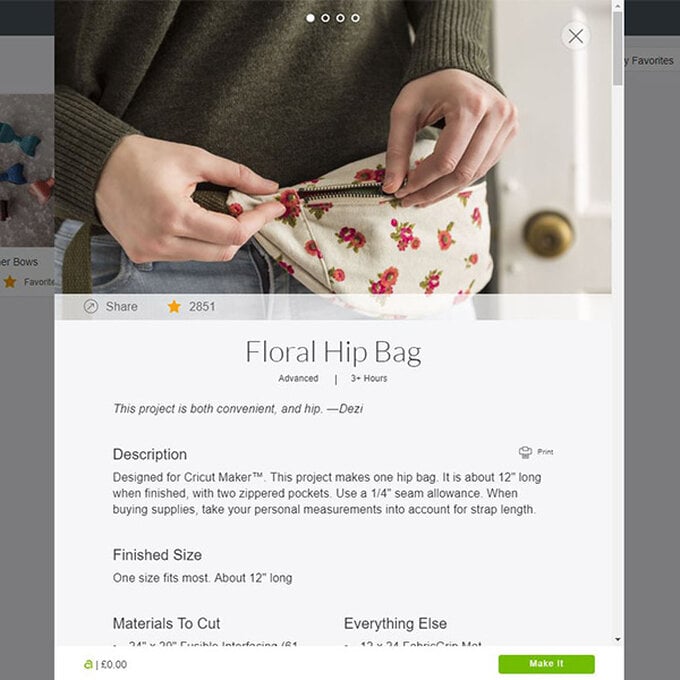
Cricut Design Space Project Link: Floral Hip Bag
Project and instructions by Katherine Lucy Creates
You will need

Subtotal
Is $ 7.49 , was $ 12.00
Subtotal
Is N/A
Subtotal
Is $ 5.49
Subtotal
Is $ 7.49
How to make
* Cricut Design Space app installed on a Mac, Desktop, Tablet or Mobile device
* Cricut Maker
* Cricut Rotary Blade
* Cricut FabricGrip Cutting Mat
* Cricut Brayer and Remover Set
* Cricut Washable Fabric Pen
* Fabric
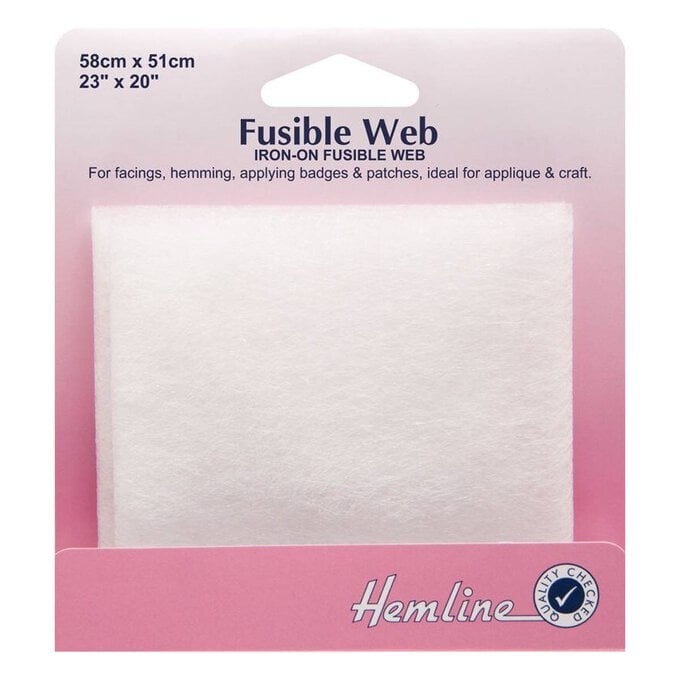
* Fusible Interfacing
* Fabric Scissors
* Cotton Sewing Thread
* Sewing Machine
* Pins
* Zip
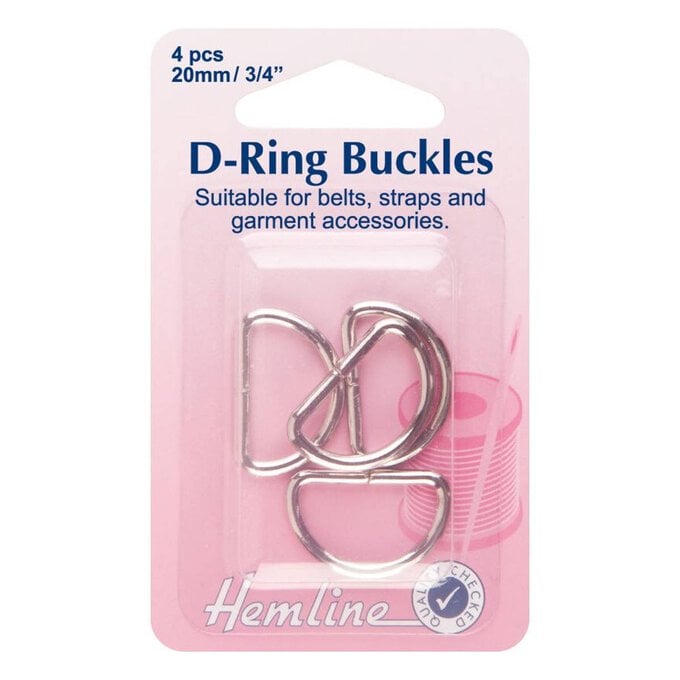
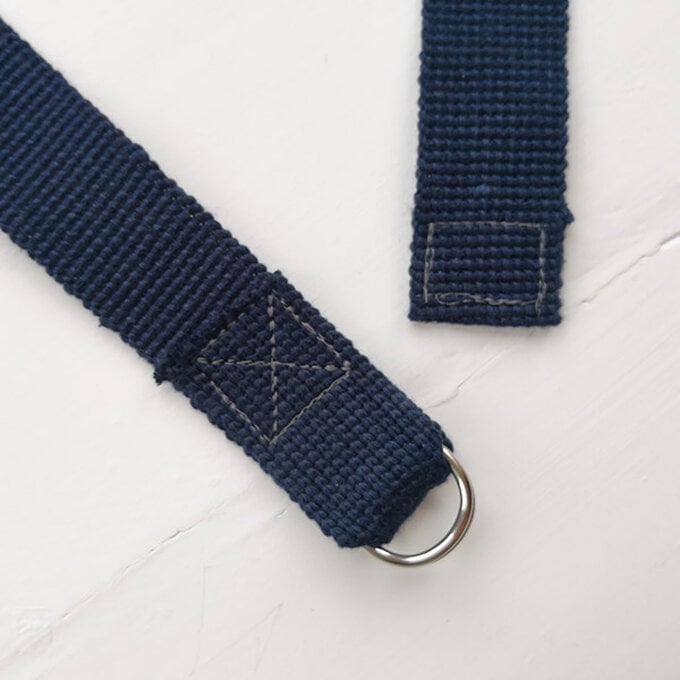
* D-rings

* Before you start making, we recommend reading through all of the instructions.
* Make sure your fabric is clean, pressed well and cut into 12″ x 19″ pieces if you are using fat quarters.
* If you choose to use by-the-metre fabric, cut the outside and lining fabrics into 12″ x 24″ pieces. The grain lines should be parallel to the 12″ sides.
* Cut the interfacing to a 12″ x 24″ piece. Use a 1cm seam allowance throughout.
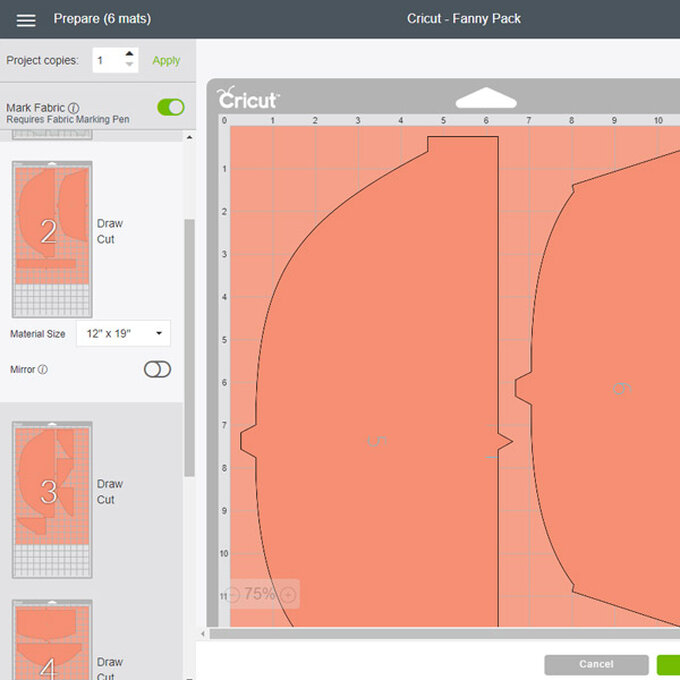
Using the Mat Preview screen, amend the mats for the lining and outside pieces to 12″ x 19″ (only if you are using fat quarters).
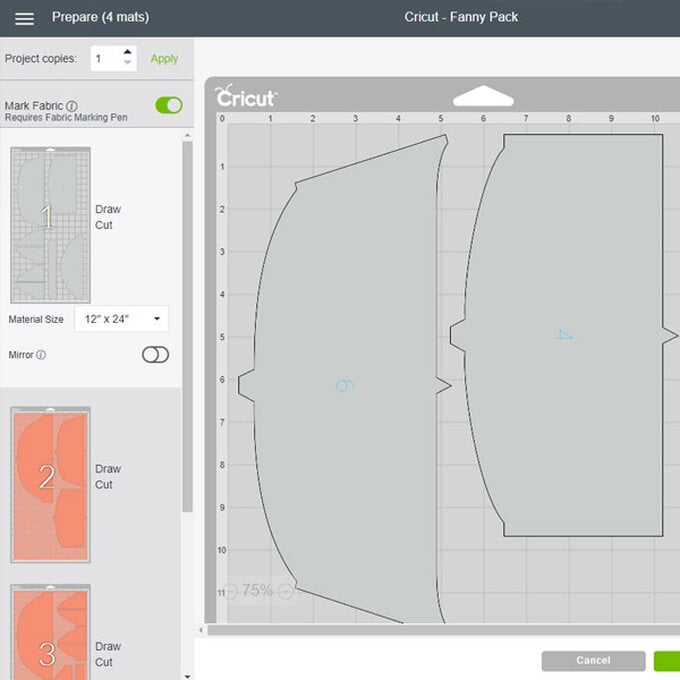
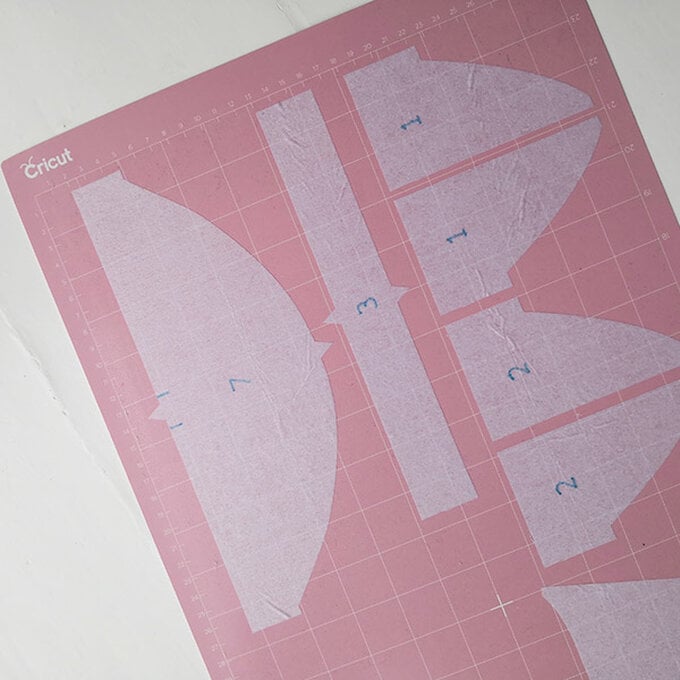
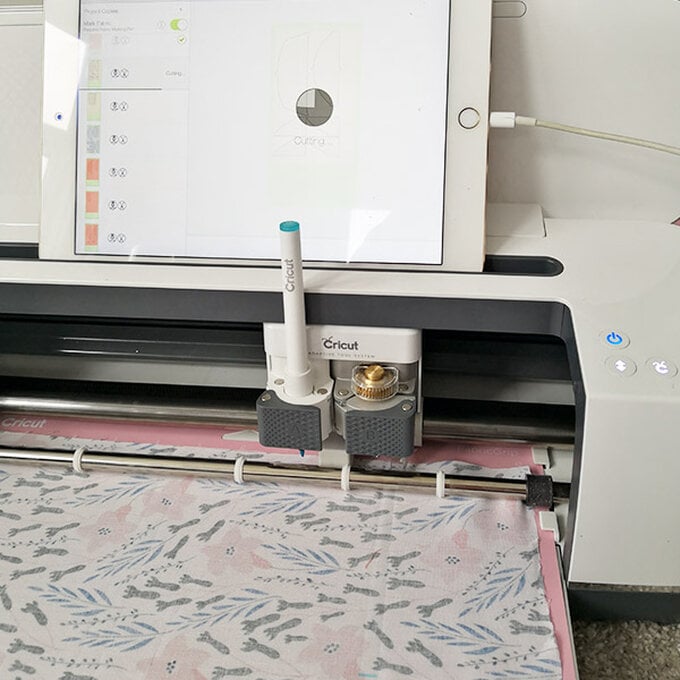
Place the 12″ x 24″ interfacing piece onto the FabricGrip mat, fusible side down, and cut.
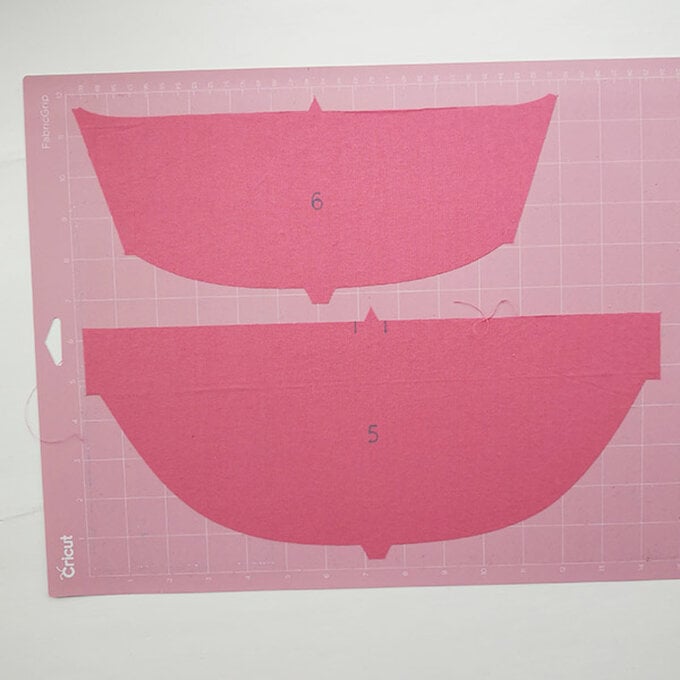
Place the 12″ x 19″ lining fabric pieces onto the mat, right side down if it has one, and cut.
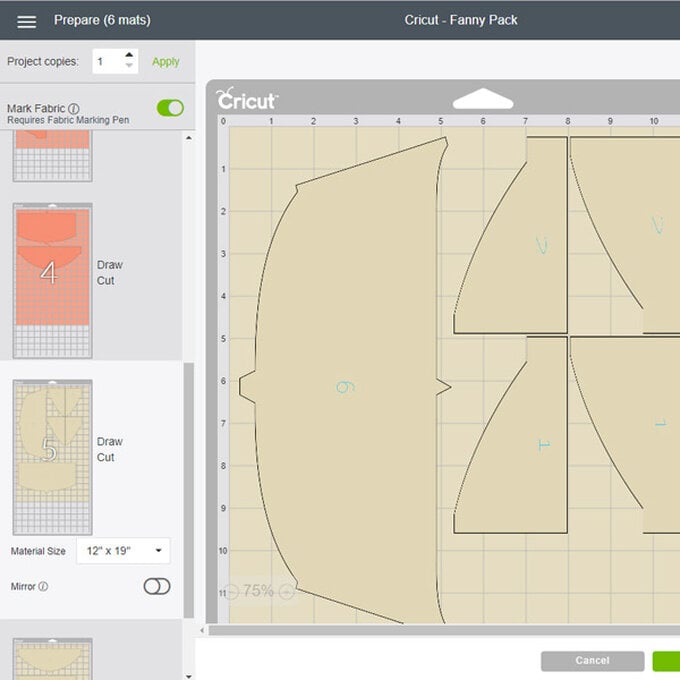
Place the 12″ x 19″ outside fabric pieces onto the mat, right side down, and cut.
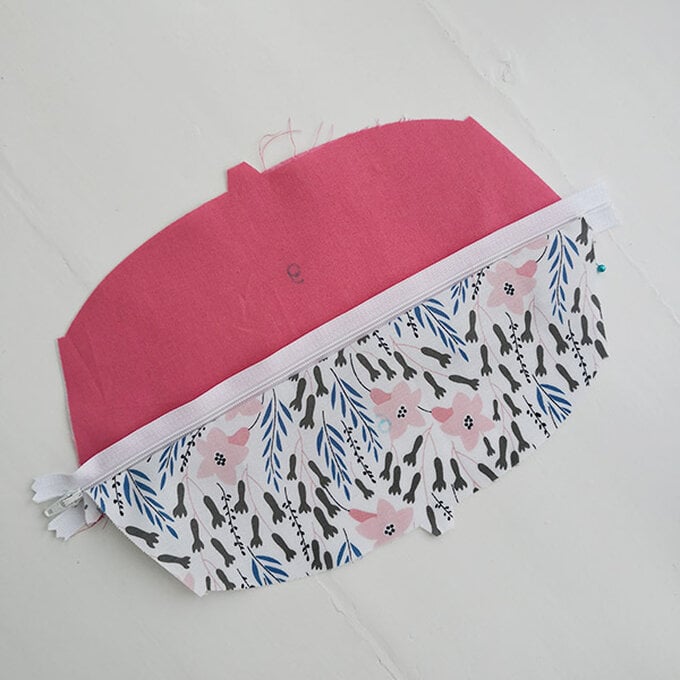
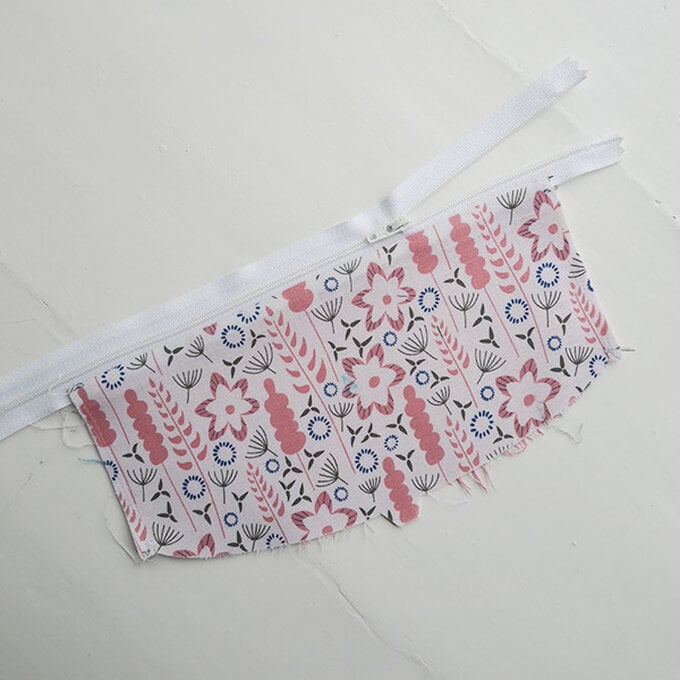
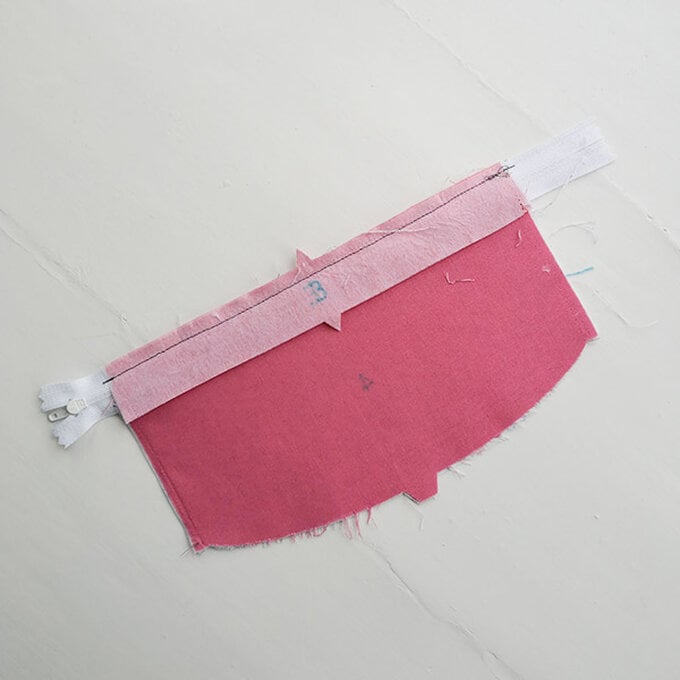
Centre the other side of the zip between the lining and outer piece. The front of the zip should face the right side of the outer piece. Stitch using a zip foot.
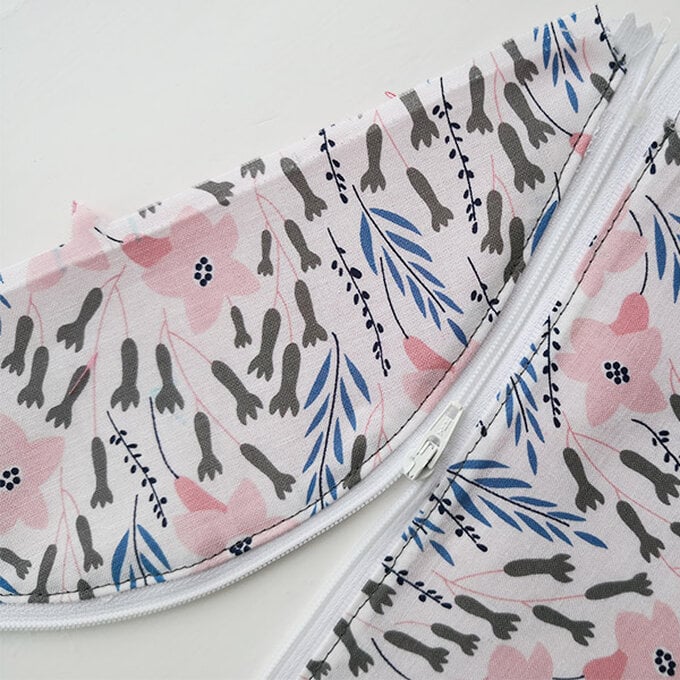
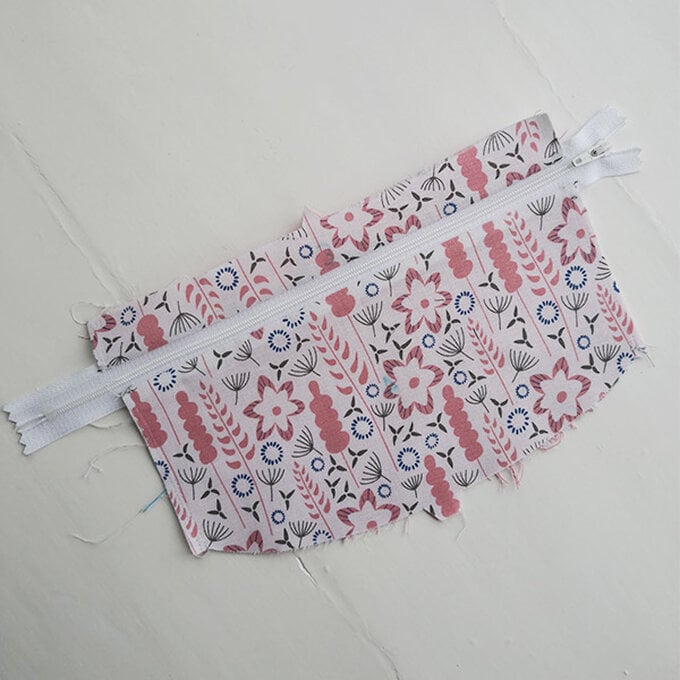
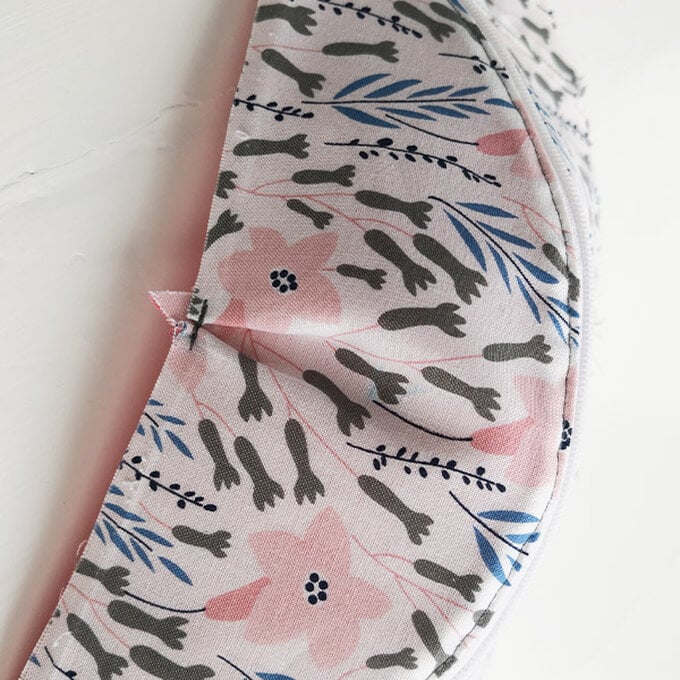
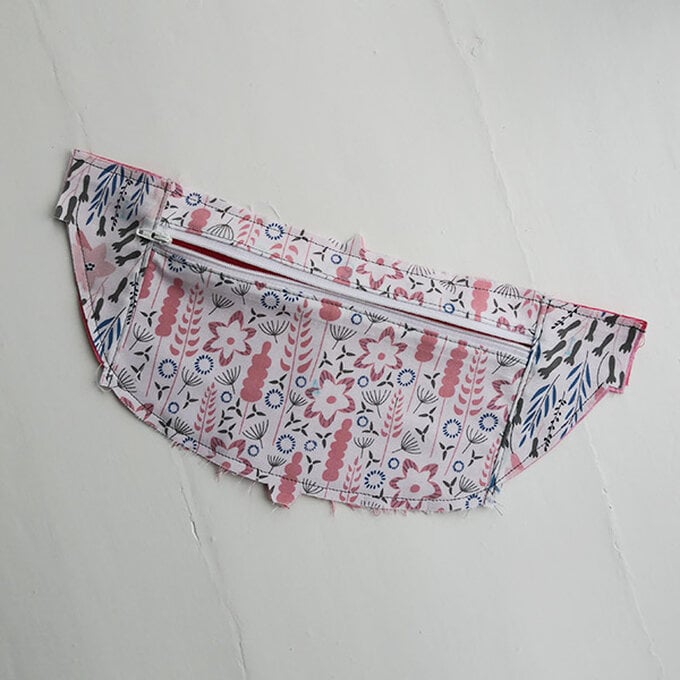
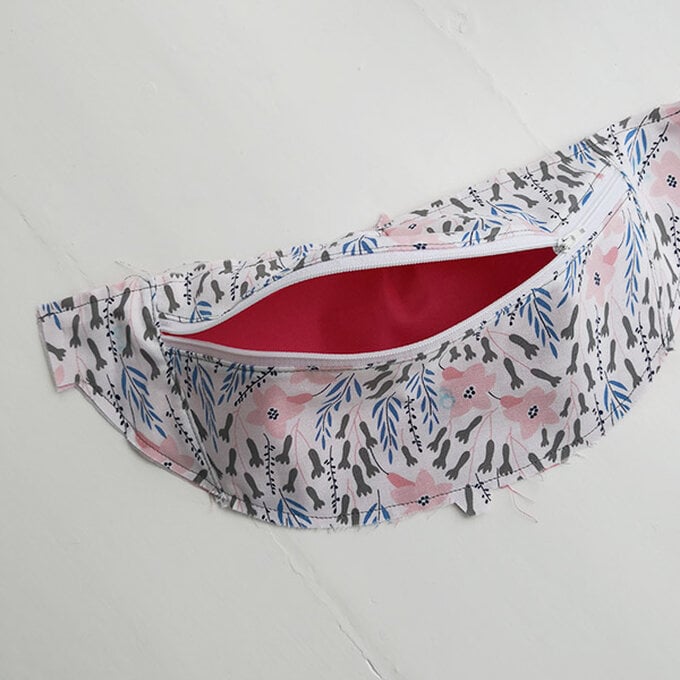
Turn the piece so that the zip is on the inside of the sewn pieces. Trim the seam allowances with pinking shears or snip into the curve. Turn back. This is what it should look like.
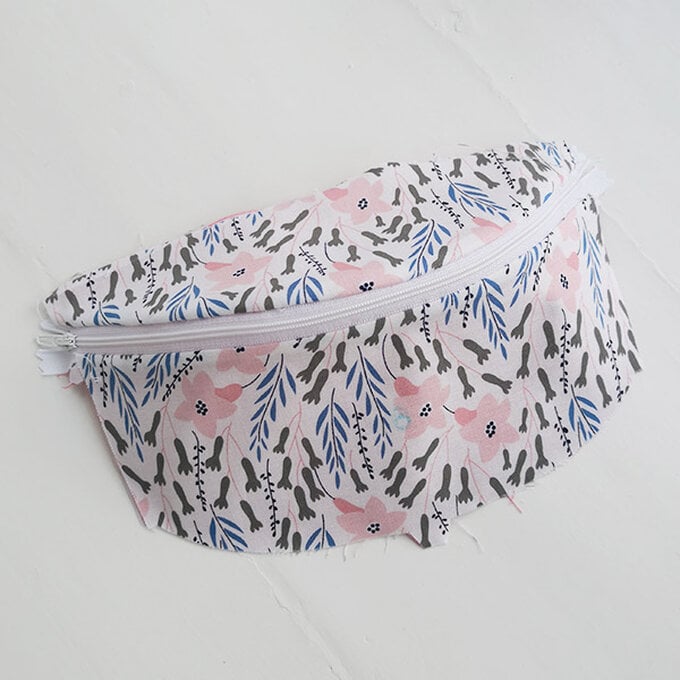
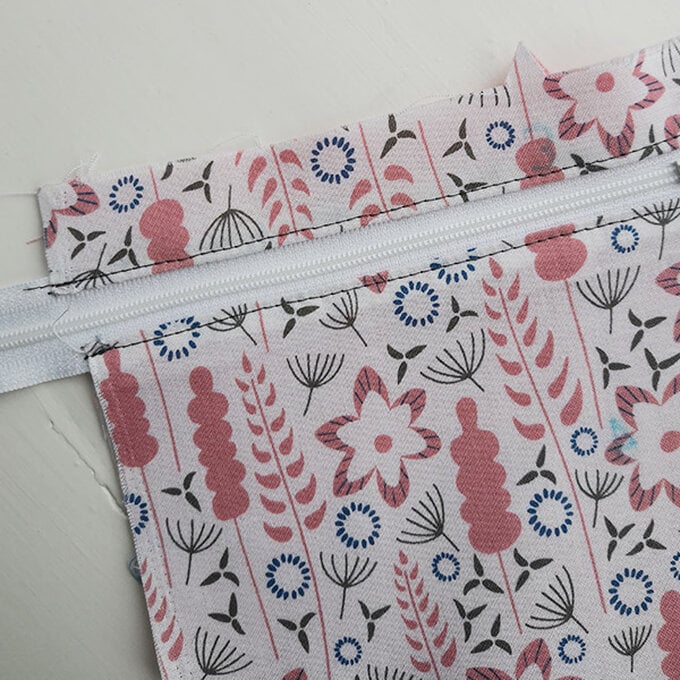
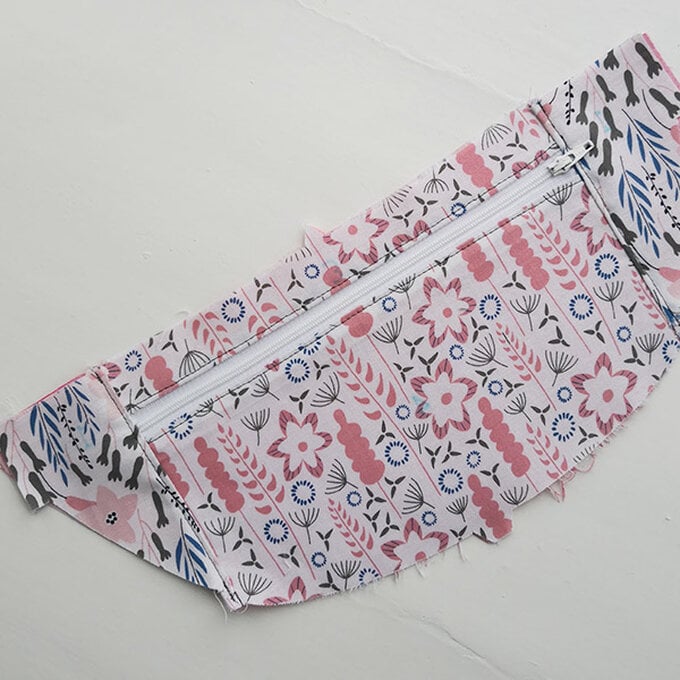
Topstitch along the seams for a more finished look. This can be in a complementary or contrasting colour. Your stitching will show on the interior lining as well.
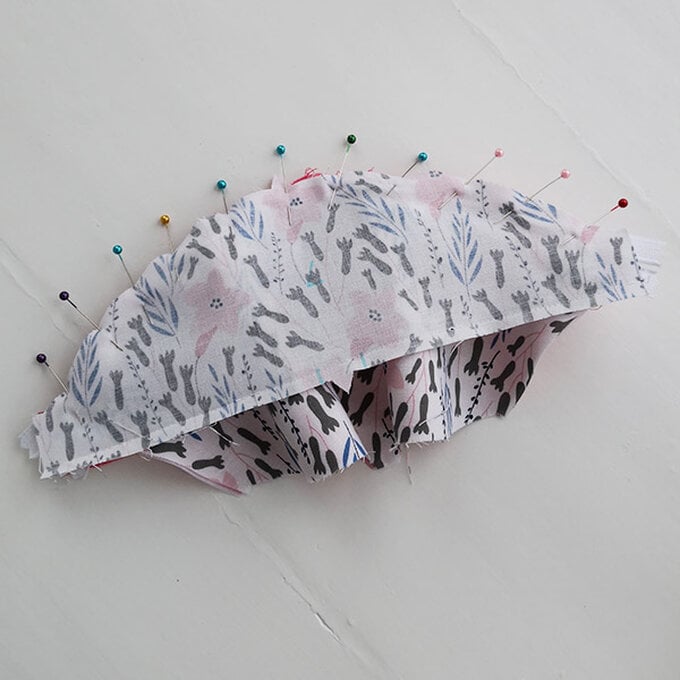
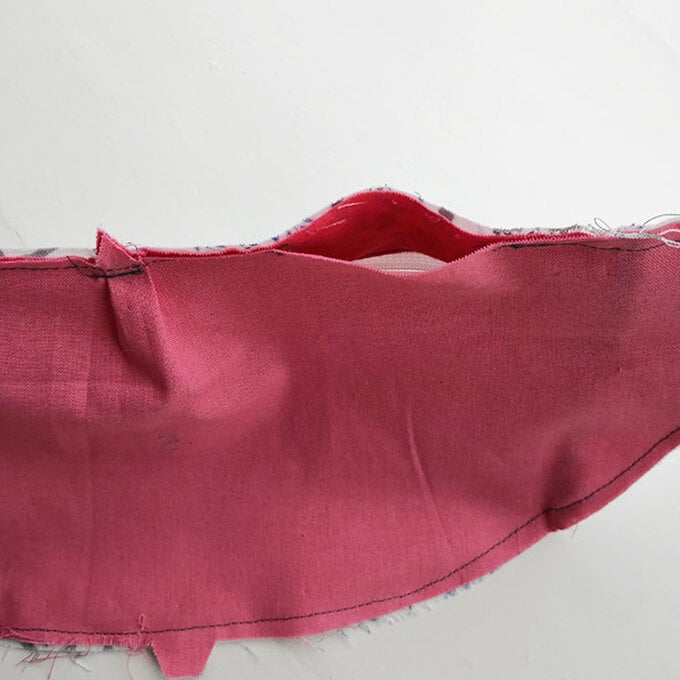
With the zip closed, centre the bum bag front between the lining and front piece 2, with right sides together, lining against lining, and outer fabric against outer fabric. Sew along the flat edge, over the zipper end.

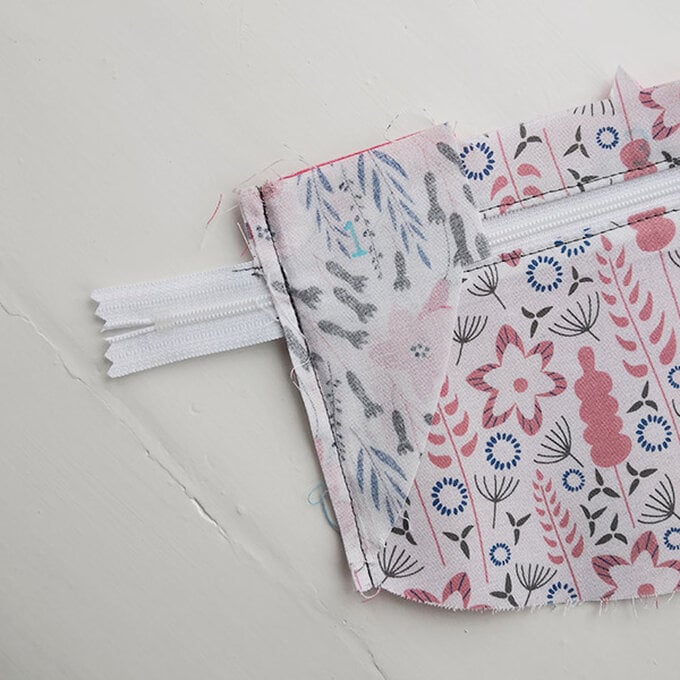
Repeat for the other side. Trim off any excess zip tape.
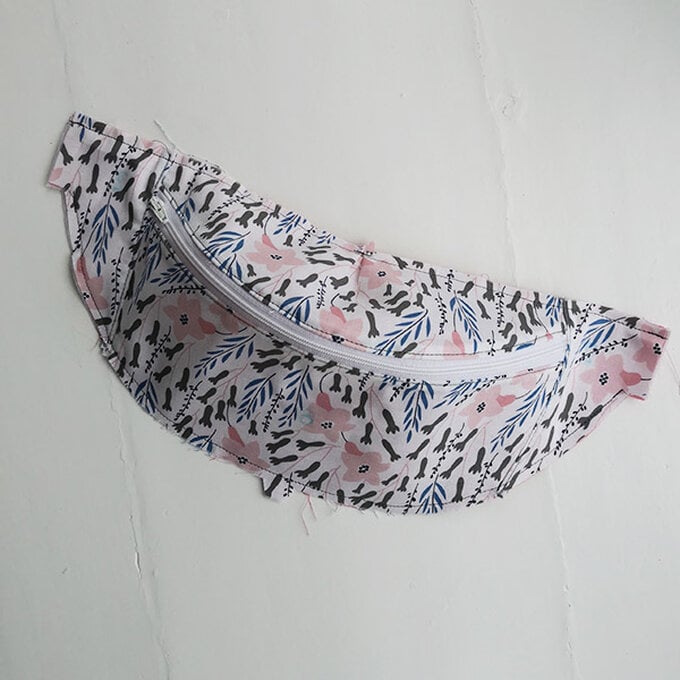
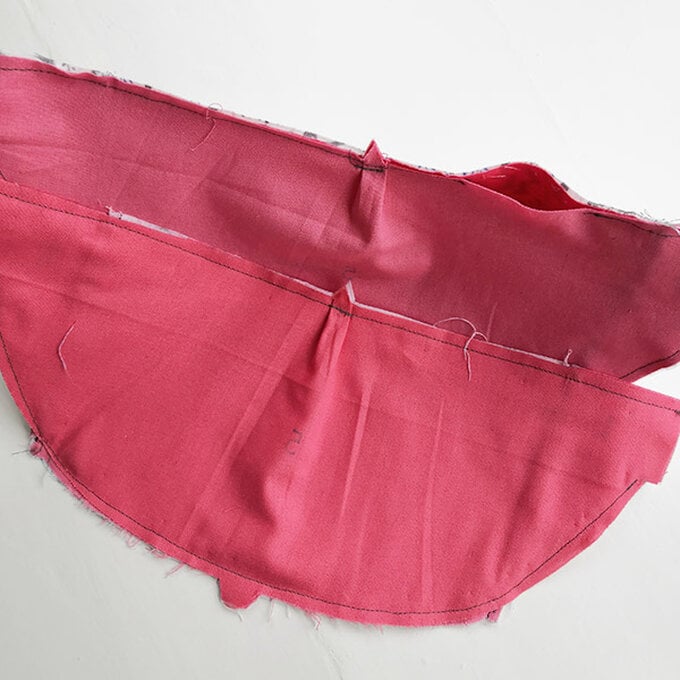
Fold the side flaps out and press. Topstitch along the sides of piece 2. Your back panel is now complete.
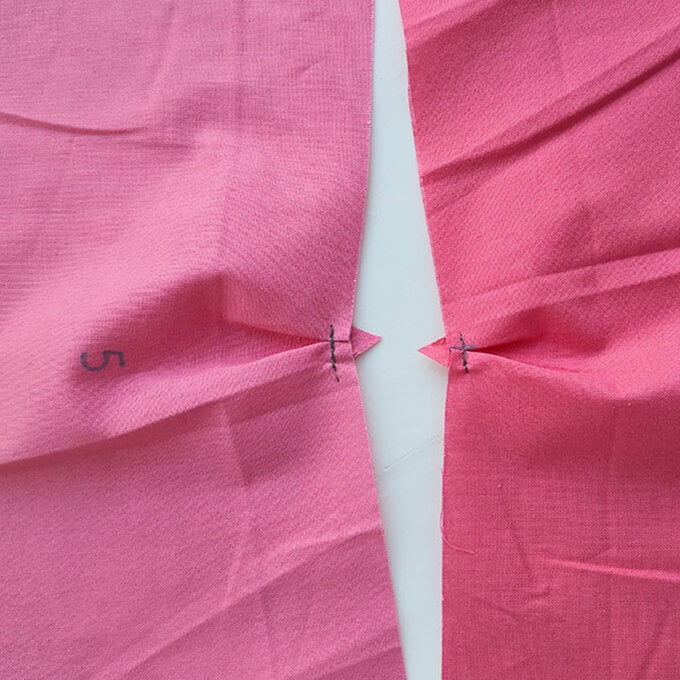
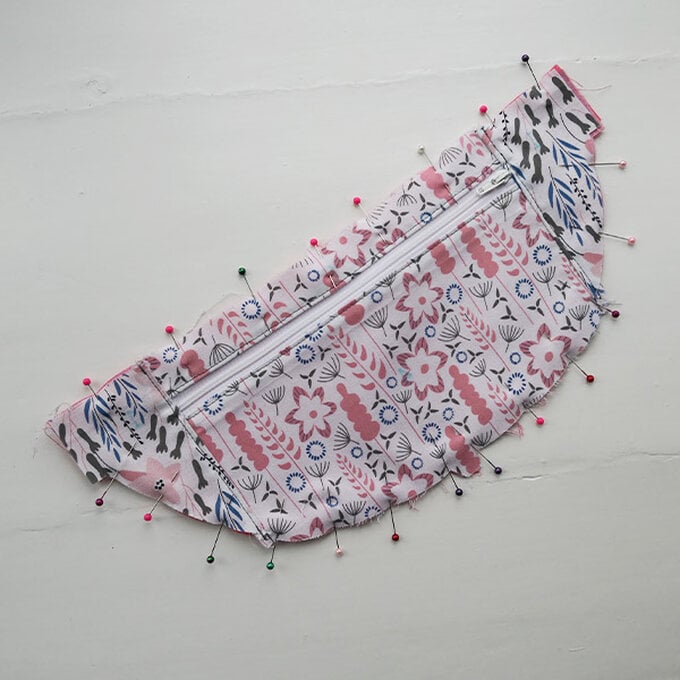
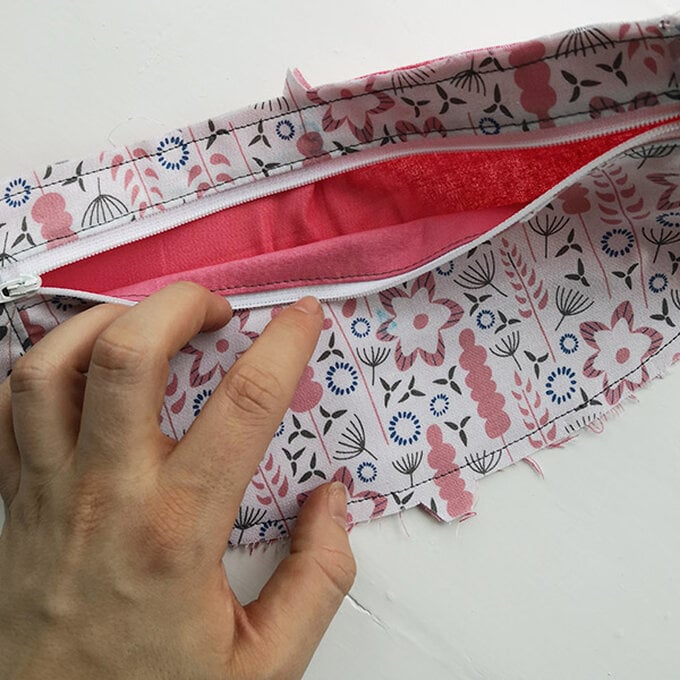
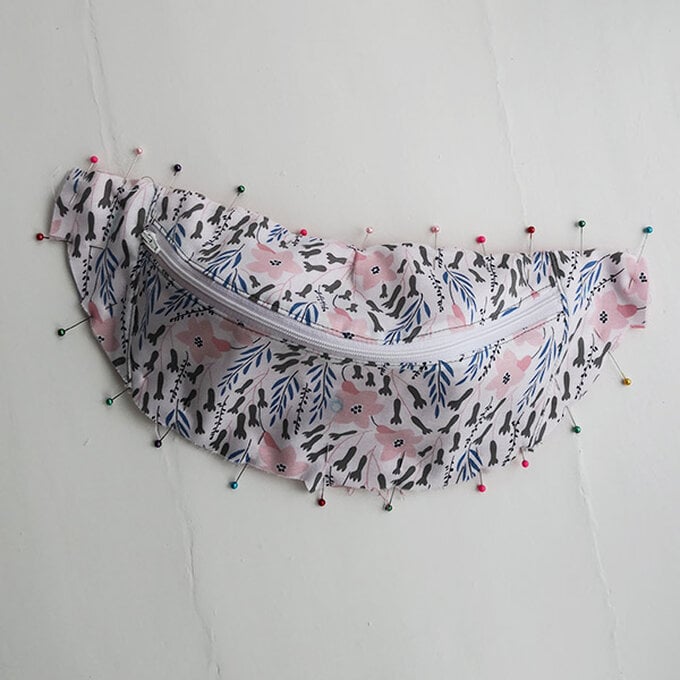
Place a piece 5 onto the back of the back panel, matching up the notches. Pin and stitch around the outside edge, leaving the side tabs open for the straps to attach to. The right side of the lining should be visible through the open zipper.
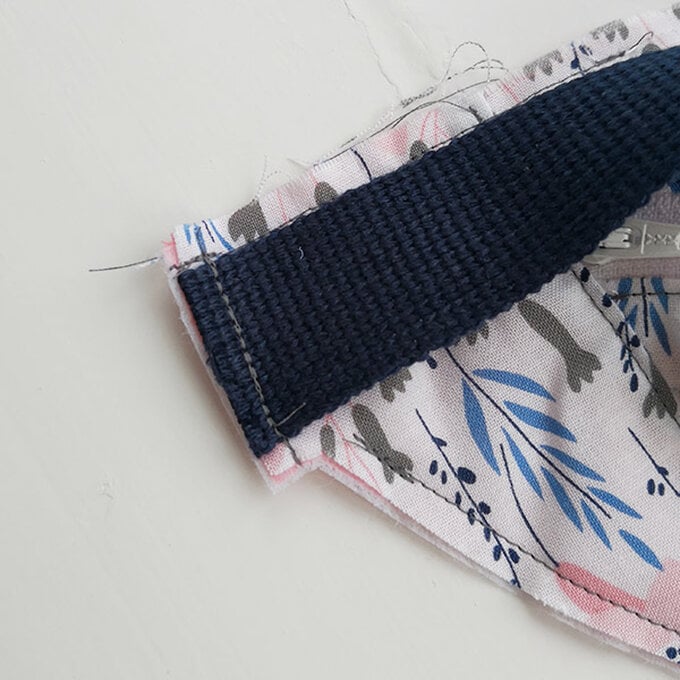
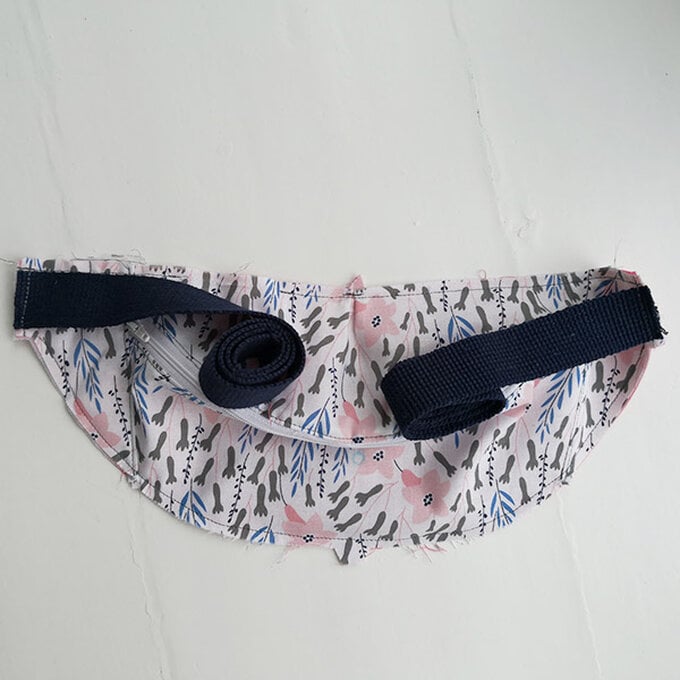
Trim off any excess material. Turn the project right side out, through the tuning hole. Take your time and work carefully to avoid tearing the fabric.

Related Products