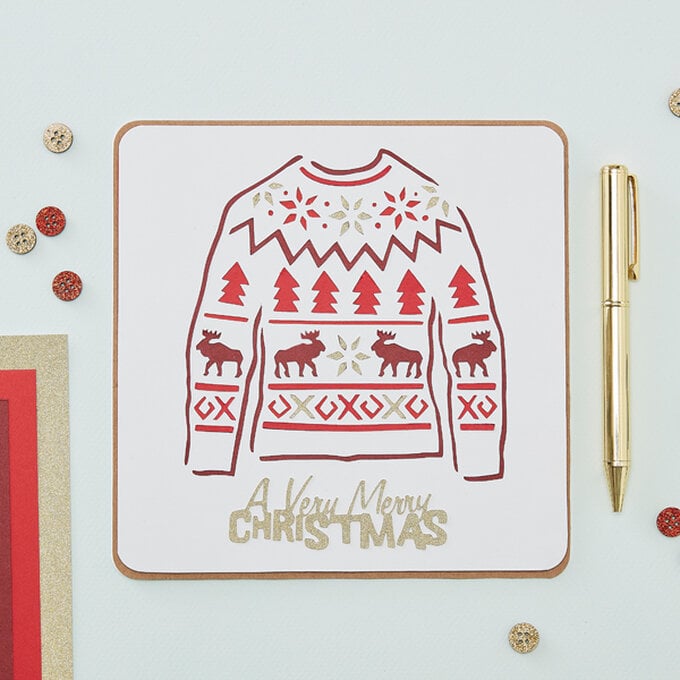
Your Cricut Explore Christmas Jumper Card
Level
Intermediate
Time
1 hour
Budget
10 - 30
Create beautiful festive cards for your loved ones using your Cricut machine and the Design Space app. This Christmas jumper design will be sure to put a smile on the lucky recipients face, and the design can be easily personalised using different coloured cardstocks, all you need to do is cut and stick.
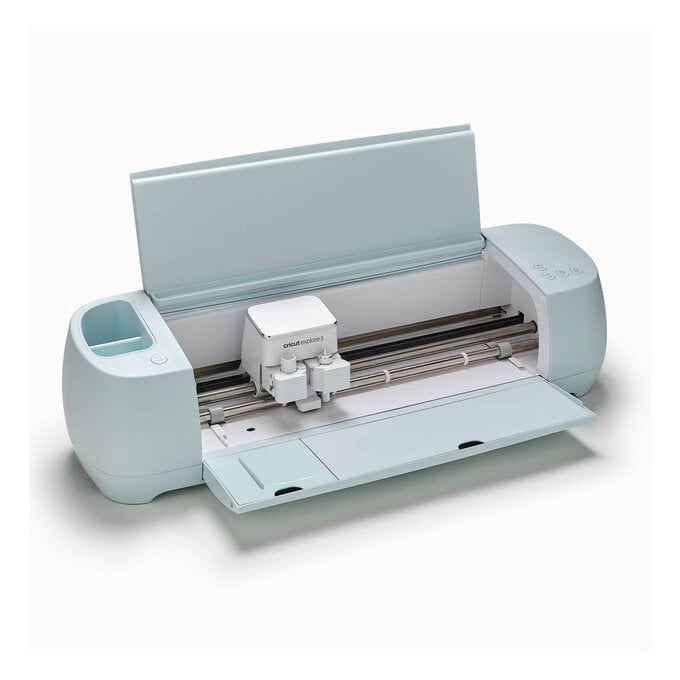
You will need

Quantity:
1
Subtotal
Is $ 3.49 , was $ 5.49
Quantity:
1
Subtotal
Is $ 4.49
Quantity:
1
Subtotal
Is $ 422.00
Quantity:
1
Subtotal
Is $ 5.49
Out of stock
Total:
£0.00
How to make
Step-1
Step-2
Step-3
Step-4

Step-5
Step-6
Step-7
Step-8
Step-9
Step-10
Step-11
Step-12
Step-13
Step-14
Step-15
Step-16
Step-17
Step-18
Step-19
Related Products
6 Simple Christmas Card Ideas to Make
Discover five easy watermelon crafts that are sure to brighten up your summer crafting time! The ideas include a trinket dish, wall art, watermelon earrings, a cute card and a pen pot. Bring your favourite to life in no time ...
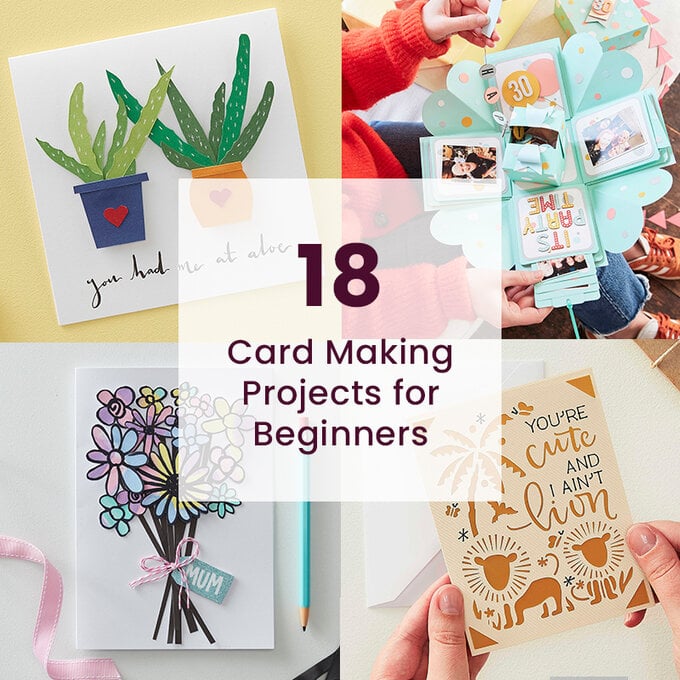
18 Card Making Projects for Beginners
Hook yourself up this handy basket to add a festive touch to your home this Christmas. The stylish crochet basket is the perfect seasonal addition to your home, featuring a charming Christmas tree design. Valentine's Day is right around the ...
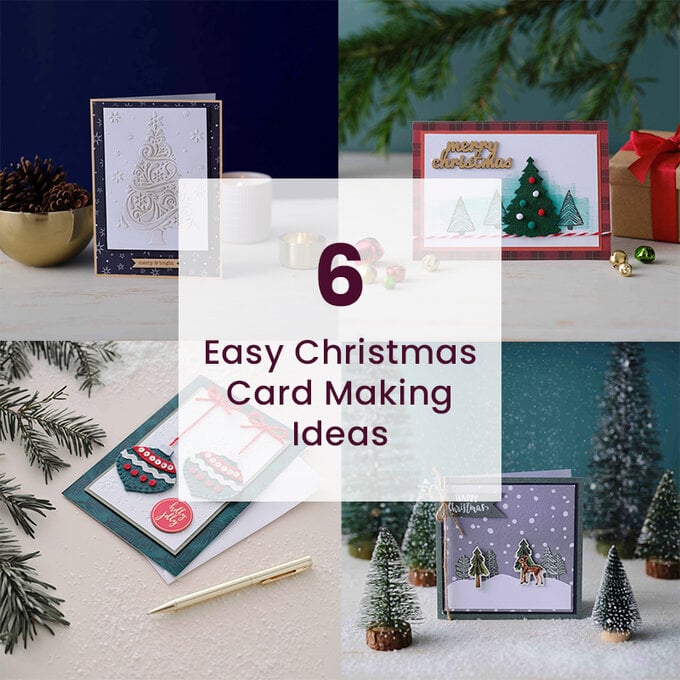
6 Easy Christmas Card Making Ideas
Prepare for your St David's Day celebrations with our fantastic range of projects, perfect for crafters of all abilities and ages! You’ll find the project for you in no time - from quick and easy dragon crafts for kids and ...
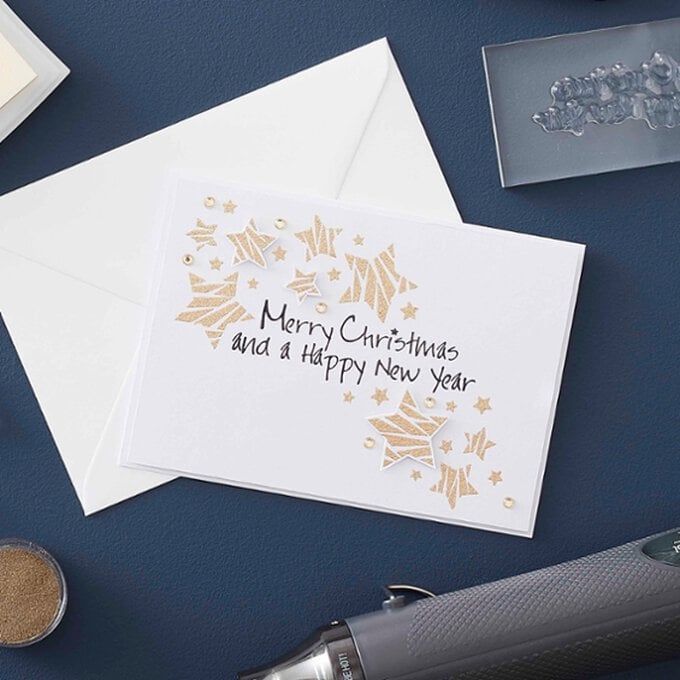
How to Make a Heat Embossed Star Christmas Card
Introduce these fantastic Anita's Silver Modern Alphabet Outline Stickers to your crafting toolbox for effortless, beautiful embellishment. These stickers are great for using on a wide variety of paper and craft projects. Use with paper, card, glass, metal, plastic, craft foam and ...
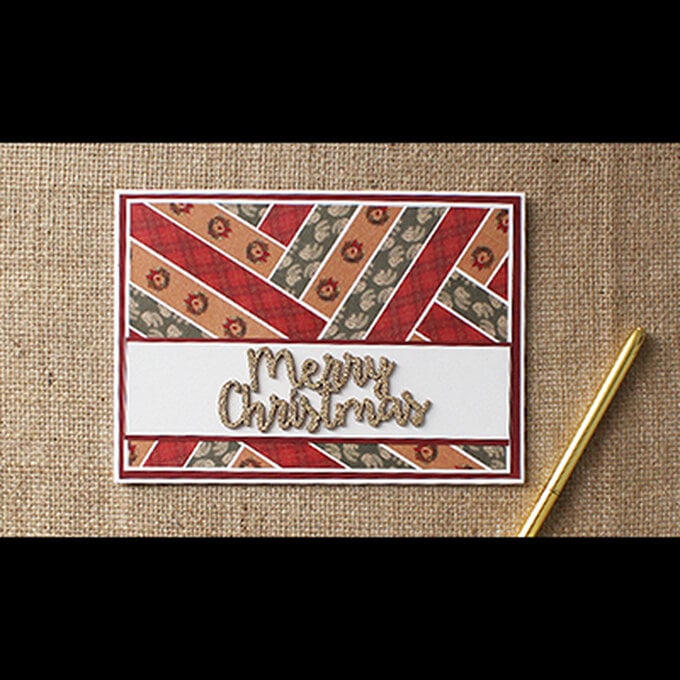
How to Make a Washi Tape Christmas Card
Transform your Christmas table décor with four creative ideas for personalising every detail! Set the table for your Christmas party with handmade napkin wraps, cracker alternatives, gorgeous place cards and fun drinking straws. Creating professional foiled projects has never been ...
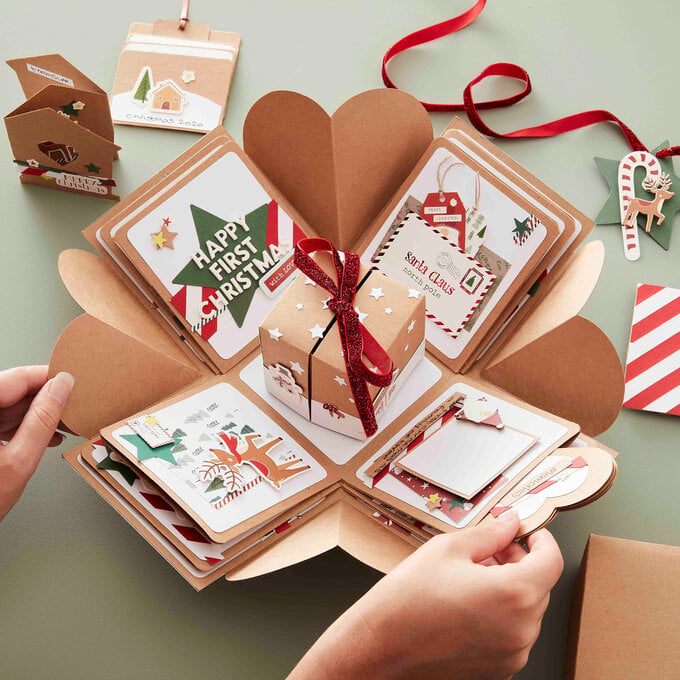
How to Make an Explosion Box Christmas Card
If you're looking for the perfect gift to any avid readers, discover these great craft projects that celebrate literary favourites. Learn how to make personalised bookmarks, transform special pages into confetti or create a children's book garland for your little ...

