How to Make a Stamped Easel Christmas Card
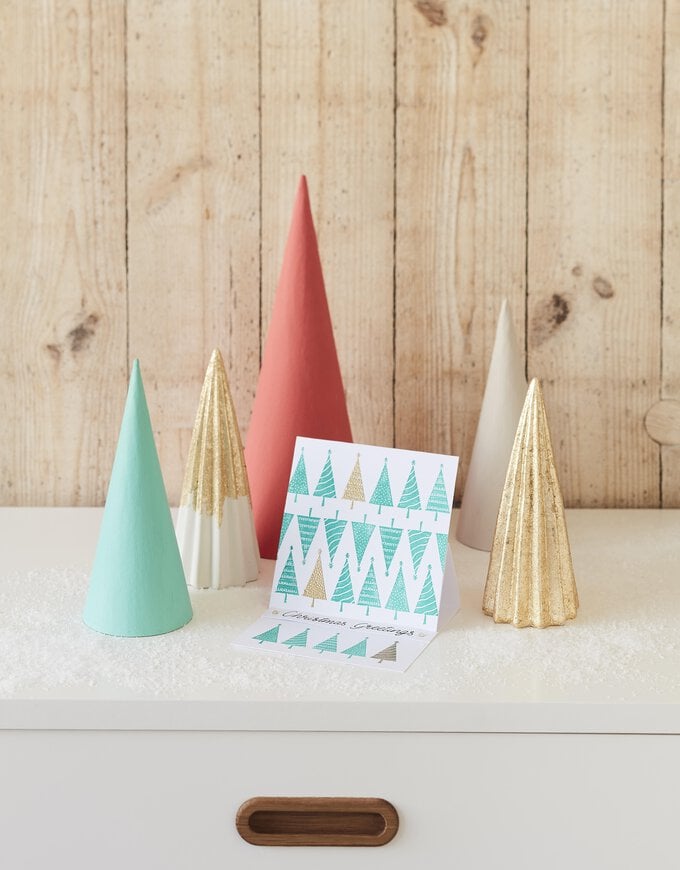
Create a stunning stamped card design with added dimension with this easel card. Using clever folding techniques, you can create a unique handmade Christmas card that your loved one will treasure.
An easel card makes the perfect base for applying stamped designs thanks to all the panels. Mix up the ink colour to suit your theme, then add a sprinkling of embossing powder for a little bit of shimmer.
Project and instructions by Sue Smith.
You will need

Subtotal
Is $ 4.49
Subtotal
Is $ 13.00
Subtotal
Is N/A
Subtotal
Is $ 8.49
Subtotal
Is N/A
Subtotal
Is $ 1.49
Subtotal
Is $ 1.49

Subtotal
Is $ 5.49
How to make
You will also need:
* Pencil
* Ruler
* Scissors
* Craft knife - availbale in store only
* Spare white card
Begin by cutting a 5 x 7" white card blank in half along the fold, or use a piece of spare white card a similar size.
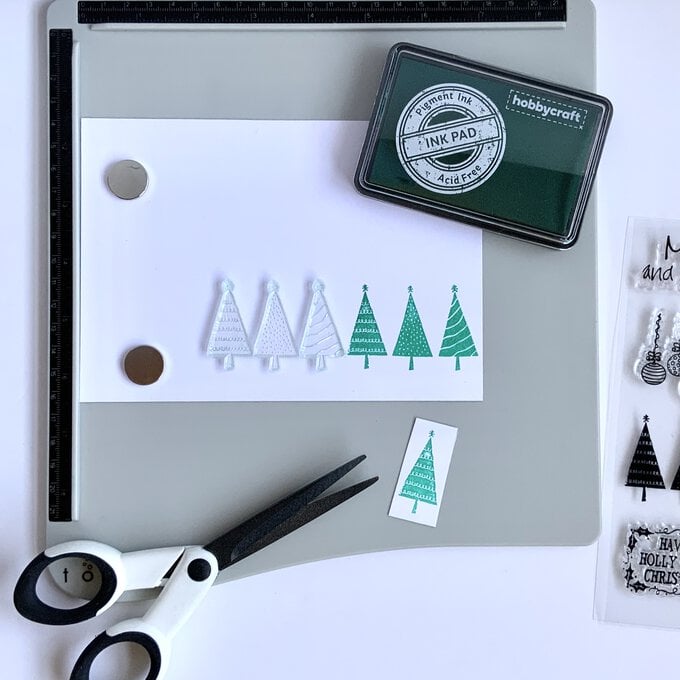
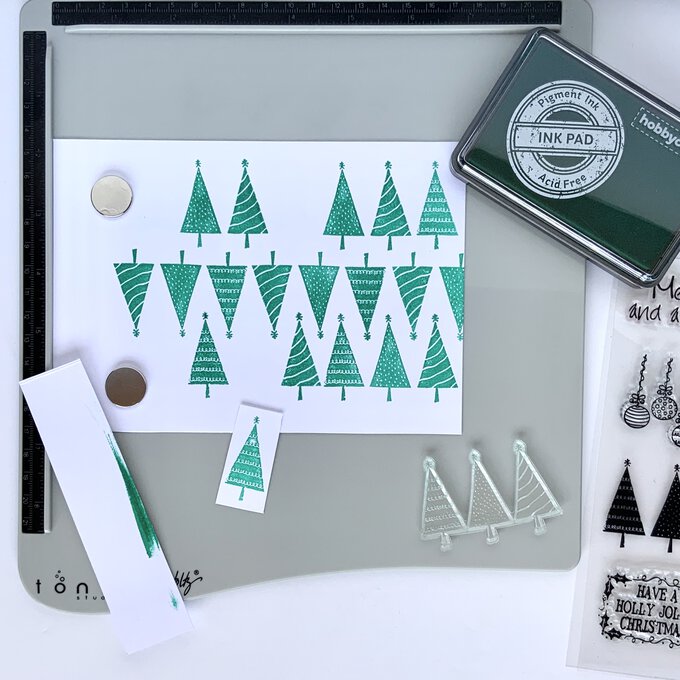
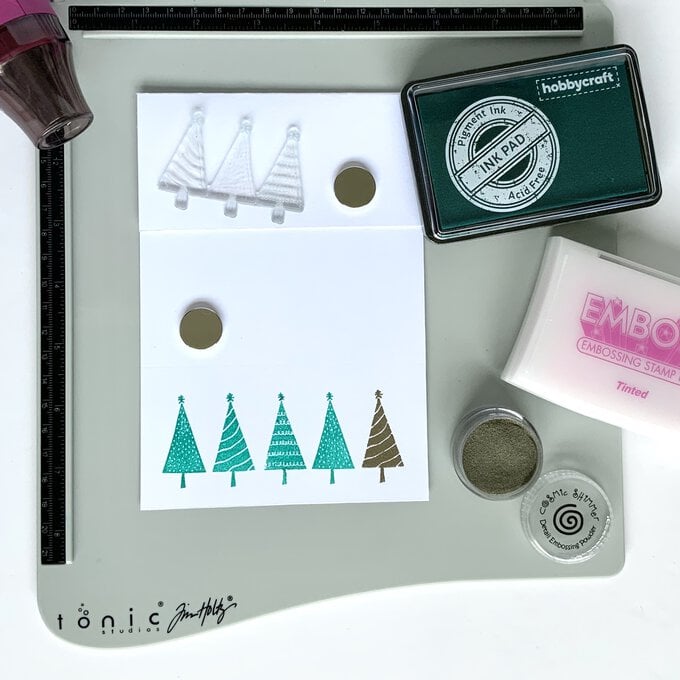
Place the card horizontally onto a stamping platform, then position the tree trio stamp towards the bottom right hand corner of the card, 10mm up from the bottom edge. Close the lid to pick up the stamp.
Ink the stamp with the Christmas green ink pad, close again to stamp a good image.
Use the remaining ink to stamp a secondary image onto another piece of scrap card.
Cut out one of the trees to use as a mask. Place the stamp to the right of the three stamped trees, ready for the next impression.
Close the platform lid to pick up the stamp. Use another piece of scrap card to mask the middle tree when inking the far right tree only. Stamp this single tree.
Repeat the process to only stamp the far left tree without moving the stamp on the lid, leaving a tree gap in between.
Continue to stamp a row of trees upside down above this first row, following the tree pattern.
Stamp a top row of trees, leaving another tree gap, using the tree mask if needed.
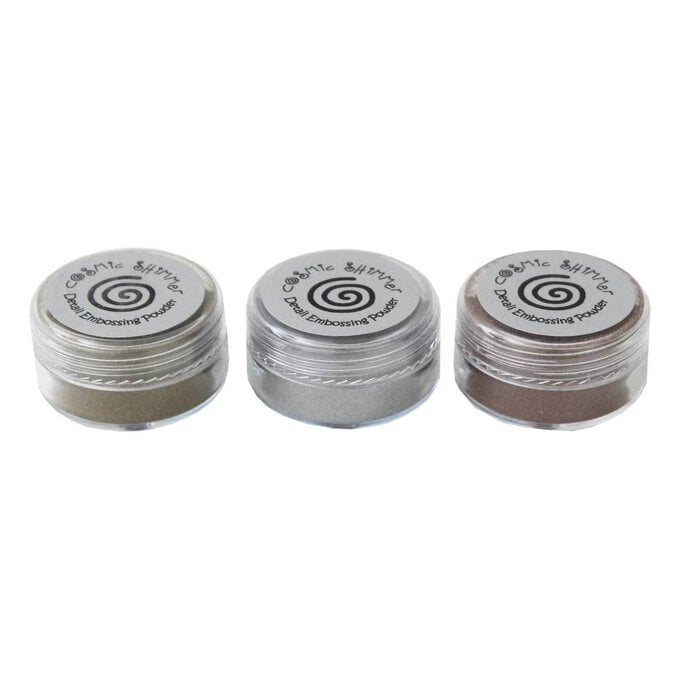
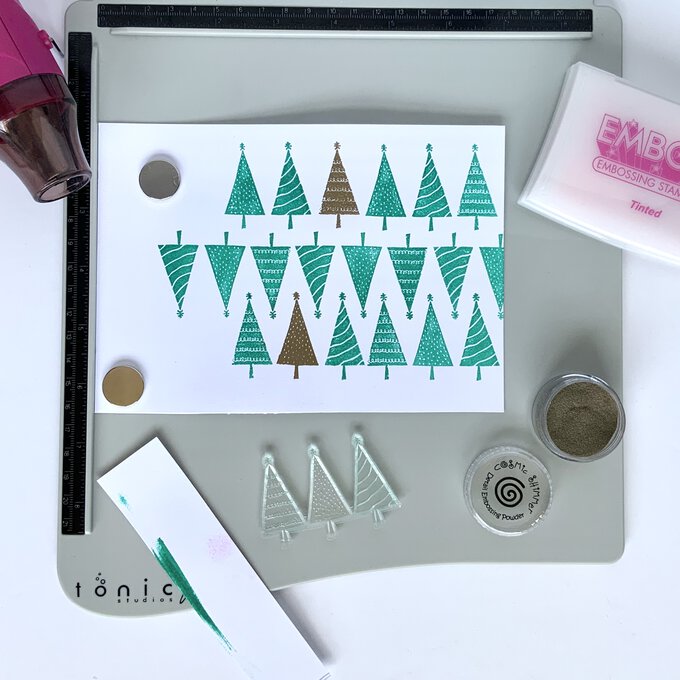
Fill the top tree gap by stamping a single tree, using the tinted embossing ink. Cover with gold embossing powder, shake the excess off, and then heat to set.
Repeat this process for the remaining tree gap, following the tree pattern.
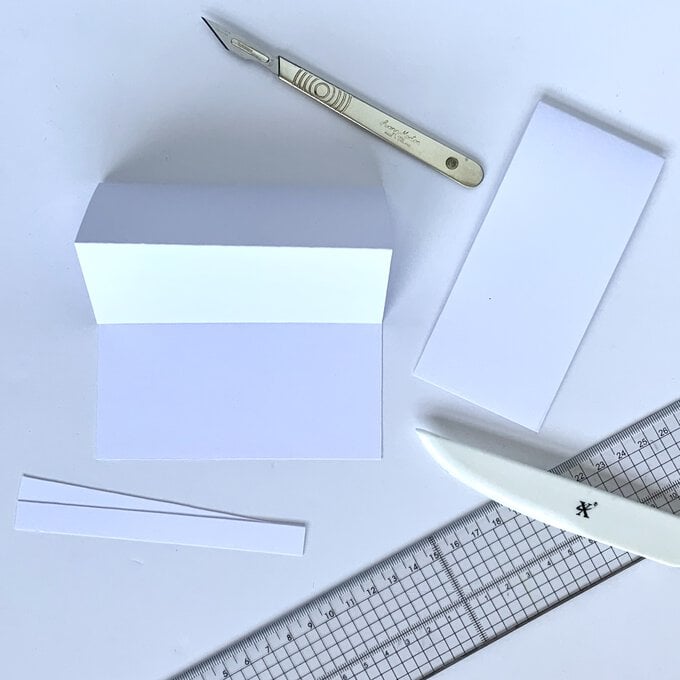
Craft an easel card blank by trimming down another 5 x 7" white card blank, cutting off the top by 57mm.
Turn the card so the fold is at the top.
Remove a 10mm strip from the bottom of the card, making a card blank of 120mm by 115mm.
Score a horizontal line across the centre of the card front, fold and crease to make a mountain fold.
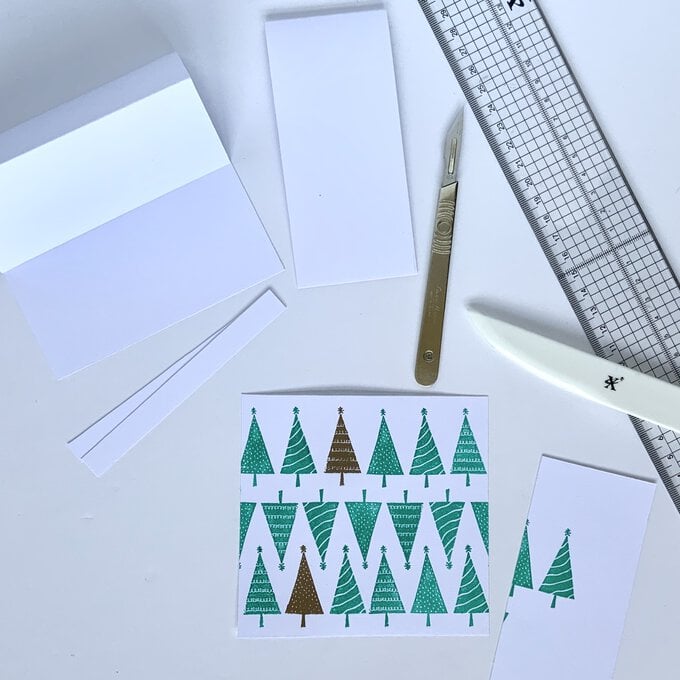
Trim down the stamped tree pattern piece on the left side to measure 120mm across.
Trim the top and the bottom slightly so the panel measures 115mm in height.
Place the easel card blank into a stamping platform, and fold back the card front.
Stamp another row of trees centrally along the bottom of the inside of the card, adding a gold heat embossed tree on the far right-hand side.
Use the easel card off-cut to hand letter a Christmas greetings caption.
Pencil a 5mm wide guideline to use as a guide to write the letters the same height. Write the words using a black fineliner pen in a smooth continuous line.
Trim down to make a 20mm wide banner.

Complete the easel card by using a glue stick to apply glue to the lower half of the card front, place the tree panel on top of the card blank to fix in place.
Trim the ends of the caption banner to fit the width of the card, then fix into place using 3D foam pads to act as a stopper to keep the easel card open.
Finally add a gold gem to each end go the stepper banner.
Related Products