How to Make a Christmas Origami Gift Box
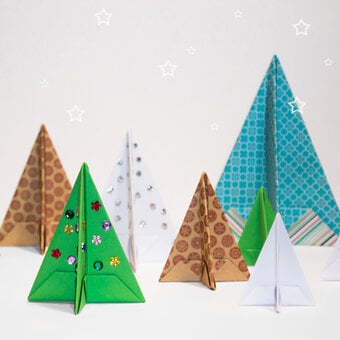
Impress your friends and family with this Christmas origami gift box! Origami is the Japanese art of folding paper into decorative shapes that can displayed as they are or be used for other projects like this one. It also makes for an amazing statement on cards and gift wrap, perfect for that special someone.
You will need
How to make
Take a 12″ x 12″ piece of Christmas paper and cut it down to 8″ x 8″ piece.

Mountain fold: Fold the paper in half and open it back up. Turn it 90 degrees, fold again and open it back up. There will be two lines that will look like a cross when opened.

Valley fold: Fold the paper diagonally and then open back up. Turn it 90 degrees, fold again and open it back up.

Turn the paper around so that the open side faces you.

Fold the sides inwards so that the paper will look like a diamond shape…


Fold the flaps inwards to create an upside down kite shape. Turn over and repeat on the other side.

Cut the bottom off so that it no longer looks like a kite, but a triangle.

Open the flaps back out so that it will look like this.

Fold the side inwards.

Turn it round and repeat on the other side.

Use double sided tape on the inside to stick all the folds together.

Apply pressure to the paper where you have stuck double sided tape. This is how it should look when done… Make sure all the folds are at the front and it is flat on the back.

Use a white Posca pen to draw dots on the lid of the mache box.

Use a glue gun to stick the tree and embellishments such as a bow and buttons onto the lid of the box.


