Cricut: How to Make a Personalised Memory Box
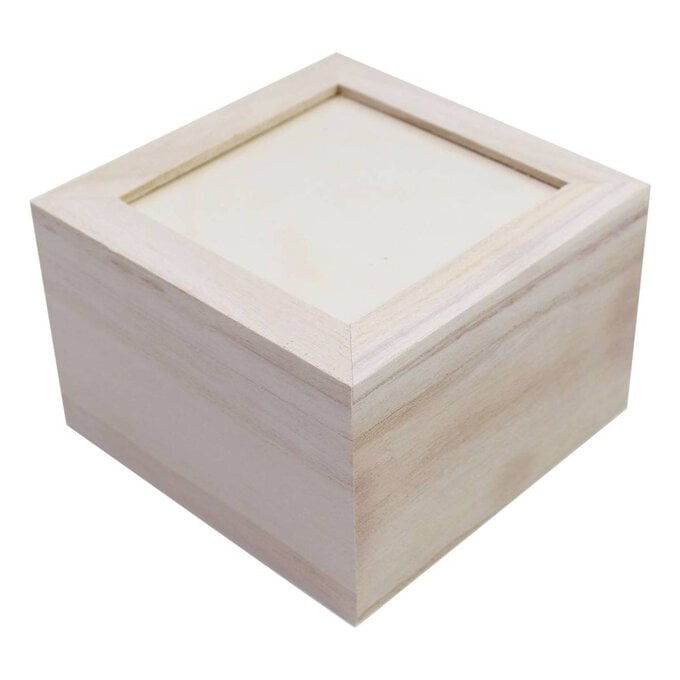
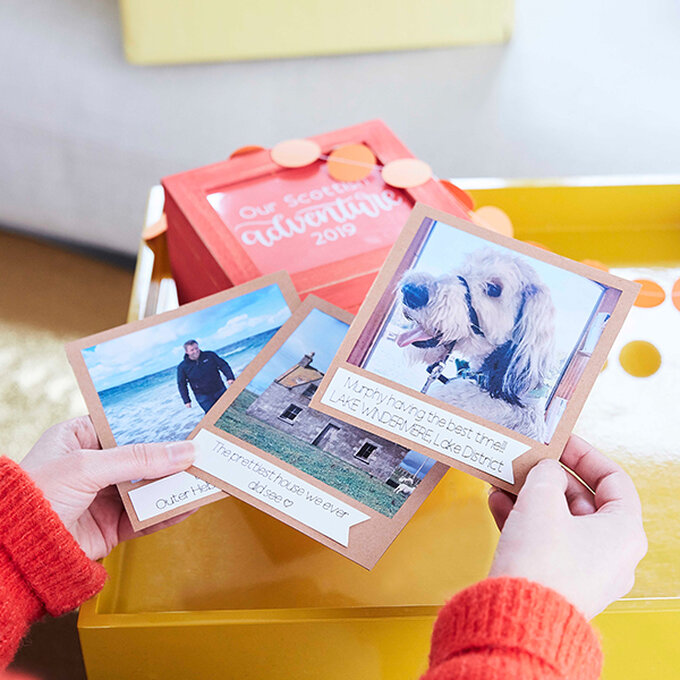
Preserve special moments from holidays and celebrations for years to come with this personalised photo box project. It's a great way to create a unique keepsake! Paint the wooden box any colour you like using craft paints and then add your title to the lid using adhesive Cricut vinyls.
This project is a great gift idea for a special birthday, wedding anniversary or even Mother's and Father's Day, the possibilities are endless! We've used the Cricut Maker for this project, however it can also be created using the Cricut Joy and Explore Air 2 machines.
Project and instructions by Hobbycraft Artisan Chrissie Ellson
Discover more Cricut projects here >
Please note: This project contains paid-for content from Cricut's Design Space app. Screen reference images are taken from the Android version of Design Space.
You will need
Subtotal
Is $ 29.00
Subtotal
Is $ 12.00

Subtotal
Is $ 6.49
Subtotal
Is $ 10.00
Subtotal
Is $ 4.49
Subtotal
Is $ 12.00
Subtotal
Is $ 12.00

Subtotal
Is $ 606.00
Subtotal
Is $ 10.00
How to make
You will also need:
Cricut Design Space app installed on a laptop, PC, Tablet or mobile device
Sandpaper
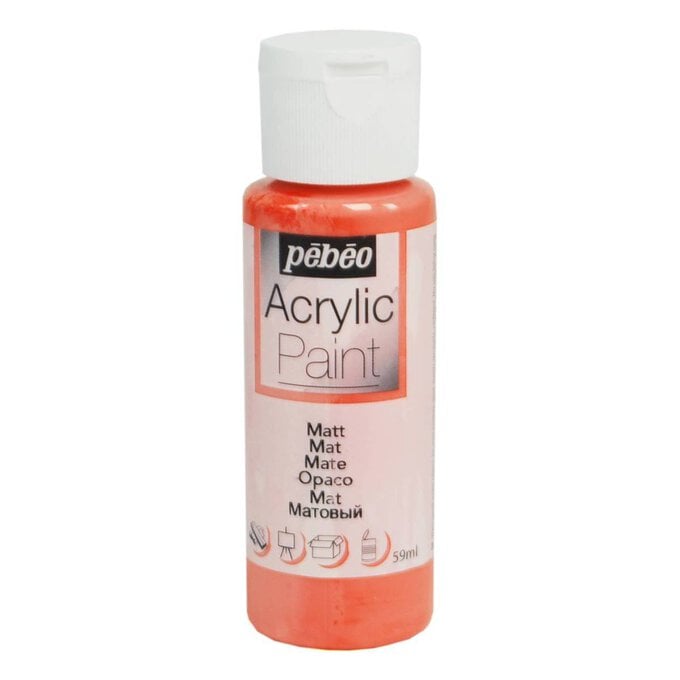
Paint the photo box in your chosen colour on both the inside and outside.

Once your box is dry, use sandpaper to give it a distressed look by gently sanding away parts of the paint.
To create the vinyl sentiment for the box lid and photo frames for the inside of the box, open up the Design Space app and start a “New Project".
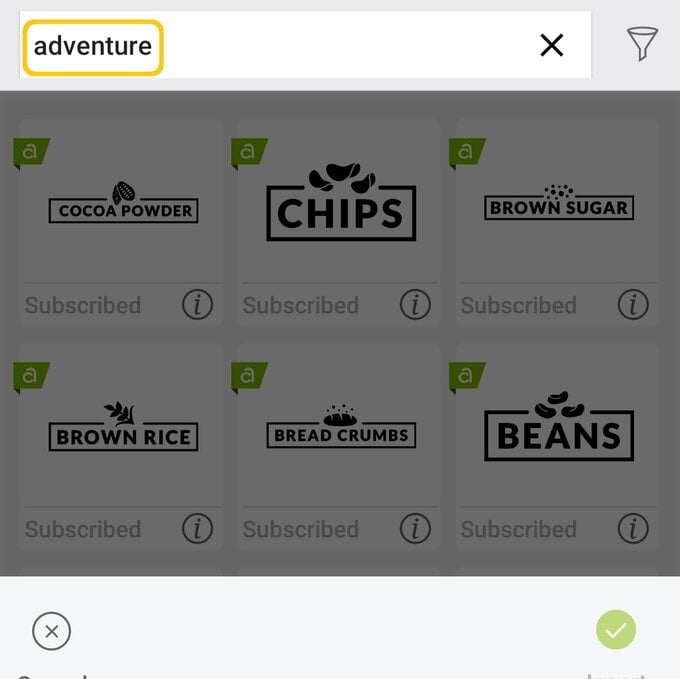
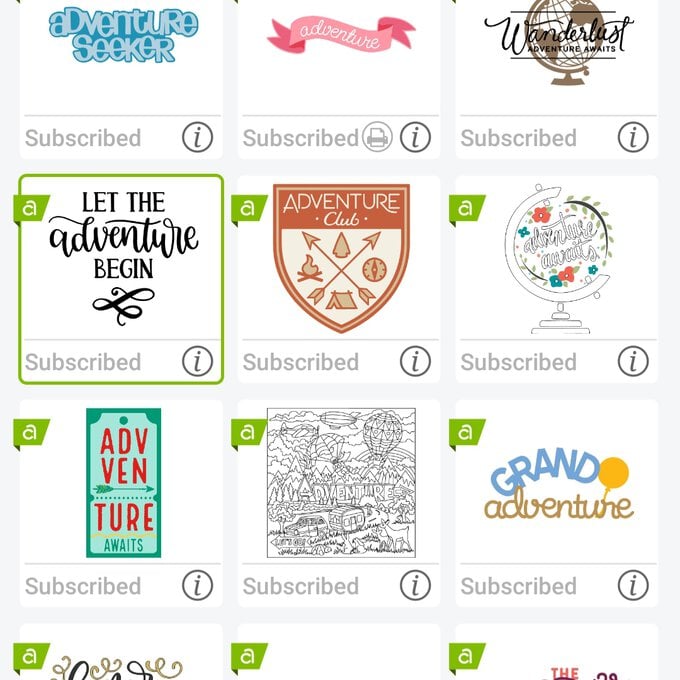
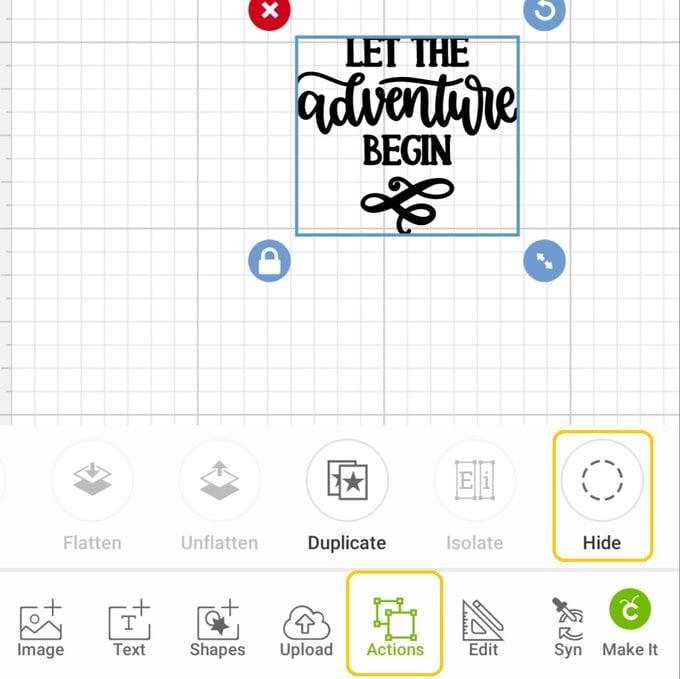
Start by creating the word adventure. Click the "Image" button in the toolbar at the bottom of the screen. In the search bar, type "Adventure" and select the "Let the adventure begin" image. Click "Insert" to add it to the canvas.

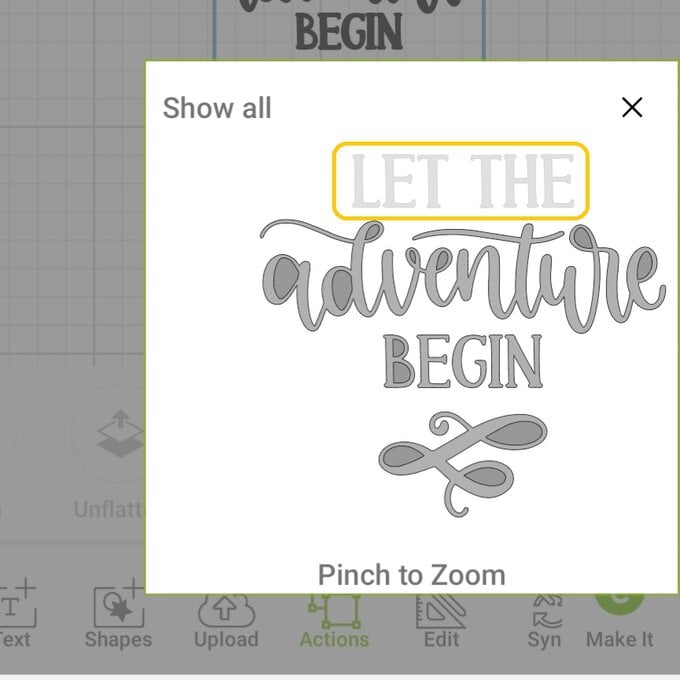
To remove the pieces of the design you don't want, select “Hide" (or contour on other devices) from the "Actions" menu.
Click on the pieces of the design you don't want to appear in the final image, the elements will turn light grey and will be hidden.
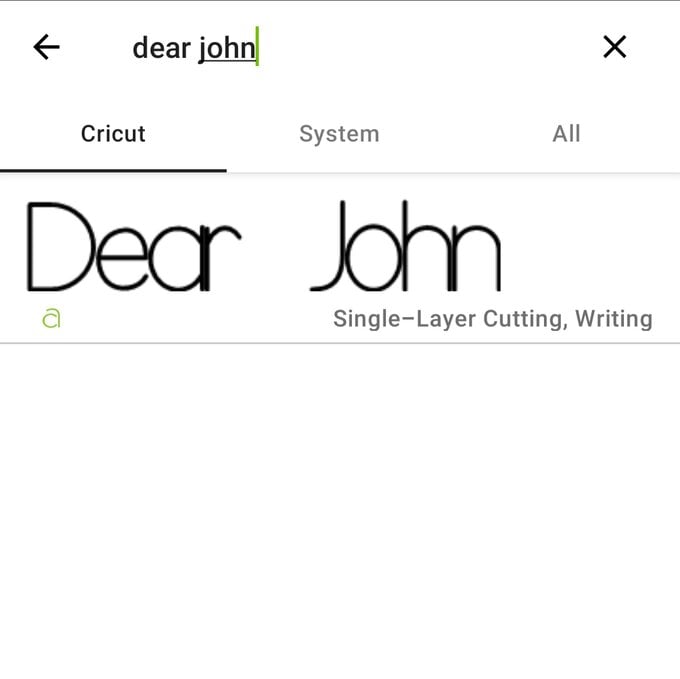
To add your own words to the design, click on the “Text" button in the toolbar at the bottom of the screen and select a font. We've used “Dear John".
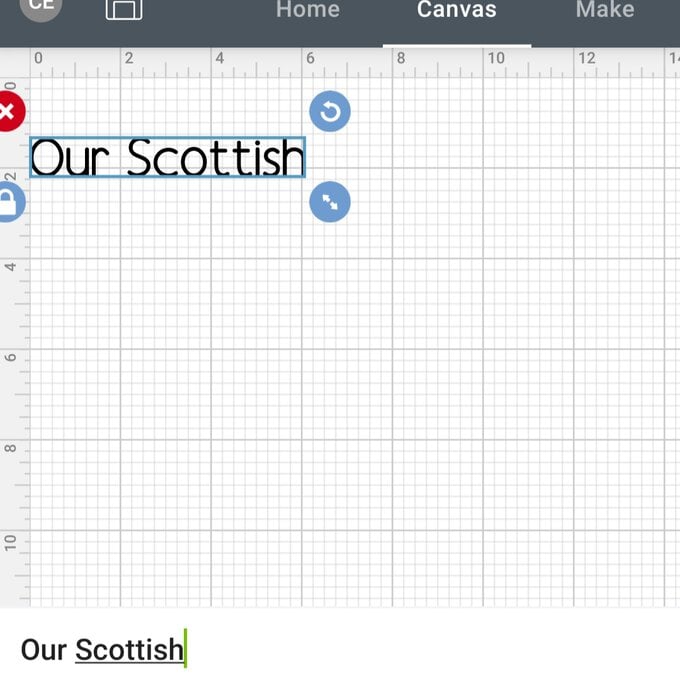
Type your chosen words/phrase into the text box that appears on screen and resize as desired.
For the text above the "Adventure" phrase, we used "Our Scottish" and then added another piece of text to sit underneath the "Adventure" phrase that included the year.
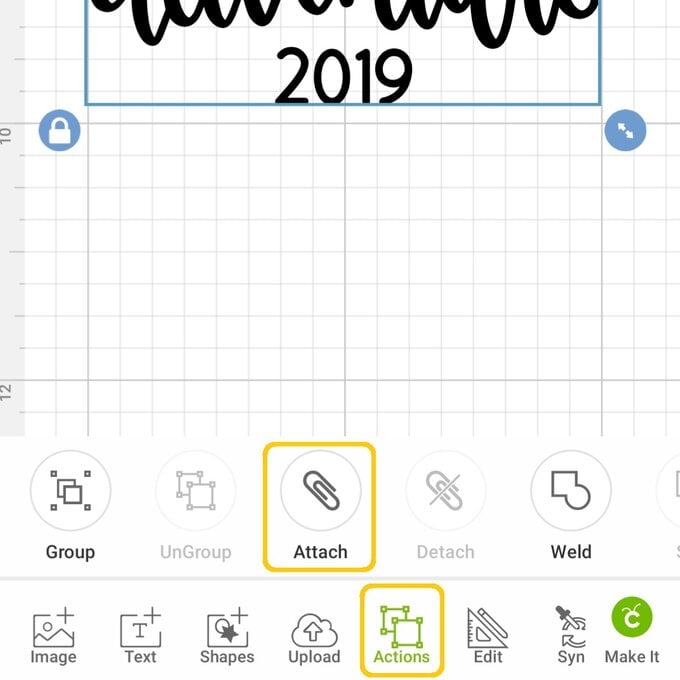
Once all of the elements are in place and arranged as you would like them, drag a selection box over all the elements and open the "Actions" menu, then click "Attach". This will group all of the elements into one fixed image.
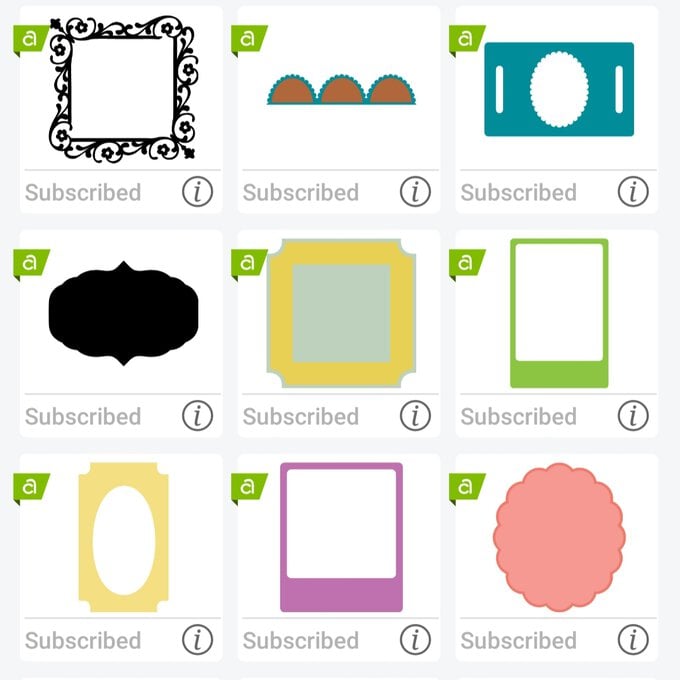
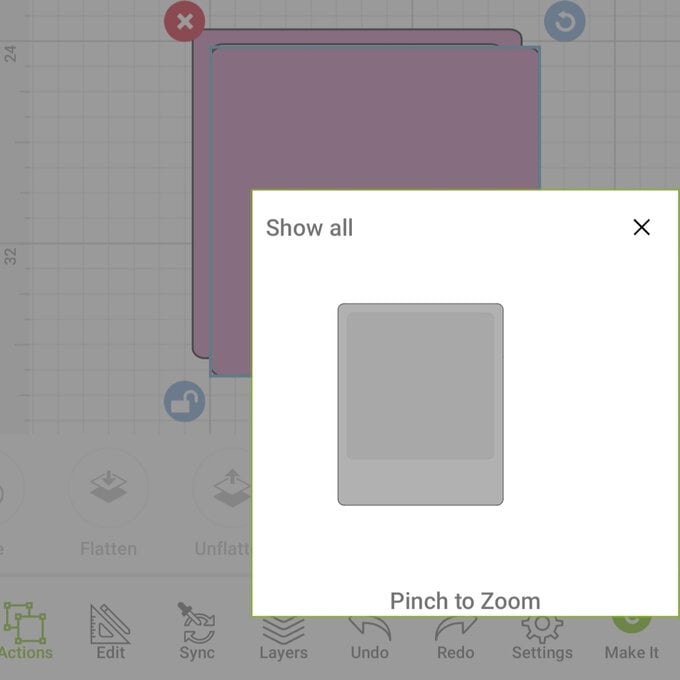
To create the photo frames for inside the box, open the "Image" library once more and type "Frames" into the search bar at the top of the screen. Select the purple Polaroid-style frame and click "Insert".
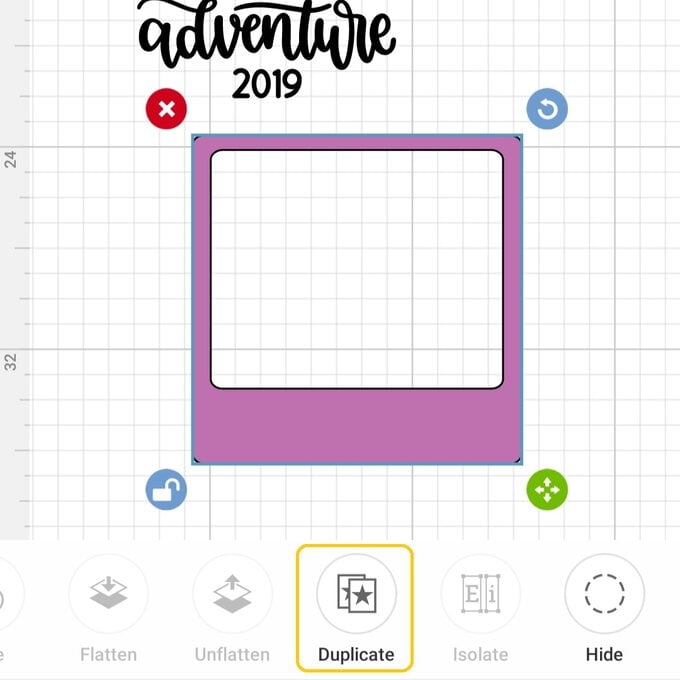
Amend the size of the frame so that it fits cmofortably inside the photo box. To do this, select the frame and open the "Edit" menu, unlock the padlock icon and change the height and width measurements as required.

To create mutiple frames, select the resized frame and open the "Actions" menu and select "Duplicate". Keep clicking "Duplicate" until you have as many frames as you need.
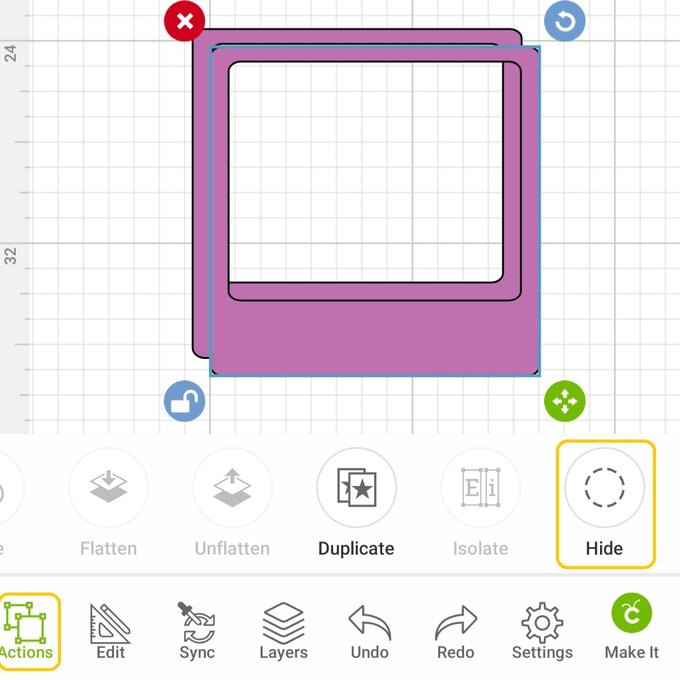
To create the back for the frames, "Duplicate" one more of the frames. With the duplicated frame selected, open the "Actions" menu once more and select "Hide". Click the centre apperture of the frame, so that you're left with a solid shape.
Duplicate the back piece of the frame in the same way as the front, making sure you have the same number of front and back pieces.
Once complete, click the green "Make It" button in the bottom right-hand corner of the screen.
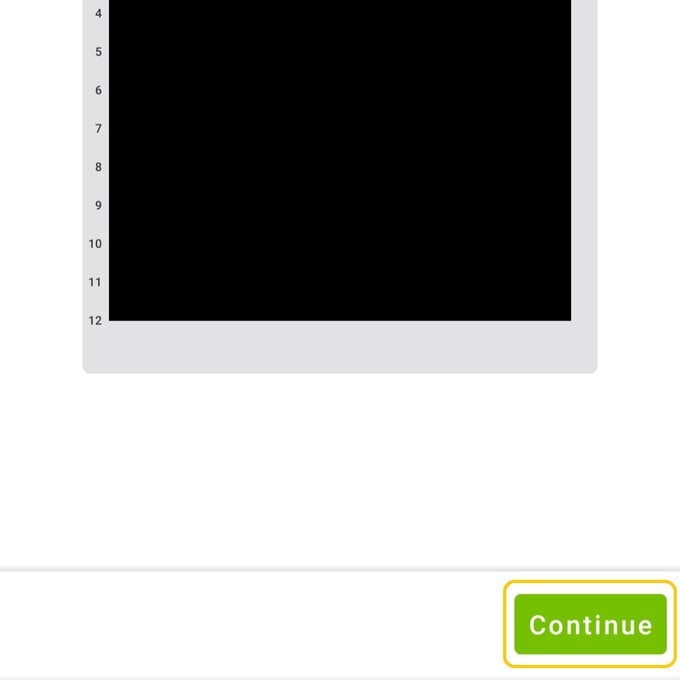
You'll then be taken through to the mat preview screen. Check everything is correct and, if needed, amend the material size on the mats where the frame is being cut. We changed ours to A4.
Once complete, click "Continue".
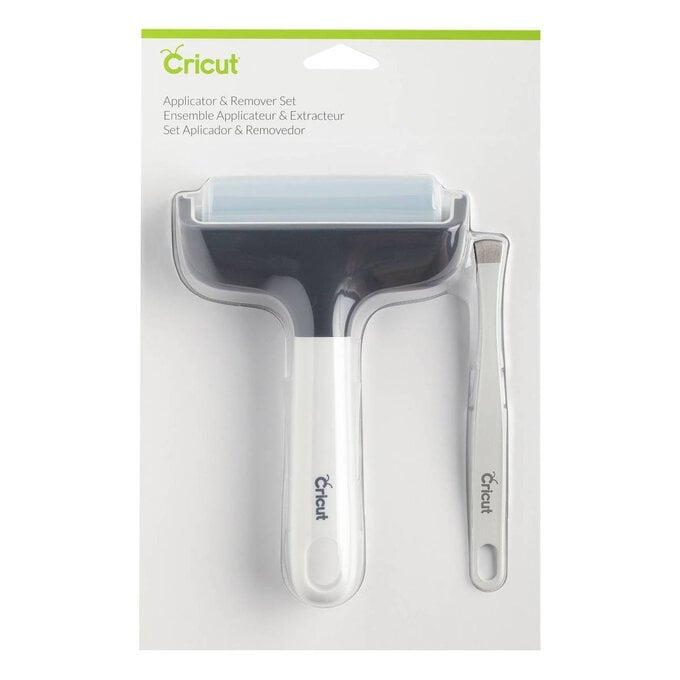
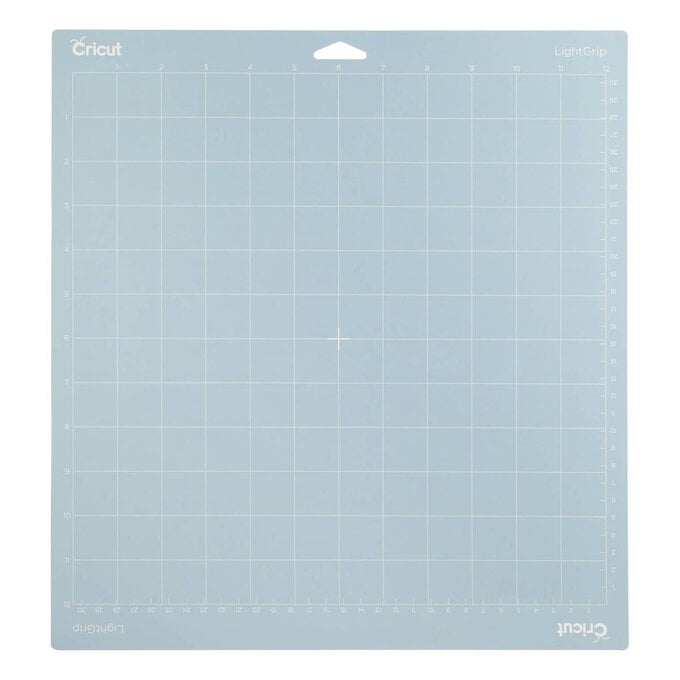
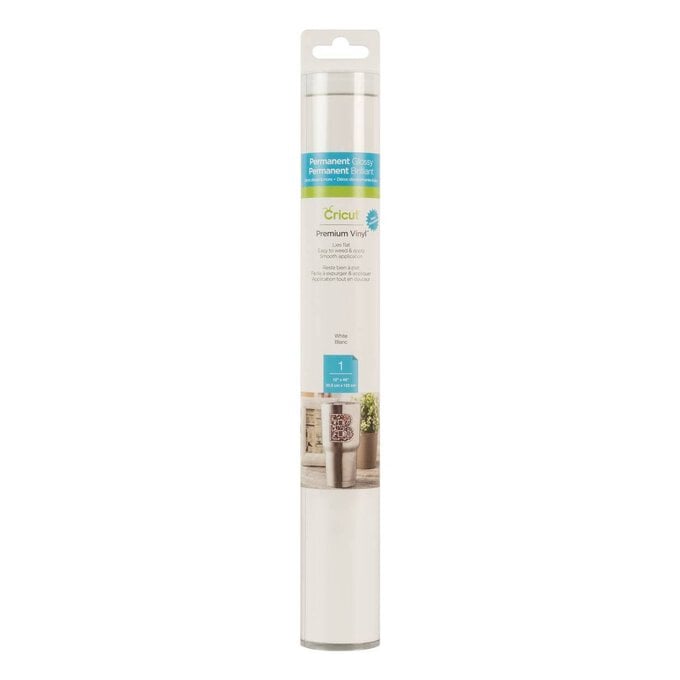
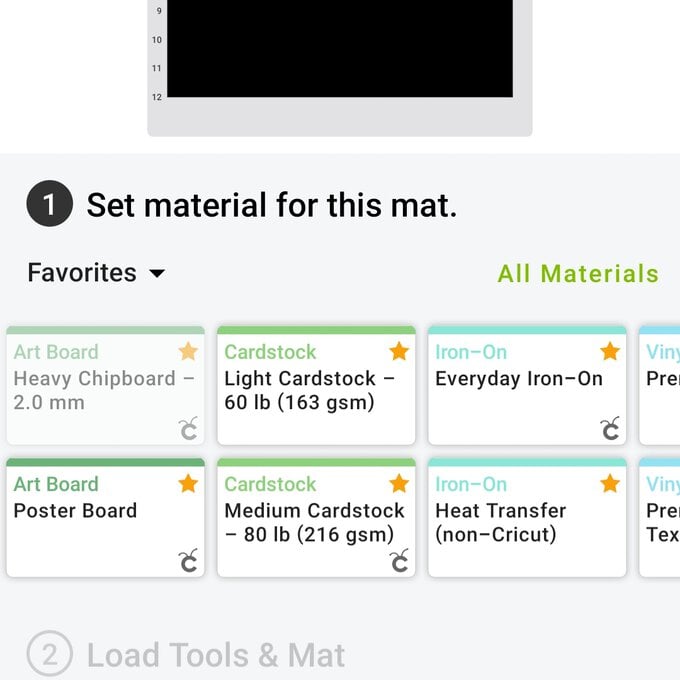
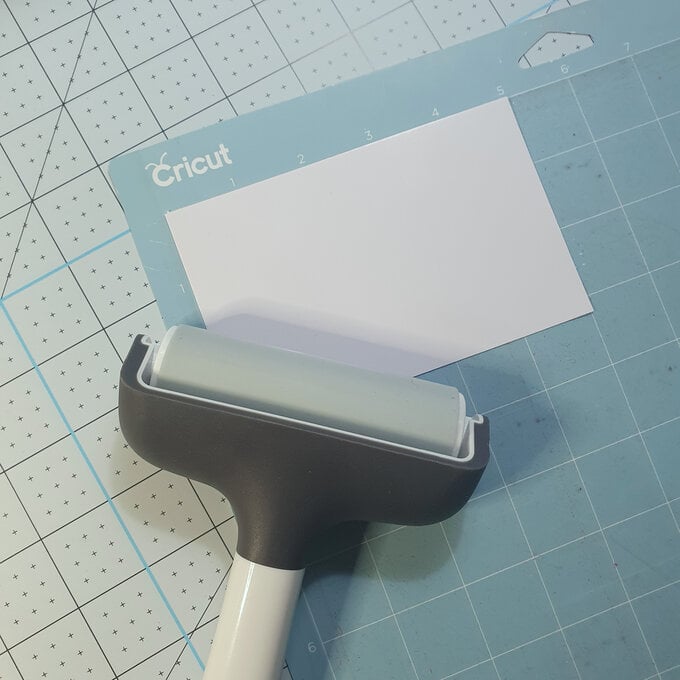
Start by cutting the vinyl, select the required setting from the "All Materials" list and then use a Cricut Brayer to secure the vinyl to the LightGrip cutting mat.
Load the mat into the machine by pressing the flashing arrow button, then press the flashing Cricut icon to start the cut.
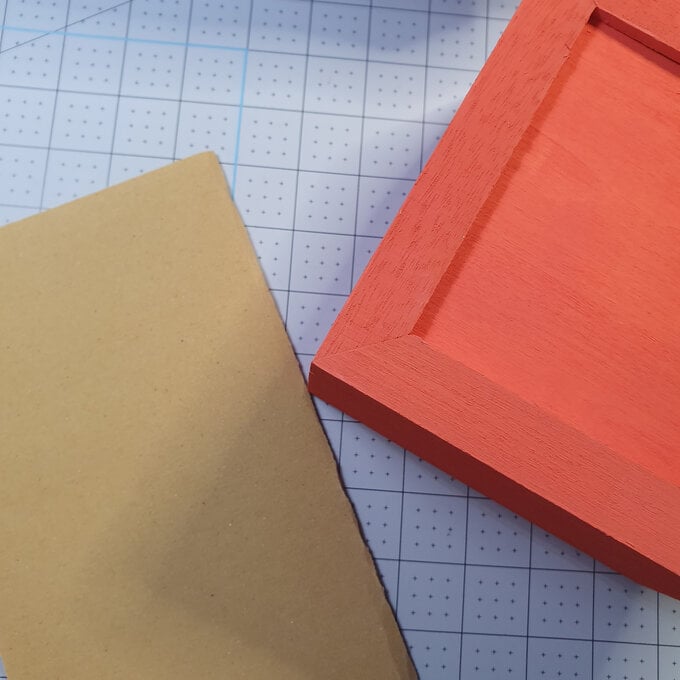
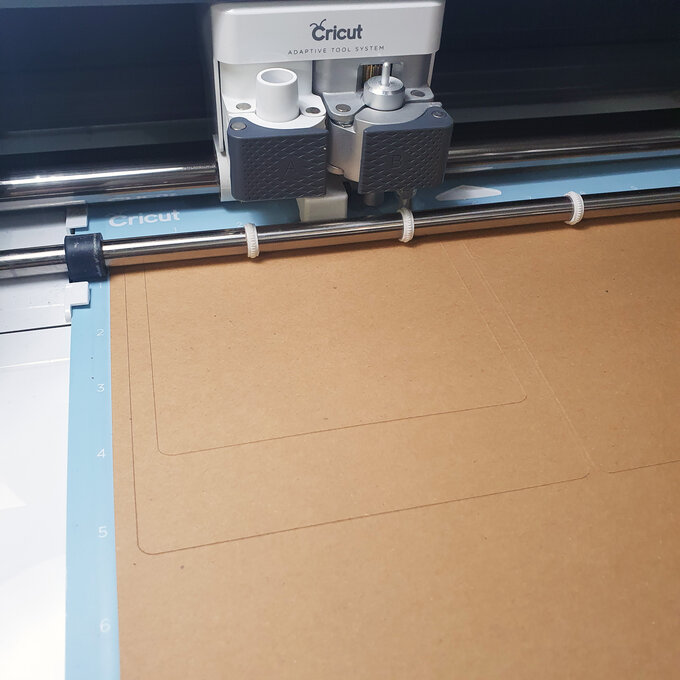
Once the cut is complete, remove the mat then load and cut the kraft card.
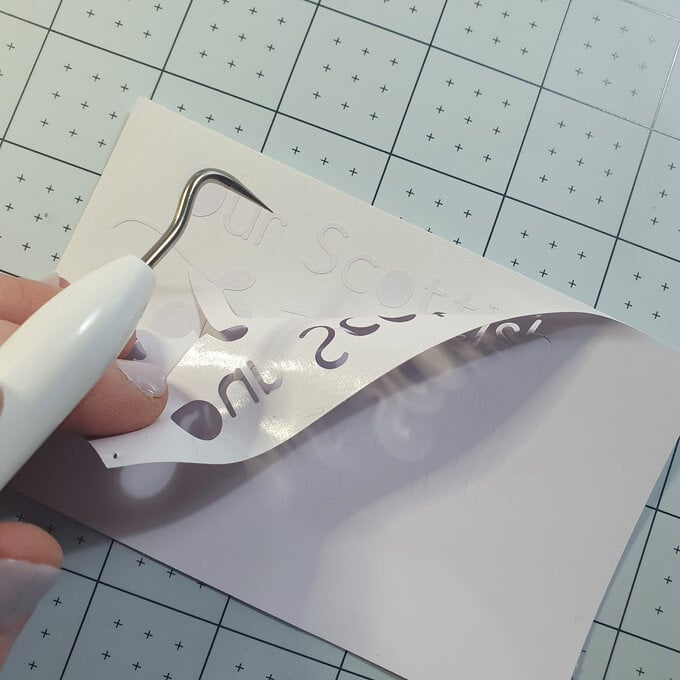
Use a weeder tool to remove excess vinyl from around the design. Start by removing the vinyl form around the outside of the image and then move onto the smaller internal pieces.
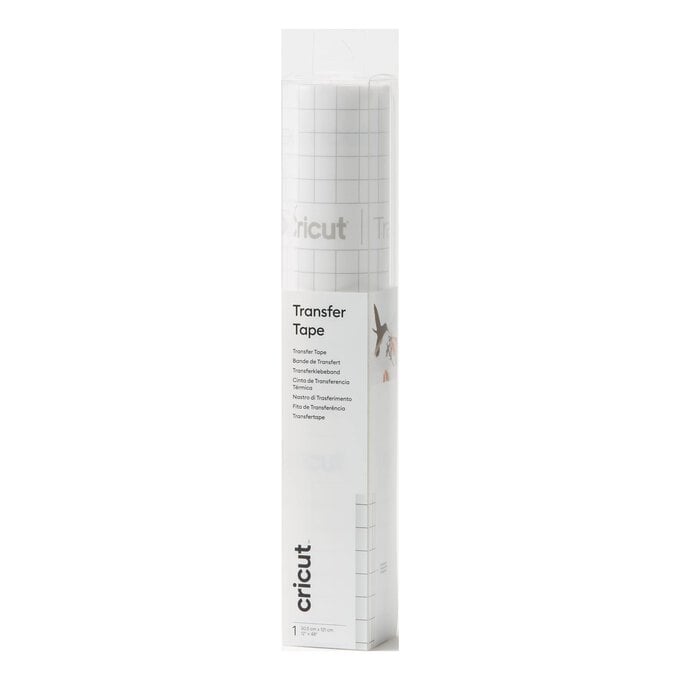
Once the design is weeded, transfer it onto the top of the photo box using Cricut Transfer Tape, and then fill your box with your assembled photo frames.
Related Products