How to Make a Pompom Bunny Bonnet
Level
Beginner
Time
1 hour
Budget
10 - 30
Go pompom crazy at Easter, with a fluffly pompom bunny bonnet! Kids will love learning how to make pompoms, which are so easy with a pompom maker, then they can add all their favourite embellishments to finish.
You will need


How to make
Step-1
Step-2
Step-3
Step-4
Step-5
Step-6
Step-7
Step-8
Cut little triangles from orange foam for a beak and stick onto the face of each chick.
Step-9
It's time to assemble your bonnet! Place your bunnies and chicks around the centre part of your bonnet, and when you are happy, glue in place.
Step-10
Place your assorted coloured poms around the rim of the bonnet and glue in place – I'd recommend alternating the colours as shown.

Step 11
Finally, thread up a yarn needle with any leftover yarn and make big cross stitches in the remaining space on the bonnet. If you prefer, you could add more poms or embellishments here, or just leave it plain.

Craft with us at our workshops


Related Products

How to Make an Easter Blooms Bonnet
How to Make You Will Need * Pink Bonnet * Felt Butterflies & Flowers * Chicks * Pastel Card * Pink Card * Pom Poms * Scissors * Pencil * Sticky Tape * Double Sided Tape * Craft Glue Step ...
How to Make Macrame Bunny Ears
How to make You Will Need Design One * ReTwisst Macrame String 5mm 50g - White * Knitcraft It's Only Natural Light DK Yarn 50g - Cream * Scissors * Bunny Ear Headband Design Two * Knitcraft It's Only Natural ...

How to Make a Macrame Bunny Wreath
How To Make You Will Need * Bunny Shaped Wire Wreath Base * Knitcraft Return of the Mac - Ecru * Knitcraft It's Only Natural - Cream * Scissors Square Knot Bunny Wreath: Step 1 Cut a 4m length of ...
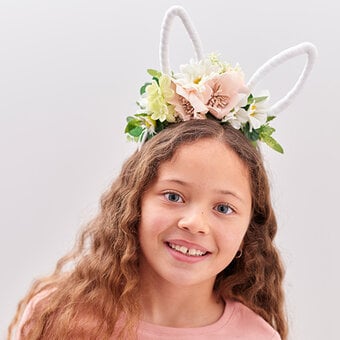
How to Make a Floral Bunny Headband
Step 1 Gather your supplies to cover the copper bunny headband, headband, wadding, cotton thread, ribbon and scissors. View More Step 2 Cut a 2” strip of wadding 45” long, double it over to make it thicker. View More Step ...

How to Make a Bunny Cake
How to make You will need: 7” round cake, covered with White Ready to Roll Icing Dresden Tool Craft Essentials Cocktail Sticks Sharp Knife Fine Paintbrush Water and Brush Step 1 First, make the bunny ears a day or 2 ...

How to Crochet Bunny Bunting
You Will Need * Knitcraft Cotton Blend DK Yarn - Blue, Teal, Hot Pink, Mustard * 4.5mm Hook * Scissors * Yarn Needle Yarn Colours Yarn A - Bright Blue Yarn B - Mustard Yarn C - Teal Yarn D ...