Cricut: How to Make a Colouring Book
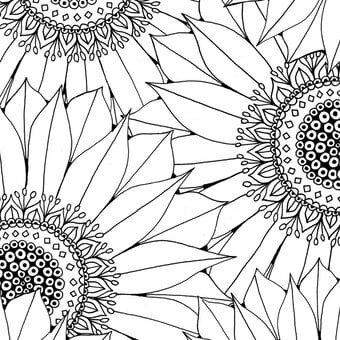
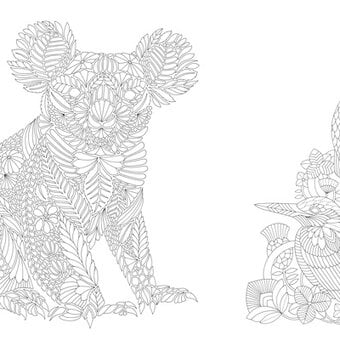
Colouring books provide a great way to unwind for kids and grown ups alike. There is a vast array of designs out there, from the intricate to the obscure but have you ever considered making your own colouring book? Using the cut and draw features on your Cricut machine, you can create personalised colouring books, tailored towards their recipients. With the Cricut Access membership, you can choose from over 30,000 images and you can add your own text to create names and personalised messages. What's more, you can select images which are perfect for all of the family; what could be better than creating a collaborative colouring book that everyone can contribute to and enjoy?
You will need
How to make
In Design Space, open a new project and on the canvas insert a 5 x 5″ square.

Change the colour to white to represent the white watercolour cardstock you will be using.

Change the colour to white to represent the white watercolour cardstock you will be using.

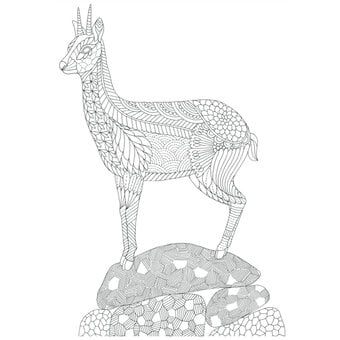
Select 'Images' from the sidebar on the left-hand side of the screen. In the serch bar type 'Folk Art Festival', then select the 'Cartridges' option. I like this cartridge because the images vary in their detail- perfect for beginner artists and experts alike! You can choose whichever images you like but I like using images from the same cartridge as they go together well.
Filter your results so that you are only seeing single-layer designs. This is a good option to select as we are looking to draw the images, not cut them.

Insert your chosen images and align each one onto one of the squares. Each square will be a page in your colouring book, so try to keep this in mind when placing your images.
Click on each image in turn and select 'draw' under line type. It is really important that the squares remain set to the default, 'cut'. This is because we want to draw the images but cut out the pages.

So that your machine knows to draw each of the images on their respective pages, use your mouse to select a square and the image(s) on it. Attach them using the paperclip icon in the bottom right-hand corner. If this step is missed, your machine will want to draw the images on one piece of card and cut squares from another! Repeat this step for each page of your colouring book.

Stick your watercolour paper on your mat. I used my blue LightGrip cutting mat for this project.
Follow the instructions on your screen to make the pages of your colouring book. You will need to load your pen into clamp A, ensuring it clicks into place. Your blade goes in clamp B. The more intricate your images, the longer they will take to draw. You will need to make sure your Cricut knows what size paper you have used. I set mine to A4 size and then rearranged the images so that they were spaced further apart.

Once your project has finished drawing and cutting, remove your colouring book pages from your mats. Using your Cricut scraper tool can help prevent your pages sticking to your mat and tearing. I have found the further apart you place your cutlines on your page, the less likely they are to tear. If you get any tearing, these bits can be cut away with scissors or with a paper trimmer.
You are now ready to mount your colouring pages into a scrapbook. Make sure everyone in the family has something to colour!


