Cricut: How to Make Valentine's Day Wall Art
Wall art is a great addition to the home and with the help of your Cricut machine, it can be super-quick to make too!
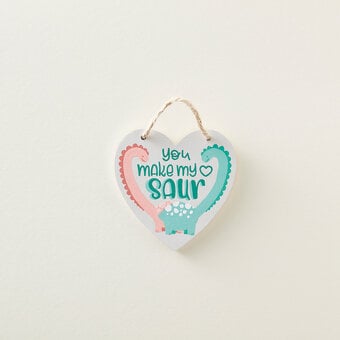
This Valentine's inspired wall art is perfect for beginner Cricut users and makes for a wonderful gift. Use any finish or colour of cardstock you like to make this handmade project truly unique, you could even use the lucky recipient's favourite colours to create the design; the possibilities are endless!
Project and how-to make instructions by Aisha Cluitt
This project includes paid for Design Space images
Screen reference images are taken from the iPad version of Design Space
Ths project can be created on the Cricut Explore or the Maker
You will need
How to make
Open the Cricut Design Space app and start a new project, open the “Text' menu from the toolbar at the bottom of the screen. Search “Cricut Sans” in the search bar.

Type your greeting/message into the text box that appears on screen.

Re-size the greeting to the desired size, either by increasing/decreasing the height or width size in the “Edit” menu at the bottom of the screen (ensuring the padlock icon is locked to ensure the word resizes proportionately) or by using the arrow icon in the bottom right-hand corner of the selection box when the word is selected.

To help gauge how your greeting will sit within the frame, insert a rectangle using the “Shapes” menu and amend the size to match the display area in your own frame. Position the greeting on top, once happy with the layout, simply delete or hide the shape before cutting.

Once happy with the size of the greeting, ungroup the letters by selecting the “Ungroup” function from the “Actions” menu.

Drag a selection box over each word and change the colour to match (as closely as possible) the colour of cardstock you intend to use. If you're going to be using the same colour of cardstock for the entire greeting, select and amend the colour of the whole greeting. To do this open the “Edit” menu and click on the colour swatch to the right of the word “Cut”.

For the words “You” and “Me” I added an offset glitter border, to do this drag a selection box around the words you'd like to add the border to, then select “Duplicate” from the “Actions” menu.

With the entirety of the duplicated greeting still selected, amend the colour of the text to match (as closely as possible) the colour of cardstock you intend to use.
Once happy with the size and layout of your greeting, select the green “Make It” button from the bottom right-hand corner of the screen.


You will then be taken through to the mat preview screen, amend the material size for each mat to match the size of cardstock you'll be using. Click “Continue” once happy everything looks okay.

Follow the on-screen instructions to cut out the design. Once everything has cut, carefully remove each of the pieces from the cutting mat. Overlay and offset the chosen letters, using double-sided tape to adhere them.
Cut the mount board to size so it fits comfortably within the frame using a craft knife, metal ruler and cutting mat. Position the letters using a ruler to ensure everything is evenly spaced and sits straight. Once happy with the positioning use double-sided tape to secure each of the letters in place.


