Glowforge: How to Make a Personalised Book Frame
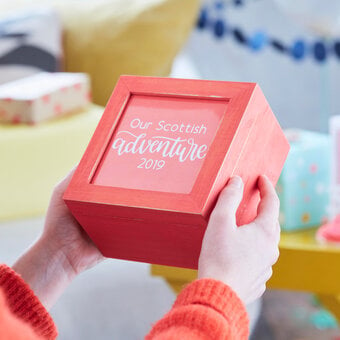
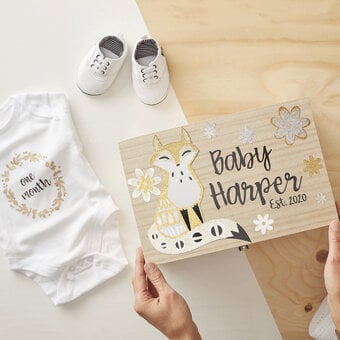
Are you looking for a personalised gift idea that will be treasured forever? Engrave your children’s drawings onto a photo frame using the Glowforge.
Follow the beginner friendly step-by-step instructions to make a unique frame as a gift or for yourself!
You will need
How to make
* Glowforge Machine
* Book Frame
* Self Adhesive Craft Paper Tape
* A4 Paper or Card
* Small Screwdriver

First, unscrew the hinges on the book frame and separate the two sides. Use craft paper tape to mask the side where your design will go.


Next, draw your design on a piece of paper. Make sure the lines on your drawing are thick and dark, so that they can be detected by the camera on your glowforge.
When you are happy with your drawing, place it in your Glowforge.

Open the Glowforge homepage on your device and click on 'create new design' on the left of the screen. Then click on 'trace a design'.
When prompted, drag the cursor to draw a box around the drawing to select it and then click 'place artwork' in the top right corner of the screen. The traced image will then appear on top of the original drawing. Make any adjustments you need to, and then remove the drawing from the Glowforge.


Click the ‘+’ button and upload the 'free template' file you previously downloaded. In the side bar on the left, move the layer with the drawing (the bottom one) to the top by dragging it above the other layers. Position the drawing under the text, near the bottom and re-size it if necessary.


To edit the wording, ungroup the text and rectangle and delete 'THOMPSON'. Click on the text icon on the top toolbar and in the window that pops up type your family name into the bar that says ’your text here’.
Change the typeface to Baskervville and the size to 48. Position it between ‘The’ and ‘Family’, then select everything, click on the align tool and click center.


Place a plain sheet of A4 paper or card into the Glowforge and pin it down.
Tip: You can download a free file for the pegs from the Glowforge forum in the Beyond the Manual section.
Click on the rectangle layer in the side bar, select ‘score’ and ‘manual’ and set the speed to 500 and the power to 5. Click on ‘unknown material’ in the top left of the screen, click ‘use uncertified material’ and set it to 0.5mm. Click ‘print’ and press the flashing button on your Glowforge.
When it’s finished, you’ll see the rectangle has been marked on the paper.


Place the taped part of the frame onto the Glowforge (taped side up) and line it up with the scored rectangle.

Click on ‘unknown material’ and change the material thickness to 8.5mm. Click on the rectangle layer and set to ‘ignore’, then click on the other layers and change them to engrave and manual.
Set the speed to 1,000, the power to 60, the lines per cm to 90 and the number of passes to 1. Make sure they’re set to drawing layer, convert to dots and maximum quality, then click 'print'.

When it’s finished, remove the wood from the Glowforge, take the tape off and screw the hinges back in place.
Your personalised photo frame is now complete!


