Skip to Content (Press Enter) Skip to Footer (Press Enter)

How to Draw with Brush Markers

Level
Beginner
Time
1/2 day
Budget
30+

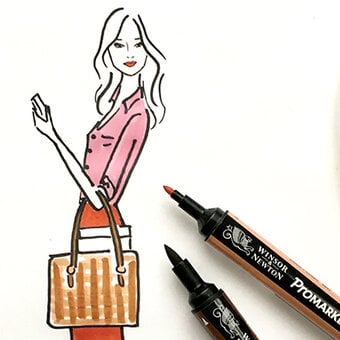
Learn how to create an artistic masterpiece with the help of brush markers.

Start by sketching a simple portrait, then bring your design to life by creating unique effects with contrasting colours.

This project is perfect for those just starting in brush lettering, and will allow you to express your creativity like never before!

Project and instructions by Jocelyn Sheppard

Discover more drawing projects here >

You will need

Is $ 67.00

Quantity: 1

Subtotal

Is $ 67.00

Is $ 8.49

Quantity: 1

Subtotal

Is $ 8.49

Is $ 20.00

Quantity: 1

Subtotal

Is $ 20.00

You’ve viewed 2 of 3 products

Total:

How to make

You Will Need

* Dual Tip Brush Markers

* A Sketchbook

* A Pencil

idea_how-to-draw-with-brush-markers_youwillneed.png?sw=680&q=85
Step 1
Lightly sketch a silhouette of a person.
Step 2
Inside the silhouette, sketch a landscape such as a mountain scene. Add in tree sketches, remembering to create some perspective drawing smaller trees in the mountains further away, and larger trees closer to the edge of the paper.
idea_how-to-draw-with-brush-markers_step2.jpg?sw=680&q=85
Step 3

Using a thick fine liner 0.5mm, begin to outline the bottom of your sketch, using wispy strokes for the trees.


Choose a similar group of colours from your brush markers and start to use the lightest colours to colour your river.

Step 4
Use a darker shade to continue colouring your river in, and blend the two shades together.
Step 5

Start to add darker shades up your sketch, using fine liner as you follow the page.


Top Tip: Ensure your fine liner is dry before going over with brush marker.

Step 6

Continue to add highlights and shadows on your mountains. For larger areas, try not to take the brush marker away from the paper too often as this can cause uneven marks.

Step 7
Use a dark brush marker to fill in the gaps of your trees.
idea_how-to-draw-with-brush-markers_step7.jpg?sw=680&q=85
Step 8
Continue to outline the silhouette of your person as you go up the drawing.
idea_how-to-draw-with-brush-markers_step8.jpg?sw=680&q=85
Step 9
Continue to finish the top of the portrait or leave blank for an ombre effect!
idea_how-to-draw-with-brush-markers_step9.jpg?sw=680&q=85

Related Products

Rated 5 out of 5 by from Good demo of how to use brush markers Bought some brush markers so will see how I find them
Date published: 2023-07-24
  • y_2024, m_4, d_26, h_5
  • bvseo_bulk, prod_bvrr, vn_bulk_3.0.42
  • cp_1, bvpage1
  • co_hasreviews, tv_0, tr_1
  • loc_en_GB, sid_how-to-draw-with-brush-markers, prod, sort_[SortEntry(order=RELEVANCE, direction=DESCENDING)]
  • clientName_hobbycraft
  • bvseo_sdk, dw_cartridge, 18.2.0, p_sdk_3.2.0
  • CLOUD, getReviews, 18ms
  • reviews, product
Top