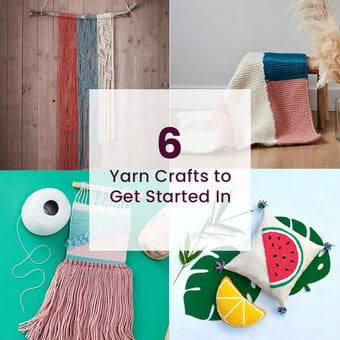
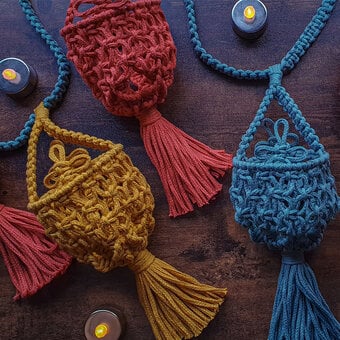
Macrame Craft Ideas
Craft beautiful décor pieces and accessories with our fantastic collection of macramé ideas. You’ll find plenty of macramé ideas for beginners, as well as projects to help take this knot-making craft to the next level. From macramé plant hangers for all year round to macramé Christmas decorations and beyond, discover step-by-step guides for every design.
Skip to Product Grid (Press Enter)
Filters
Viewing 1 - 34 of 34 Ideas
Viewing 1 - 34 of 34 Ideas


You've viewed 34 of 34 products
Related Products

How to Knit a Christmas Stocking
You Will Need * Knitting Needles 4mm * Women’s Institute Premium Acrylic Yarn 100g in Green, White, Red Yarn A = Red Yarn B = White Yarn C = Green Gauge 22 sts x 28 rows = 10 cm (4 ...

12 Ways to Use Leftover Wrapping Paper
Wrapping Paper Crafts Recycled Origami Bows by Jessica Jones for How About Orange View project View More Woven Paper Stars By Maryann Talia Pau for My Poppet View project View More Patchwork Wall Art by Lisa Tisle for The Red ...

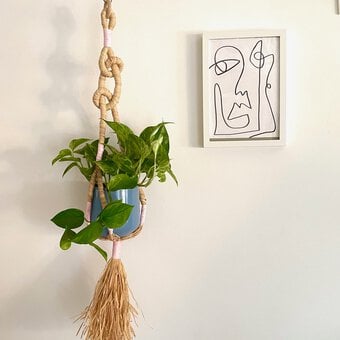
How to Make a Macrame Bat and Ghost Plant Hanger
You Will Need Bat * Macrame Cord - 33m Black * 2x 10mm Wooden Beads * 30cm Wooden Dowel * Scissors * Tape Measure Ghost * Macrame Cord - 75m White and 1m Black * 30cm Wooden Dowel * Scissors ...

How to Make a Punch Needle Christmas Pudding Footstool
You Will Need * Milward Adjustable Punch Needle * A Black Staple Gun * Staples * Masking Tape * Cream Cotton Binca 9 Count Needlecraft Fabric 70cm x 80cm * Clover Blue Chaco Fabric Pen with Eraser * Gutermann Cream ...

How to Make a Travel Scrapbook Layout
How to make Step 1 Cover the right-hand page with your chosen patterned paper – this will need to be trimmed down ever so slightly to allow for the spiral binding of the notebook. View More {{#pagination}} {{/pagination}} Step 2 ...

4 Winter Decor Projects to Make for Under £20
You Will Need Mirrored Candle Tray * Mirrored Tray * White Posca Pen * Candles Snow Scene Cloche * Glass Cloche * Wooden Tree * Faux Snow * Ribbon * Scissors * Glue Gun Clay Bead Wreath * Air Drying ...
Oops...
Sorry, we did not find any products that match the
selected filters. You can go back to previous results to
select something different.