How to Decorate a Ceramic Coaster
Turn your tea break into something special by painting a ceramic coaster with a unique design. Personalise for guests or craft handmade gifts for your loved ones.
Follow the simple step-by-step tutorial to transform ceramic coaster blanks with Pebeo paints. You'll soon find yourself creating charming designs that are sure to spruce up your home!
Project and instructions by Millie MacDougall.
Discover other projects by this maker:
How to Decorate a Ceramic Storage Pot
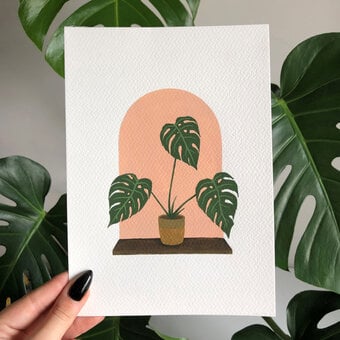
How to Decorate a Ceramic Plant Pot
You will need


Start by applying a layer of the Dark Green Pebeo Acrylic Paint to cover just under a quarter of the ceramic coaster.

Mix a slightly lighter colour using the Dark Green and White. Apply this next to the pervious colour - about the same size. You will want to have the paint quite thick and wet so it will be easier to blend the two colours.
Once you have added the second colour take your paint brush and move it back and fourth where the two colours meet to help them blend together.


Repeat the previous step three more times, adding more white paint to create a lighter colour as you go along. This should create a nice ombre effect.


Once the paint is dry take a pencil and draw out your design. You can even personalise it with someone's name to make a lovely gift.

Once you are happy with the design take a fine brush (here I have used the Daler Rowney 10/0 brush) and paint over the drawing using the White paint. You may also want to go over the lines a second time to help the colour stand out more.

Rub out any pencil lines if required. Once you are completely happy with the design then use a brush to apply a layer of Mod Podge to seal the paint

Now your coaster is finished and ready to be used!

Craft with us at our workshops


Related Products