How to Make a Layered Easter Cake
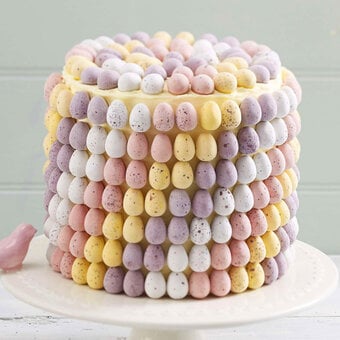
If you’re looking for a showstopping centrepiece for your Easter party table setting, then this layered pastel Easter cake project is simply perfect for you!
Incredible to look at, and even more amazing to eat, this Easter cake is an ideal challenge for beginner cake makers, or for those with a little more cake decorating experience.
Project and instructions by Lucy Bruns
You will need
You Will Need
* x3 6” sponge cakes – We coloured them pink, purple and turquoise
* 10” round cake board
* x4 Betty Crocker Vanilla Frosting
* Deco Melts - Blue, White, Orange, Green, Black and Pink
* Gel Food Colouring - Green, Pink and Yellow
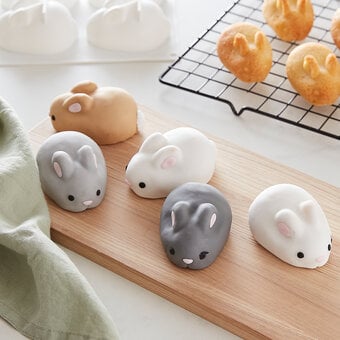
* Carrot and Bunny Chocolate Mould
* Tall Cake Scraper
* Cake Comb
* Piping Bags
* Large and Small Round Piping Nozzles - We used 2A and 10
* Grass Piping Nozzle - We used 233
* Large Open Star Piping Nozzle - We used 1M
* Pastel Coloured Sprinkles
* Cake Turn Table
* Frosting Whitener
How to Make
Sandwich the 3 sponge cakes with buttercream or your choice of filling on the cake board. Chill the stacked sponges in the fridge whilst you prepare the buttercream for the outside of the cake.
Decant 3 tubs of vanilla frosting into a large bowl and add a few drops of yellow gel food colouring. Mix well and add the frosting to a large piping bag fitted with a large round nozzle – you may need to refill the piping bag later if it won’t all go into the bag.


Remove the cake from the fridge and put it on a cake turntable. Pipe the yellow frosting all around the sides and top of the cake until completely covered. Use the tall cake scraper to smooth out the frosting in an even thick layer.
Switch to the cake comb and hold it against the side of the cake. Use your other hand to turn the cake on the turntable and gradually remove the frosting with the comb until deep ridges appear around the cake.
The cake then needs to be returned to the fridge until the frosting has set completely hard, approximately 2-3 hours.


Whilst the cake is chilling, make the carrots and bunnies which will adorn your cake.
Melt the orange Deco Melts and fill the carrot moulds. When this has set fill the carrot tops with melted green Deco Melts.
Repeat with the bunny moulds – make a pale grey colour by adding one black Deco Melt into some white Deco Melts and pale pink by adding a few pink Deco Melts to the white.
When everything has set hard, turn the mould over and pop the shapes out onto a surface ready to be used.


Decant one tub of vanilla frosting into a bowl and add in some frosting whitener. Beat the frosting in a stand mixer until smooth and white. Fit a piping bag with a small round nozzle – check the size fits into the grooves of the cake – and fill with the white frosting.
Remove the cake from the fridge and pipe the white frosting into the grooves to create a stripey effect.
Use the tall cake scraper to smooth the sides of the cake, turning the cake repeatedly on the turntable and scaping away excess frosting until the stripes are neat and defined.
Return the cake to the fridge once more for the frosting to set.


For the pale blue drip, melt together half a bag of white Deco Melts with a handful of blue to make a pretty pastel shade.
Remove the chilled cake from the fridge and use a spoon to drip the Deco Melts down the sides and fill in the top of the cake. Decorate with pastel coloured sprinkles before the Deco Melts sets.


Any remaining white frosting can be coloured pale pink with food colouring and used to pipe rosettes on top of the cake with an open star nozzle.
Colour a small amount of frosting a pale green and put into a piping bag fitted with a grass nozzle. Pipe grass all around the base of the cake and add the carrots and bunnies, fixing in position with a dab of frosting on the back.


Your layered Easter cake is now ready to wow your guests! Why not add some extra decorations for an egg-stra special finish?


