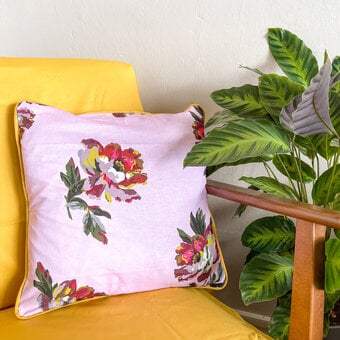
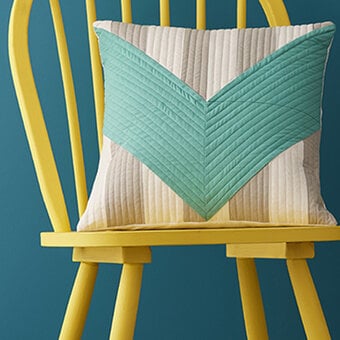
How to Make a Retro Pom Pom Trim Cushion
Pom poms are a fun way to jazz up a standard cushion and are much simpler to include than they may appear! This retro pom-pom trimmed cushion cover is a lot of fun to make and will brighten up any home with its contrasting patterns and bright colour scheme.
Use whatever patterned fat quarters take your fancy and get creative with colours! Follow the instructions below to find out how to make.
Project and instructions by Paula Milner
You will need
* Sewing Machine
* Fabric Scissors
* Dressmaking Pins
* Tape Measure
* Thread
* Fat Quarters
* Square Cushion Pad
* Iron
* Pom Pom Trim (available in store)

Select, measure and cut out your fabrics:
One 40cm x 40cm square
Two 28cm x 40cm rectangles

Press your fabrics. Take your two rectangles and turn over by 1cm and press into position for your seam allowance.

Using a simple straight running stitch, sew along your pressed edges of both rectangles.

Cut 4 x strips of pompom trim, one for each edge of your cushion. You will need to make these slightly longer than 40cm fabric (perhaps 45-46cm) to ensure there are enough pompoms on each side.

Sandwich together all the layers with fabrics right side together. You will have the 40cm x 40cm square, the pompom trim across each edge and then the two rectangles lined up and overlapped so they sit in line with the square.


Pin everything together to secure and get ready for sewing!


Using a 1cm seam allowance, sew all the way around each edge using a simple straight stitch.

Go around the edge for a second time moving into the cushion around 0.5cm really pushing up against the pompom trim edges inside so you get a neat finish.

Secure your threads and turn your cushion out the right way before inserting your cushion inner.

Et voila! Pompom trim cushion: done!


