How to Make a Woodland-Inspired Jewellery Dish
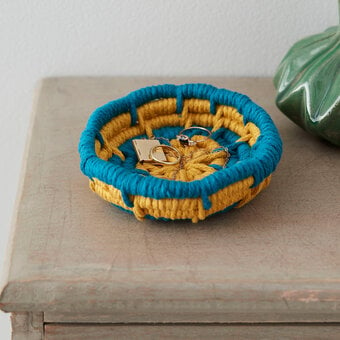
Creating a woodland-inspired jewellery dish using clay is so easy, and you can have lots of fun drawing your designs. The delicate designs will make a lovely handmade gift or a wonderful accessory to organise your earrings, keys, hair clips and more.
Follow the tutorial below from Becki Clark to find out how to make these amazing designs.
Project and instructions by Becki Clark.
You will need
How to make
For each dish you will need half the pack of the 85g limo clay

Roll your half into a ball in your hands

Flatten to create an circular shape, try and keep the thickness consistent as you roll the ball out

Pinch the sides of the circle upwards and mould an edge with the tip of your fingers working around the flattened circle to create a dish shape

Place on an ovenproof dish and bake for 20 minutes on 110 degrees celsius. Make your the dishes are placed down so they sit flatly as they will set to shape when baked. Leave to cool before painting.

For your mushroom shape, use the red posca pen to draw a half moon shape with circles inside, colour in leaving the circles white

Using the black pen add a line along the bottom of the mushroom head and draw vertical lines down to create depth to your mushroom head

Now draw the bottom of the mushroom to finish your motif and repeat across your clay dish.

For the next motif you'll need to draw a curved line upwards with the posca pen

Add your leaf shapes up the step making sure they mirror each other to create a foliage motif

Colour your leaves in

Repeat across your dish and add a painterly line around the rim of the dish to frame your pattern

Your next motif begins with a simple curved line with more lines working outwards from it

Add berries shapes with another colour pen drawing and colouring in circles at the top of your branches to create a berry branch motif, repeat across your dish and again add a frame around your pattern by colouring in the rim of the dish.


