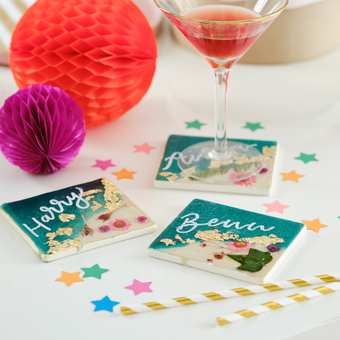
How to Make Glitter Resin Coasters
Resin is a big trend right now and these coasters are a great way to try out the technique, bringing a little bit of sparkle into your home. A simple project, these would make wonderful gifts and you can choose glitter colours which compliment your own personal interior style.
Project and instructions by Georgia Coote.
You will need


How to make
* Pebeo Gedeo Bio-Based Crystal Resin Kit
* Coaster Moulds
* Nitrile Gloves
* Biodegradable Glitter
* Cocktail Sticks

Follow the instructions on the packet of resin - to measure how much you will need, fill the moulds you are intending to use with water and then pour it into a measuring jug and make a note of the amount. Make sure your moulds are clean and dry afterwards.

In a well ventilated area and while wearing gloves, measure out the quantities of resin and hardener required (as per the ratios on the packet).
Pour into a clean and dry container.


Mix the two liquids together slowly with the wooden stick to ensure you don't create air bubbles. Pour into another container and mix again. Set aside.
Think about how you want the coasters to look and then scatter the glitter in to your moulds accordingly. Tip: to get more depth of colour and shape, use different colour glitters and sizes. I like the use of the small and chunky dark blue glitter here. If you need to move the pieces around at all use a cocktail stick to do so.


Now fill the moulds with the resin. If you have any air bubbles carefully pop them with a cocktail stick. Ensure they are left to dry for a full 24 hours, they may need more time depending on the thickness of your moulds and the temperature of the room they are in.


Once dry and fully hardened, pop the coasters out of their moulds and use with your favourite tipple!


Craft with us at our workshops


Related Products