Craft Projects for Beginners
Choose from a wonderful variety of crafts for beginners, helping you get your creative journey started. Whether it’s crochet for beginners, easy sewing projects or quick and simple kids’ craft ideas, these project tutorials will help you unlock your creativity in no time. Each one will take you through every step of how to make, explaining the techniques you’ll need so that you’ll have mastered new skills in no time.
Skip to Product Grid (Press Enter)
Filters
-
Kids (386)
-
Decor & Hobbies (456)
-
Sewing (177)
-
Baking (120)
-
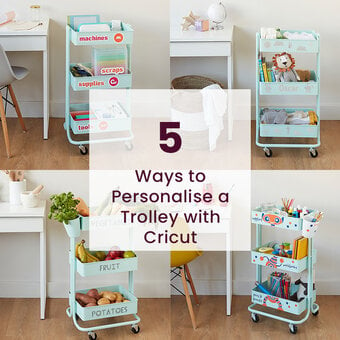
Cricut (211)
-
Knitcraft (176)
-
Papercraft (147)
- View more
-
Gifting (53)
-
Art (113)
-
Weddings (46)
-
Article (22)
-
Glowforge (19)
-
Sawgrass (5)
-
Siser (4)
-
Silhouette (3)
-
Beginner (1,946)
-
Intermediate (8)
-
Advanced (1)
-
1 hour (1,246)
-
1/2 day (564)
-
1+ days (145)
-
Home Décor (353)
-
Gift Ideas (224)
-
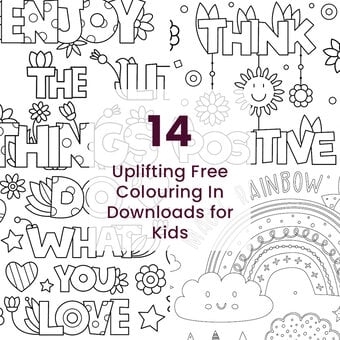
Colouring-in Sheets (53)
-
Wreath Making (63)
-
Animals (63)
-
Bunting (21)
-
Advents (17)
- View more
-
CAL (2)
-
Sustainable Crafts (72)
-
Flora & Fauna (61)
-
Costume Ideas (43)
-
Get Started In (34)
-
Clothing (31)
-
Pom Poms (19)
-
Space (8)
-
Granny Square (6)
-
Rainbow (6)
-
Fruits & Vegetables (3)
-
Stars (3)
-
Home Dècor (2)
-
Festival (1)
-
Flowers (1)
-
Hearts (1)
-
Pets (1)
-
£10.00 - £30.00 (1,096)
-
<£10.00 (678)
-
£30.00+ (163)
-
Birthday (9)
-
Christmas (318)
-
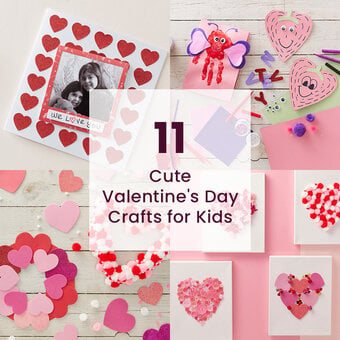
Valentine's Day (59)
-
Advent (11)
-
Thank You (3)
-
Halloween (89)
-
Summer (66)
- View more
-
Wedding (57)
-
Spring (49)
-
Mother's Day (44)
-
Autumn (38)
-
Party (33)
-
Book Day (30)
-
Father's Day (30)
-
Newborn Baby (24)
-
Earth Day (13)
-
Coronation (12)
-
Diwali (12)
-
Pride (12)
-
Eid (10)
-
St Andrew's Day (10)
-
Winter (10)
-
Ramadan (8)
-
Sport Events (8)
-
St George's Day (8)
-
Hanukkah (7)
-
St Patrick's Day (7)
-
St David's Day (6)
-
Black History Month (5)
-
Lunar New Year (5)
-
New Home (5)
-
School Holiday (4)
-
Baby Shower (3)
-
New Year (3)
-
Holi (2)
-
International Women's Day (2)
-
Amigurumi April (1)
-
Back-to-school (1)
-
Eurovision (1)
-
Passover (1)
-
VE Day (1)
-
Vaisakhi (1)
-
Vesak (1)
-
Easter (157)
-
Platinum Jubilee (3)
-
Art - Acrylic Painting (21)
-
Art - Free Downloads (83)
-
Art - Mixed Media (23)
-
Art - Painting (11)
-
Art - Print Making (9)
-
Art - Resin (9)
-
Art - Watercolour (11)
- View more
-
Baking - Biscuit Baking (21)
-
Baking - Cake Decorating (60)
-
Baking - Candy and Sweet Making (22)
-
Baking - Other (10)
-
Cricut - Other (20)
-
Cricut - Papercraft (55)
-
Cricut - Vinyl (73)
-
Crochet - Accessories (16)
-
Crochet - Home Décor (16)
-
Crochet - Other (9)
-
Decor & Hobbies - Clay Making (72)
-
Decor & Hobbies - Decoupage (12)
-
Decor & Hobbies - Fabric Dyeing (11)
-
Decor & Hobbies - Other (186)
-
Decor & Hobbies - Pyrography (19)
-
Decor & Hobbies - Upcycling (41)
-
Decor & Hobbies - Wreath Making (49)
-
Digital Crafting - Laser Cutting (20)
-
Digital Crafting - Sublimation (70)
-
Gifting - Gift Wrapping (17)
-
Kids - Costumes (32)
-
Kids - Craft Activities (210)
-
Kids - Face Painting (20)
-
Kids - Painting and Colouring (8)
-
Kids - School Projects (13)
-
Knitting - Accessories (9)
-
Knitting - Home Décor (11)
-
Knitting - Other (12)
-
Macramé (30)
-
Occasions - Gift Ideas (40)
-
Occasions - Party (18)
-
Papercraft - Card Making (90)
-
Papercraft - Other (26)
-
Papercraft - Scrapbooking (31)
-
Pom Pom Crafts (8)
-
Punch Needle (21)
-
Sewing - Cushion Making (11)
-
Sewing - Embroidery (28)
-
Sewing - Fat Quarter Projects (57)
-
Sewing - Other (42)
-
Stash Busting Ideas (12)
-
Weaving (10)
-
Weddings - Decorations (32)
Viewing 1 - 48 of 1,955 Ideas
Viewing 1 - 48 of 1,955 Ideas


You've viewed 48 of 1,955 products
Oops...
Sorry, we did not find any products that match the
selected filters. You can go back to previous results to
select something different.