How to Make Cosy Slipper Socks
Everyone loves a pair of cosy socks so why not make your own? These socks super soft and perfect for a Christmas gift.
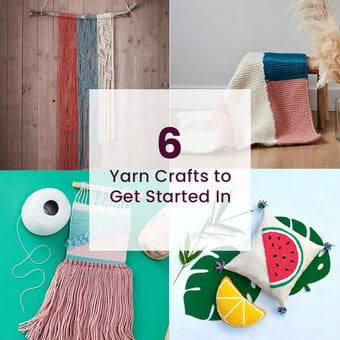
Follow our simple pattern to knit your own socks, they can be made in any colour you like.


How to make
You will also need:
*Scissors
*A darning needle
Yarn A: Marble Chunky Yarn
Yarn B: Snuggly Yarn
Using 2 ends of yarn A and 10mm needles cast on 28sts.
Work in 1×1 rib for 4 rows.
Begin working in garter st until work measures 17cm.
RS: Knit 14 sts and turn leaving remaining sts on a holder.
Next row: K1, k2tog, k8, k2tog, k1
Next row: Knit
Next row: K1, k2tog, k to last 3 sts, k2tog, k1
Next row: Knit
Repeat last 2 rows until 8 sts remain.
Knit 1 row
Next row: K1, kfb, knit to last 2 sts, kfb, k1
Next row: Knit
Repeat the last 2 rows until you have 14 sts.
RS: Knit across sts in work and then across sts on holder.
Continue straight until work measures 30cm. This is the time to add more or less length to your sock.
Shape the toe
RS: Work 14 sts and turn, leaving remaining sts on a holder.
Next row: K1, k2tog, k8, k2tog, k1
Next row: Knit
Next row: K1, k2tog, k to last 3 sts, k2tog, k1
Next row: Knit
Continue working last 2 rows until 8 sts remain.
Cast off.
Rejoin yarn and repeat toe shaping on the remaining sts on the holder.
Using 1 end of yarn A and 10mm needles cast on 22sts
Begin working in garter st until work measures 13cm
RS: Knit 14 sts and turn leaving remaining sts on a holder.
Next row: K1, k2tog, k5, k2tog, k1
Next row: Knit
Next row: K1, k2tog, k3, k2tog, k1
Next row: Knit
Next row: K1, kfb, k3, kfb, k1
Next row: Knit
Next row: K1, kfb, k5, kfb, k1, knit across sts on holder.
Continue straight until work measures 26cm. This is the time to add more or less length to your sock. Make sure that it matches what you worked for the outer foot.
Shape the toe
RS: K1, k2tog, k5, k2tog, k1, leaving remaining sts on a holder.
Next row: Knit
Next row: K1, k2tog, k3, k2tog, k1
Next row: Knit
Next row: K1, k2tog, k1, k2tog, k1
Cast off
Rejoin yarn and repeat toe shaping on the remaining sts on the holder.
With RS facing, using mattress st join the heel shaping on both sides. Then sew the side seam together and along the toes.
Do this for both the inner and the outer sock.

Then make sure the inner sock has the seam on the outside and insert into the outer sock making sure to match the seams.
Using yarn B match up the top of the inner sock to the bottom of the rib of the outer stock. Stitch into place using overstitch.

How much of each wool do you need?
Craft with us at our workshops


Related Products