Skip to Content (Press Enter) Skip to Footer (Press Enter)

How to Make Crochet Fairy Lights

Level
Beginner
Time
1/2 day
Budget
10 - 30
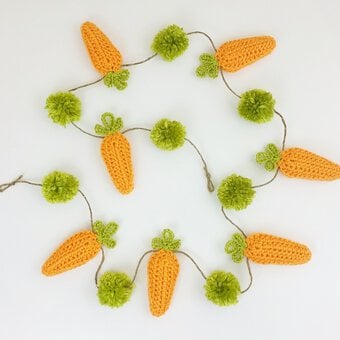
You can never have to many fairy lights at Christmas. Why not add a crochet garland to your collection? This lovely project was designed by @sweetpeafamilycrochet

You will need

Is $ 9.49

Quantity: 1

Subtotal

Is $ 9.49

Is $ 5.49

Quantity: 1

Subtotal

Is $ 5.49

Is $ 6.49

Buy 2 Selected Soft Toy Filling for £8
Quantity: 1

Subtotal

Is $ 6.49

Is $ 2.49

Quantity: 1

Subtotal

Is $ 2.49

Is $ 3.49

Quantity: 1

Subtotal

Is $ 3.49

Is $ 4.49

3 for 2 on selected WI yarn
Quantity: 1

Subtotal

Is $ 4.49

Is $ 2.49

Quantity: 1

Subtotal

Is $ 2.49

You’ve viewed 2 of 7 products

You’ve viewed 4 of 7 products

Total:

How to make


Abbreviations:

UK terms are used throughout the pattern

Ch – chain

Dc – double crochet

Dc2tog – double crochet two stitches together (decrease)

St – stitch

Rd – round

Step-1

The baubles for your crochet fairy lights are worked in continuous rounds, it's very important to mark the beginning of each round with a stitch marker. It's so easy to lose your place without one.

Rd 1: chain 2 and work 6 dc into the second chain from the hook, or alternatively make a magic ring and work 6 dc into the centre.

Step-2

Rd 2: work 2dc into each st (12)

Rd 3: work *1dc, increase by working 2dc into next st*, repeat from *to* for the round (18)

Rd 4: work *1dc, 1dc, increase by working 2dc into next st* repeat from *to* for round (24)

Step-3
Rd 5: work 1 dc into every stitch (24) Rd 6: work 1 dc into every stitch (24) Rd 7: work *1dc, 1dc, decrease by dc2tog* repeat from *to* for the round (18)
Step-4

Rd 8: work *1dc, decrease by dc2tog* repeat from *to* for the round (12) stuff the bauble.

Rd 9: final decrease round work dc2tog and repeat 6 times (6) Fasten off leaving a long tail, this will be used to sew the opening and make the hanging.

Step-5
Thread your tapestry needle with the yarn tail and working from the inside of your bauble to the outside insert the needle under the first of your dc making sure the needle goes under both of the threads – I have illustrated this below.
Step-6
When you have worked around the top of your bauble making sure you insert your needle under each of the stitches one at a time, pull tightly and this will neatly close the opening. Take your tapestry needle off your yarn tail and insert your crochet hook through the top of your bauble. Catch hold of the yarn tail and pull through to make a loop on your crochet hook, chain 10 and fasten off. Re-thread your needle with the yarn tail and sew the end of your chain neatly onto the top of the bauble to make a little loop.
Step-7
I have made 20 baubles, 5 in each of the 4 colour ways. At this stage if you don't wait to connect your baubles with a chain you could use the baubles to hang onto twigs or your Christmas tree.
image9.jpg?sw=680&q=85
Step-8
To complete your fairy lights you now need to attach the baubles onto a chain. I've used black yarn to do this.
Step-9
With your 3mm hook make a slip knot and chain 100 this can be more or less it depends how long you want your chain. When you have chained the number you require insert your hook through the loop on the top of your first bauble put yarn around hook and pull through, yarn around hook and through the two loops on your hook, you have just completed a double crochet to attach the bauble onto your chain, chain 30 and attach your next bauble and repeat until all the baubles are attached and finish off with a 100 chain (or as many as you started with)
Step-10
For my lights I used one of each colour and then repeated until all 20 baubles were attached.

Related Products

  • bvseo_sdk, dw_cartridge, 18.2.0, p_sdk_3.2.0
  • CLOUD, getReviews, 18ms
  • reviews, product
  • bvseo-msg: Unsuccessful GET. status = 'ERROR', msg = 'Not Found.'; Unsuccessful GET. status = 'ERROR', msg = 'Not Found.';
Top