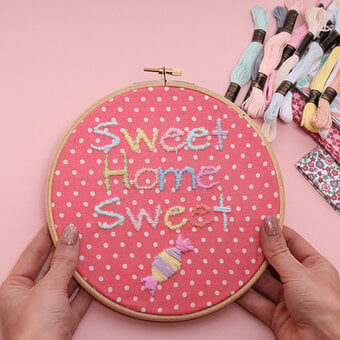
How to Sew Autumn Embroidered Hoop Art
Embroidery is the perfect autumnal craft, and there's no better place to undertake your next project than curled up on the sofa under a blanket! Fit the mood with these illustration templates by Hobbycraft Artisan Elizabeth Hardy, expertly embroidered by Hobbycraft Artisan Kathi Smith. Read the step by step guide below to see which stitches are best for each design.
You will need


You Will Need
* Wipe Off Fabric Marker
* DMC Threads - 3072, 3790, 3787, 3809, 937, 581, 720
* Embroidery Hoop
* Embroidery Scissors
* Embroidery Needles
How to Make
Download the autumn designs and pick out a selection
Trace your chosen design onto a piece of white cotton fabric, use a fabric pencil or pen and a good light source to do this.

You can use a variety of different stitches for these designs
To create the mittens follow the image below, our basic and intermediate stitch guides can be found within our 'useful documents' section.

To create the Autumn foliage follow the image below, our basic and intermediate stitch guides can be found within our 'useful documents' section.


To create the Coffee Cup follow the image below, our basic and intermediate stitch guides can be found within our 'useful documents' section.

To create the Mushroom follow the image below, our basic and intermediate stitch guides can be found within our 'useful documents' section.

To create the Autumn Twig follow the image below, our basic and intermediate stitch guides can be found within our 'useful documents' section.

To create the Acorns follow the image below, our basic and intermediate stitch guides can be found within our 'useful documents' section.

To create the Holly follow the image below, our basic and intermediate stitch guides can be found within our 'useful documents' section.

Firstly, cut off any excess fabric around the hoop so that you are left with a 1cm edge. Use a running stitch to gather this fabric neatly.
Next, on a piece of felt, draw around a hoop the same size and cut out. Pin this piece of felt to the back fabric.
Using a blanket stitch, stitch the felt to the back of the hoop, catching both the felt and the fabric underneath.


Craft with us at our workshops


Related Products