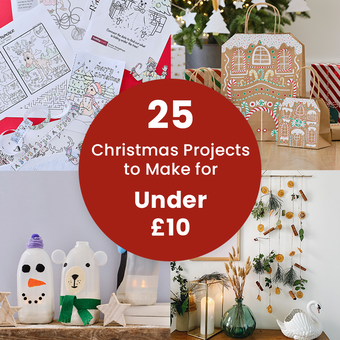
Christmas Craft Ideas
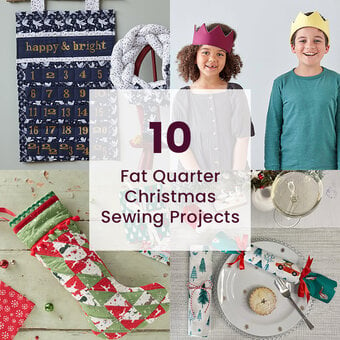
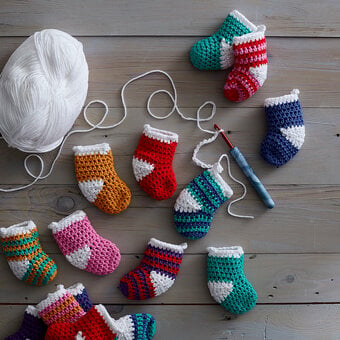
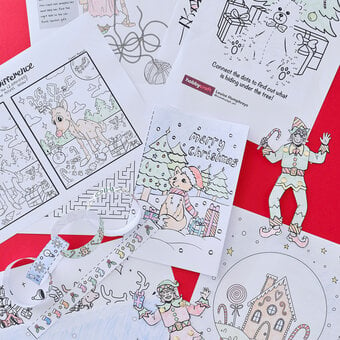
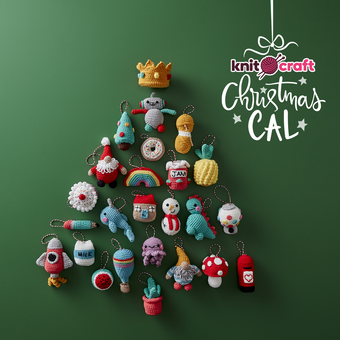
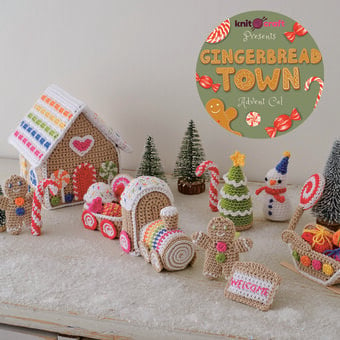
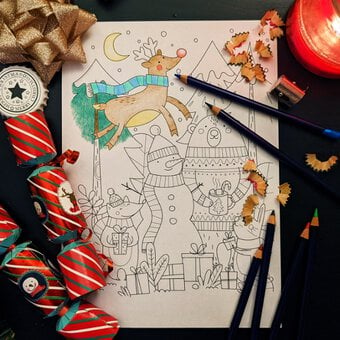
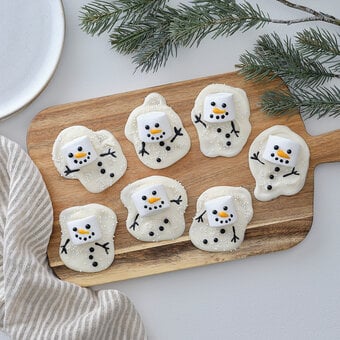
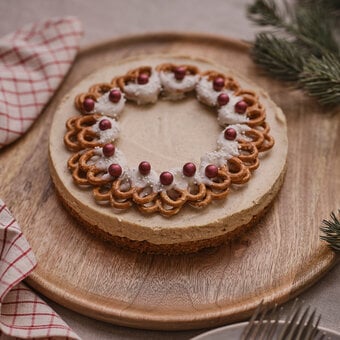
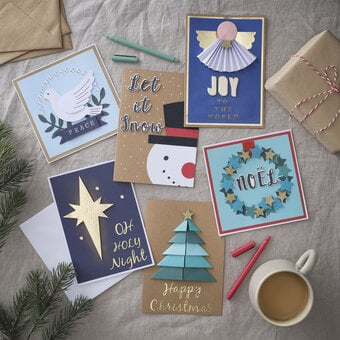
Get into the festive mood with Christmas craft ideas for all ages and skill levels! From handmade Christmas card projects and DIY Christmas decorations to easy kids’ Christmas craft ideas, you’ll be able to add personal touches to every aspect of the holiday season. There’s no better way to count down to Christmas Day than with festive craft projects that bring the family together.
Skip to Product Grid (Press Enter)
Filters
-
Decor & Hobbies (136)
-
Knitcraft (81)
-
Kids (20)
-
Baking (73)
-
Sewing (37)
-
Cricut (62)
-
Gifting (31)
- View more
-
Papercraft (28)
-
Glowforge (6)
-
Article (4)
-
Art (3)
-
Sawgrass (1)
-
Beginner (329)
-
Intermediate (143)
-
Advanced (11)
-
1/2 day (178)
-
1 hour (234)
-
1+ days (71)
-
Christmas (460)
-
Advent (17)
-
Winter (2)
-
Autumn (1)
-
Halloween (1)
-
£10.00 - £30.00 (327)
-
<£10.00 (102)
-
£30.00+ (51)
-
Art - Acrylic Painting (6)
-
Art - Acrylic Pouring (1)
-
Art - Free Downloads (8)
-
Art - Mixed Media (2)
-
Art - Painting (3)
-
Art - Print Making (1)
-
Art - Watercolour (2)
- View more
-
Baking - Biscuit Baking (18)
-
Baking - Cake Decorating (42)
-
Baking - Candy and Sweet Making (5)
-
Baking - Chocolate & Sweet Making (2)
-
Baking - Other (6)
-
Cricut - Other (4)
-
Cricut - Papercraft (20)
-
Cricut - Sewing (2)
-
Cricut - Vinyl (12)
-
Crochet - Accessories (3)
-
Crochet - Amigurumi (3)
-
Crochet - CAL (6)
-
Crochet - Cushions & Blankets (1)
-
Crochet - Home Décor (21)
-
Decor & Hobbies - Clay Making (9)
-
Decor & Hobbies - Decoupage (5)
-
Decor & Hobbies - Other (64)
-
Decor & Hobbies - Pyrography (2)
-
Decor & Hobbies - Upcycling (7)
-
Decor & Hobbies - Wreath Making (23)
-
Digital Crafting - Laser Cutting (6)
-
Digital Crafting - Sublimation (25)
-
Gifting - Gift Wrapping (15)
-
Kids - Craft Activites (1)
-
Kids - Craft Activities (10)
-
Knitting - Accessories (2)
-
Knitting - Cushions & Blankets (1)
-
Knitting - Home Décor (8)
-
Knitting - Other (3)
-
Latch Hook (1)
-
Macramé (15)
-
Occasions - Gift Ideas (16)
-
Papercraft - Card Making (19)
-
Papercraft - Origami (3)
-
Papercraft - Other (9)
-
Pom Pom Crafts (4)
-
Punch Needle (6)
-
Sewing - Embroidery (10)
-
Sewing - Fat Quarter Projects (11)
-
Sewing - Other (9)
-
Sewing - Quilting (4)
-
Stash Busting Ideas (4)
-
Weaving (3)
-
Home Décor (94)
-
Gift Ideas (61)
-
Wreath Making (38)
-
Advents (15)
-
CAL (5)
-
Colouring-in Sheets (4)
-
Bunting (1)
- View more
-
Stash Busting (1)
-
Pom Poms (7)
-
Sustainable Crafts (6)
-
Animals (4)
-
Stars (4)
-
Clothing (2)
-
Flora & Fauna (1)
-
Granny Square (1)
-
Home Decor (1)
-
Home Dècor (1)
-
Pets (1)
Viewing 1 - 48 of 483 Ideas
Viewing 1 - 48 of 483 Ideas


You've viewed 48 of 483 products
Oops...
Sorry, we did not find any products that match the
selected filters. You can go back to previous results to
select something different.