How to Create Drip Effects with Acrylic Paints
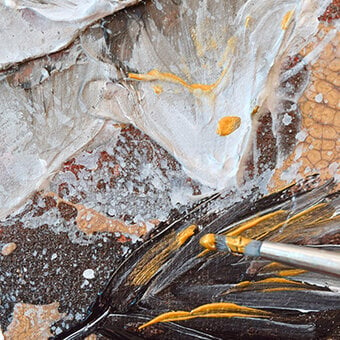
Create beautiful pieces of drip art using a handful of art stash essentials and acrylic paint! If you've never created drip art before, this how-to guide Is the perfect way to get started.
There are step-by-step instructions, as well as a video guide talking your through the process. You'll be mastering these techniques in no time!
Project and instructions by Jenny Muncaster
You will need
How to make
You will also need:
* Sponge
* Hair Dryer
* Spray Bottle
* Cup
Select three vibrant acrylic colours of your choice and cover the whole surface of your artboard with one of them using a basic household sponge to cover the first layer. We used yellow.
Leave to dry.
Tip: You can use a hairdryer to speed up the process.

Once the first layer is completely dry, use a clean sponge to evenly apply the second colour on top of the yellow.
Spray water immediately after you apply the colour. You can achieve this effect with your fingers too, flicking water randomly. The water on top will create an interesting pattern.


Dry the excess water from the canvas with a hairdryer, making sure to stop drying the piece before it is completely dry. The surface should be slightly glossy to look at. Then sweep the whole surface with a clean sponge.
Repeat the sweeping action in the other direction, removing all water marks. Wash your sponge after each sweep. If the sponge is not cleaned in between sweeps, a dirty layer of paint will be added back onto your work.


Before adding the third colour of paint, make sure your surface is completely dry.
Add magenta acrylic paint with a clean sponge, this time in the middle of your work. Immediately after, make a pattern with a plastic cup by wetting the rim of the cup and marking your work in different places with the rim.
Dry the excess water from the canvas with a hairdryer, once more making sure to stop drying the piece before it is completely dry. The surface should be slightly glossy to look at. Then sweep the whole surface in every direction with a clean sponge, making sure to wash the sponge after every sweep.


The artwork can then be left to dry completely.


