How to Paint Camper Van Wooden Decorations
Level
Beginner
Time
1 hour
Budget
10 - 30
These painted wooden decorations are sure to brighten up any home! Add some modern, quirky items to your living room or bedroom by painting them in clever ways using masking tape and bright Pebeo craft paints. Follow the tutorials below to find out how the pictured decorations were painted.
You will need


How to make
You will also need a ruler.
How to Paint a VW Campervan:
Step-1
Start by using masking tape to mask off the top part of the camper van, so you can paint the bottom half of it.


How to Paint a Geometric Caravan
Step-1
Start by measuring the top of the caravan using a pencil and a flexible ruler. You will also need a standard ruler to help draw straight lines. The overall length of the top of the caravan should be… Leave a 1.1cm section at the back of the caravan, for a 'bumper' on the caravan and another section at the front of the caravan, the surface left will be used to draw on the geometric pattern.


Step-2

Step-3

Step-4

Step-5

Step-6


Craft with us at our workshops


Related Products

How to Make FIMO Clay Christmas Decorations
You WIll Need * FIMO Clay - Black, White, Red, Brown, Light Brown, Orange and Green * Rolling Pin * Free Templates - Downloaded + Printed * Knife * Wooden Skewer * Twine Free Template.pdf. These four adorable Christmas characters ...
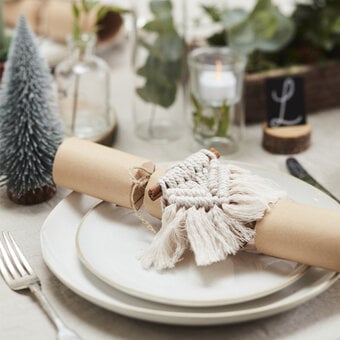
How to Make Macrame Cracker Decorations
How to Make You Will Need * White Macramé String * Knitcraft Return of the Mac Yarn 200g - Sage * Wooden Macramé Ring * Decorative Cinnamon Sticks * Fabric Scissors * Kraft Crackers * Brush * Pins or Tape ...

How to Make Decorated Gingerbread Biscuits
How to Make You Will Need Ingredients * 350g/12oz plain flour * 1tsp bicarbonate of soda * 2tsp ground ginger * 1tsp ground cinnamon * 125g/4½oz butter * 175g/6oz light soft brown sugar * 1 medium egg, lightly beaten * ...

How to Decorate a Wooden Advent House
How to Make You Will Need * Wooden Advent Calendar * Acrylic Paint - White, Blue, Green, Taupe, Pale Pink, Red * White Posca Pens * Advent Numbers * Paintbrushes in Various Sizes * Glue Step 1 Start by applying ...
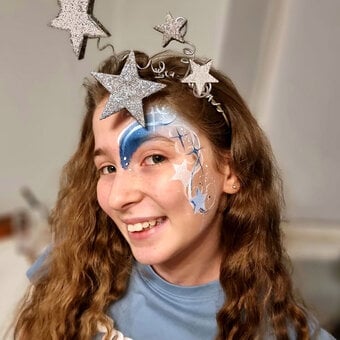
How to Create a New Year's Eve Face Paint Design
Step 1 Use a damp (not wet) sponge to apply the first layer of colour. We've started with white blended with blue to create an ombre effect over the left eyebrow. View More Step 2 Use a fine paintbrush to ...

6 Easy Watercolour Painting Ideas
6 Easy Watercolour Painting Ideas How to Paint a Watercolour Sunset Master the wet-on-wet watercolour technique with this simple tutorial, with all the tips you'll need to beautifully blend colours - even if you're a beginner. Discover the step-by-step guide ...